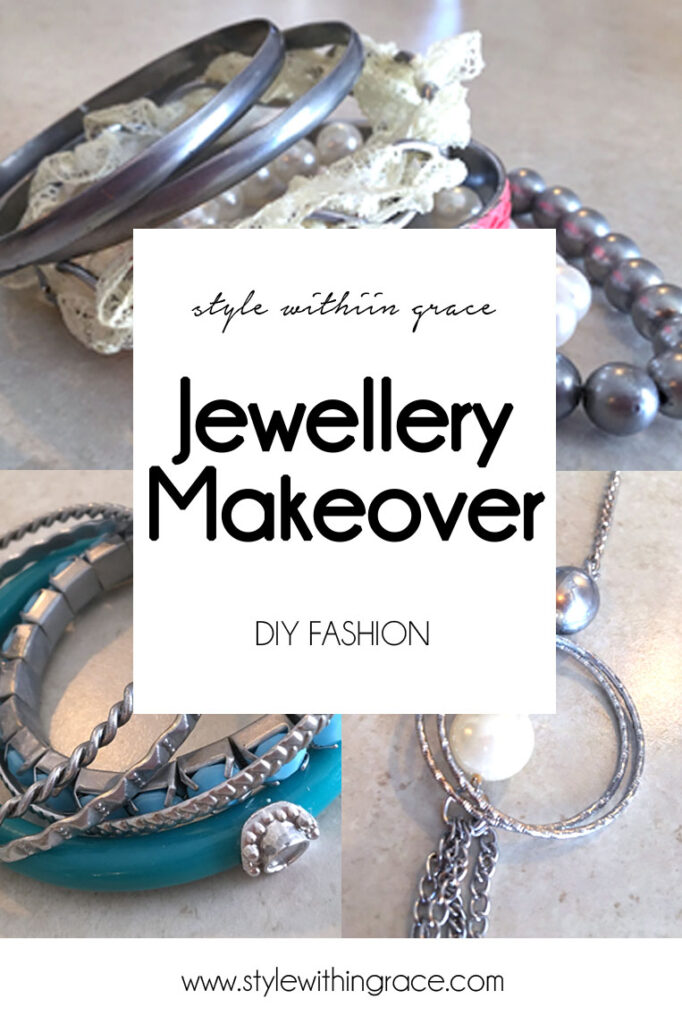
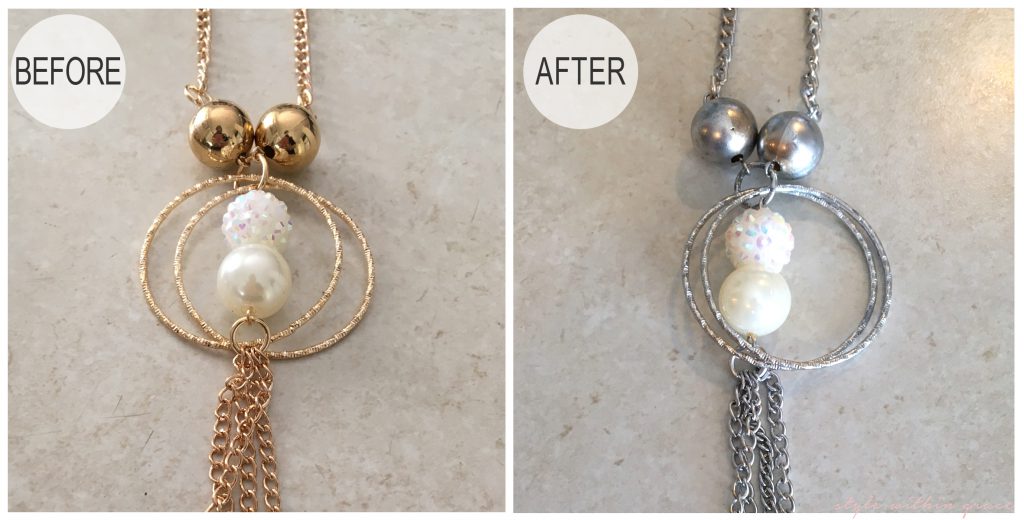
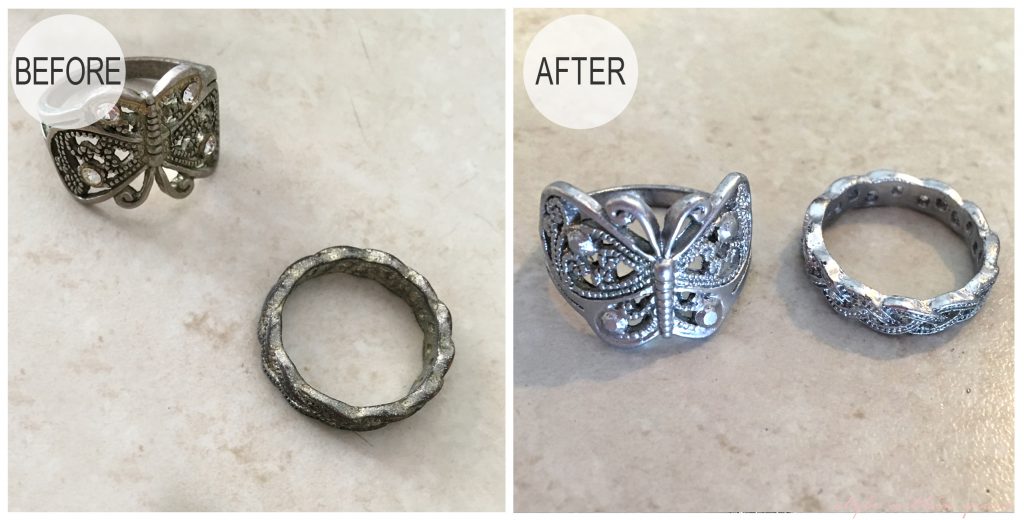
Some people may like gold jewellery but fairly early on I decided that the blue undertones in my skin lends itself better to silver hues. So of course when the hubby bought me my engagement ring it was a beautiful white gold. I know mixing metals is totally a thing but it is so not my thing. Each to their own but I do not like the look of wearing silver and gold together. So what to do with the jewellery that I managed to accumulate that is of the golden hue? Yes I could have given it away but instead I decided to recolour the gold to silver instead with spray paint. I’m not the first to come up with this idea but I thought you might be interested to see how mine turned out.
What you need:
- Jewellery you want to update/change
- Spray paint in whatever colour you choose (I used Duramax Dulux Bright Silver)
- Masking Tape
- (Optional) Wire to hand up jewellery while you spray paint them
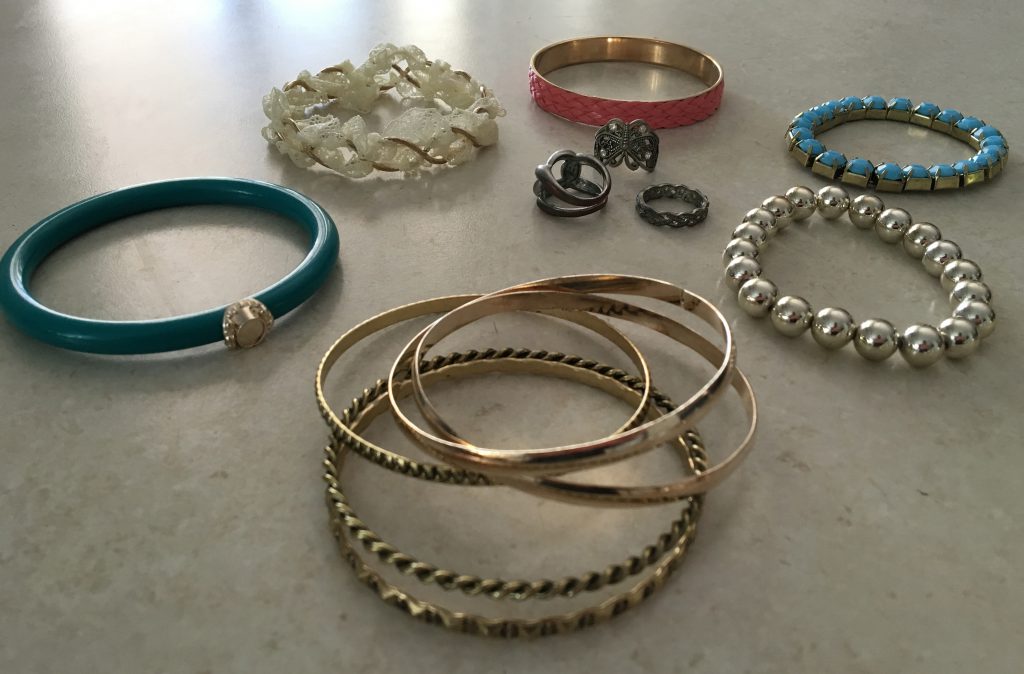
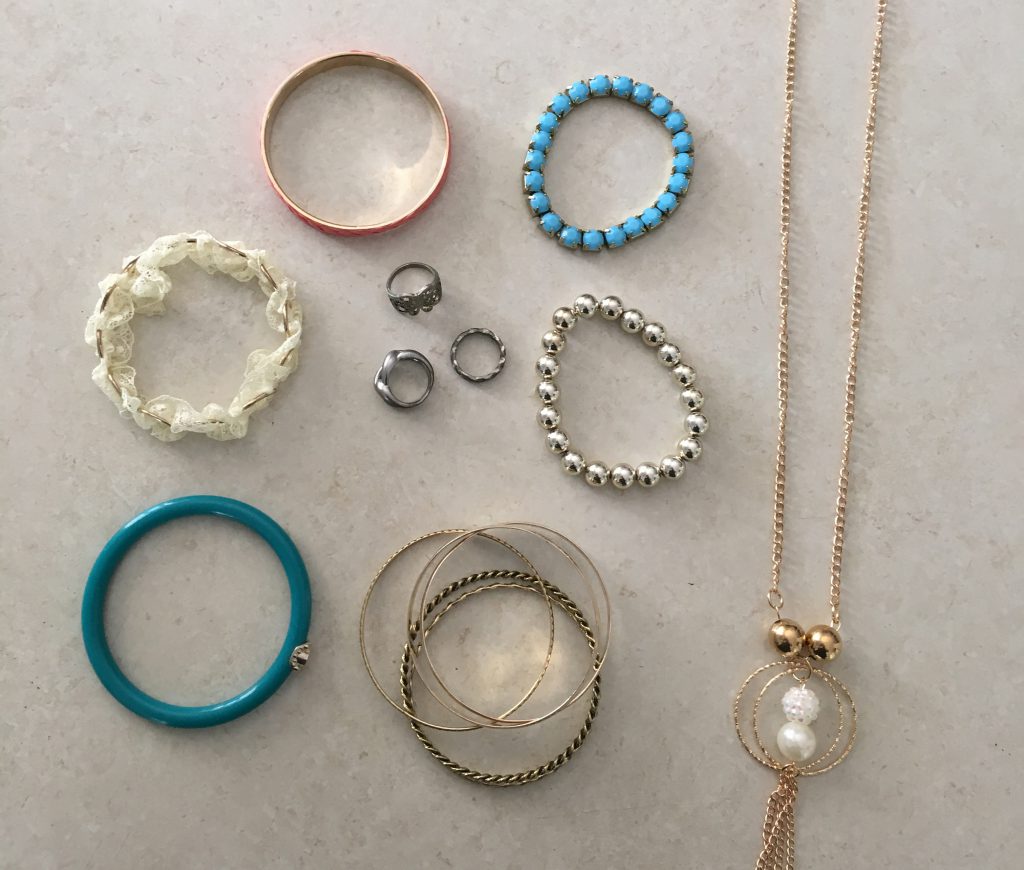
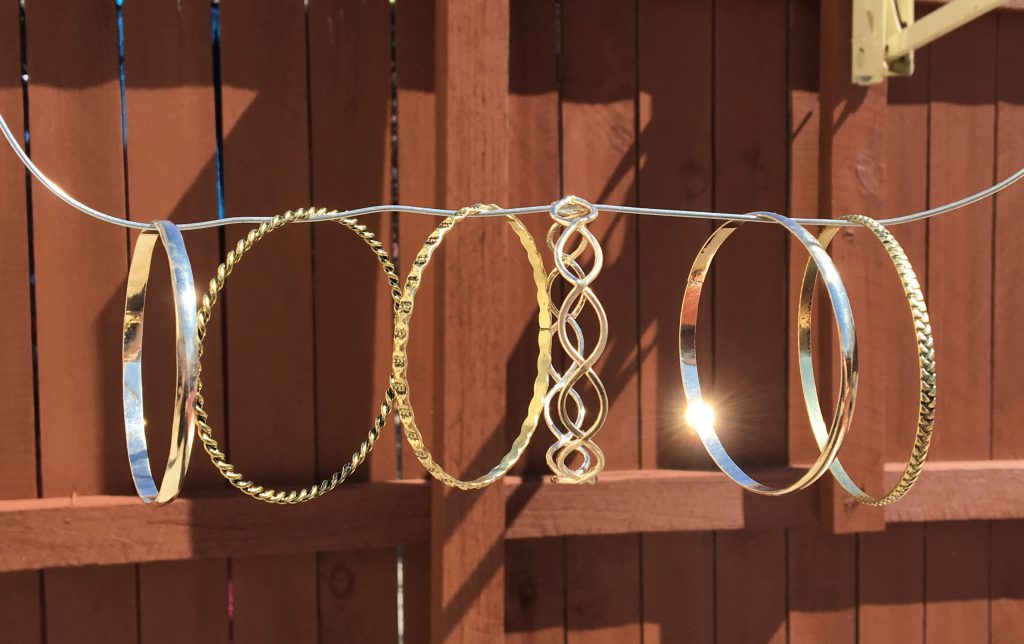
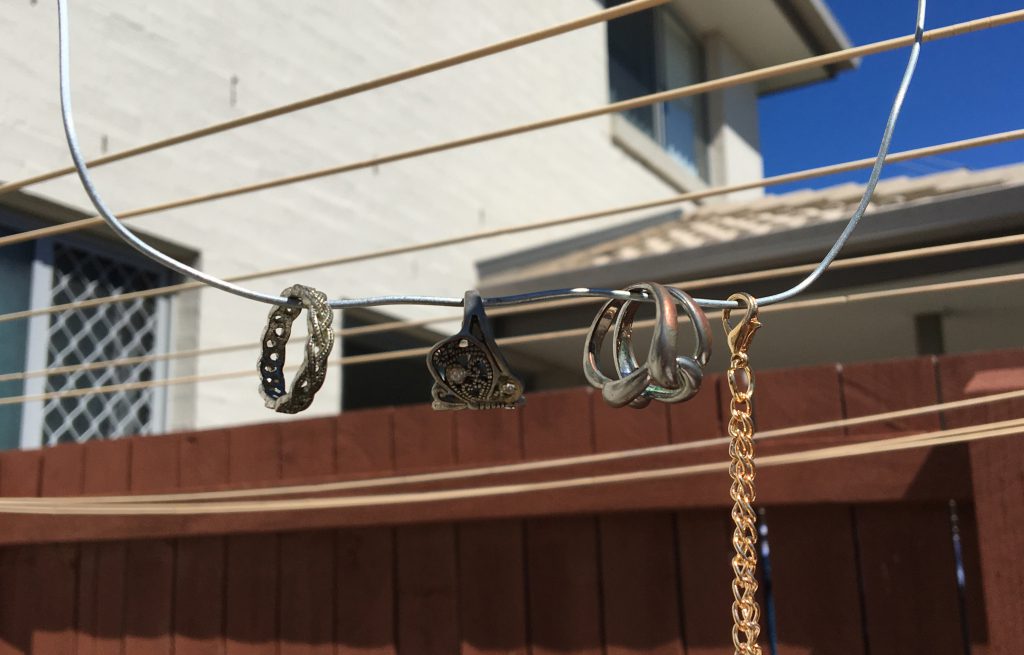
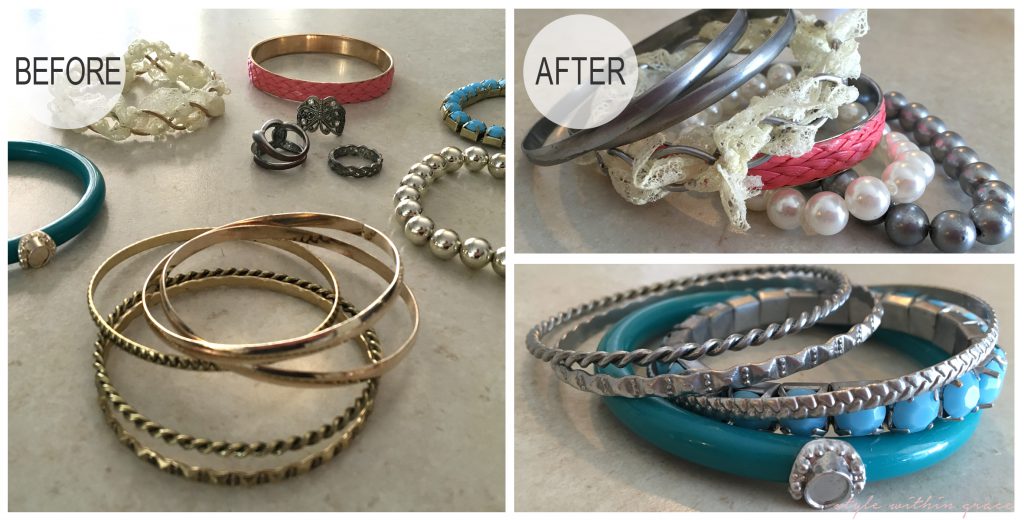
These are all the pieces I wanted to spray paint. There were also a few old rings that had tarnished and started going pink so I thought I’d spray paint them as well.
Step 1:
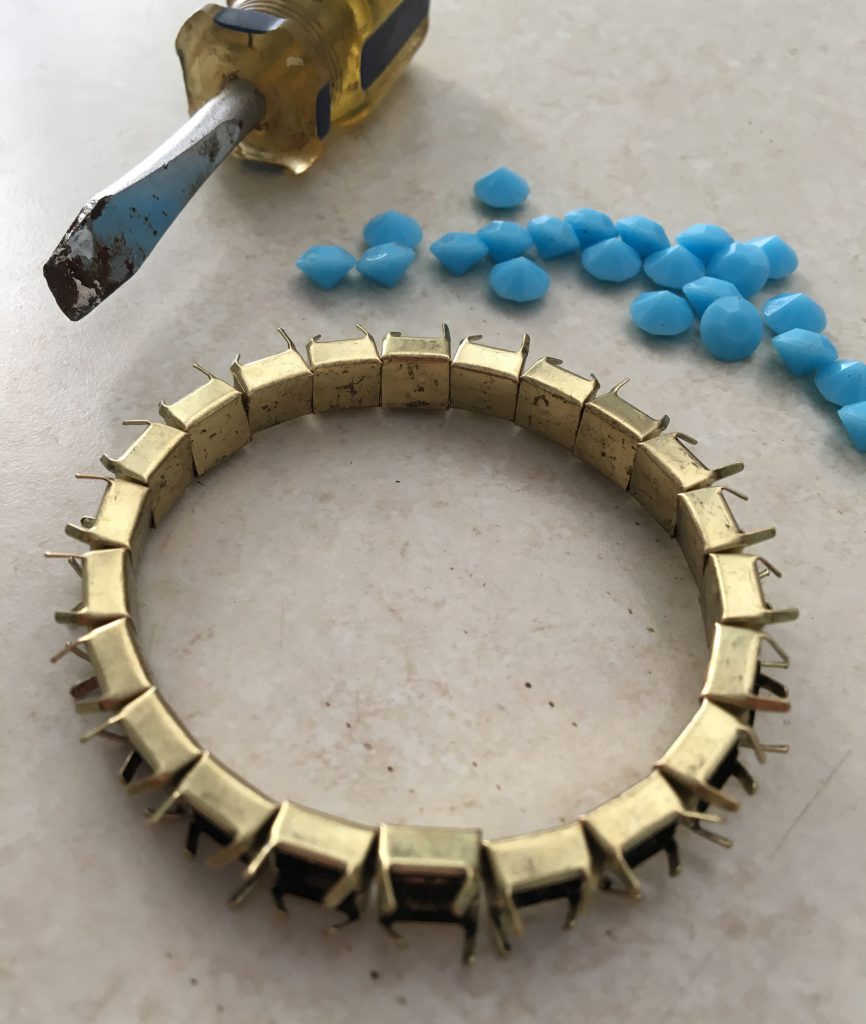
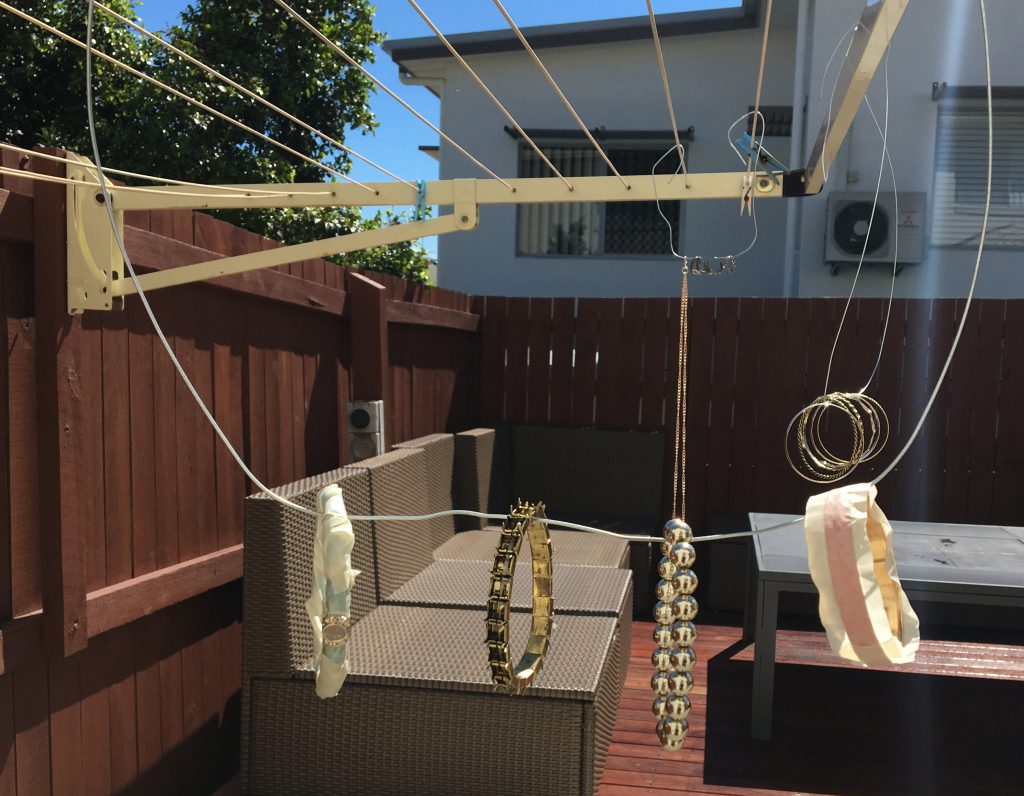
It’s all pretty simple. First masking tape all the beads or jewels that you don’t want spray painted. I also unwrapped a piece of lace from one of the bracelets and removed the blue beading from a bracelet entirely as you can see in the photos below.
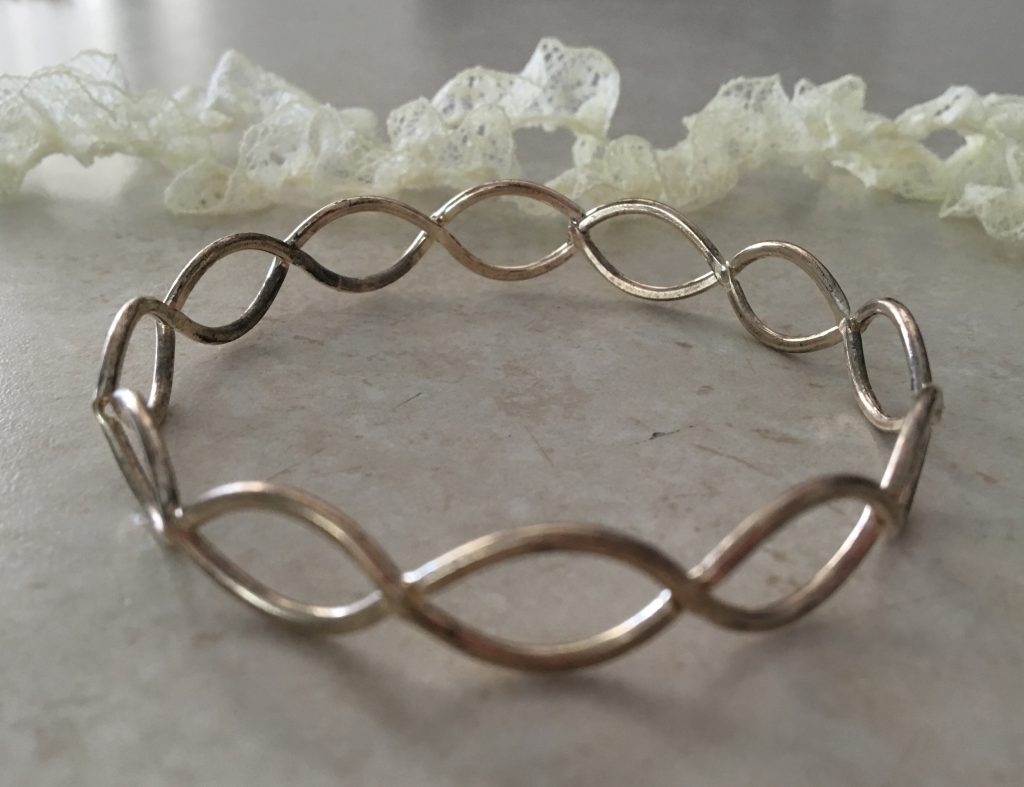
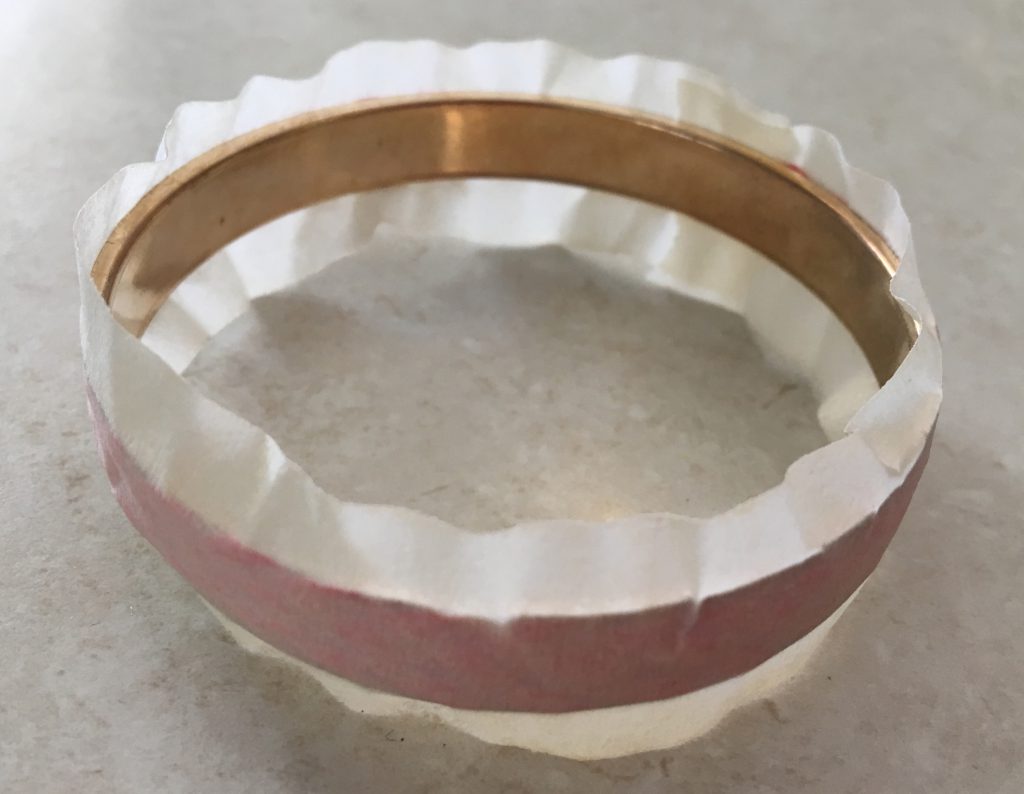
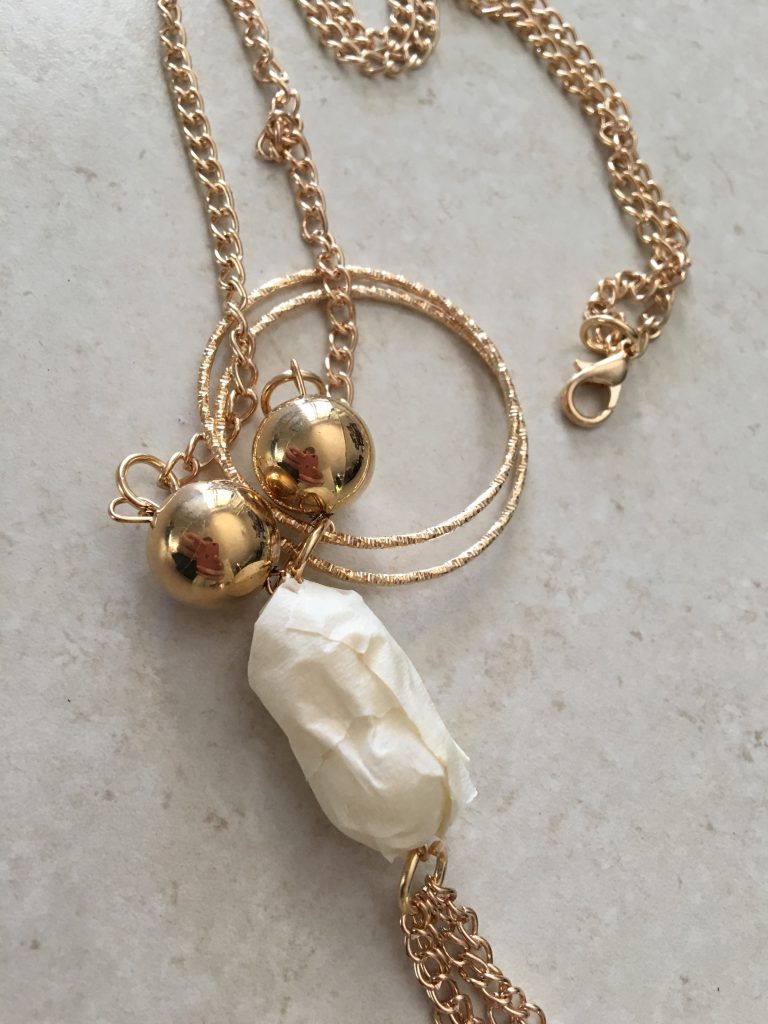
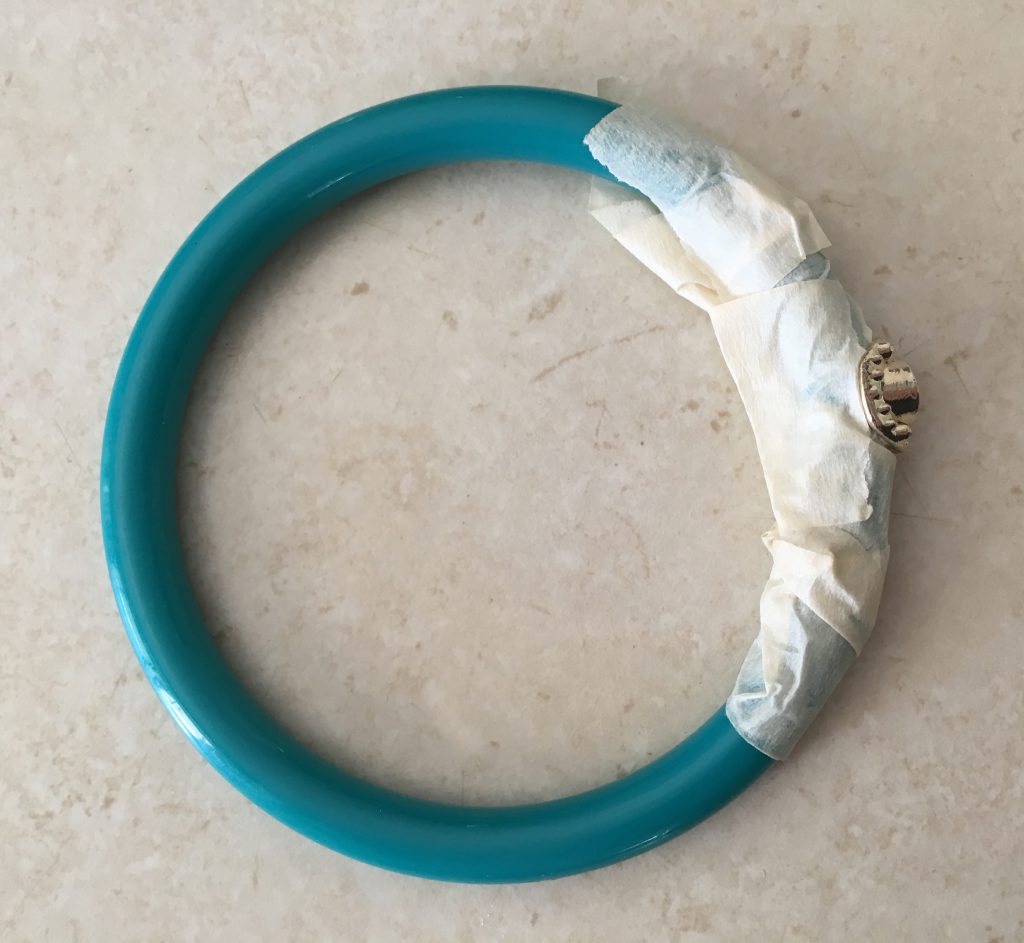
Step 2:
Hang them all up somewhere outside, I hung them on our clothesline with wire hooks. Make sure you are able to spray at them from all angles to make sure that they get even coverage.
Step 3:
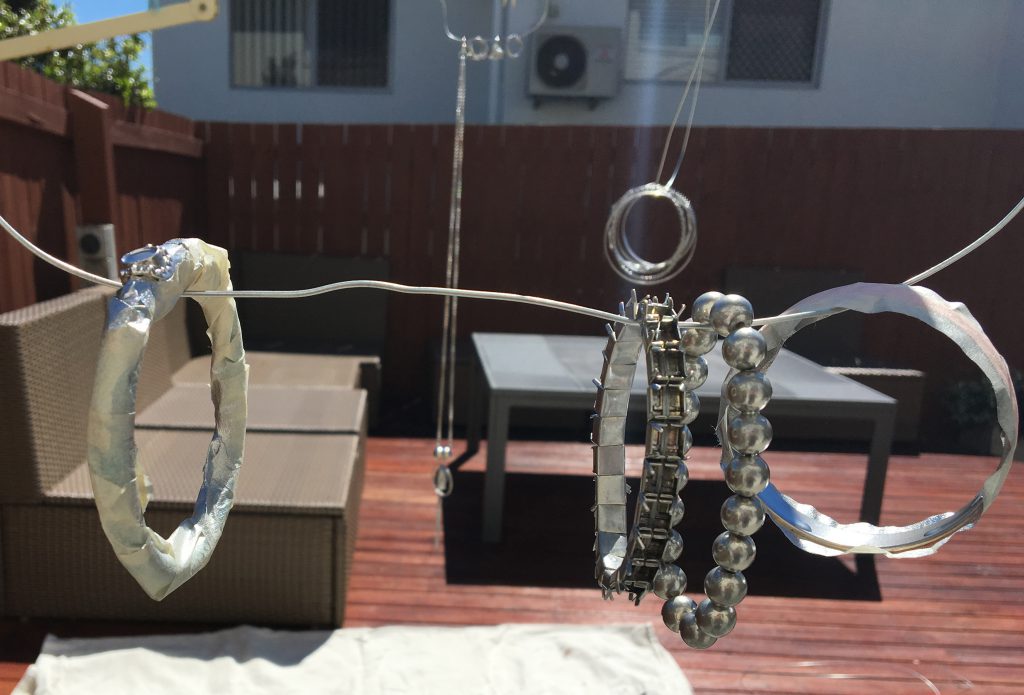
After shaking the can for the recommended 3 mins, spray your items with short blasts to ensure thin layers and no runs or drips. Wait until they dry and give a second coat. Look for any places you may have missed and make sure that nothing has stuck together. You may need to rotate the pieces around on the wire to get the sections resting on the wire.
Step 4:
Once they are completely dry again, you are free to unwrap all the masking tape, restring the lace and replace the plastic beads.
All up I paid:
Silver Spray Paint = $19.90 (with plenty left over)
Masking Tape = Already had some lying around
Total: $19.90
My elasticised beads didn’t work very well as they stuck together and when pulled apart the paint flaked a bit. I would recommend this for metals and solid plastic pieces rather than beads. Also looking back, pay special attention to the type of spray paint you choose. Mine ended up a really dark silver and I probably would have preferred them to be lighter. It’s hard to know by the lids and labels alone though. I wouldn’t say this looks like “Bright Silver” to me. All in all though, I’m happy and will get much more wear out of these pieces now that they are silver.
