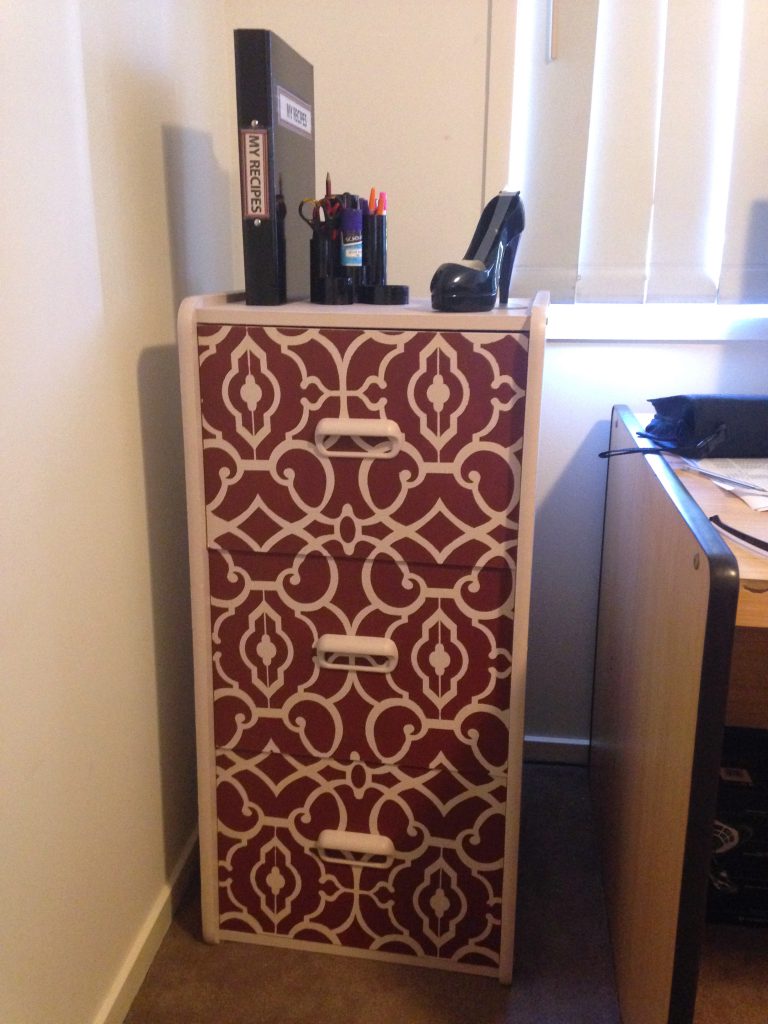
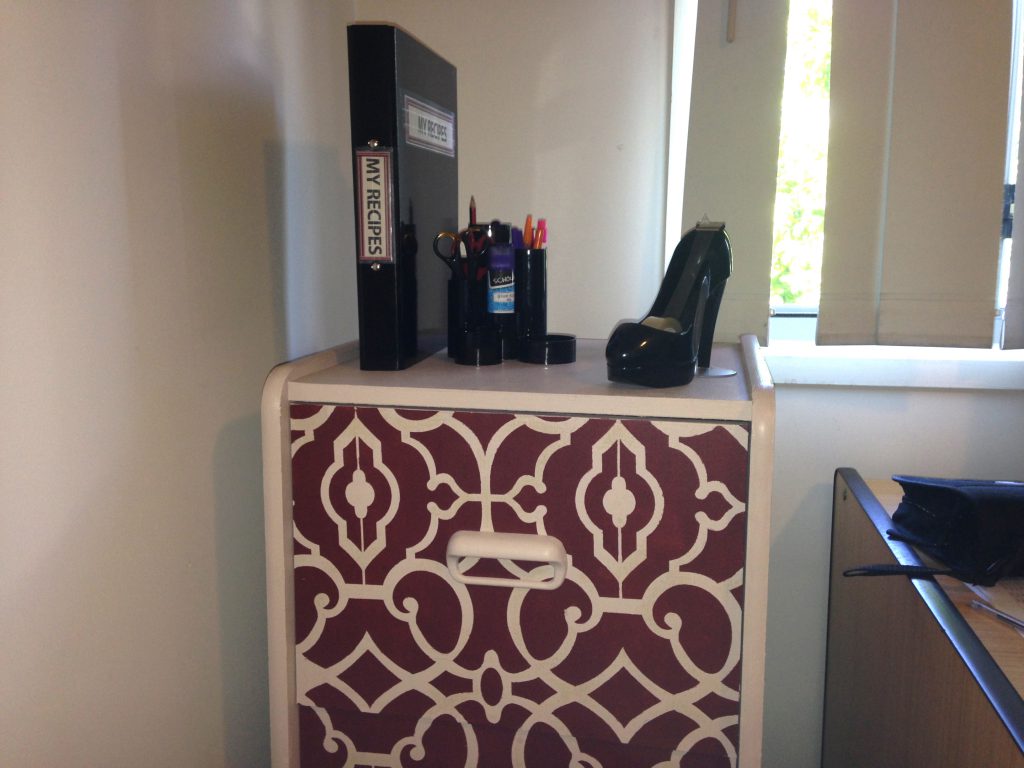
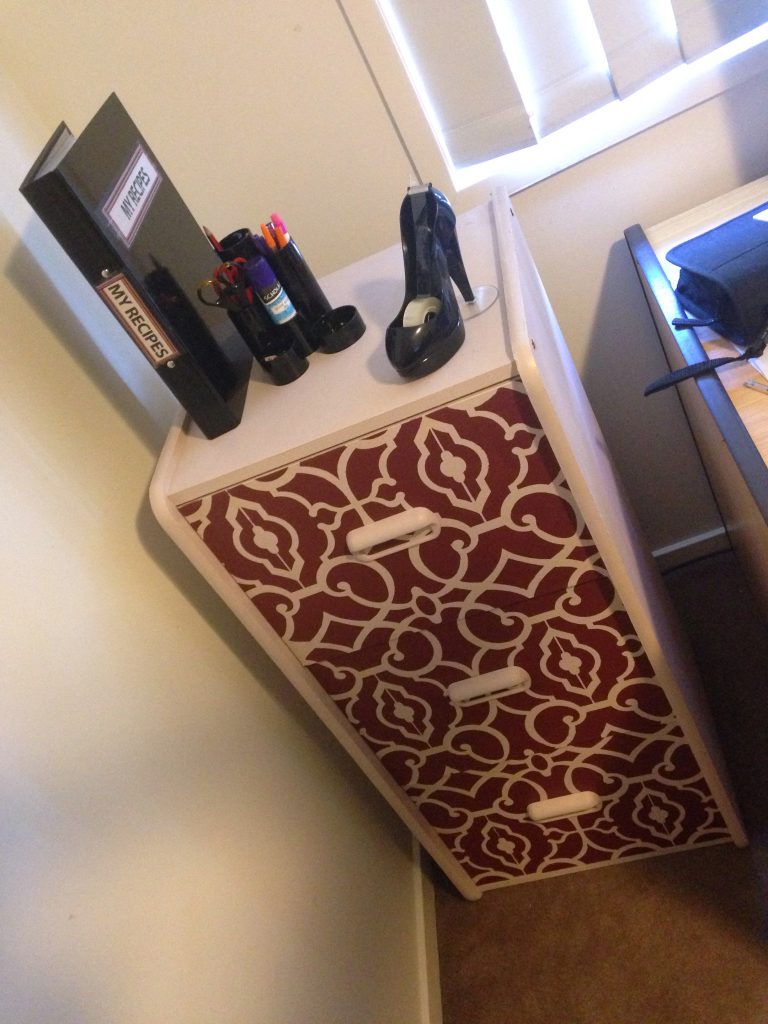
After getting hooked on Pinterest, I have had a list of DIY “to dos” to decorate our first house we bought in early 2014. On that list was the stencilled filing cabinet, the first element to organising and styling our study. I bought this second hand filing cabinet on eBay for just $5. I didn’t realise when I bought it that it was a laminate cabinet, which required me to find out how to best paint laminate.

What you need:
- Screwdrivers or Allen Keys (to disassemble and reassemble)
- Drop sheet (can use cardboard or newspaper etc.)
- Masking tape (optional)
- Fine-grit Sandpaper
- Vacuum and Cleaning Cloth
- Paintbrushes (differing sizes for each area)
- Roller
- Primer
- Two contrasting colours of paint (you can buy cheap paint from Bunning’s reject corner if you’re not fussy about what colours you want)
- Stencil (you can make your own if you’re patient enough)
- Spray Adhesive
- Blue painters tape (optional)
Step 1:
Disassemble your Furniture. Separate draws from cabinet and detach draw handles. This was especially difficult for me, as I had to take off one of the sides to get the draws out. Lay out pieces on a drop matt so as not to get paint everywhere. Mask any areas that you don’t want to paint. Figure out how you are going to line up the stencil on the draws and arrange them this way.
(Originally I was going to leave the rubber sides, the beige colour they were because I didn’t think I should paint on rubber but after painting the rest of the cabinet they looked incredibly dirty compared to the perfect pink I had painted so I painted them anyway. The rubber took a few coats of paint but it held it just fine.)
Step 2:
Sand furniture with Fine-grit sandpaper. Lightly sand the laminate to give it some texture that the paint can grip onto. You don’t want to sand so thoroughly that the laminate tears, just enough to see lines over the surface. If you skip this step the paint can bubble and peal off. After sanding make sure you vacuum up all the dust, wipe down with a cloth to get rid of it all then dry the surface before painting.
Step 3:
Apply a Coat of Primer. Paint the cabinet with your primer. Aim for as thin and smooth a coat as possible. Allow the primer to dry for a full day so as to increase durability and prevent scratches when finished. I also painted the handles.
(I used White Knight Tile and Laminate Primer. Apparently you can use any interior primer you can find but I didn’t know this until after I was finished. I could have saved myself about $20.)
Step 4:
Paint the Furniture. Once the base coat is dry start painting with the colour you want the bulk of the filing cabinet to be. Use your discretion as to how many coats you want to do to create the finish you want. Wait a day between coats. If the paint does bubble, sand that spot back and repaint.
Step 5:
Apply the Stencil. Layout stencil on drop sheet or cardboard and spray the back of the stencil with a generous coat of spray adhesive. Stick it to one draw at a time. Rub with your hand, a ruler or some other flat surface to remove any bubbles and to fully stick the stencil to the surface. Concentrate on small design details and corners that can flick up easily. You can apply blue painters tape to the edges to hold it in place more securely but I didn’t use it and mine turned out fine. Blue painters tape doesn’t peel any paint off when you remove it.
Step 6:
Paint the Stencil. Using a roller, carefully roll over the stencil with your contrasting paint, making sure not to lift up any edges. Don’t use too much paint on the roller otherwise it will seep under the stencil. You might need to do a few coats depending on your paint. You may want to use spray paint as it gets a smoother, crisper finish. Allow it to get dry enough to feel slightly tacky before doing each coat and before removing the stencil. Repeat this process until all drawers are stencilled. You shouldn’t need to wash the stencil in between draws but once finished, give it a scrub.
Step 7:
Reassemble Furniture. When the paint is thoroughly dry you can put the cabinet back together. Start with the draw handles. If needed, touch up any spots that might have gotten scratched.
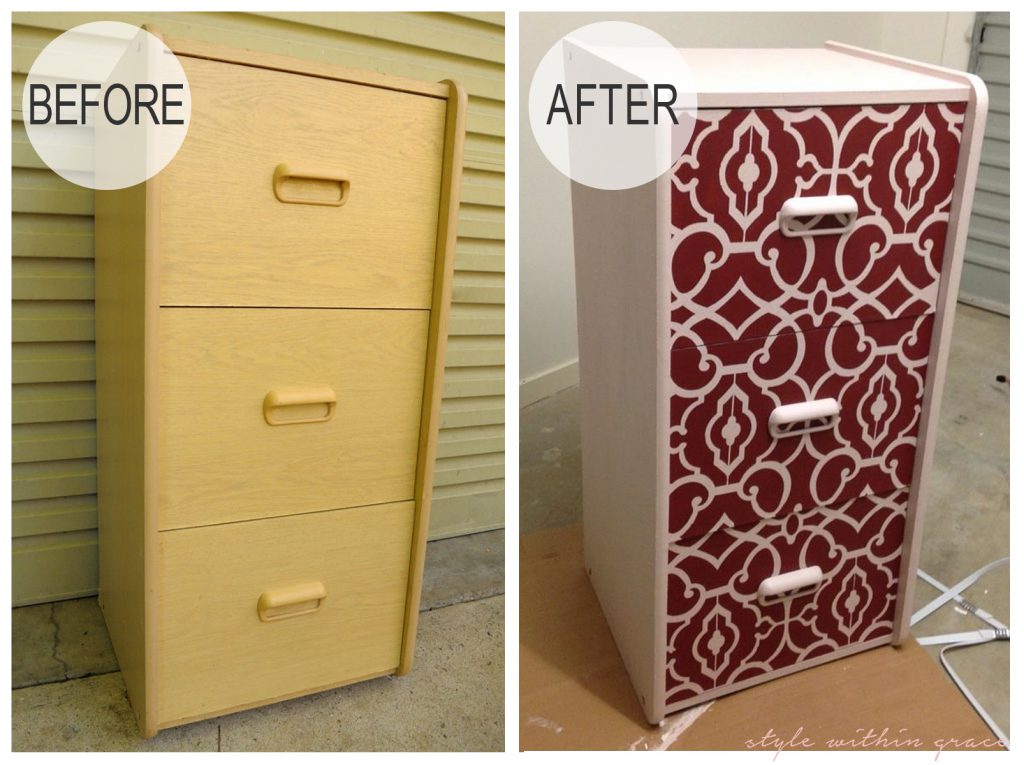
All up I paid:
Cabinet = $5
White Knight Tile and Laminate Primer = $44.90
Reject Corner British Paints 500ml Pink Paint = $2
British Paints 500ml Red Paint = $12.50
Boyle Spray Adhesive 350g = $15.98
Stencil = $50
Total: $130.38
I had heaps of spray adhesive, laminate primer and paint left over and I intend to use all these materials again to make some framed patterns for the side of my bed. If you liked this DIY you might be interested in my Lace Drawers Makeover too.
