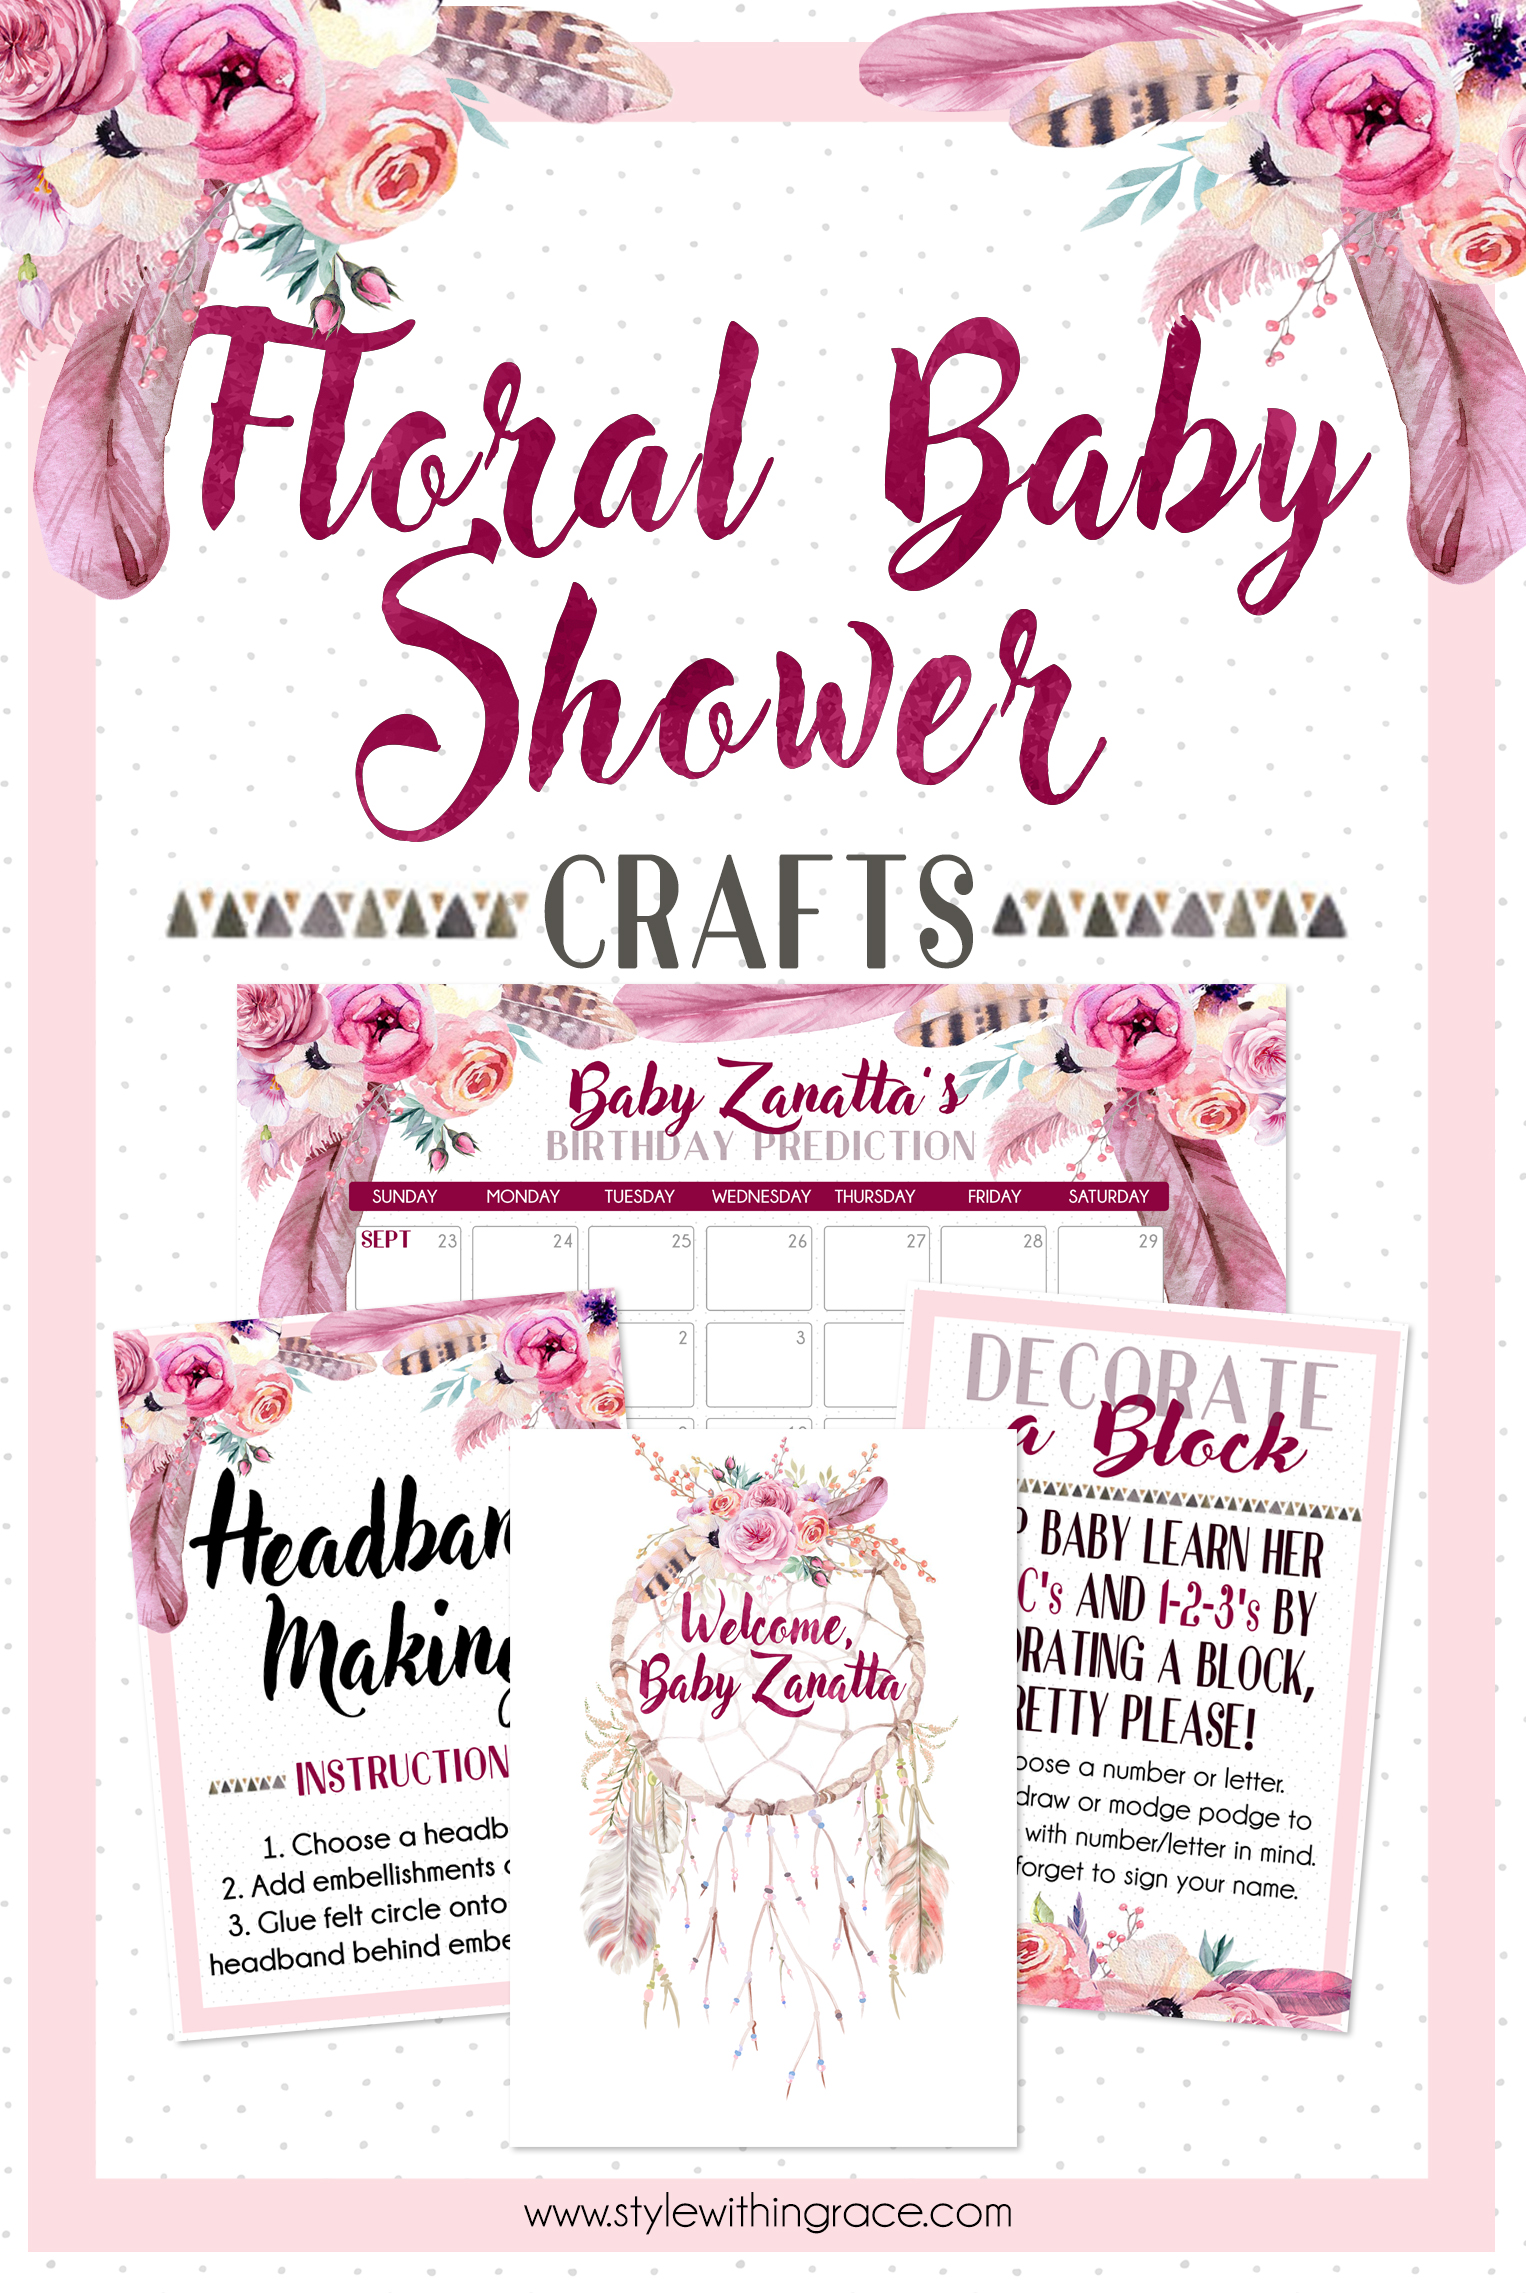
So you’ve got your baby shower all organised with invites, food and games but there is one more thing you can add to the day to really make it special, some floral baby shower crafts of course! Baby shower crafts are not only a great way to keep your guests busy and entertained but it’s also really nice to have something to keep after the day to remember the festivities and everyone who attended. Some crafts can even aid in the decorating of your nursery, helping to make it an extra special place for your little one to grow up in.
How many crafts you take on is completely up to you, how much time you have to organise and how much you want to spend on your party. Below I’ve included a mix of easy to organise crafts and crafts that took a little more putting together, along with free printable instructions and links to everything you should need for each one. Take and use what you will.
Nappy Messages
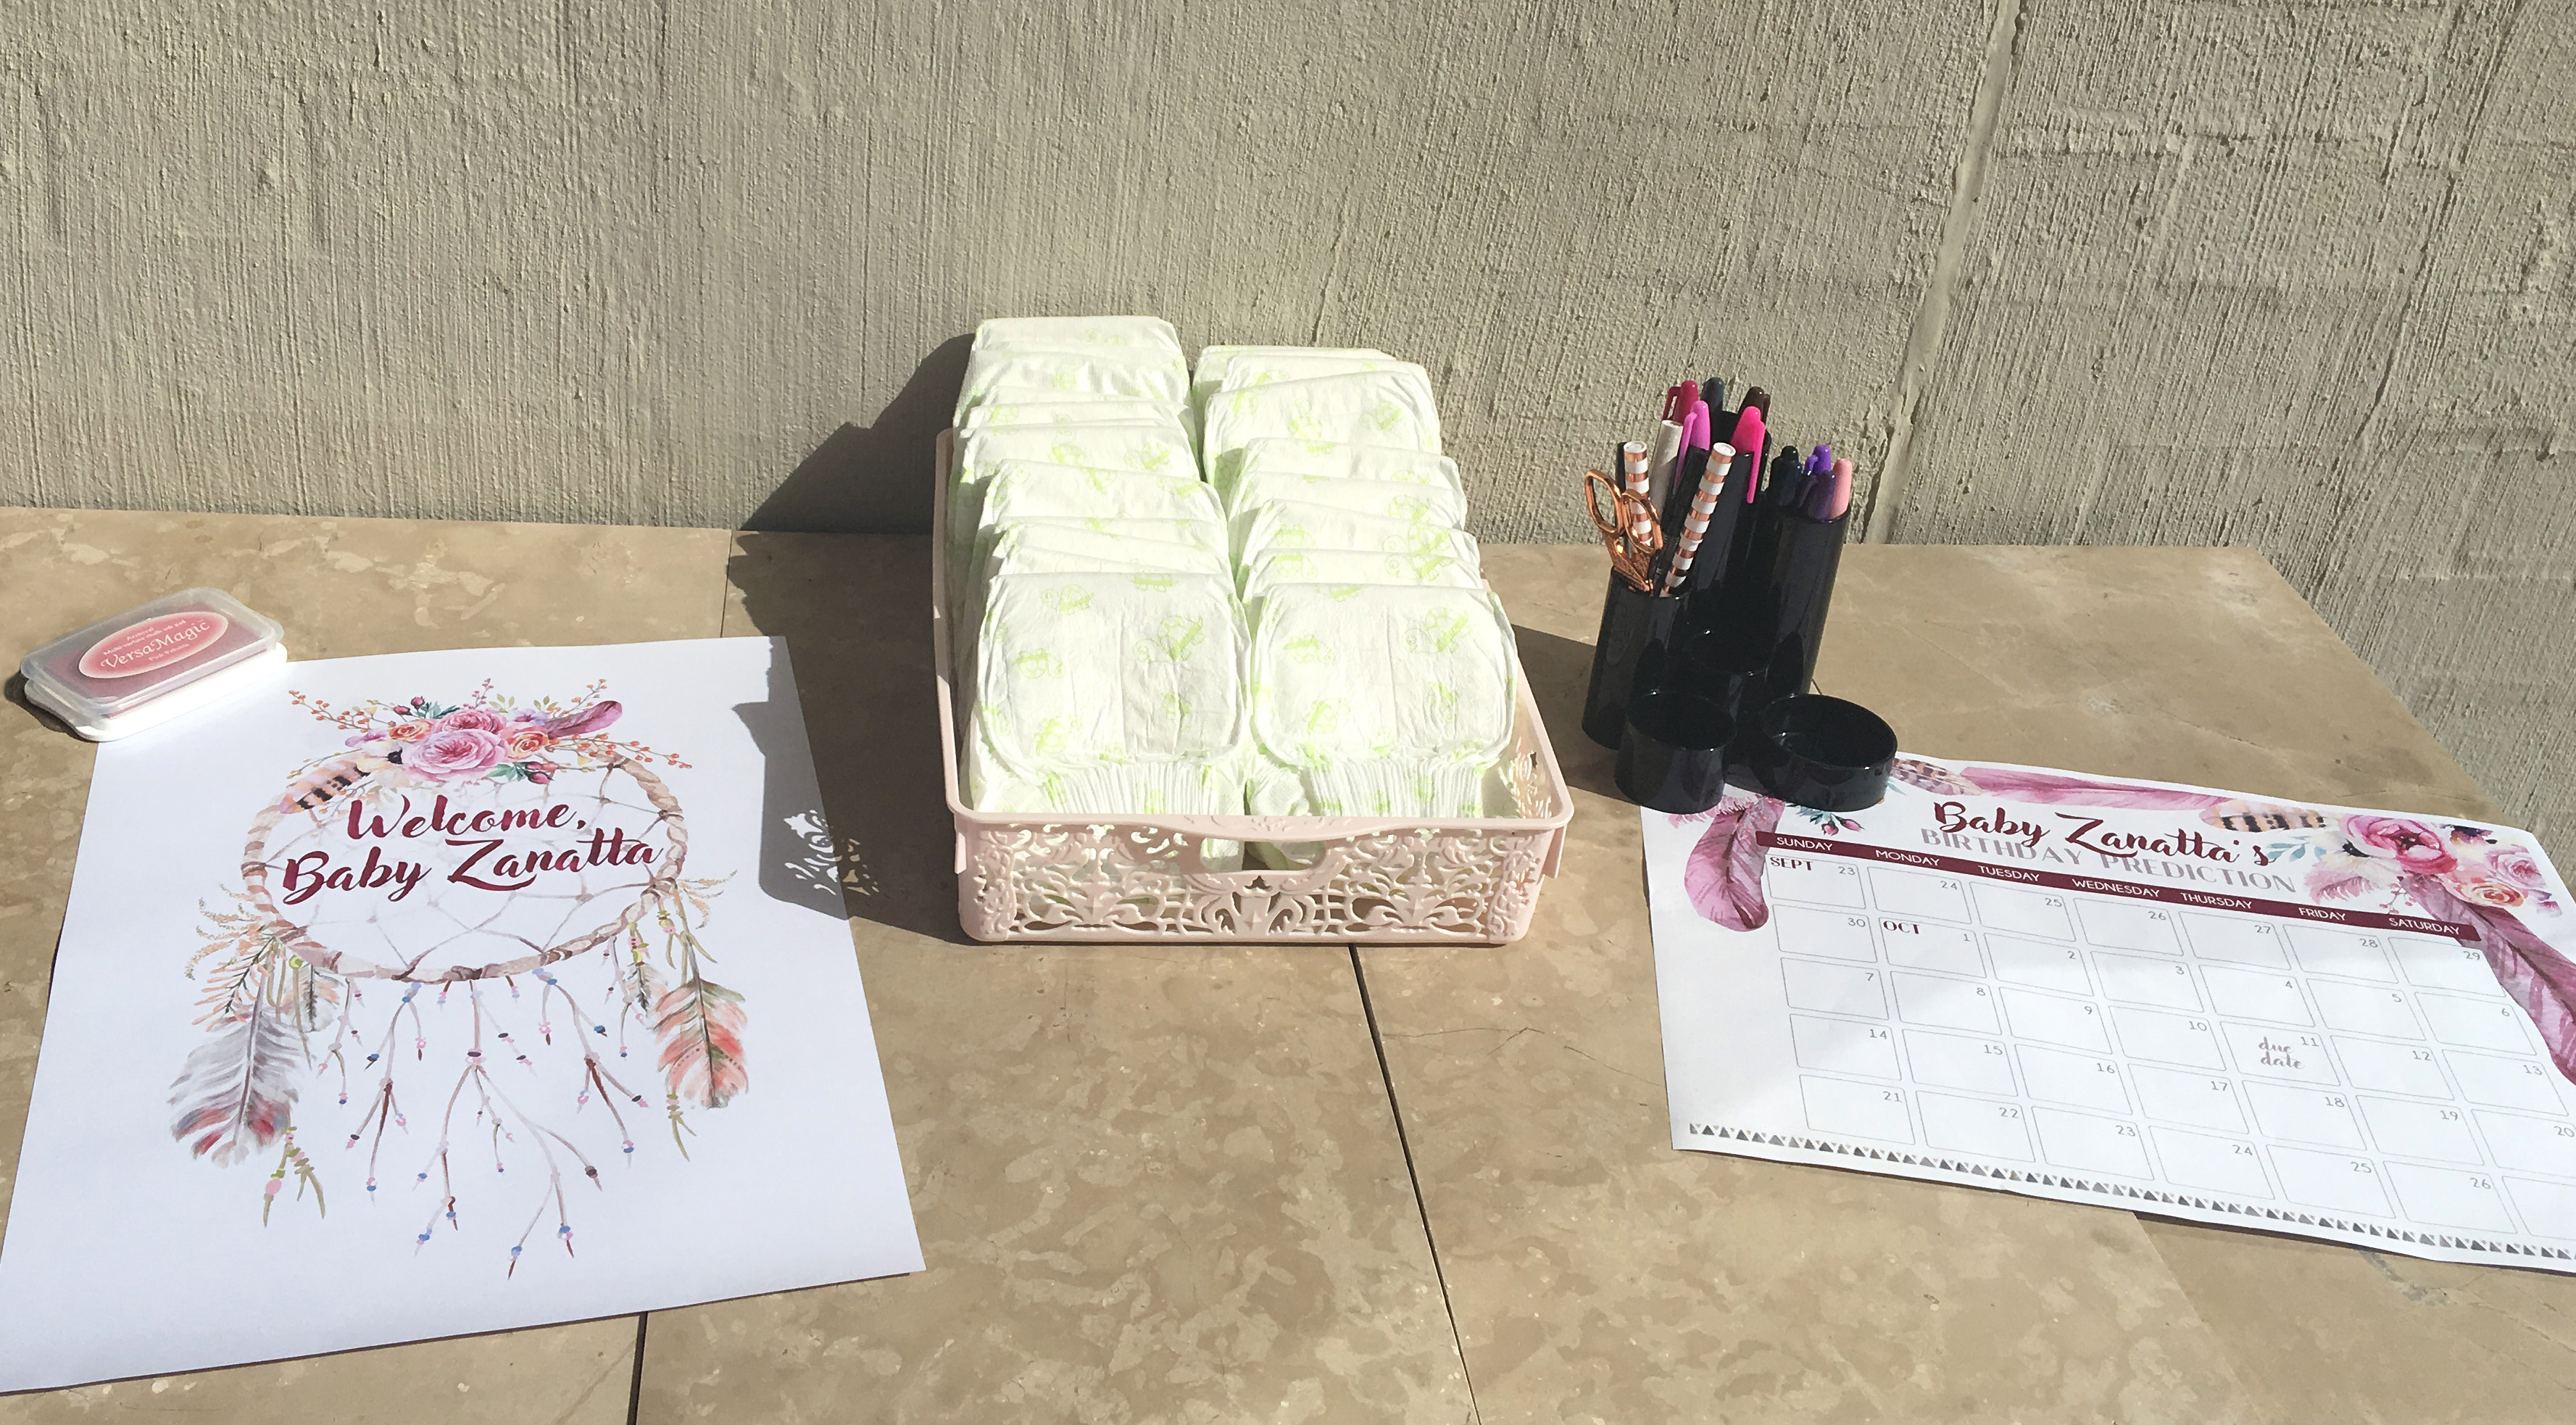
Nappy messages is possibly the easiest craft to setup and organise but it never ceases to bring a smile to my face. All you have to do is buy a box of newborn disposable nappies and have some sharpies on hand for guests to write messages for the mum and dad to be. Such a simple gesture that can bring a smile to their faces in the middle of the night when they are completing the not so pleasant job of changing the bub to be.
I happened to have this cute pink basket on hand already which I stacked the nappies in but any basket or box will do. I also bought an Electro Pop Sharpie Set from Officeworks and just put out the colours that matched my theme into a pen holder I had also bought from Officeworks a while back. The nappies I bought were just standard unisex newborn ones from Kmart, a pack of 108 for $17. I only put out about 30 nappies and that was plenty. Write the first message yourself and everyone else will get the idea of what they are suppose to do. My go to is always, “This one’s for Dad!”
Birthday Prediction Calendar
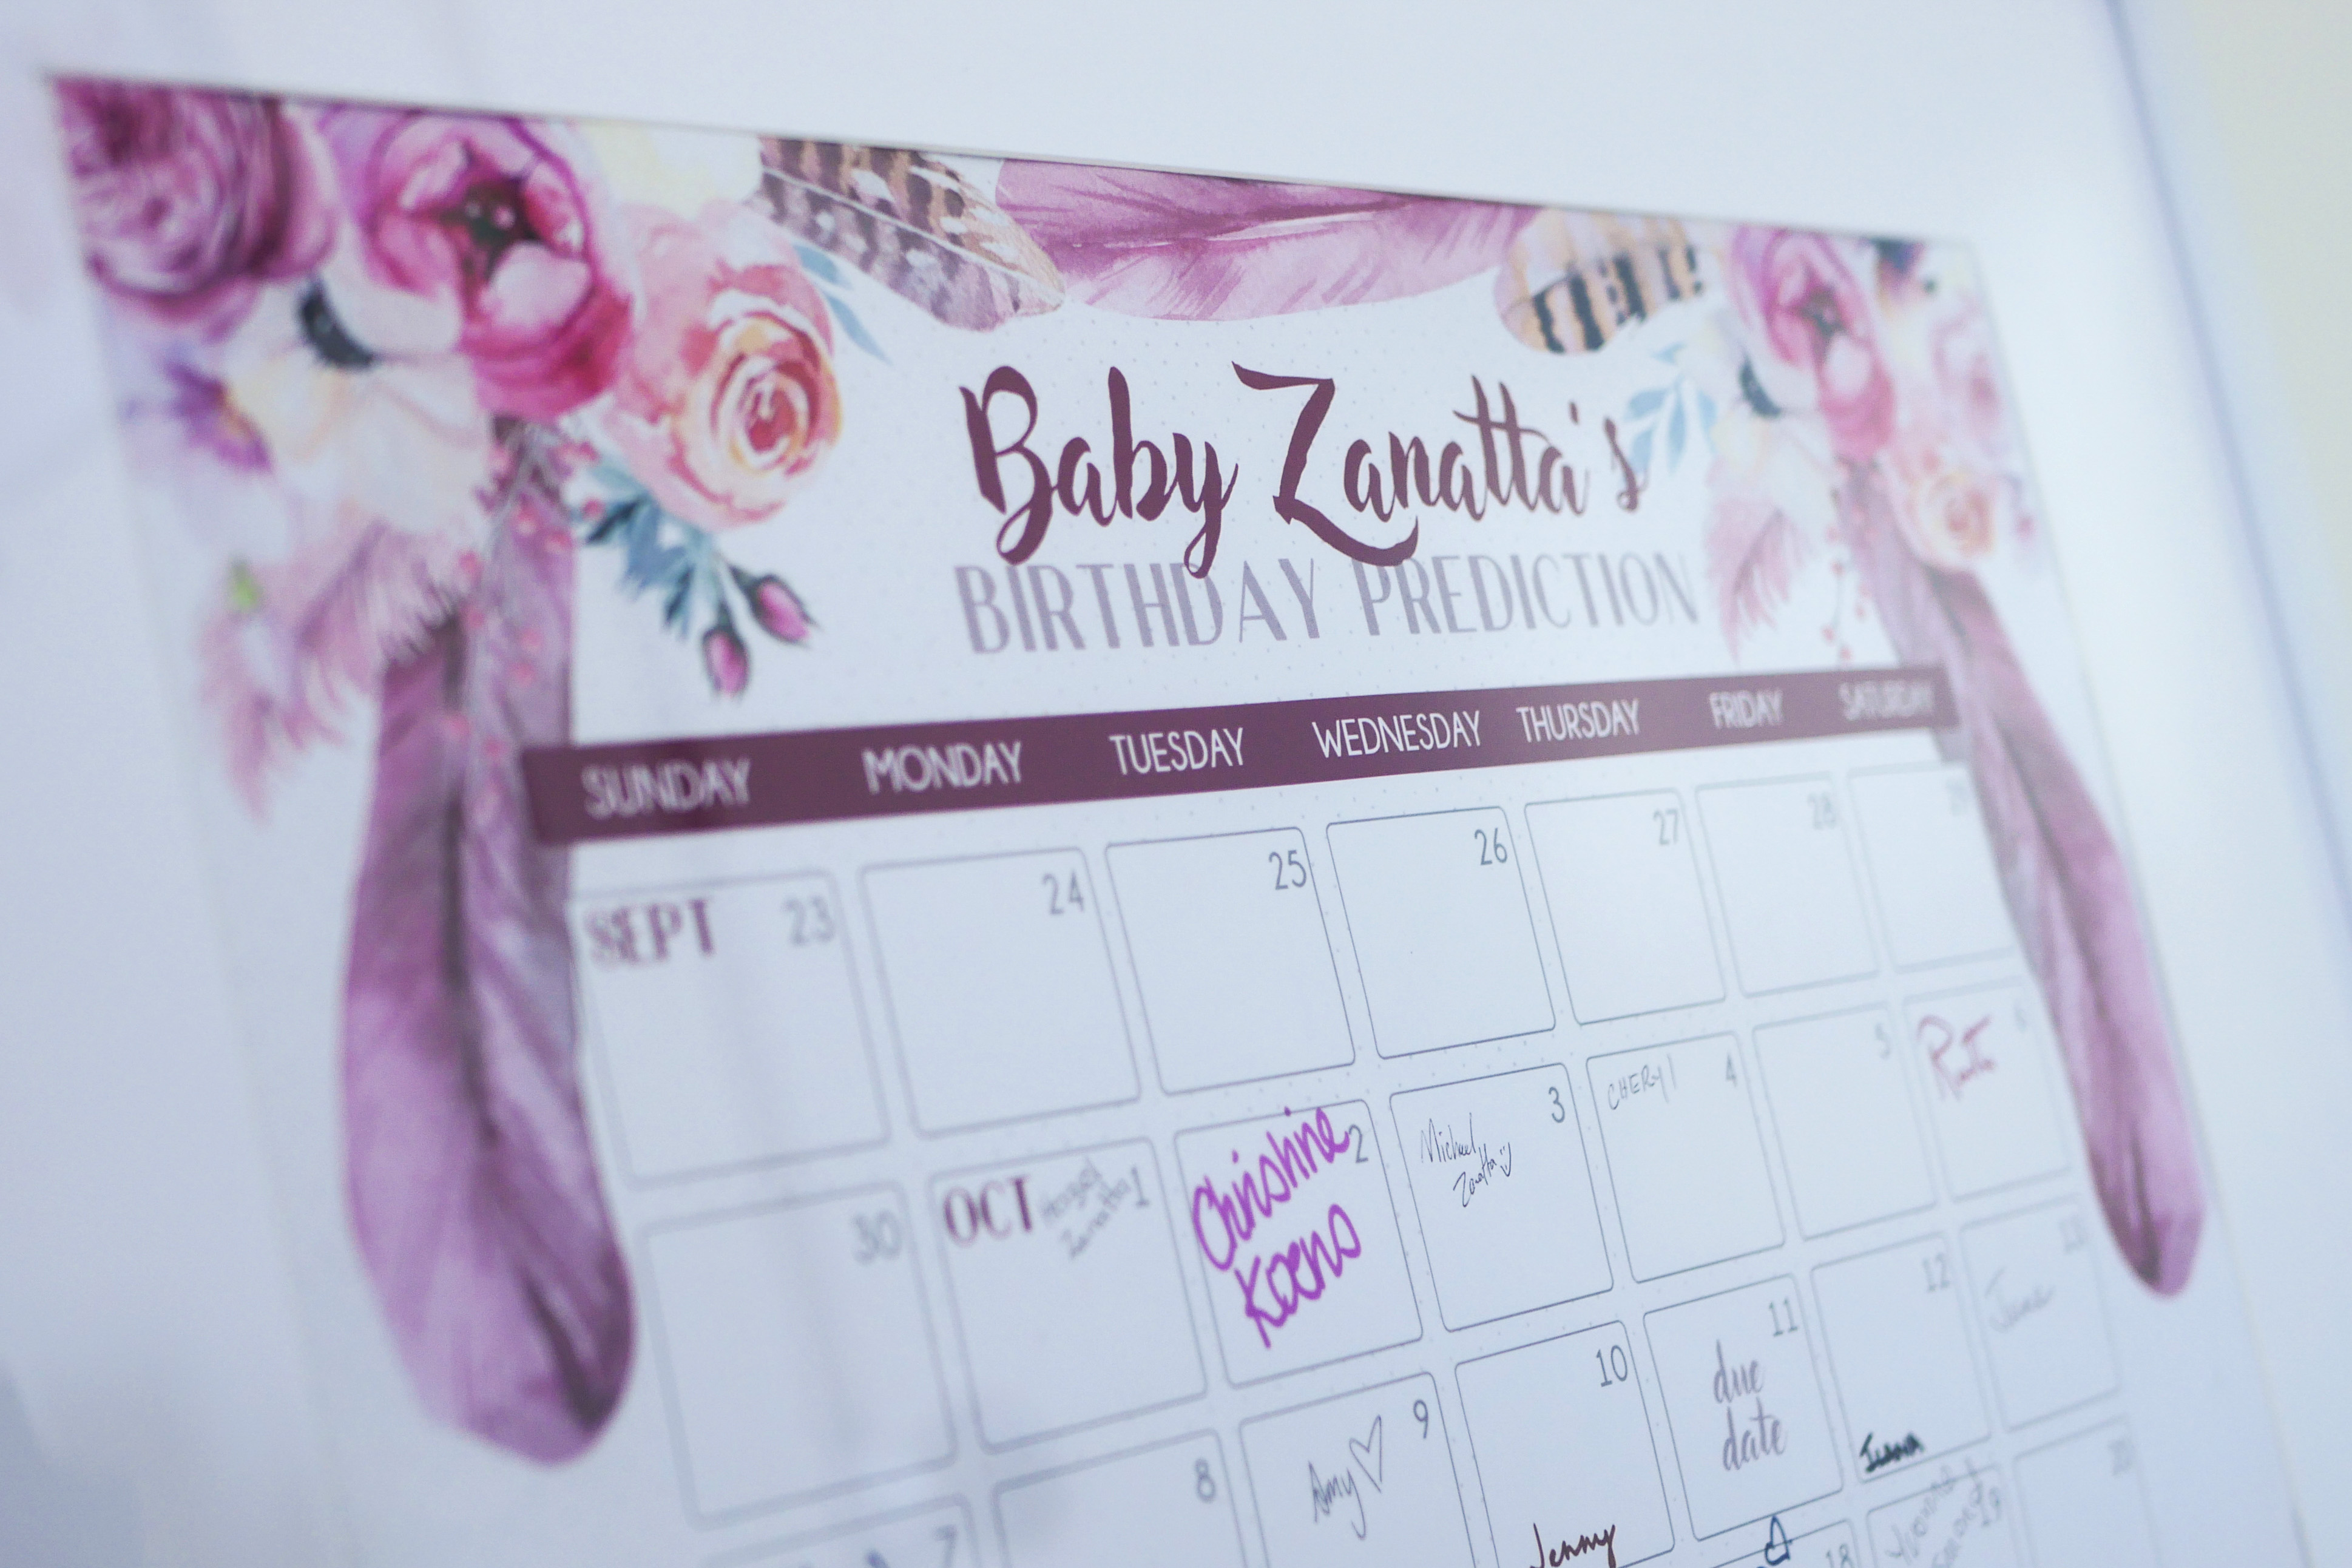
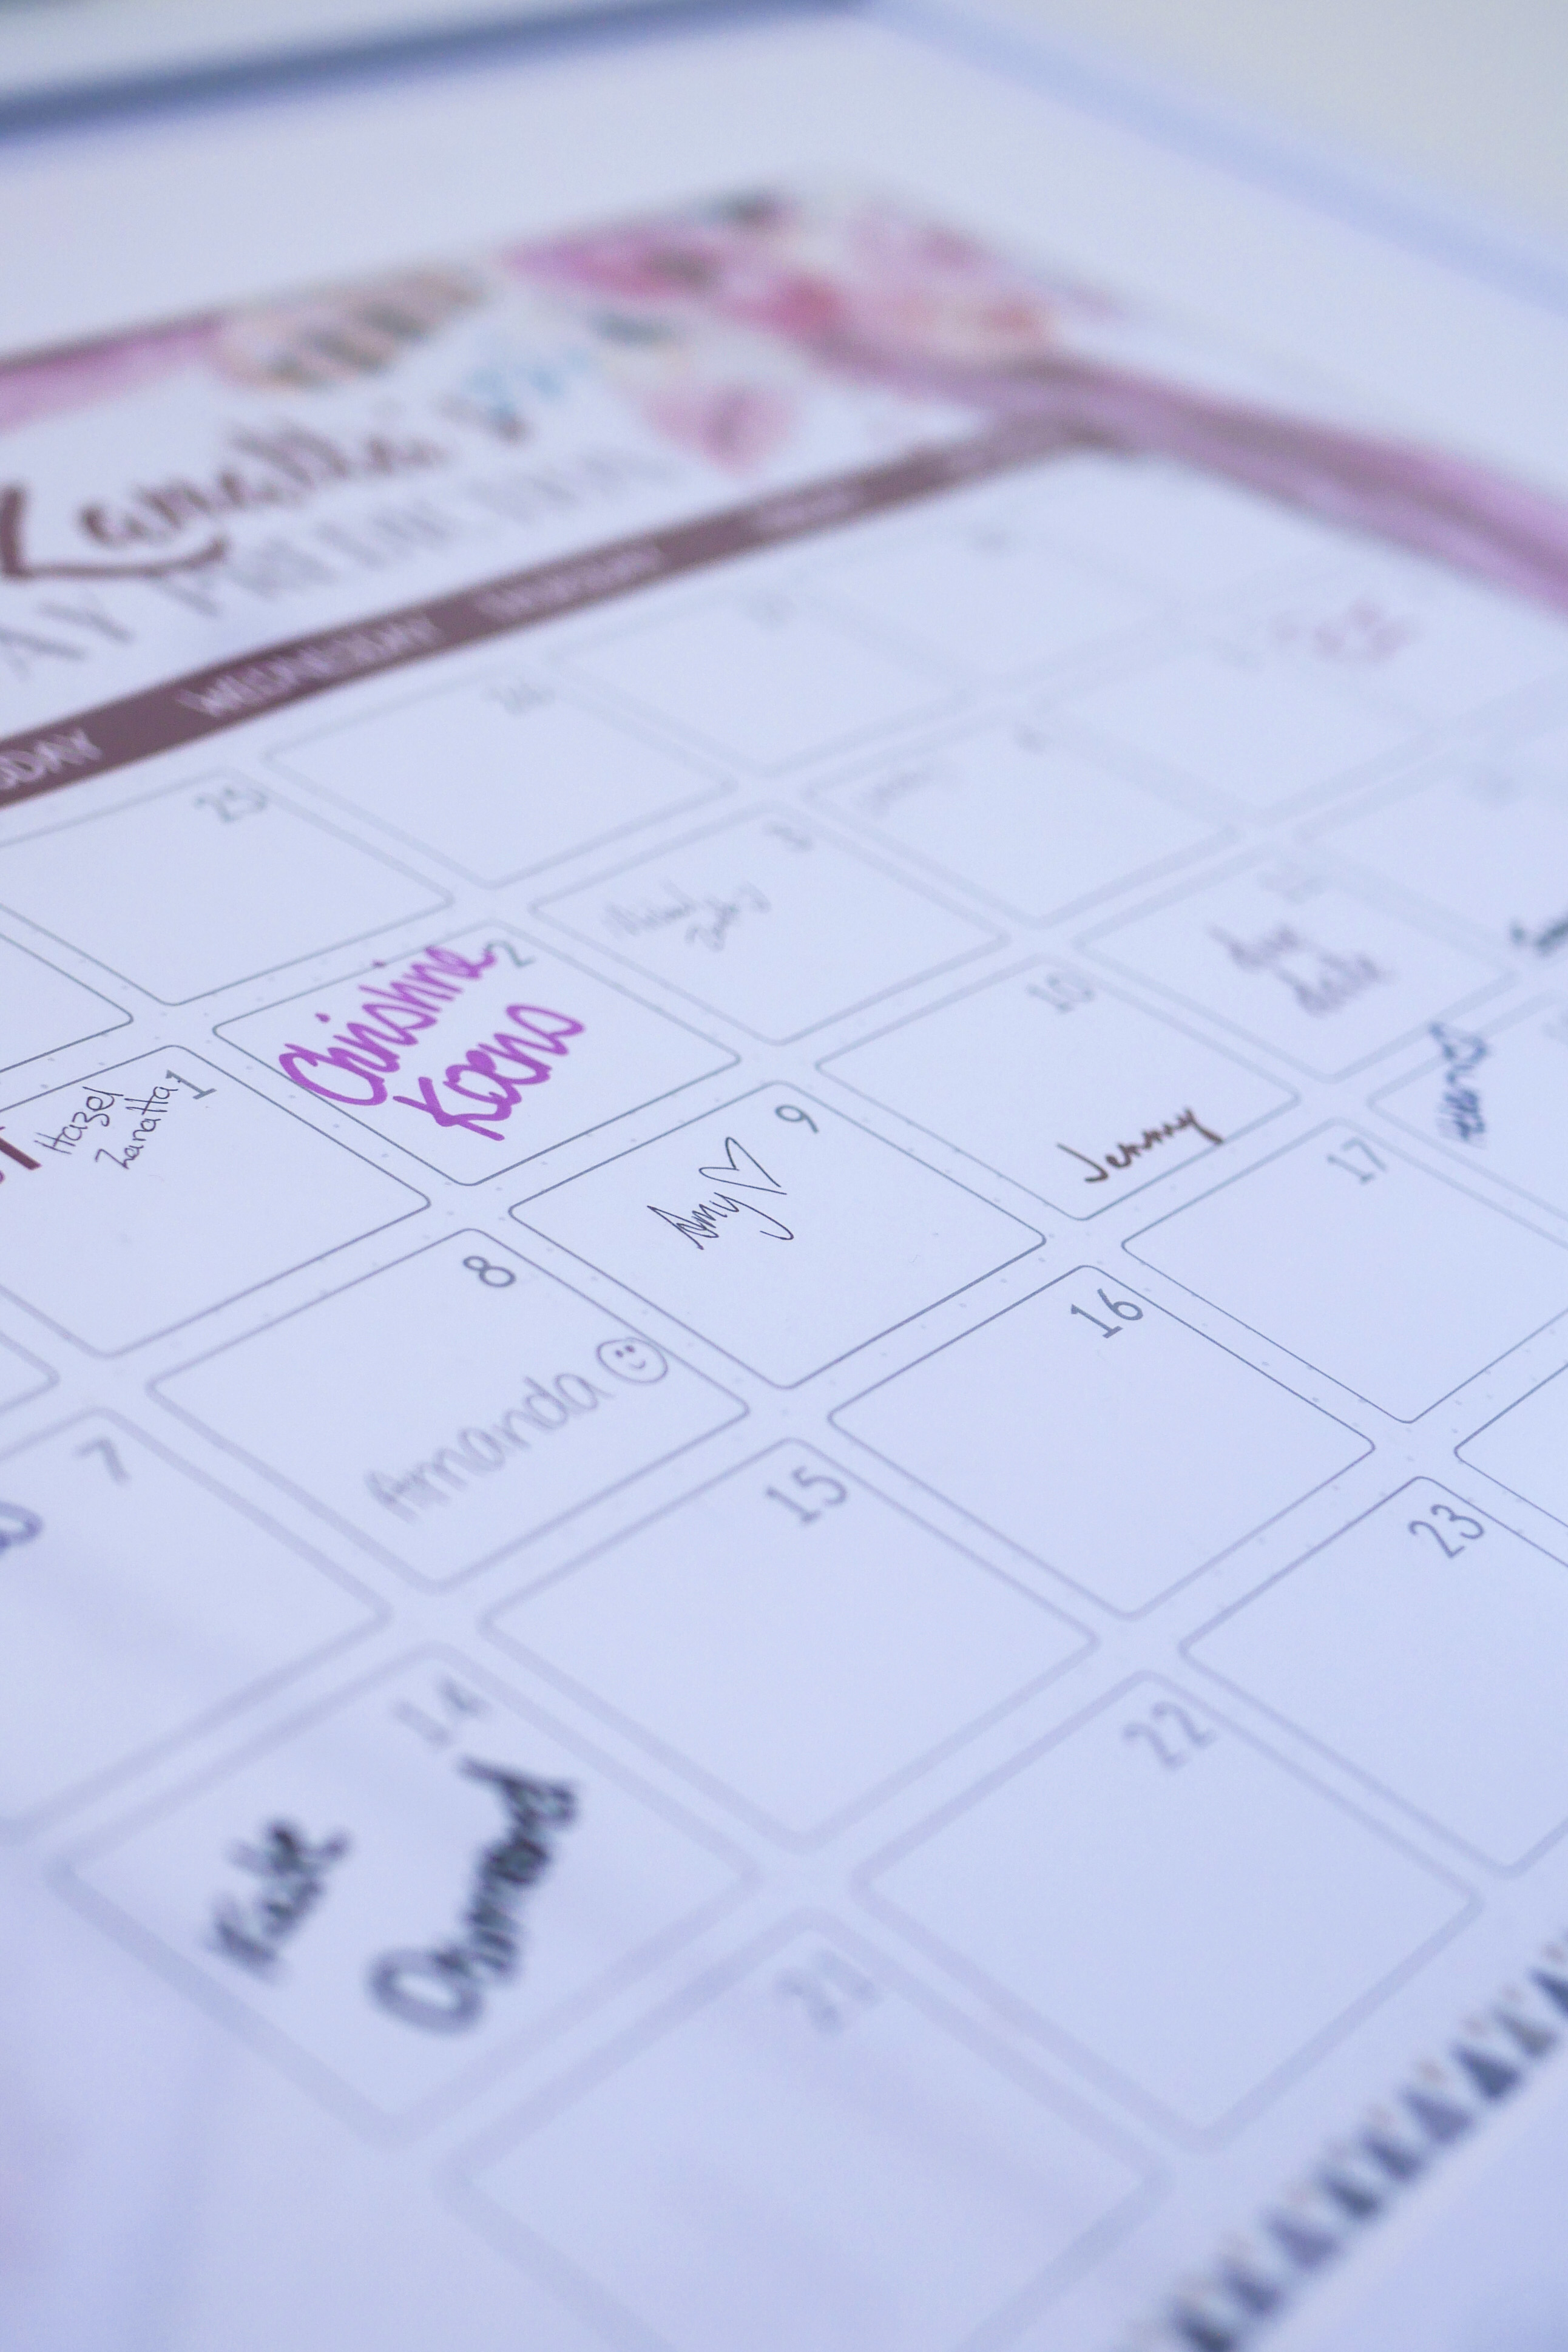
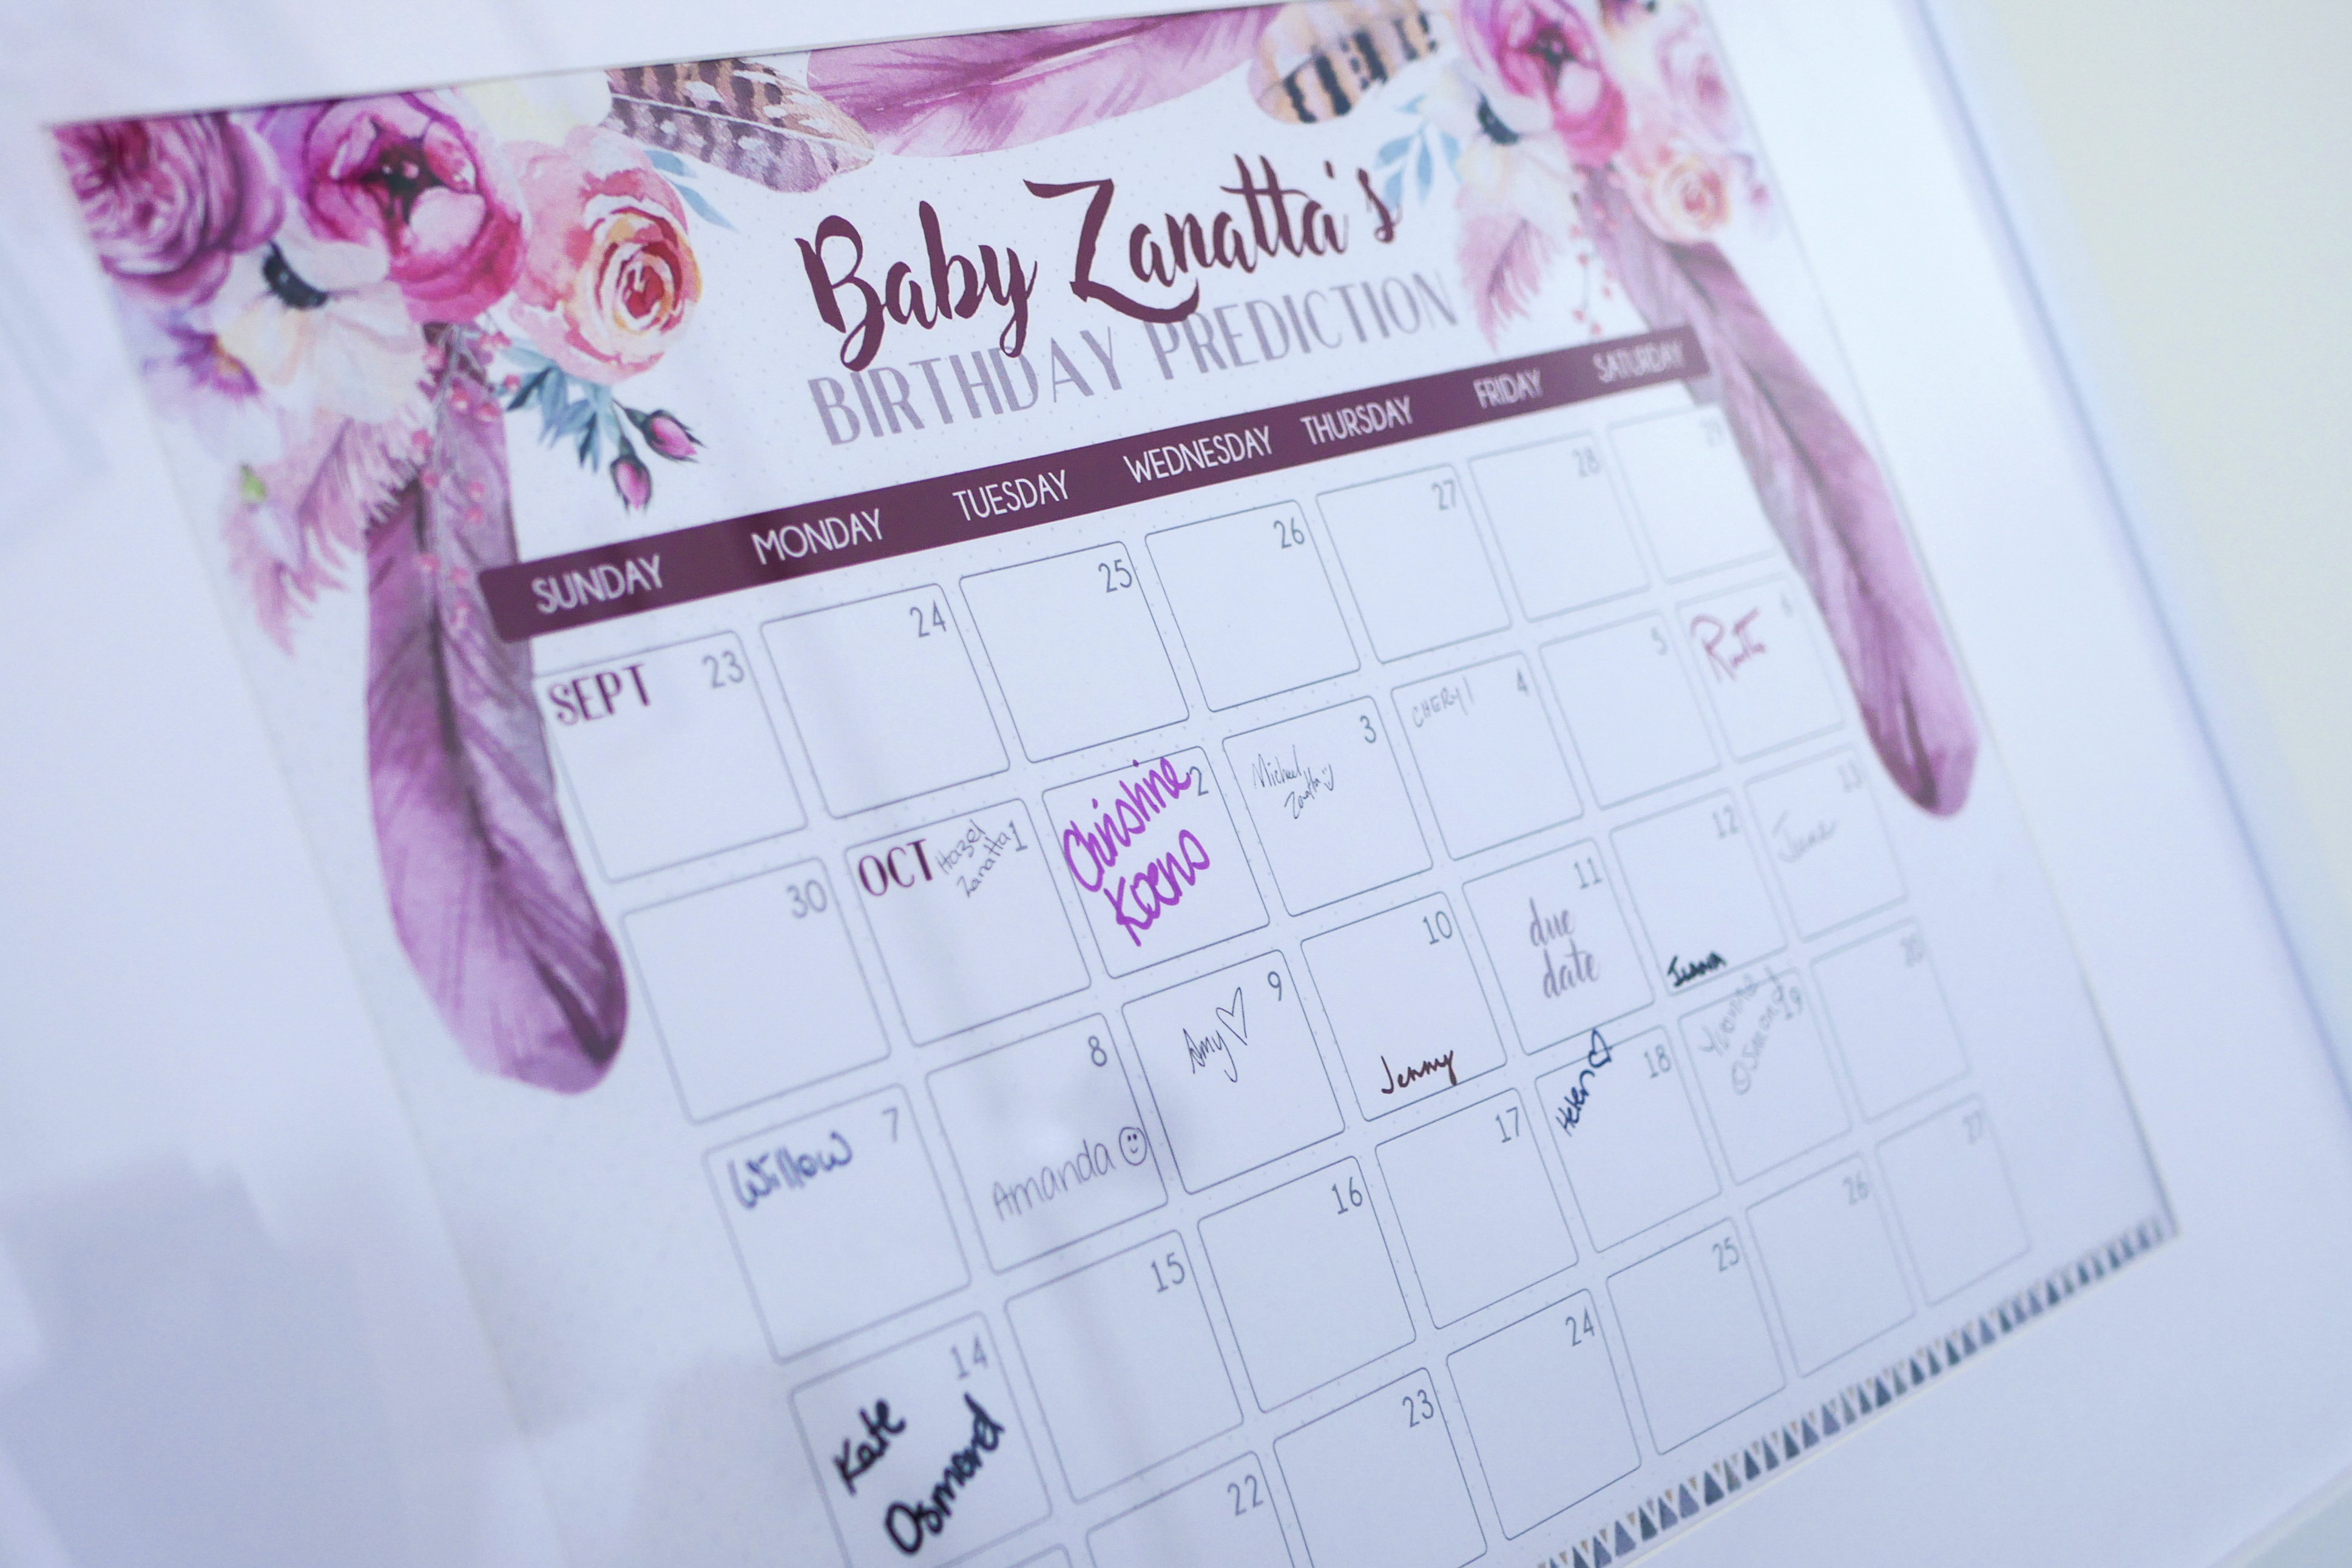
A birthday prediction calendar is another nice and simple craft that I think looks so cute added to the wall in my nursery! I printed out this full colour design at Officeworks on A3 paper for $1.38 and then framed it myself after the day with a plain white frame from Kmart. I placed it alongside the nappy messages so that guests could use the sharpies and pens I had already placed out. The hubby also wrote down his guess before I framed it.
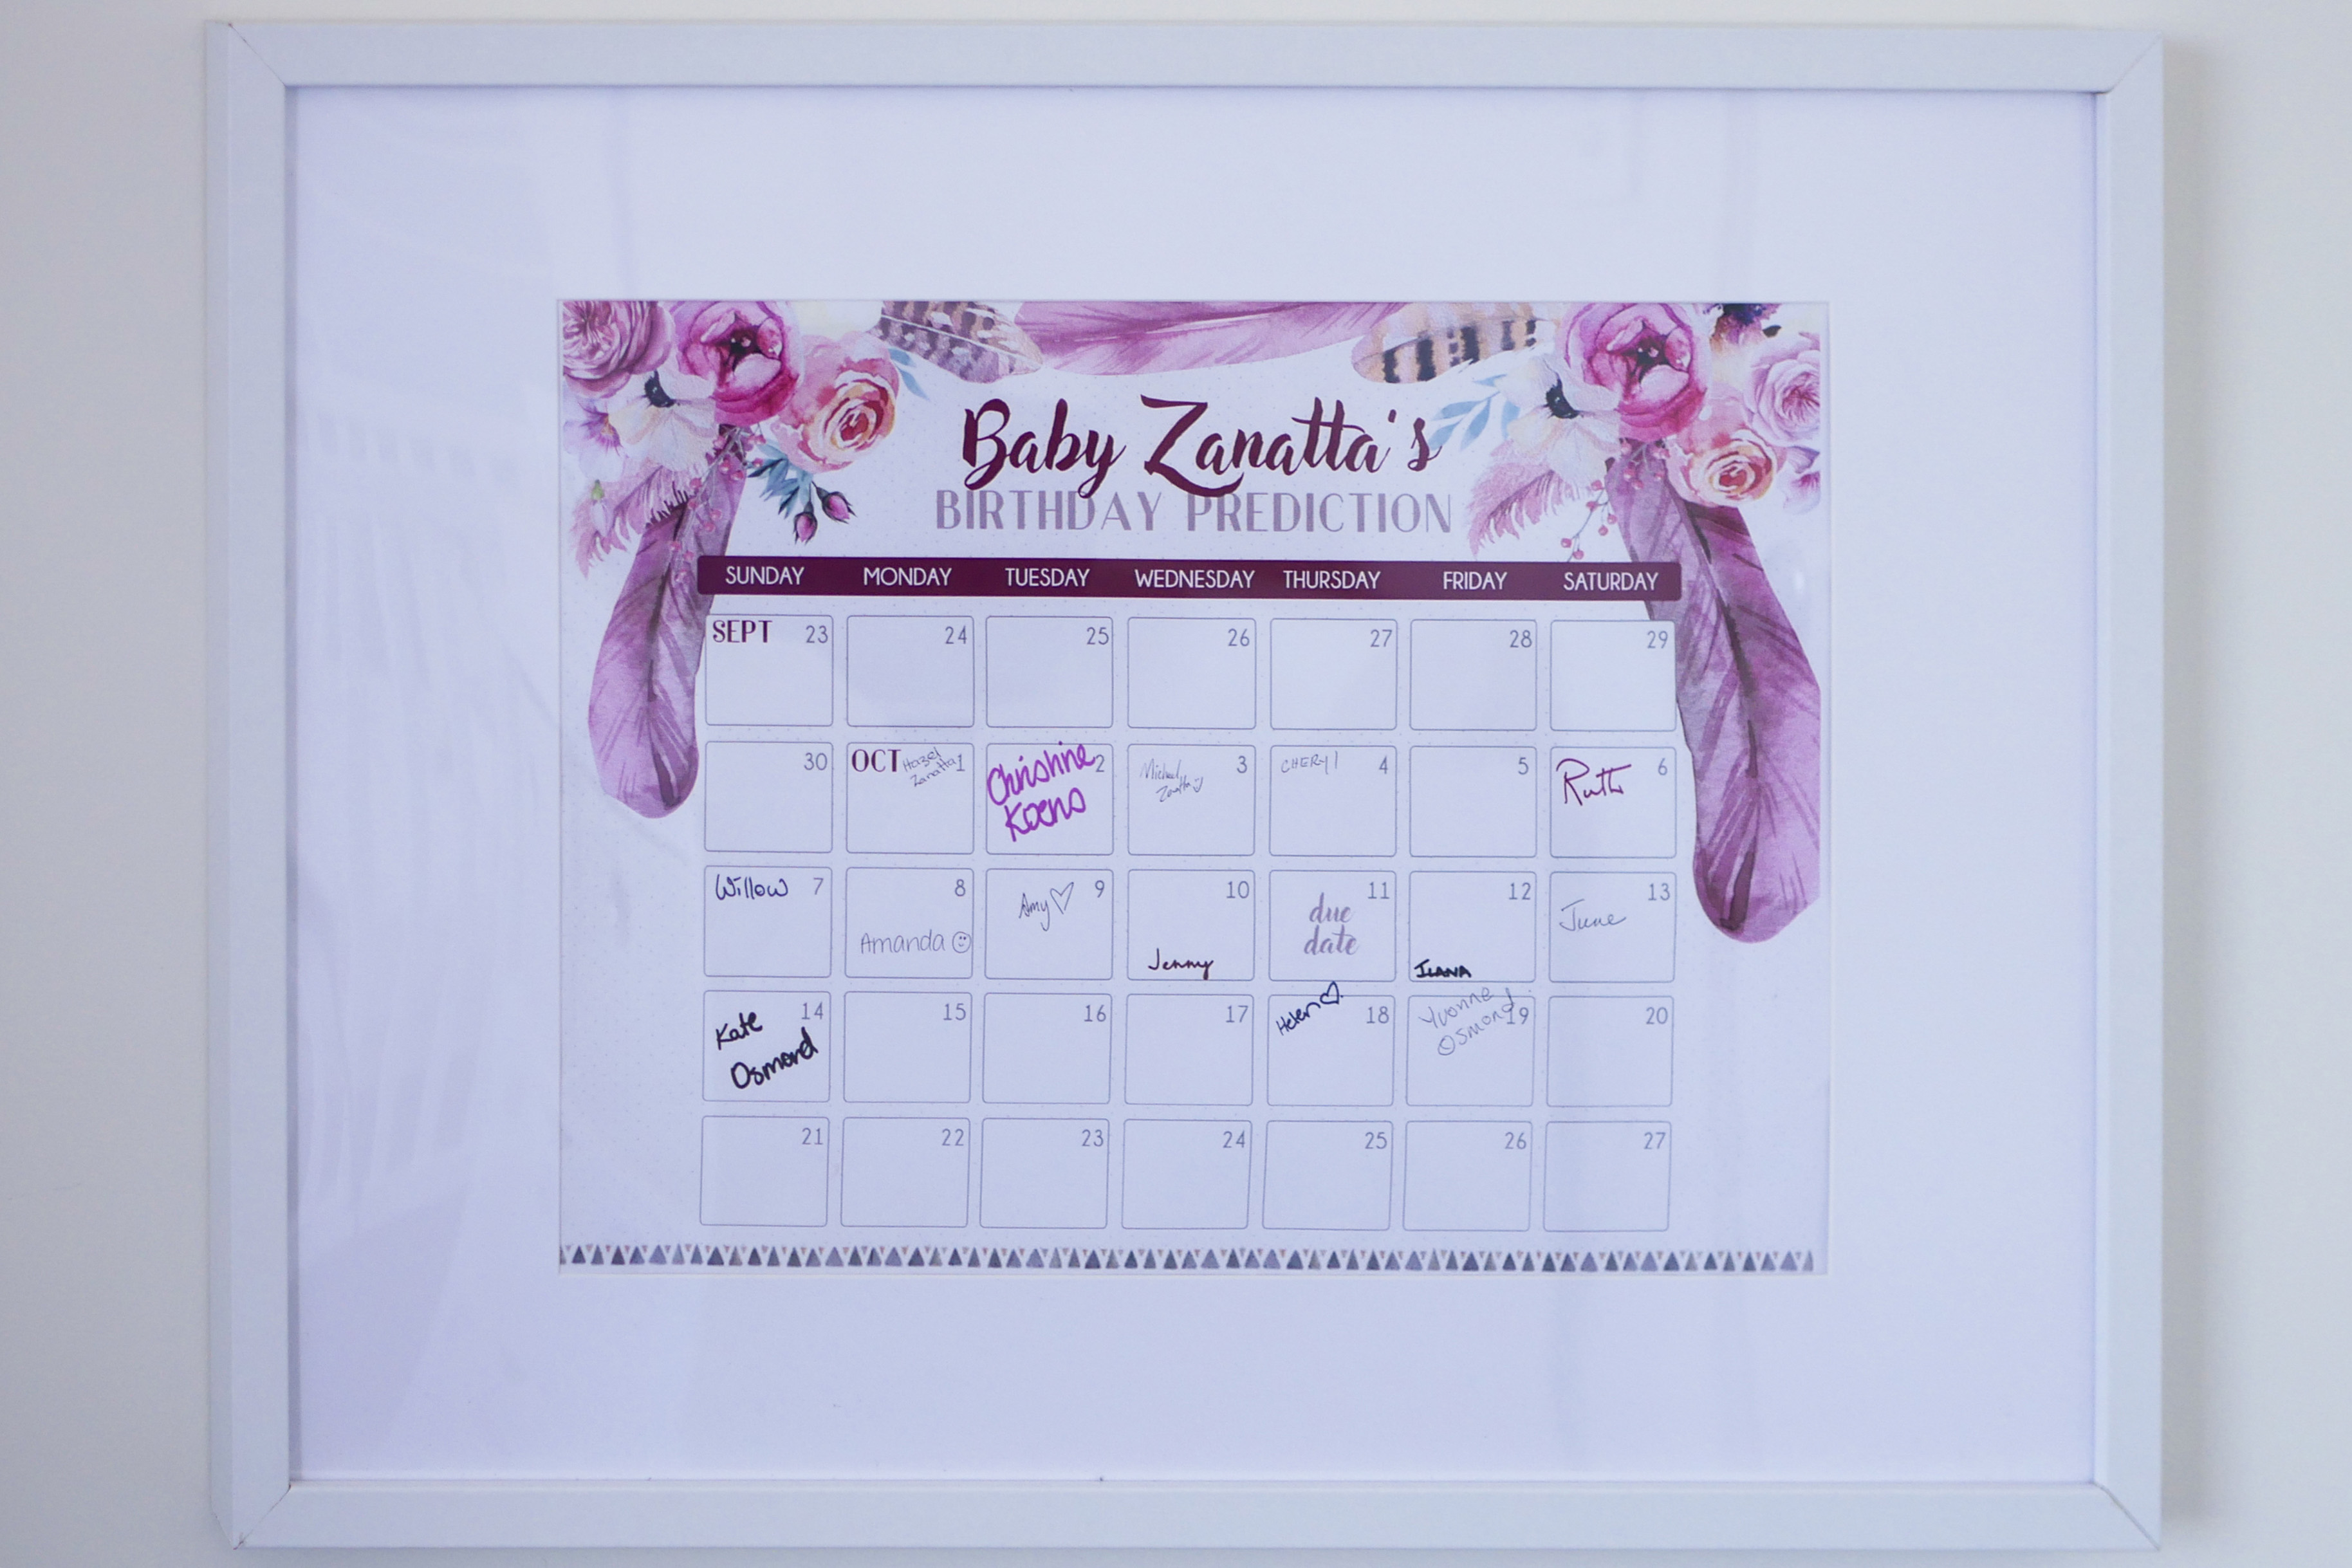
I didn’t place out any instructions for filling this out and guests managed to work it out alright themselves. They also stuck to one person per day which is what I intended. If someone guesses correctly I might send them a small gift or message. We will see how I go!
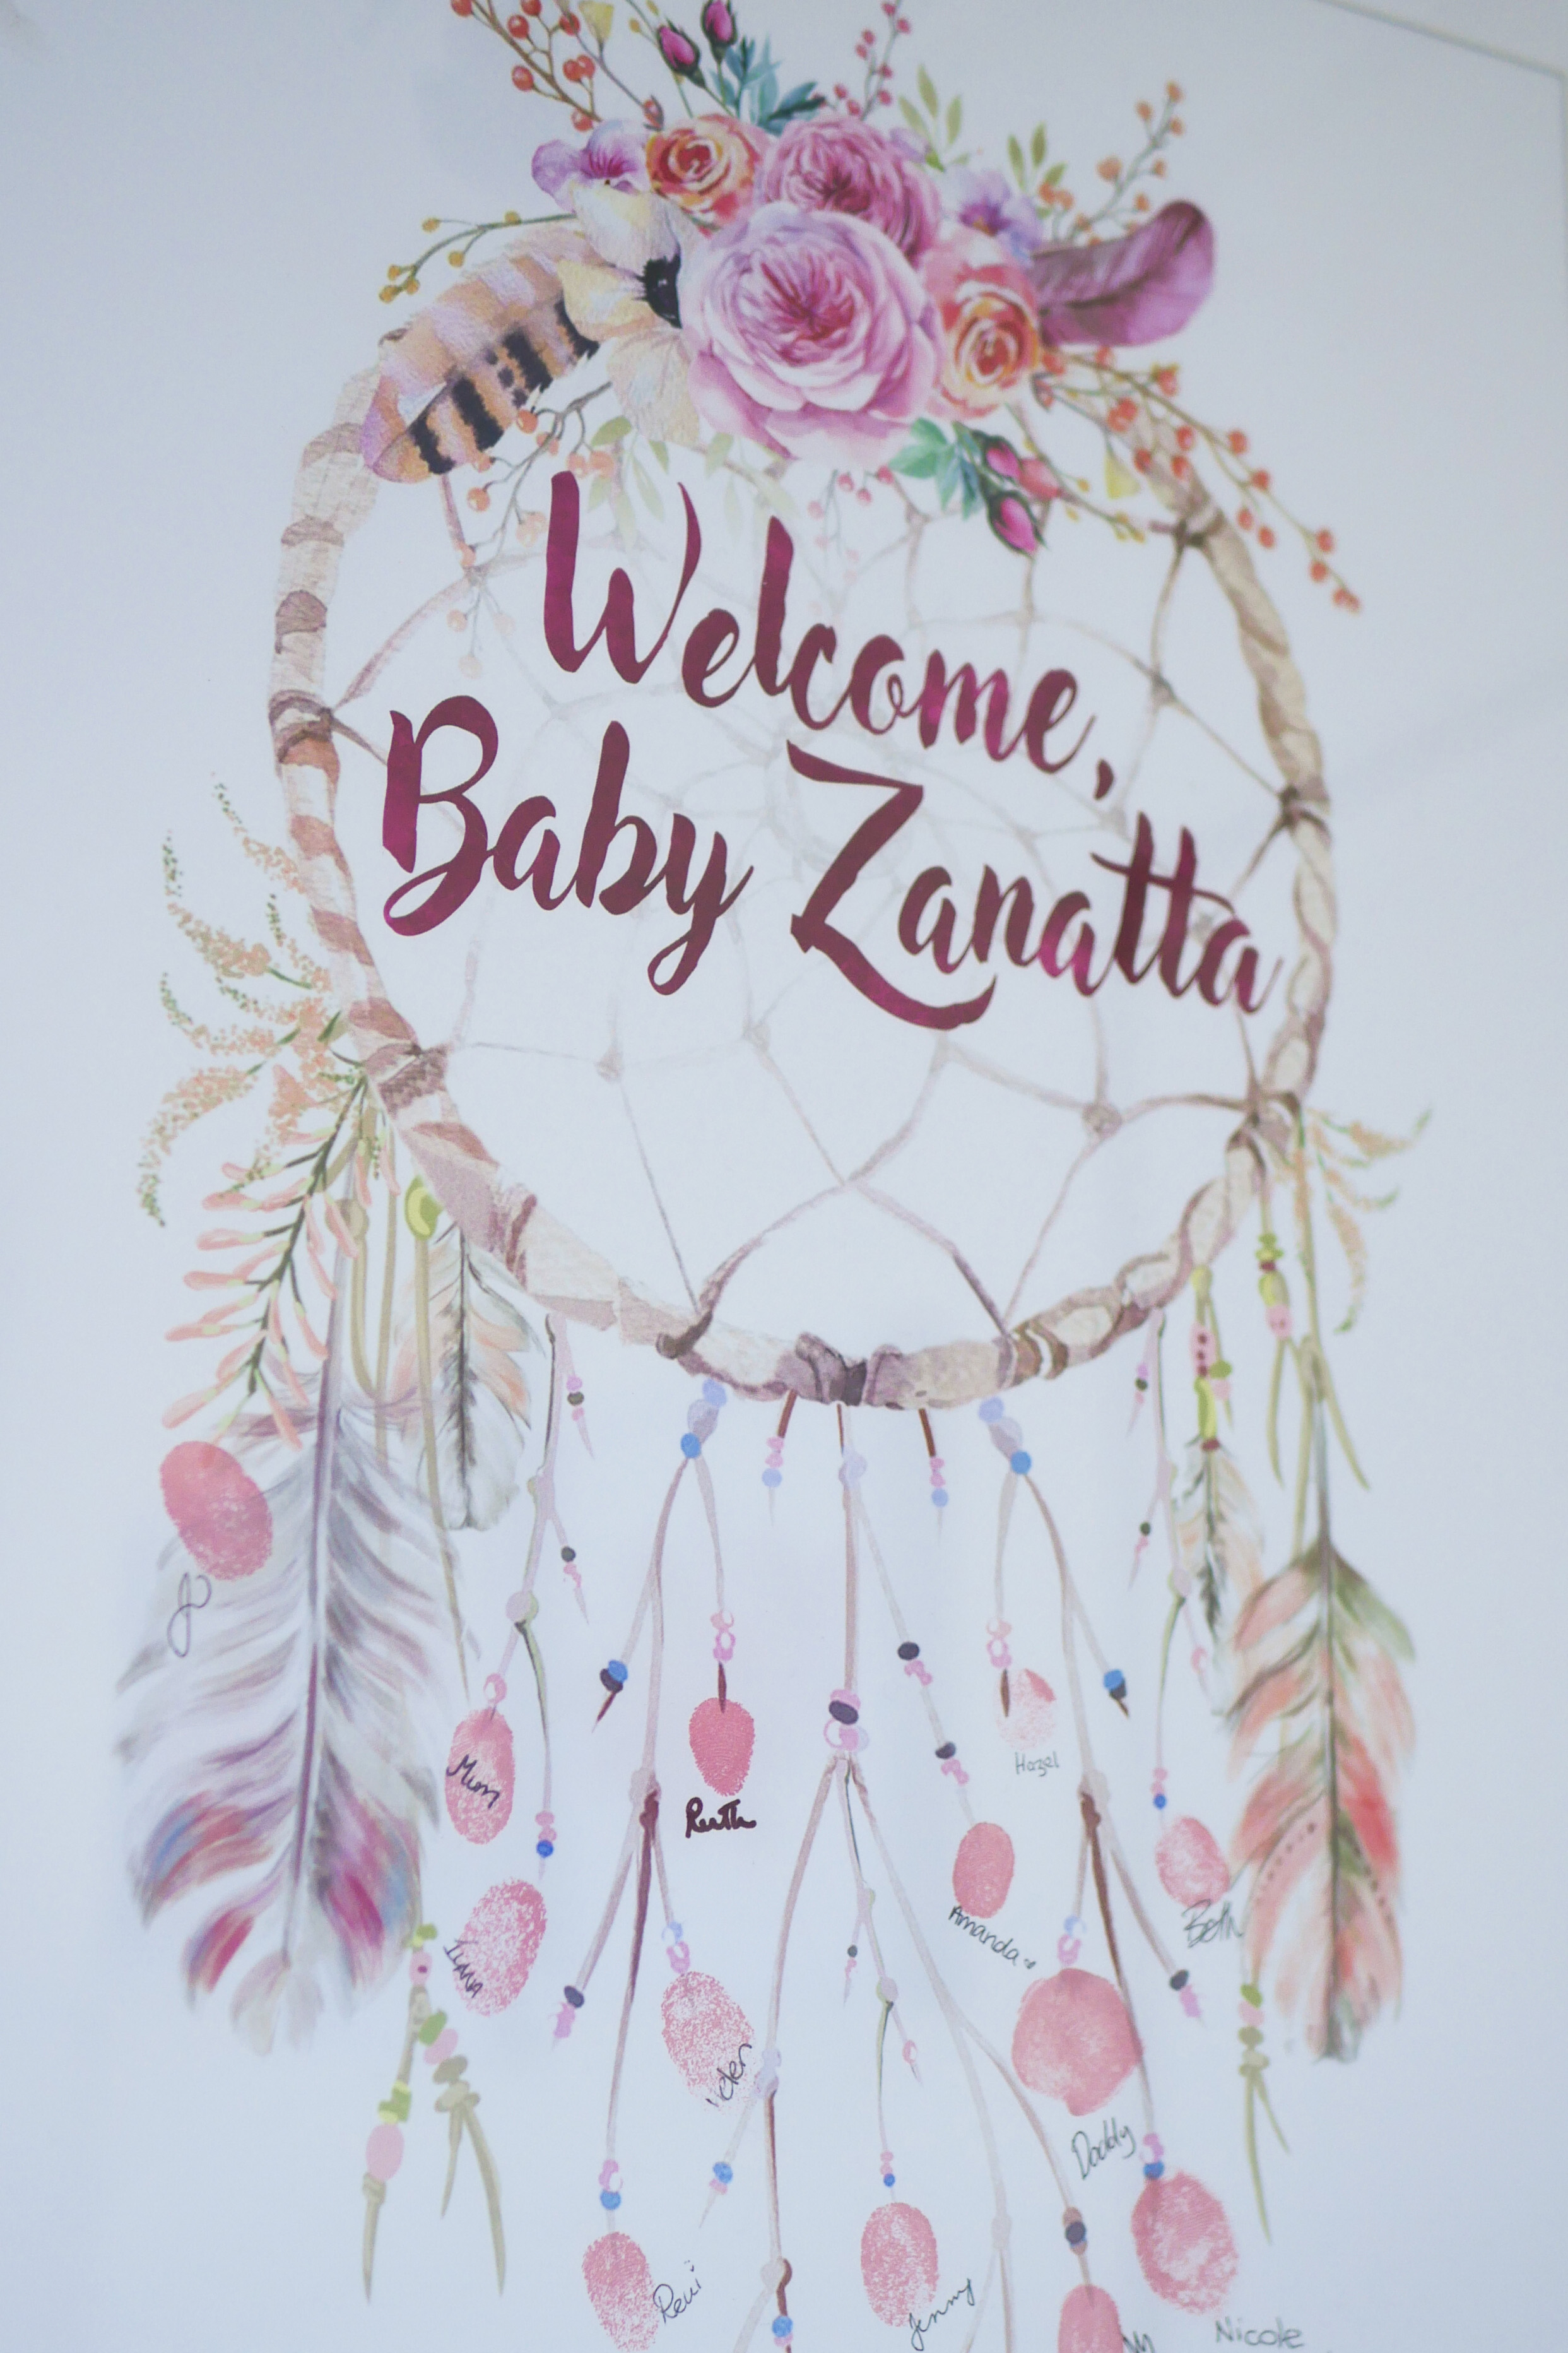
Dream Catcher Fingerprint Guest Book
I had a fingerprint guest book for my wedding as well. It was a unique way to record the names of those who attended by creating a feature artwork piece for the wall, instead of something that would just gather dust being stored away. My wedding fingerprint guest book was on the wall for years but lately it has started to fade a lot.
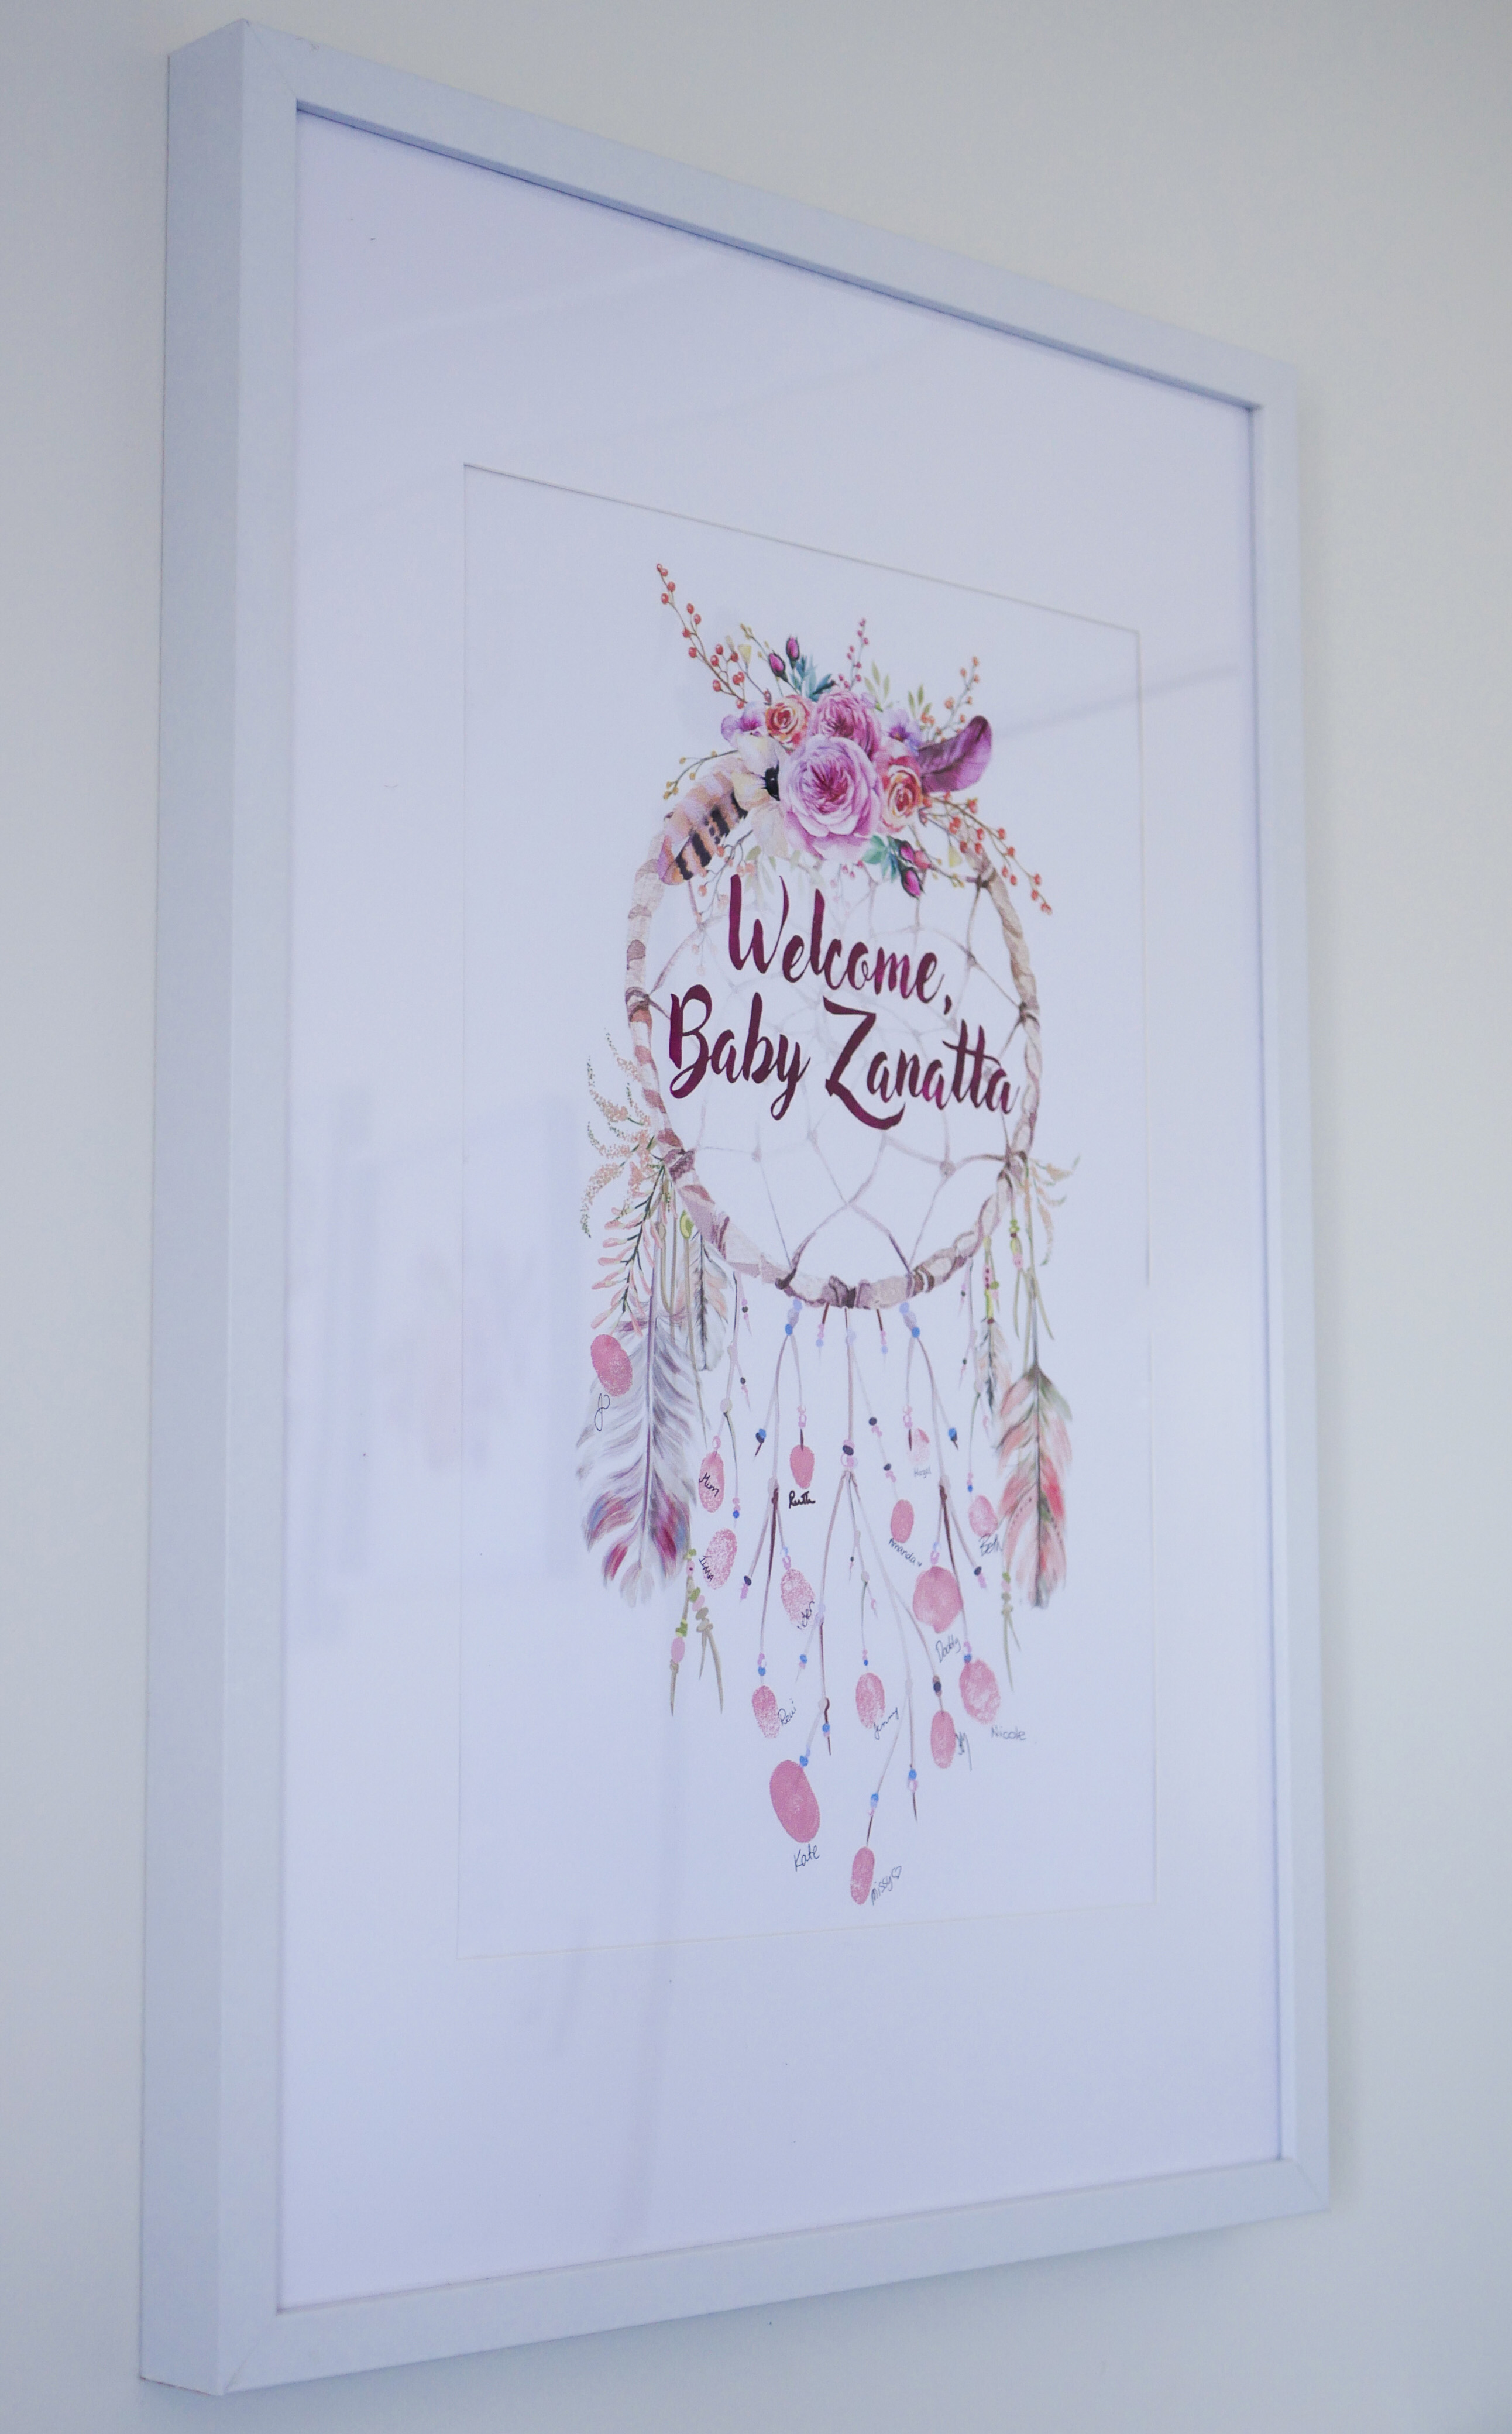 This time I made sure to get an ink pad that was fade resistant! This Versamagic Pigment Ink Pad from Spotlight for $14.99, while more expensive, had all the prerequisites to last! I also had the dream catcher design printed on A3 higher quality paper with better ink from Officeworks for $1.73. If you are going to go to the effort of creating a fingerprint guest book you may as well make sure it will last!
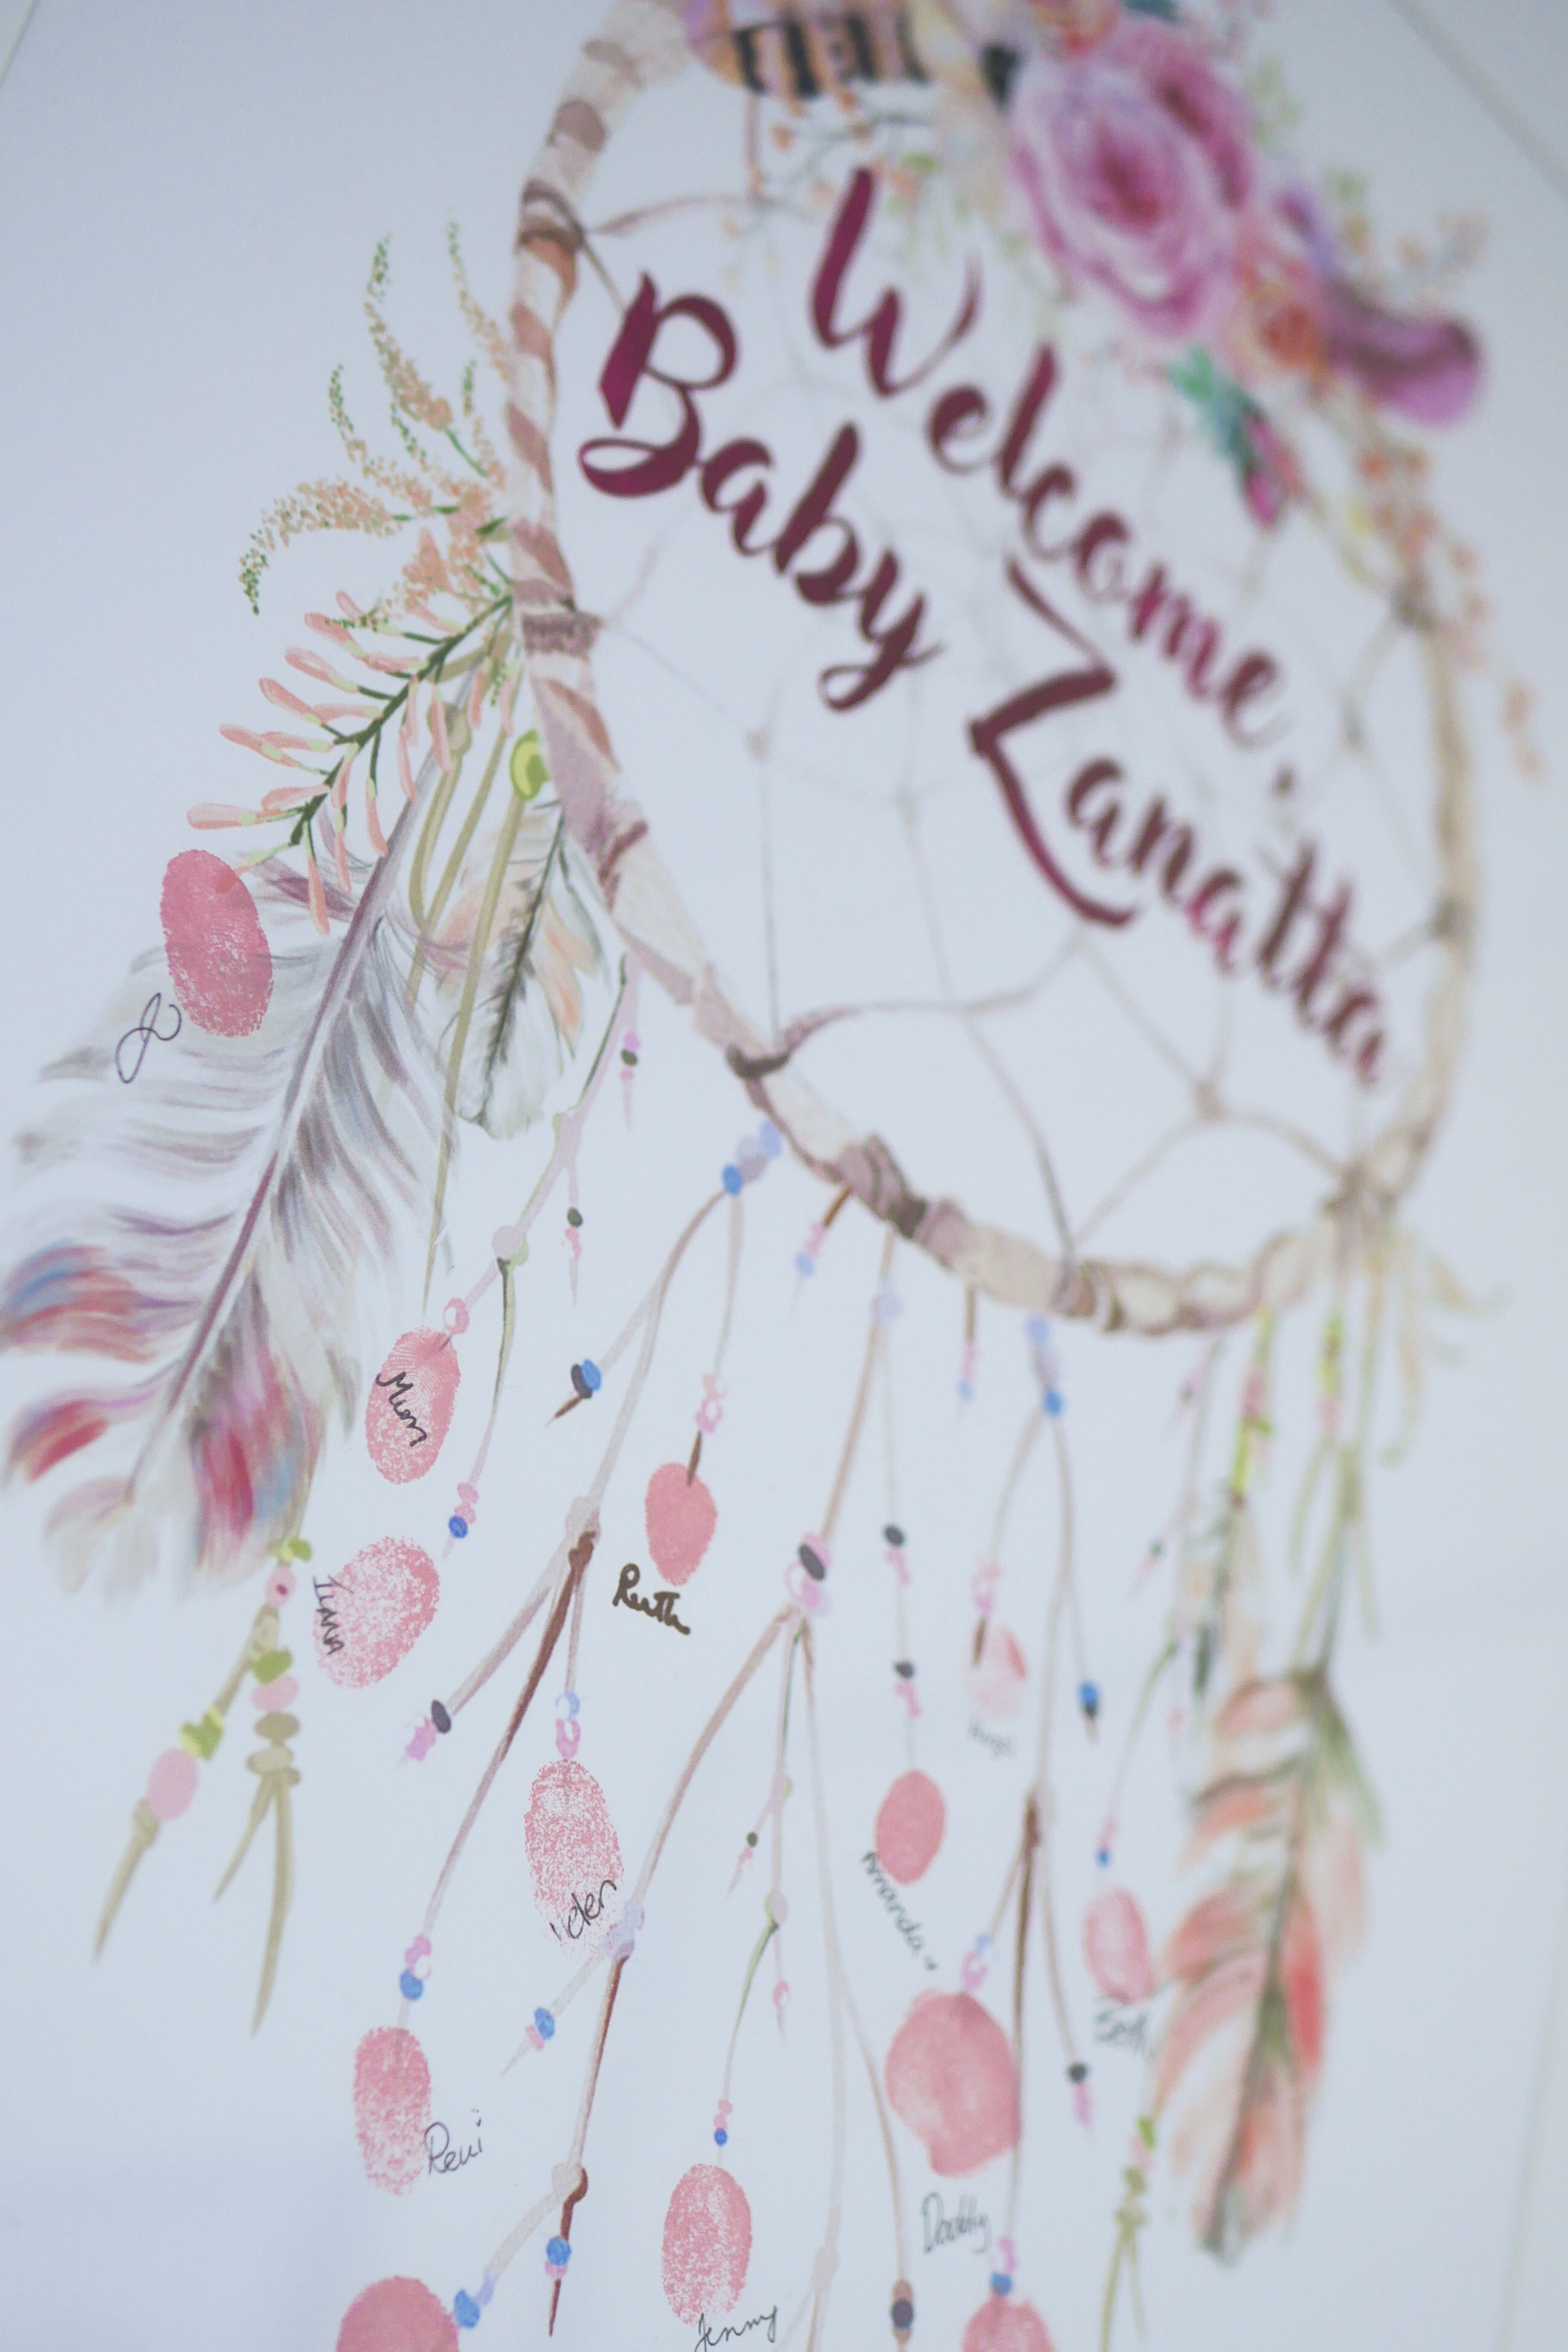
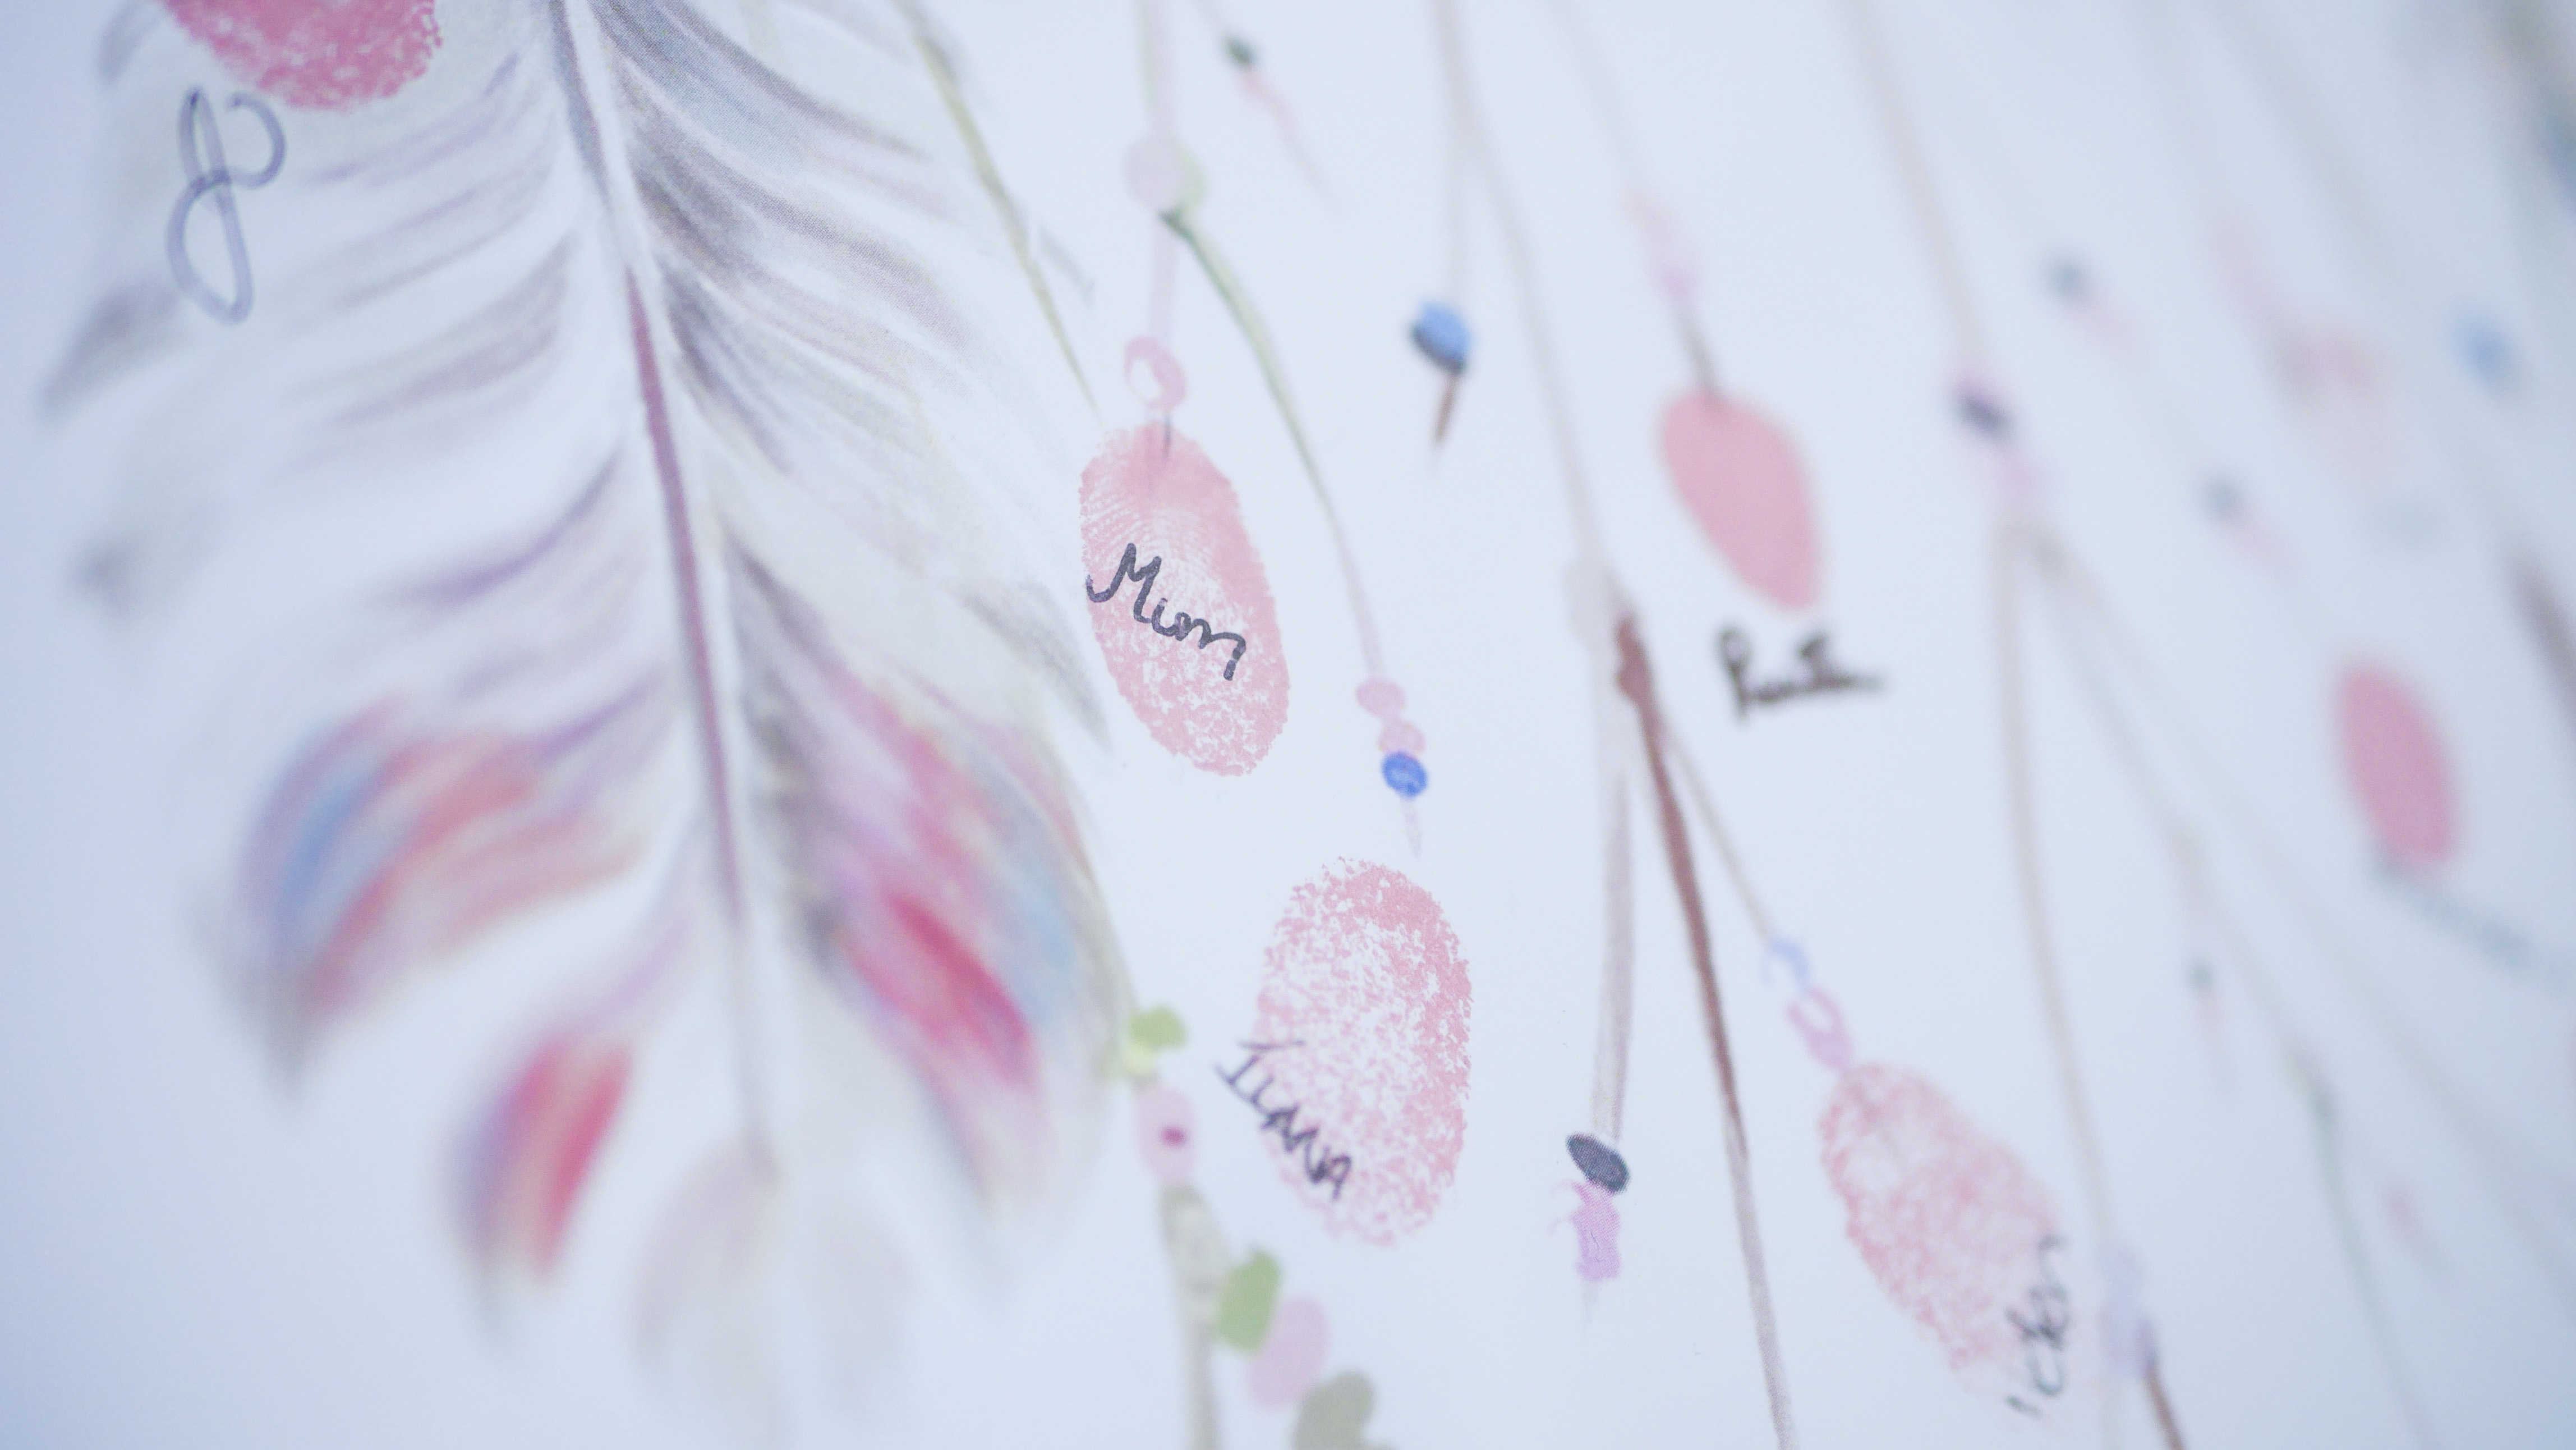
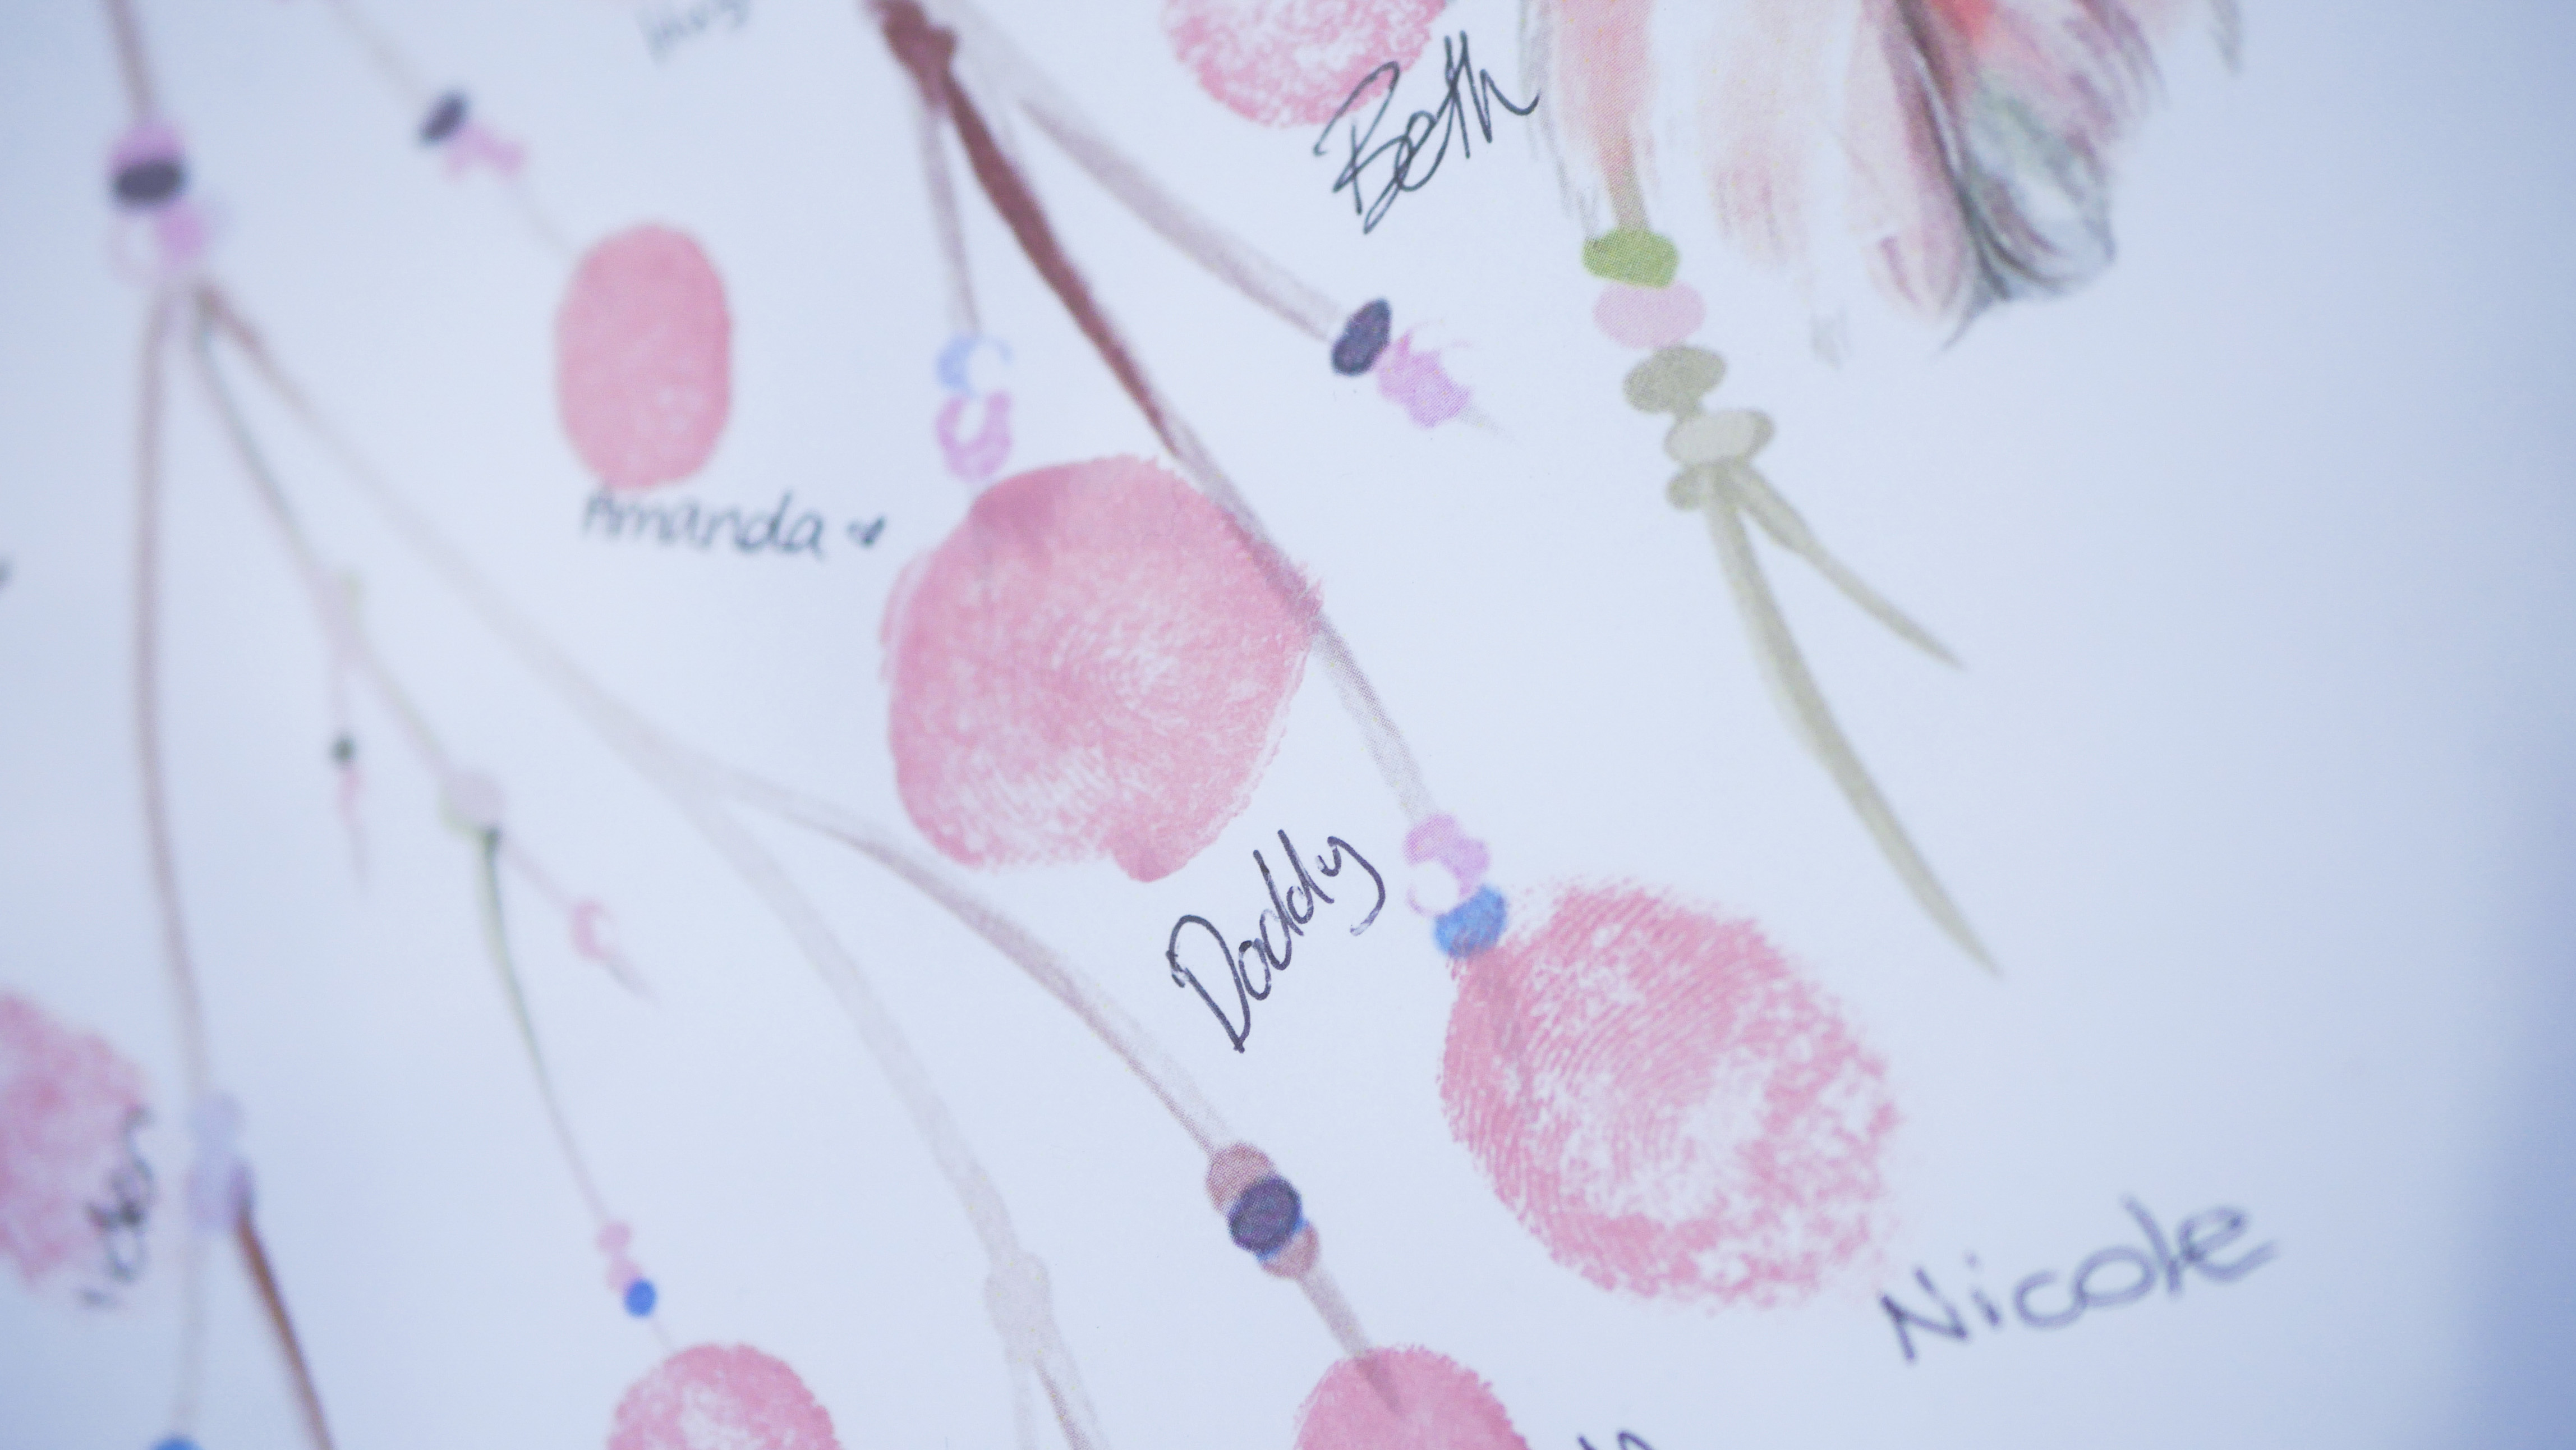
Instead of the usual thumbprint, I encouraged everyone to leave a pinky print because it was small and cute like a baby! I had paper towels ready for everyone to wipe their fingers as soon as they had left their mark. I’ve learnt though, that you really have to monitor people whenever it comes to fingerprints! There is always someone who manages to smear ink all over the corner of the page!
I was rather sad to see that only about half the people at the baby shower actually left their prints though. I should have put one of my close friends on fingerprint duty to wrangle everyone into doing it! Before framing I had the hubby leave his fingerprint too! I also should have known he would leave the biggest most messiest print possible! Aah! What will I do with him! I used the same matching white photo frame from Kmart as the birthday prediction calendar and hung them together on the wall in the nursery.
Headband Making Station
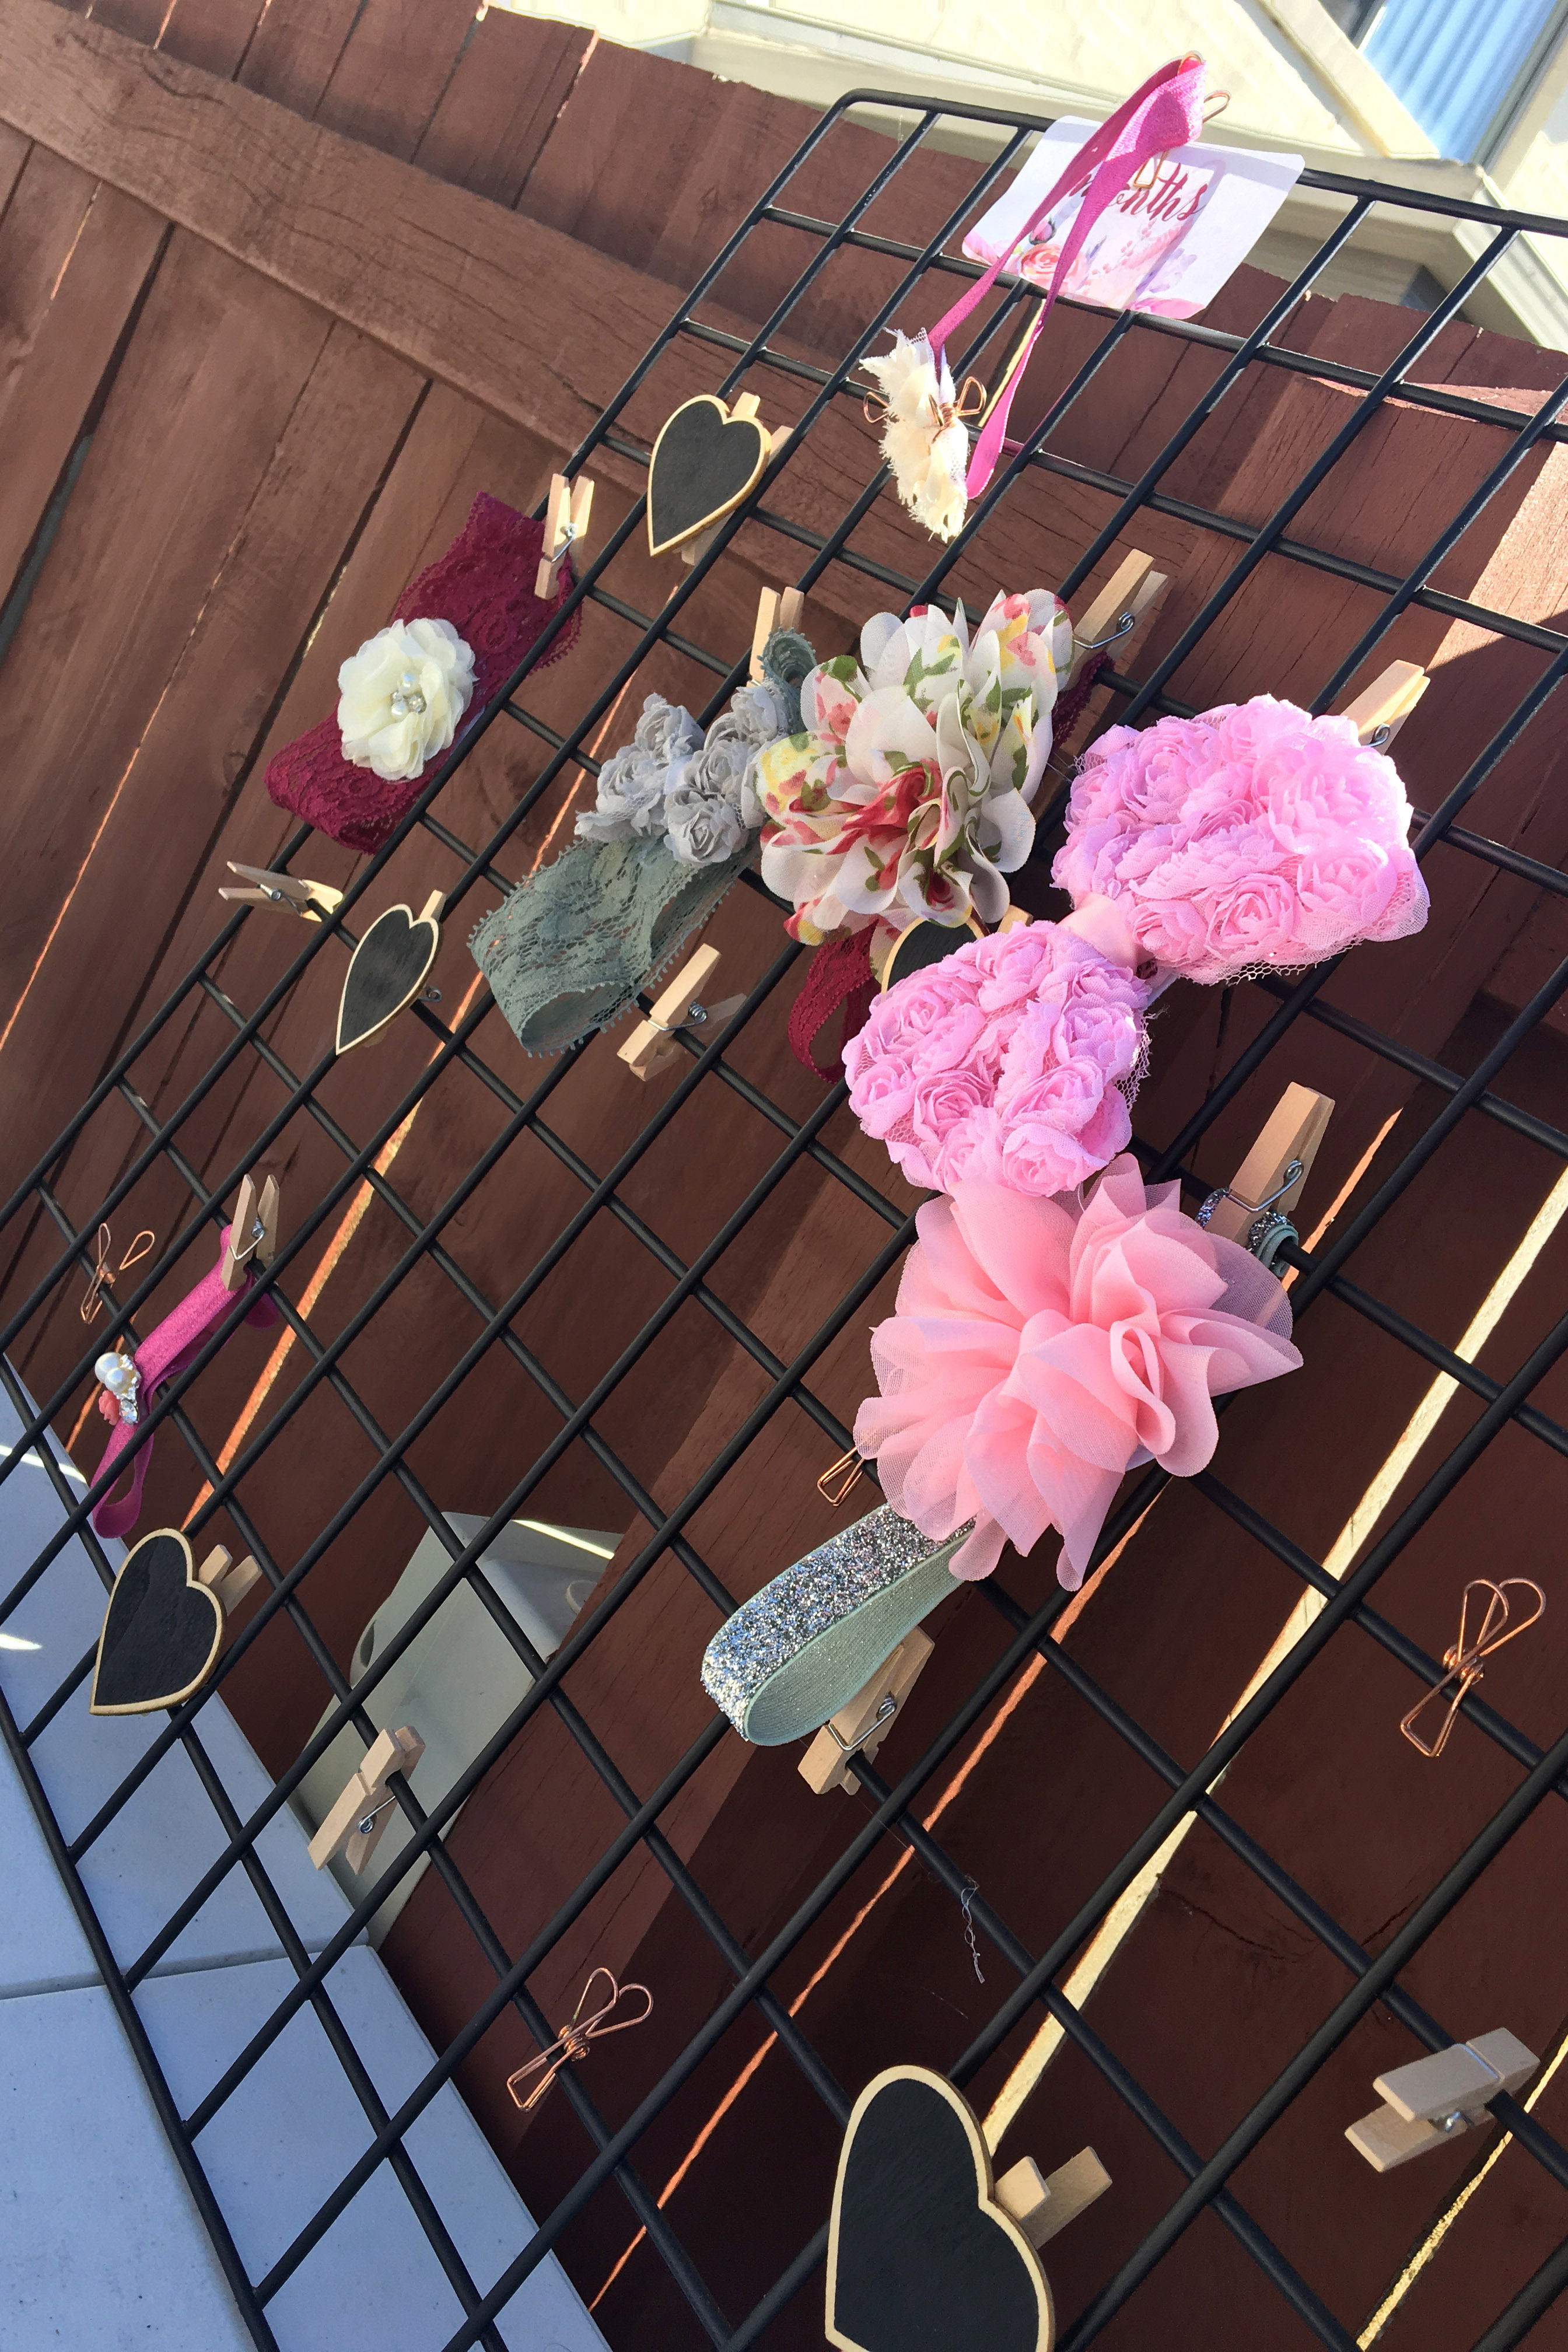
The headband making station was one I definitely knew I wanted to include for my baby shower! How cute and girly is this idea! I started off by looking into buying bows, ribbons, elastics etc. separately myself from first Spotlight then some online specialty ribbon and bow stores and even through eBay. It turns out it was by far cheaper and easier to get a headband making kit! They come with everything you could possibly need in matching colours including the various elastics, bows and embellishments and even felt circles to glue onto the back of the headband to protect your little ones head from irritation from the hot glue.
There are a lot of good ones on eBay but I ended up going with the Victorian Rose set from Pampered Princess Pretties. They are an online store from the US but even with postage included they seemed like the best value and fit for me. These sets can make 22+ headbands depending on which sizes you go with. I was expecting about 25 people so I wanted enough headbands for everyone to make at least one. This wasn’t necessary though as less than half the guests made a headband in the end. A set with less headbands included would have saved me money and more than sufficed. I ended up having to make the rest of the headbands myself. My little girl will never be wanting for cute head-wear though!
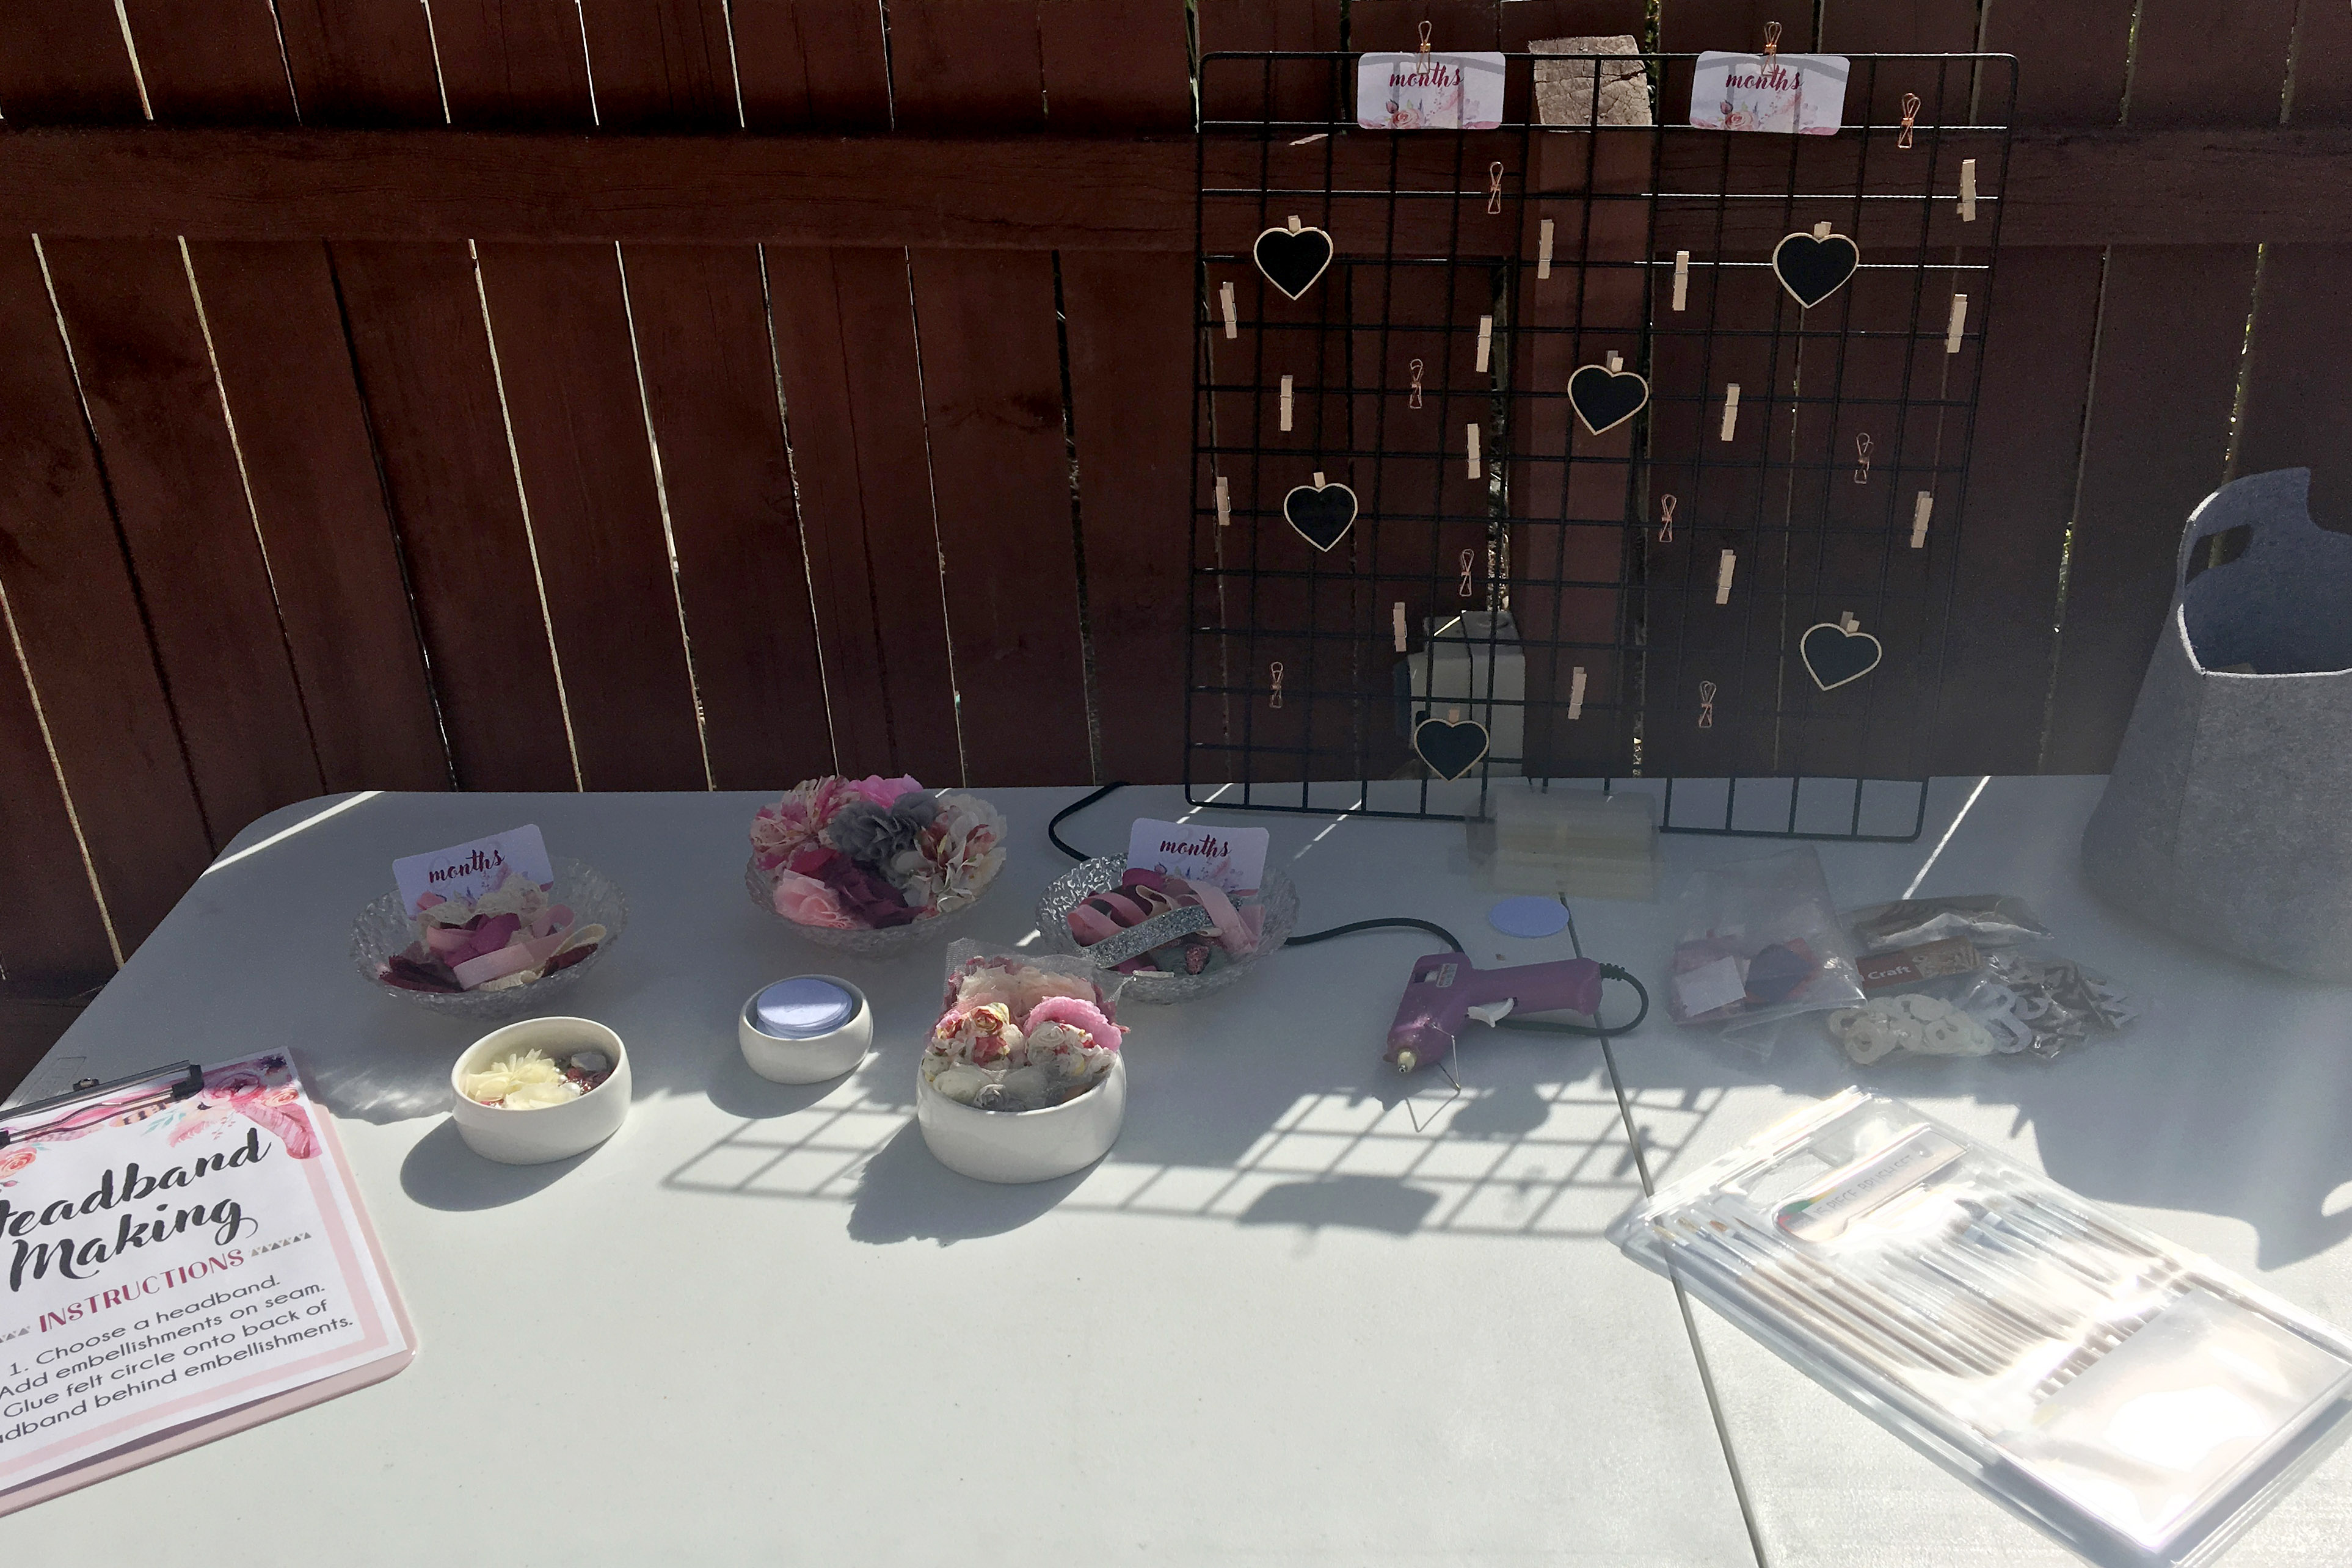
To make sure I got a good range of sizes, I cut the elastics and sewed them together in various sizes before the day. I also wanted to make it easier for the guests on the day. Sewing the headbands isn’t necessary. If you aren’t crafty, you can just hot glue them. The size recommendations for each age group are included in the set. Once you’ve cut the elastic pieces to size, the instructions recommend running the ends of the elastic through a candle flame. This will seal them and prevent them from fraying. This causes some discoloration on the ends though and it doesn’t really work with the lace ones. No matter how you secure them together it should all get hidden under the embellishments once they are finished.
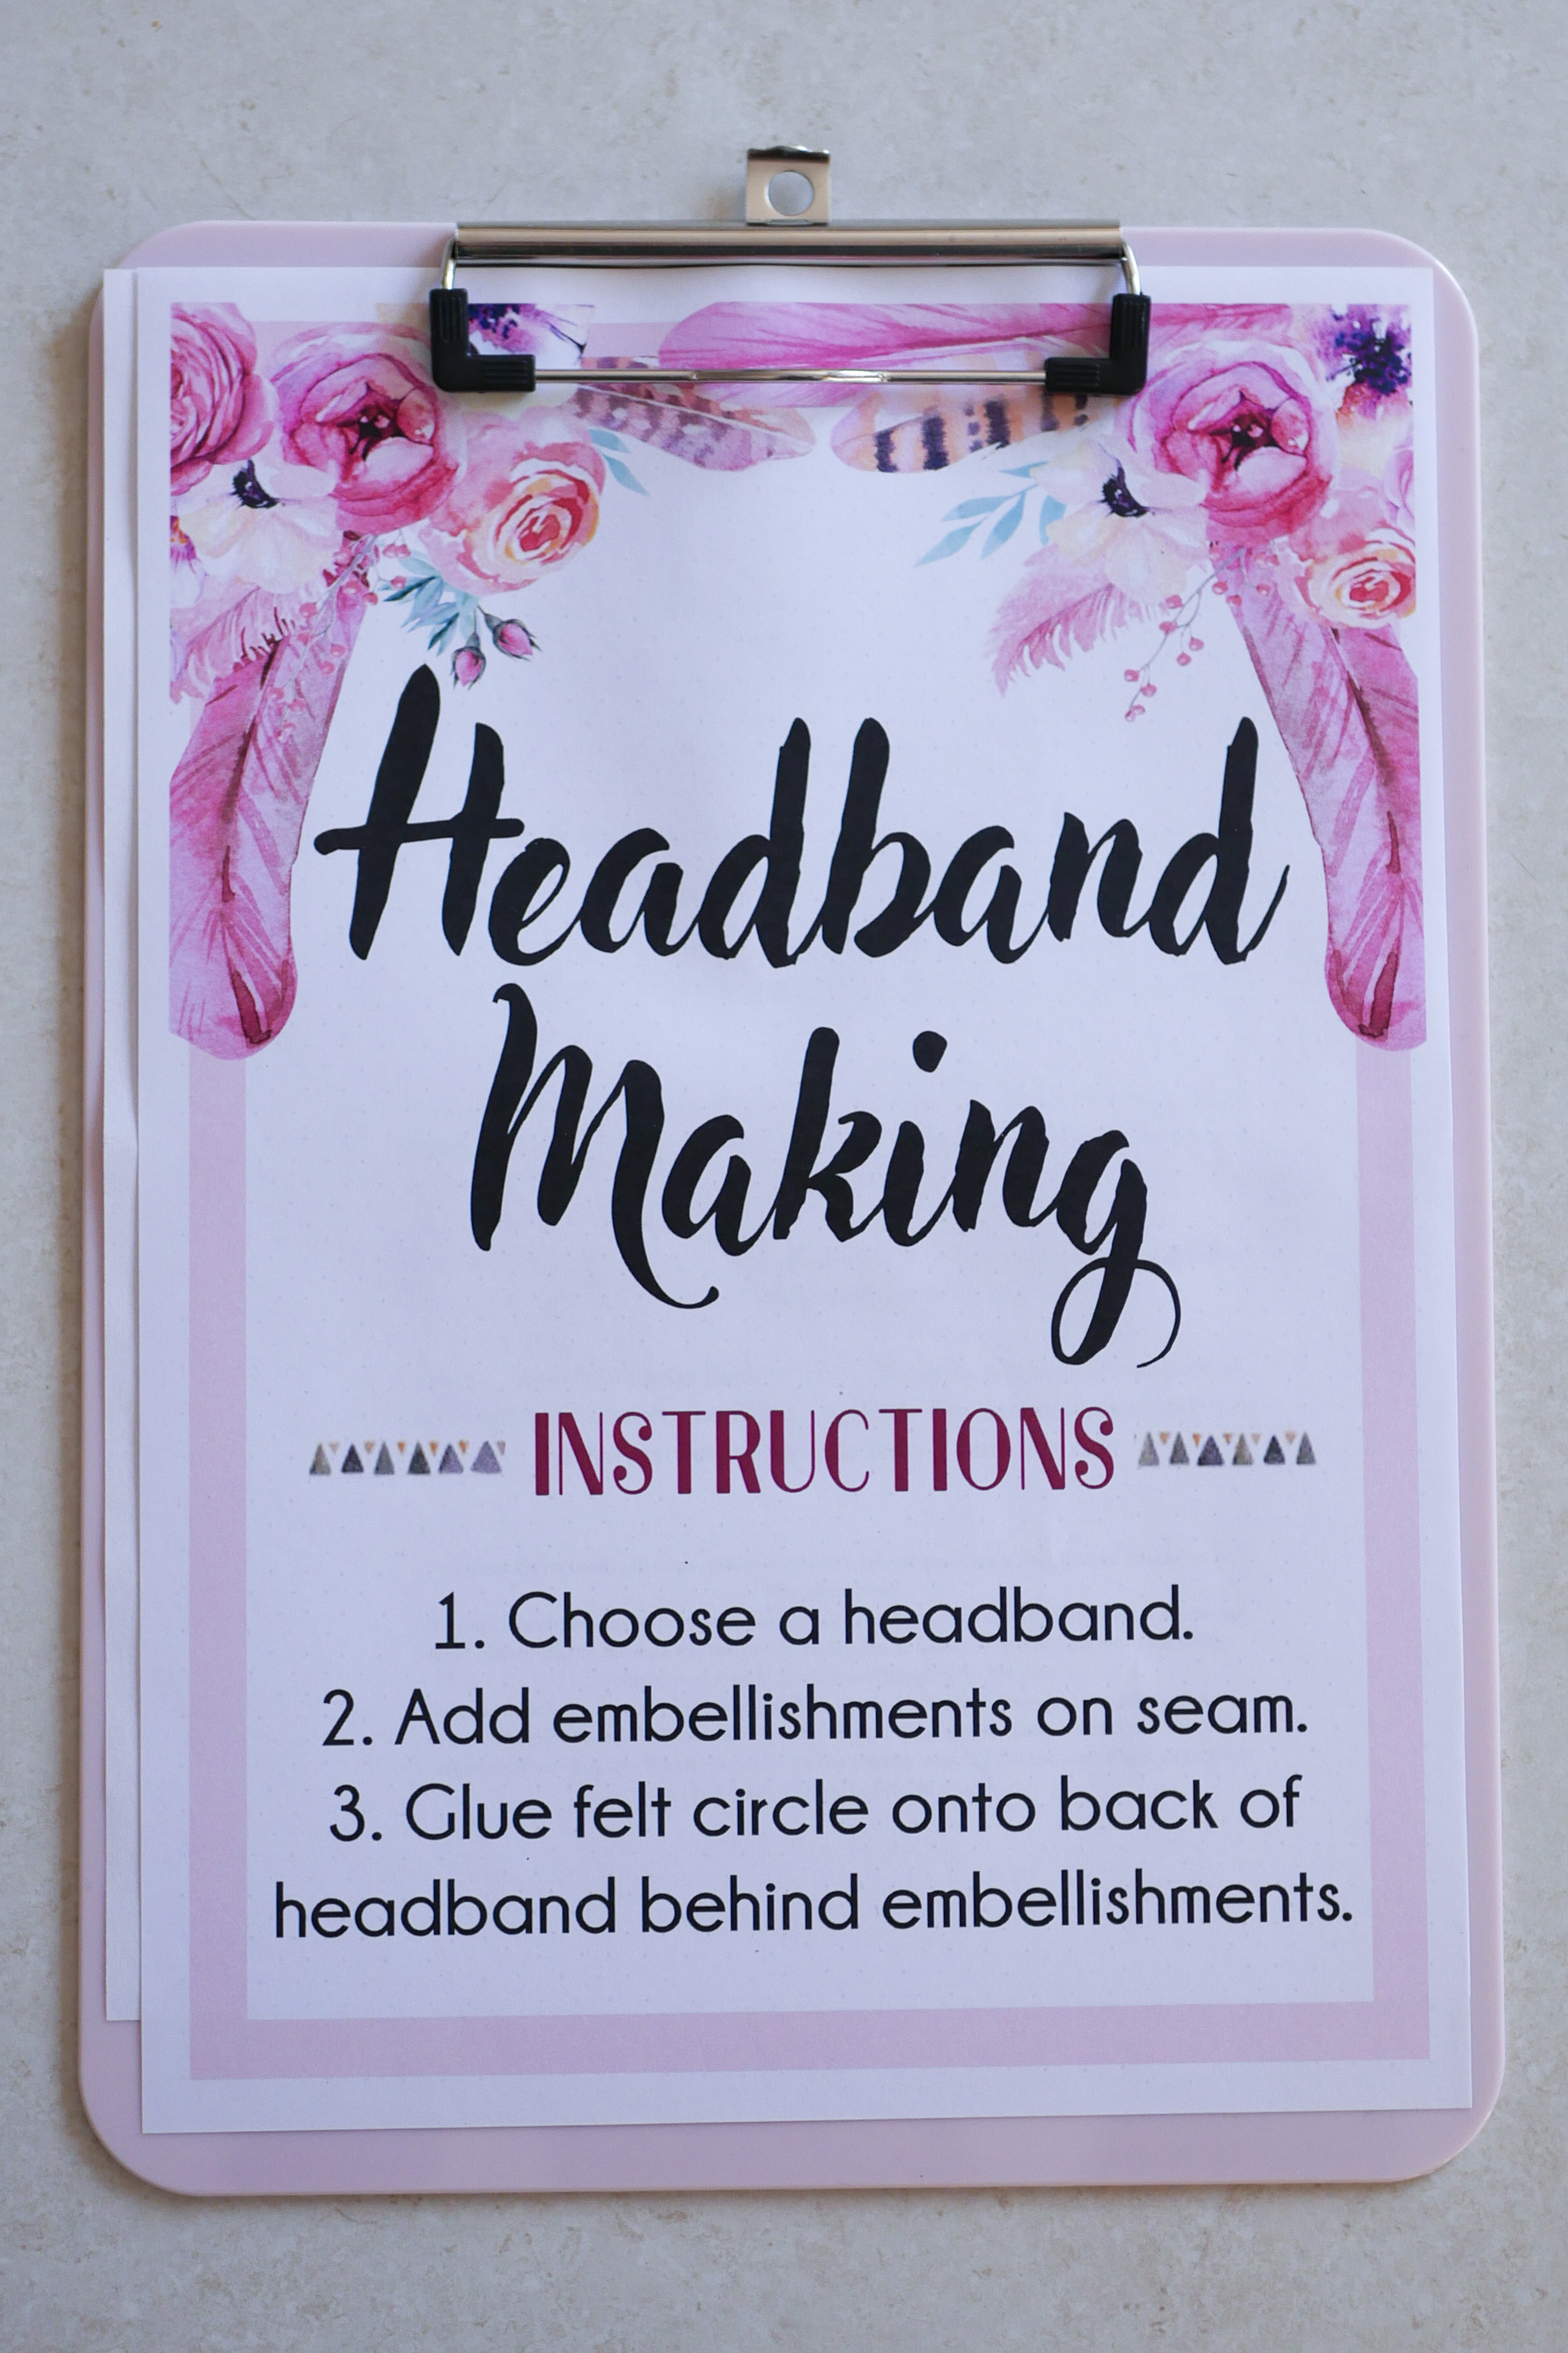
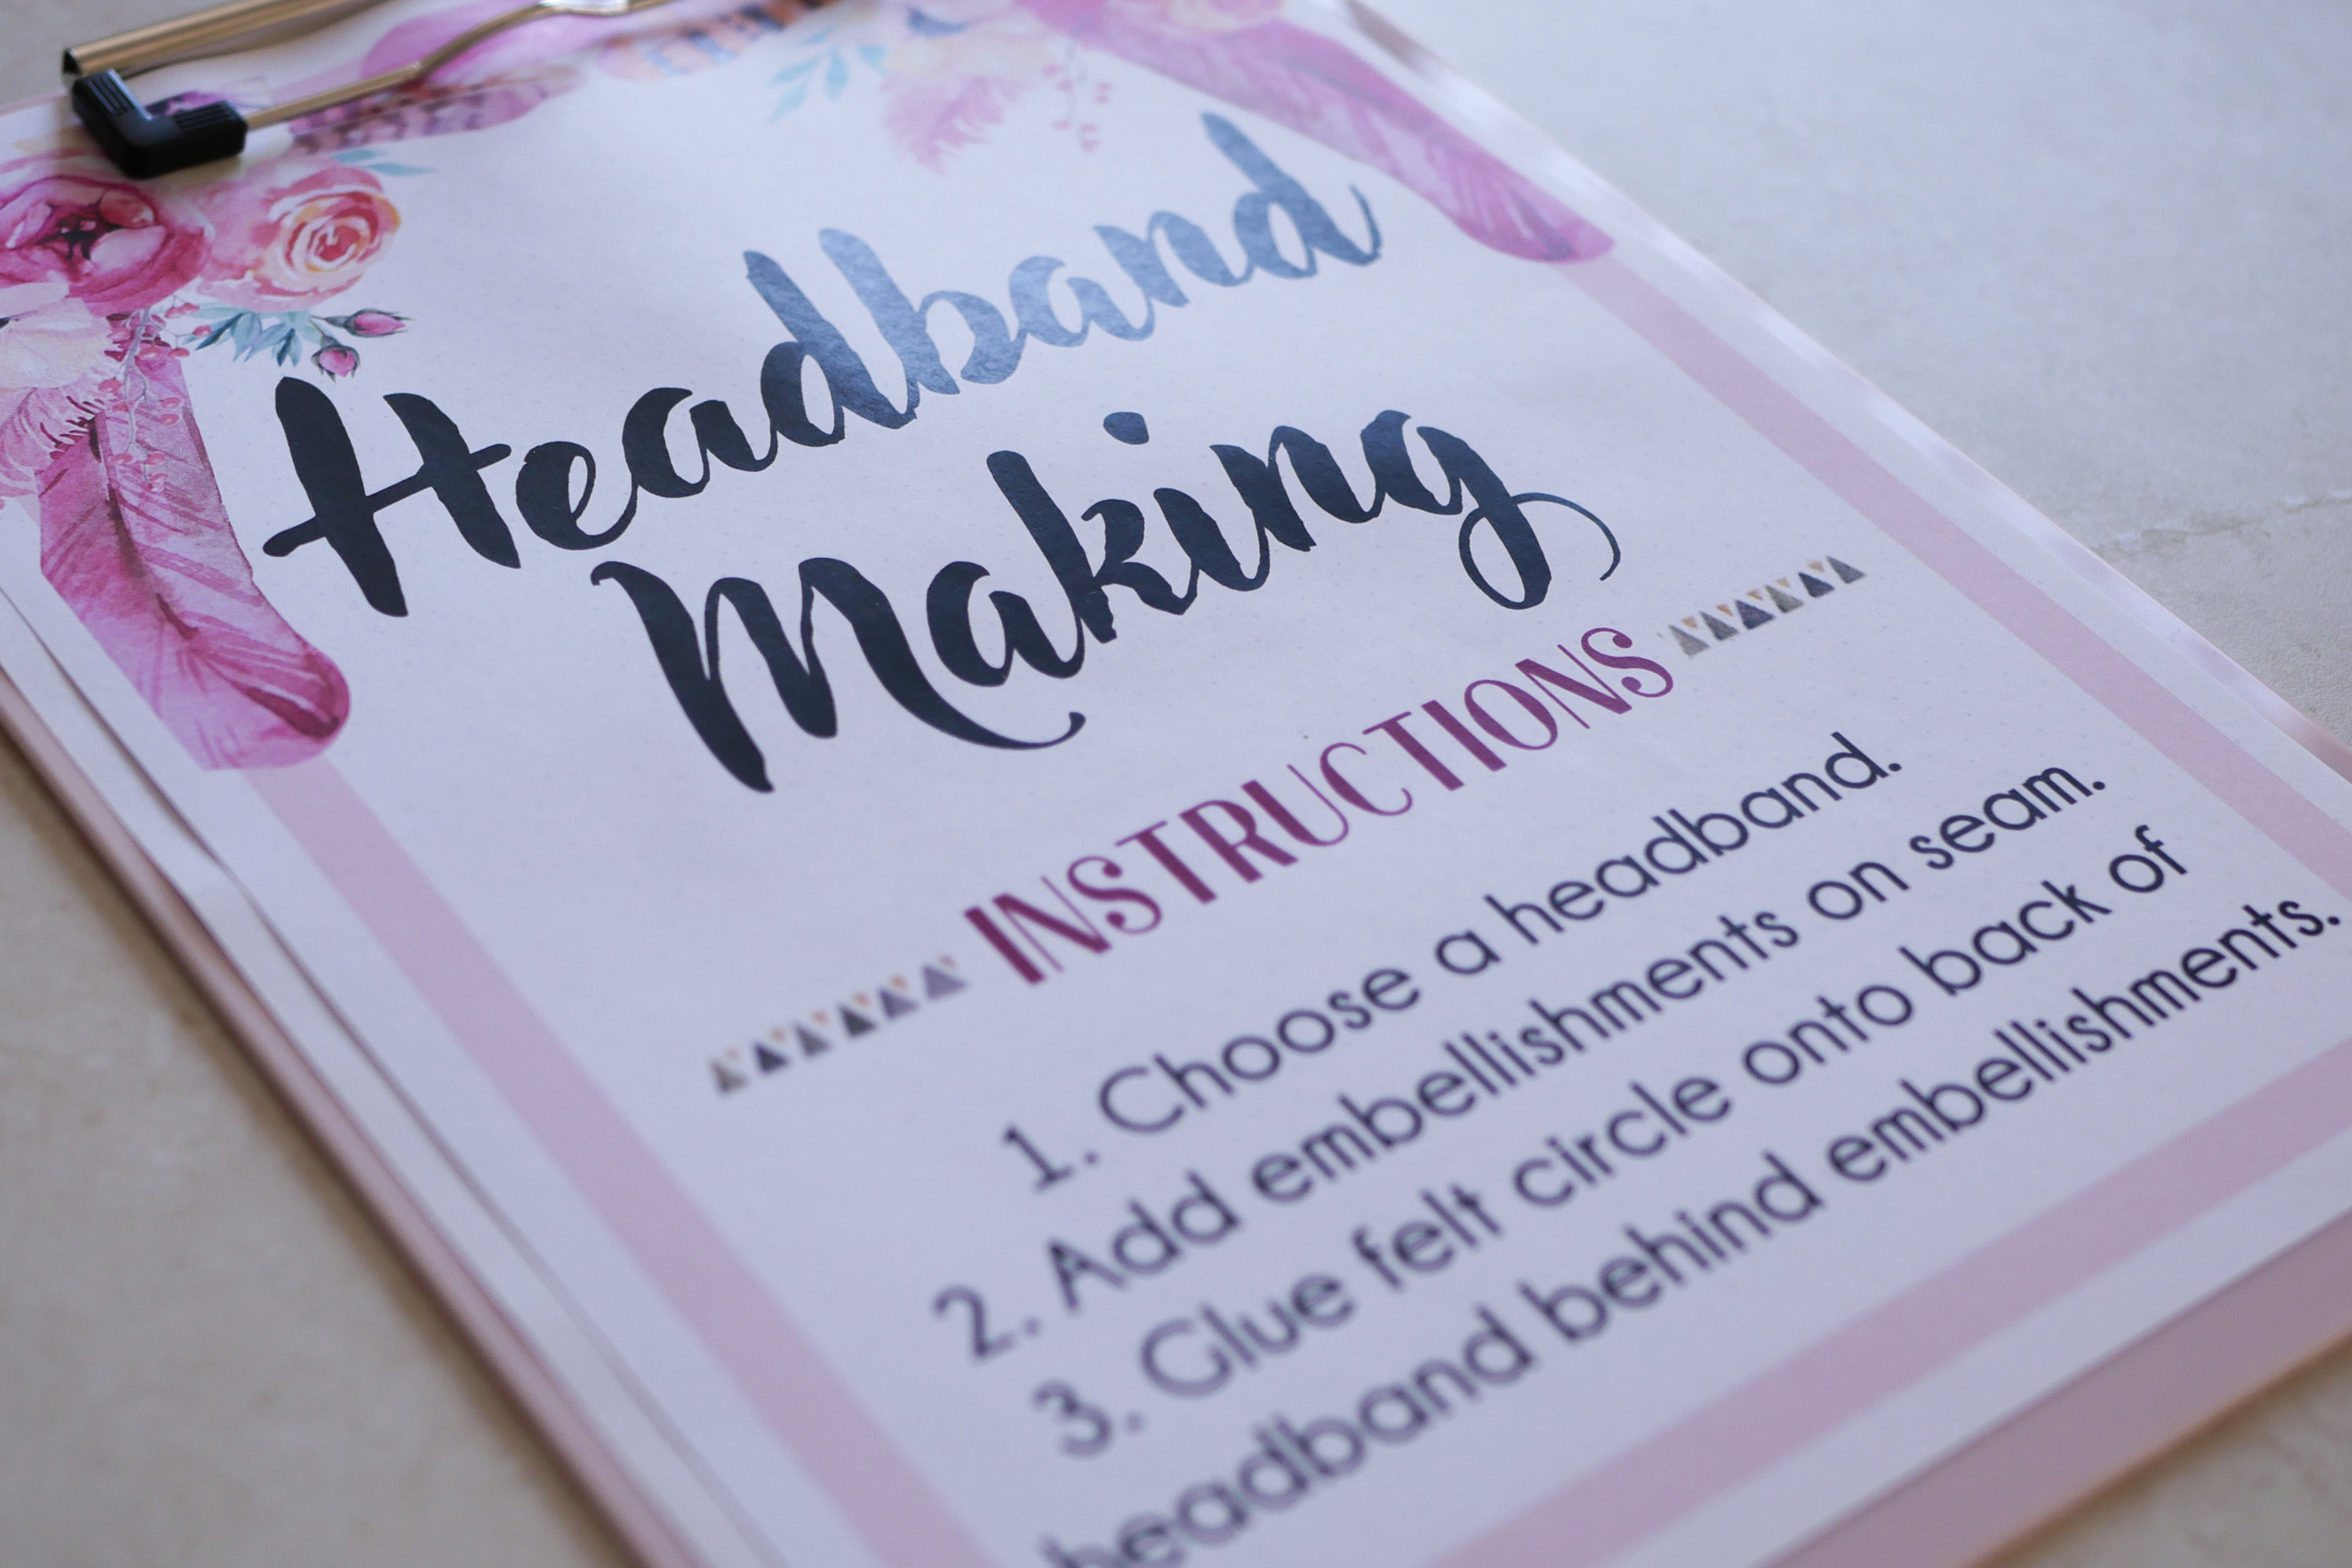
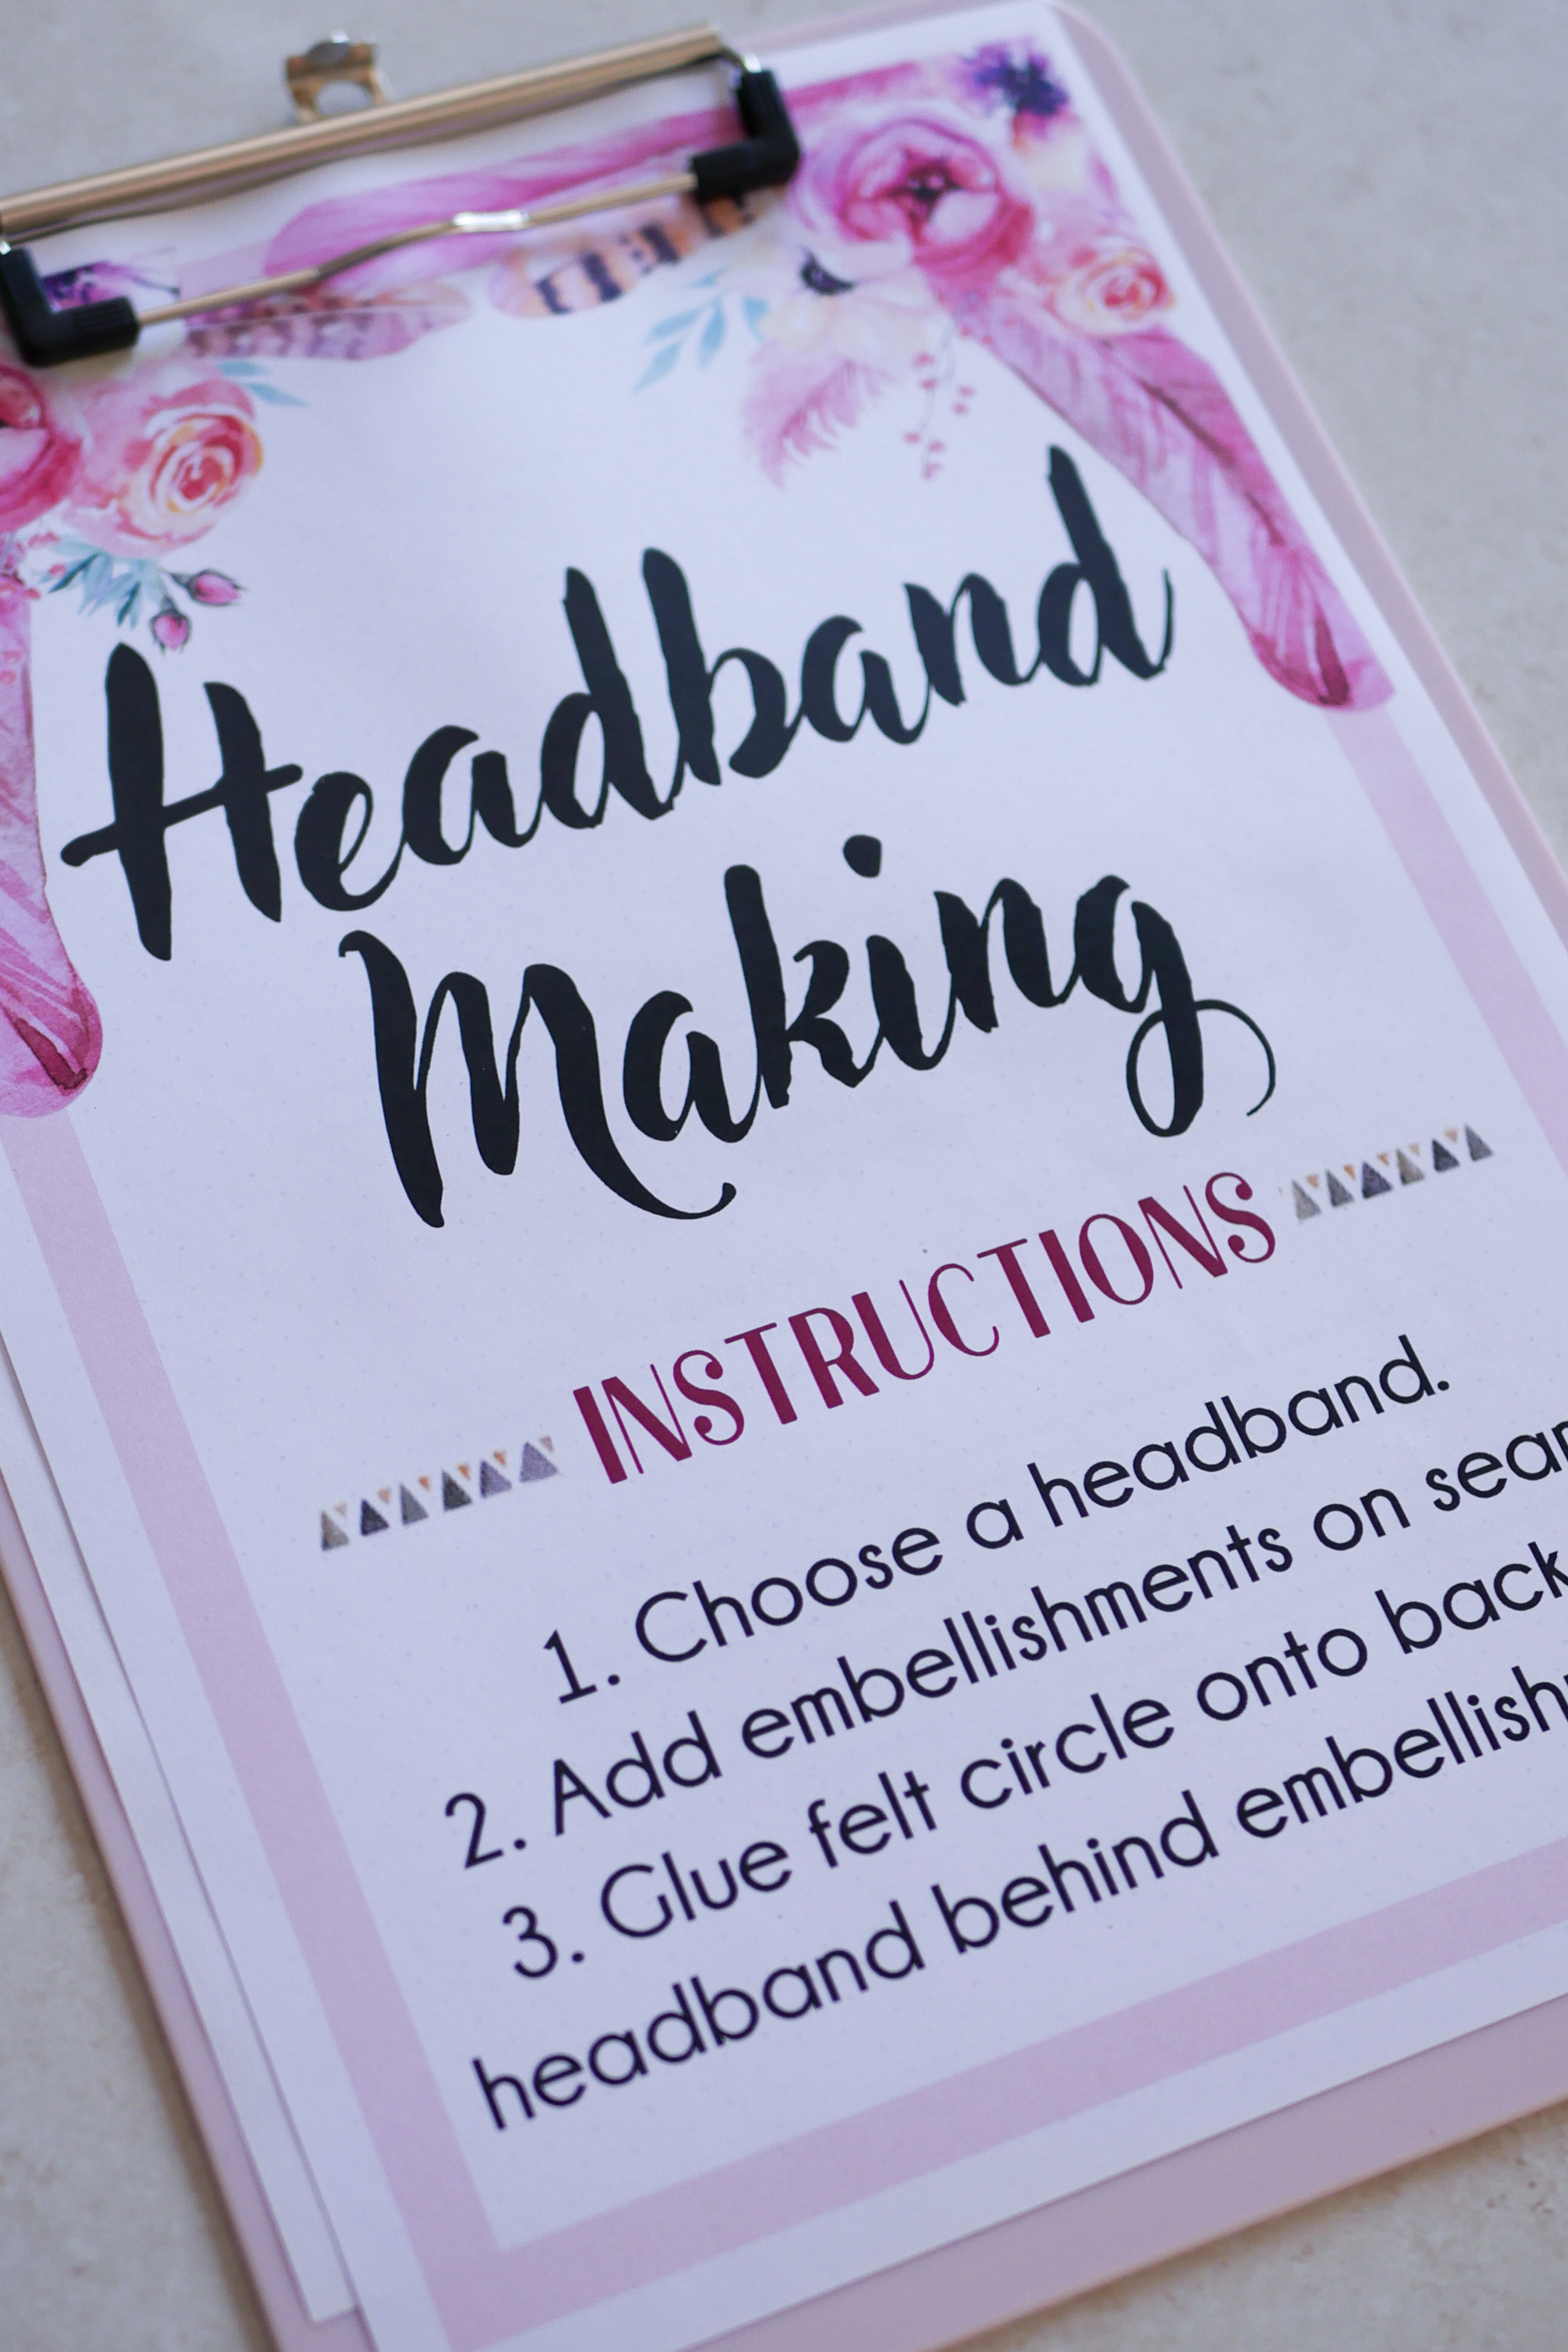
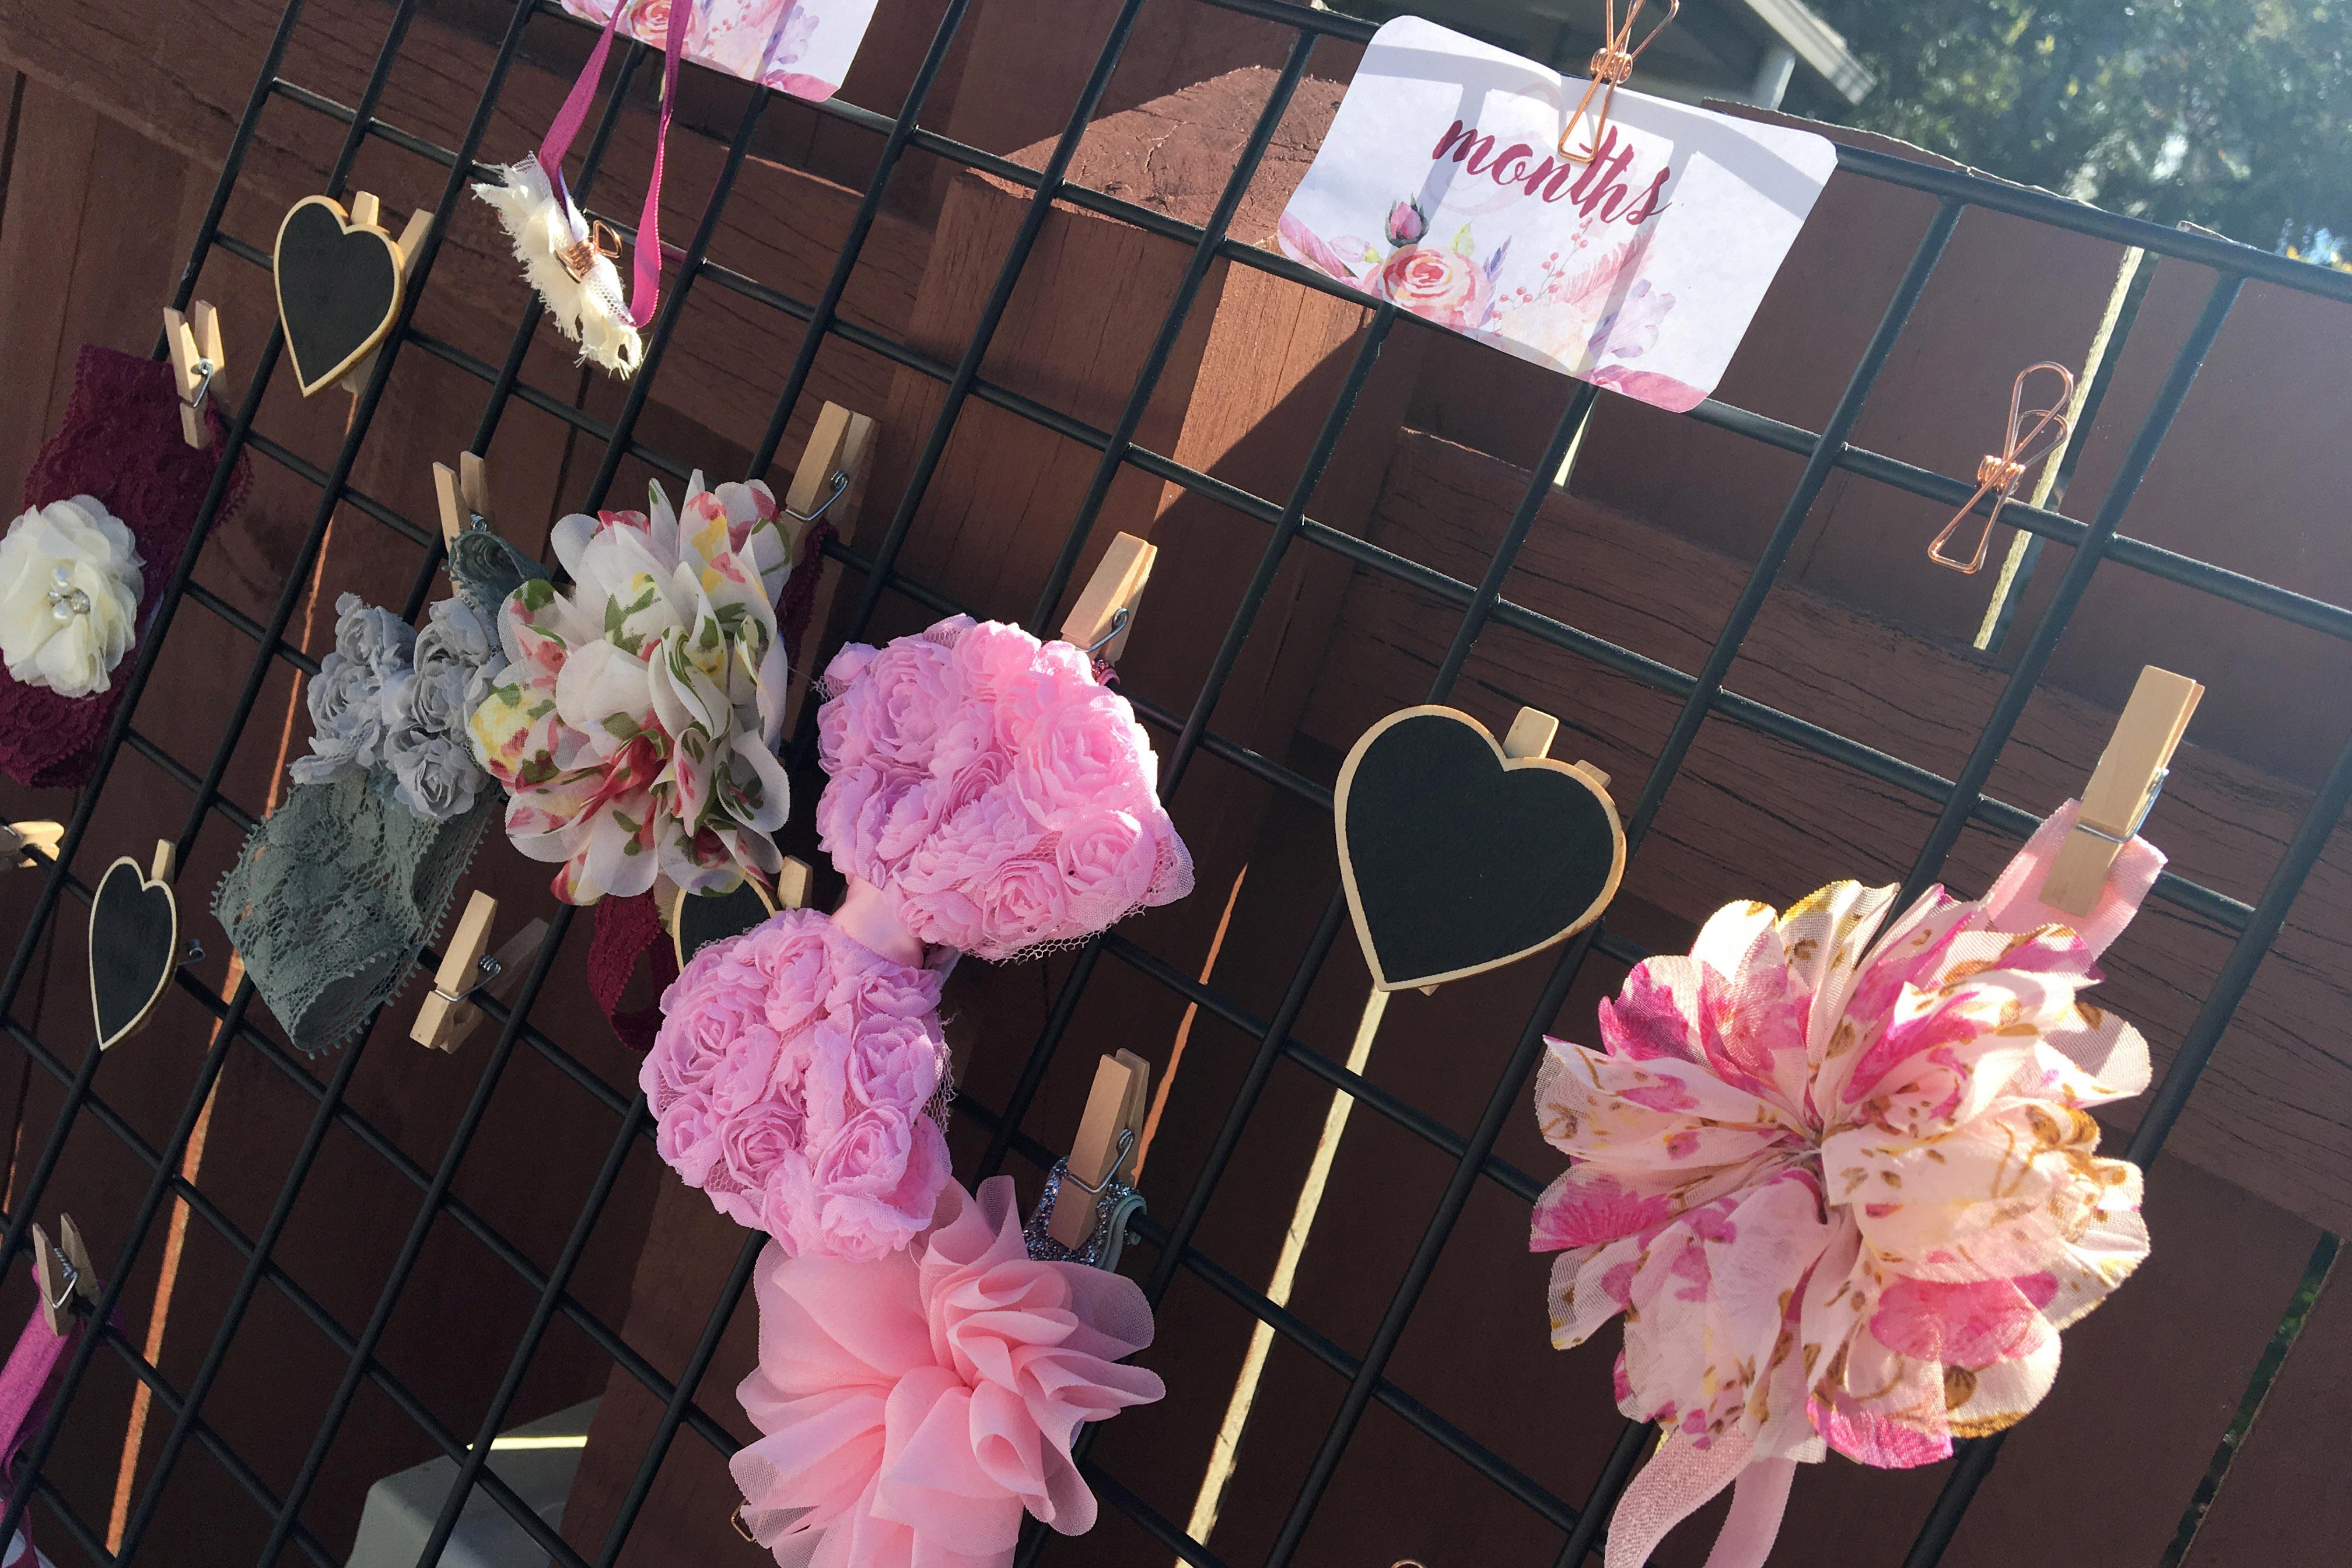
All the finished headbands were displayed and dried on my black wire memo board from Kmart with a variety of mini wooden pegs, rose gold wire clips and blackboard heart pegs. I had a hot glue gun with plenty of spare glue sticks on hand sitting between the headband making station and the decorate a block station so it could be used for both. My particular hot glue gun is from Spotlight but you could grab one from Kmart as well. I also used a pink clipboard from Kmart to hold the instruction sheet to prevent the wind from blowing it away.
The ribbons and bows were displayed in various glass bowls and white serving dishes I already had on hand. I chose to separate the elastics into different sizes with labeled bowls. Guests might design differently for a newborn versus a toddler. The one thing I forgot was a set of scissors to trim away the felt circles for smaller designs.
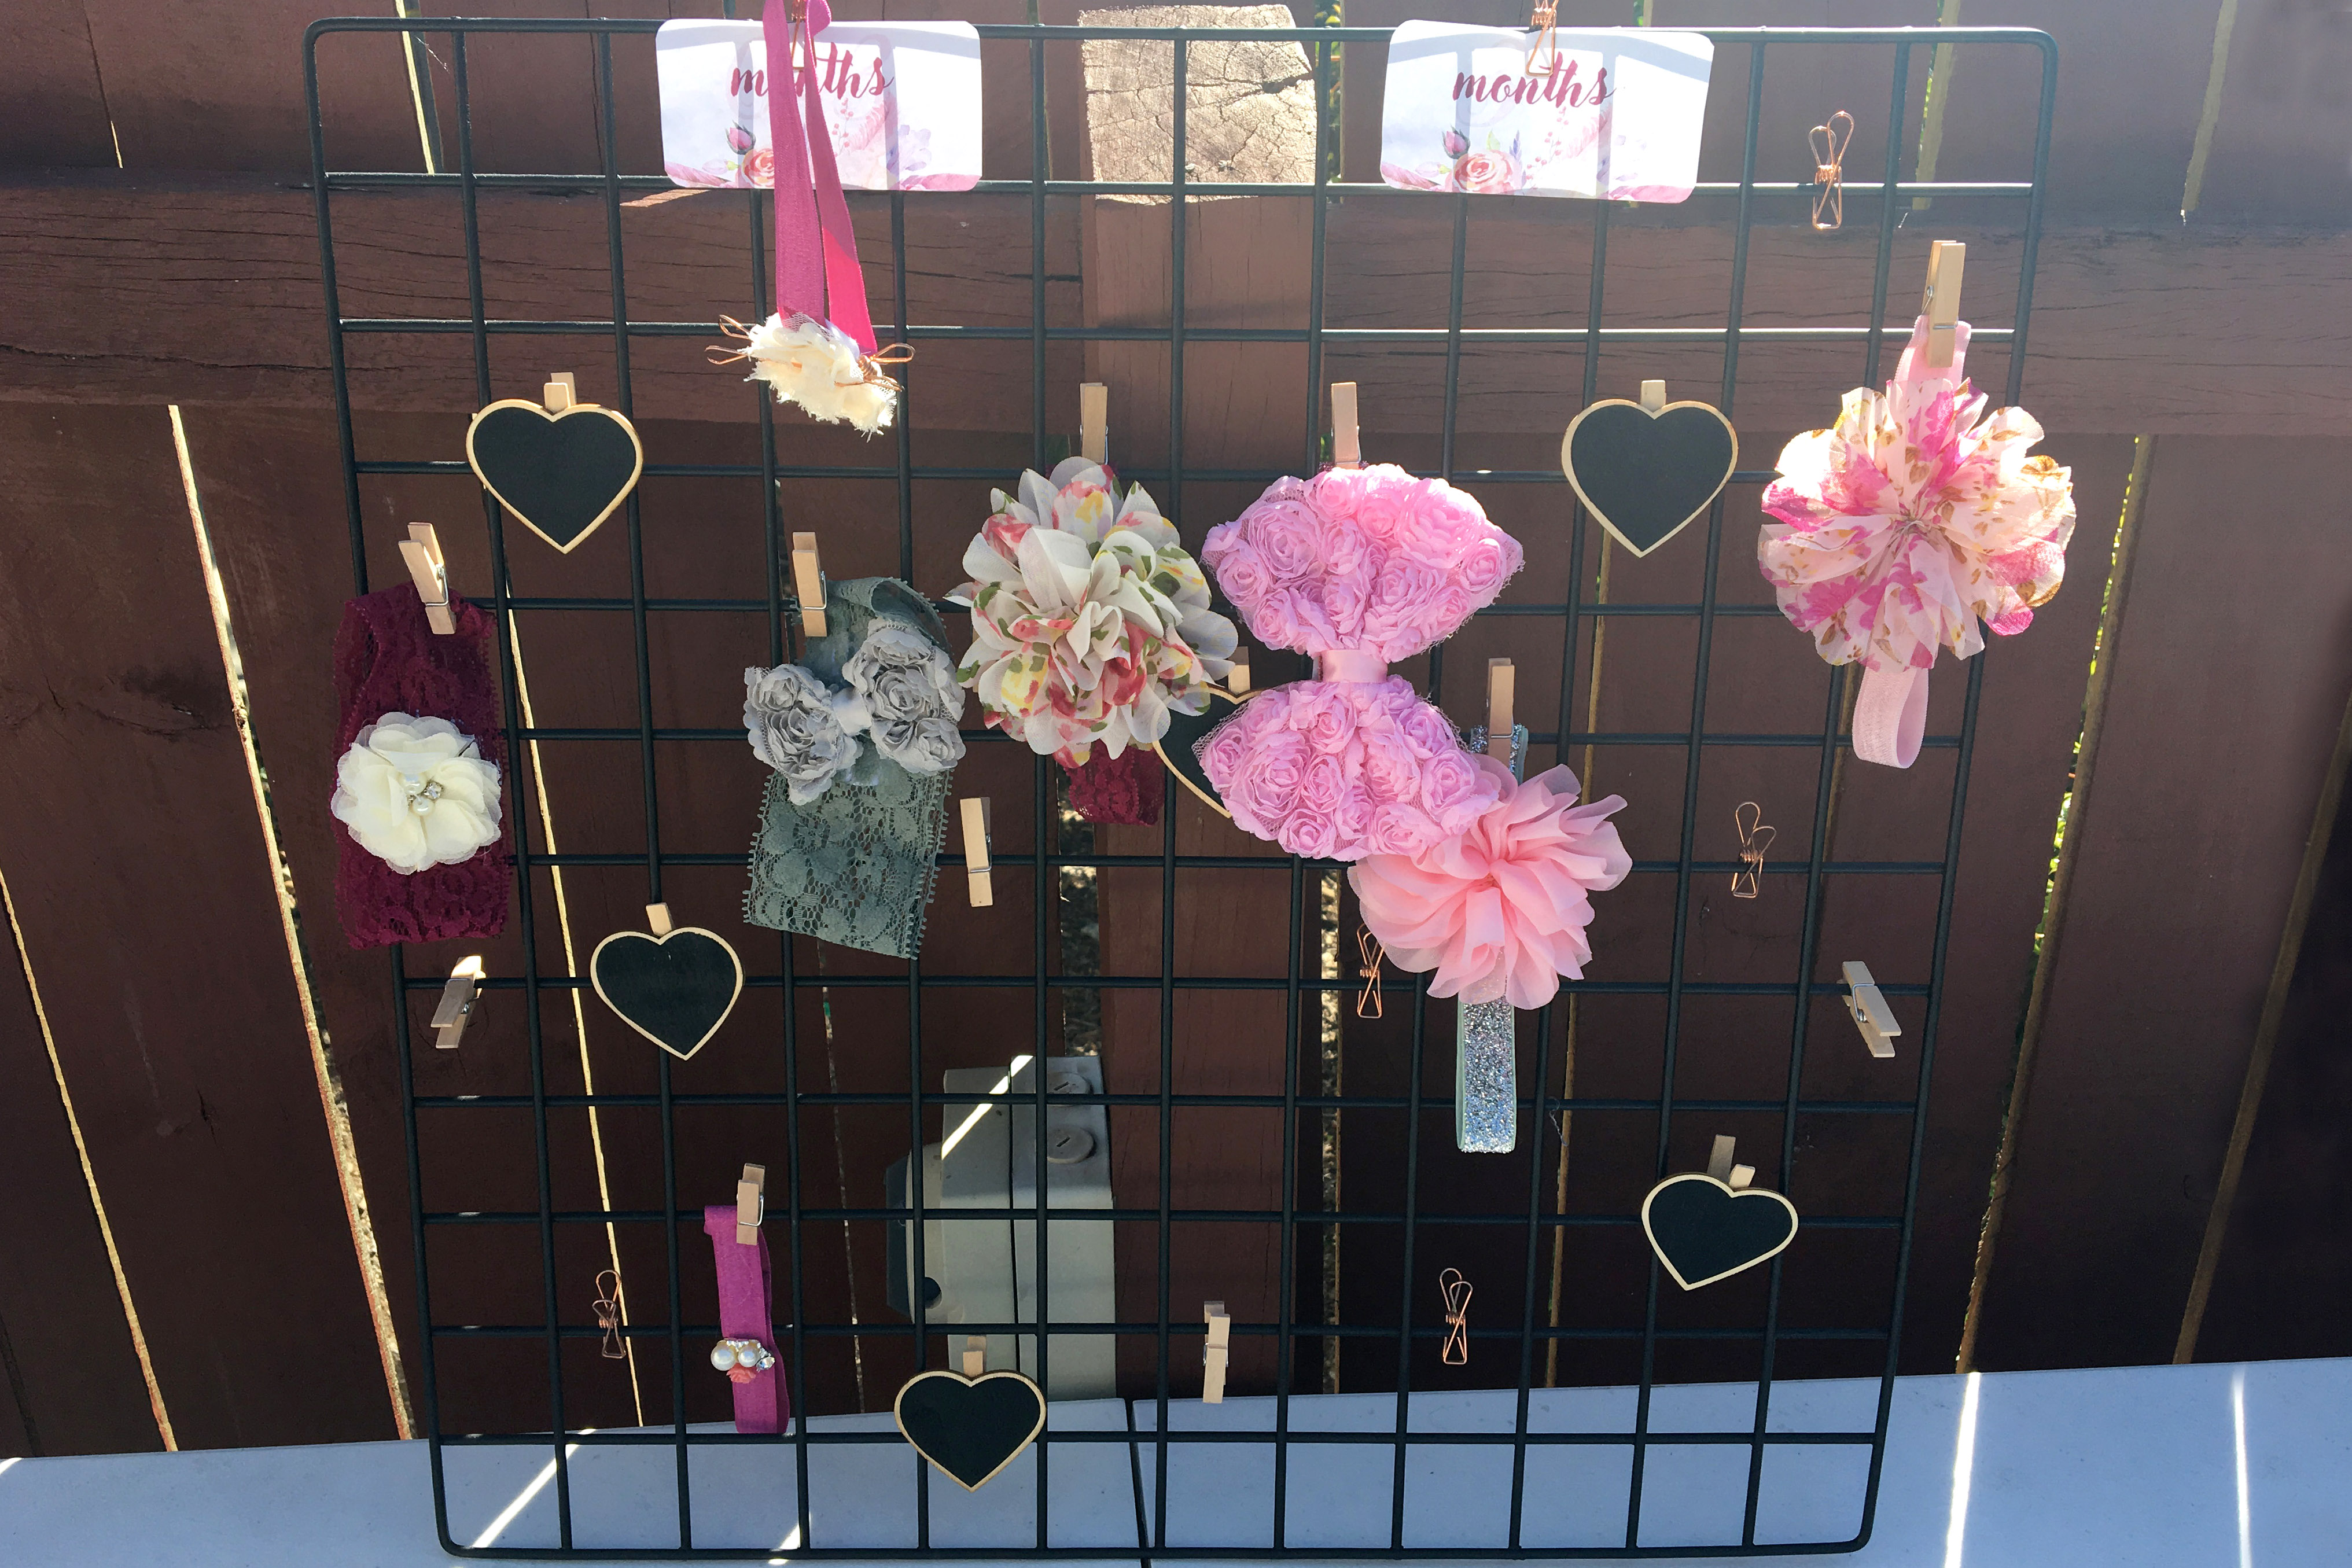 It’s interesting to see how each person goes for different designs! Some people kept it really simple and small, others went the all neutral route. It’s always funny as well how you can guarantee somebody won’t read/follow the instructions. There were one or two headbands that didn’t have the embellishments glued over the seam to hide it. Again I would recommend having a friend who is briefed on the instructions, manning the different craft stations. All in all though you can’t go too wrong with a cute headband!
Decorate a Block Crafting Station
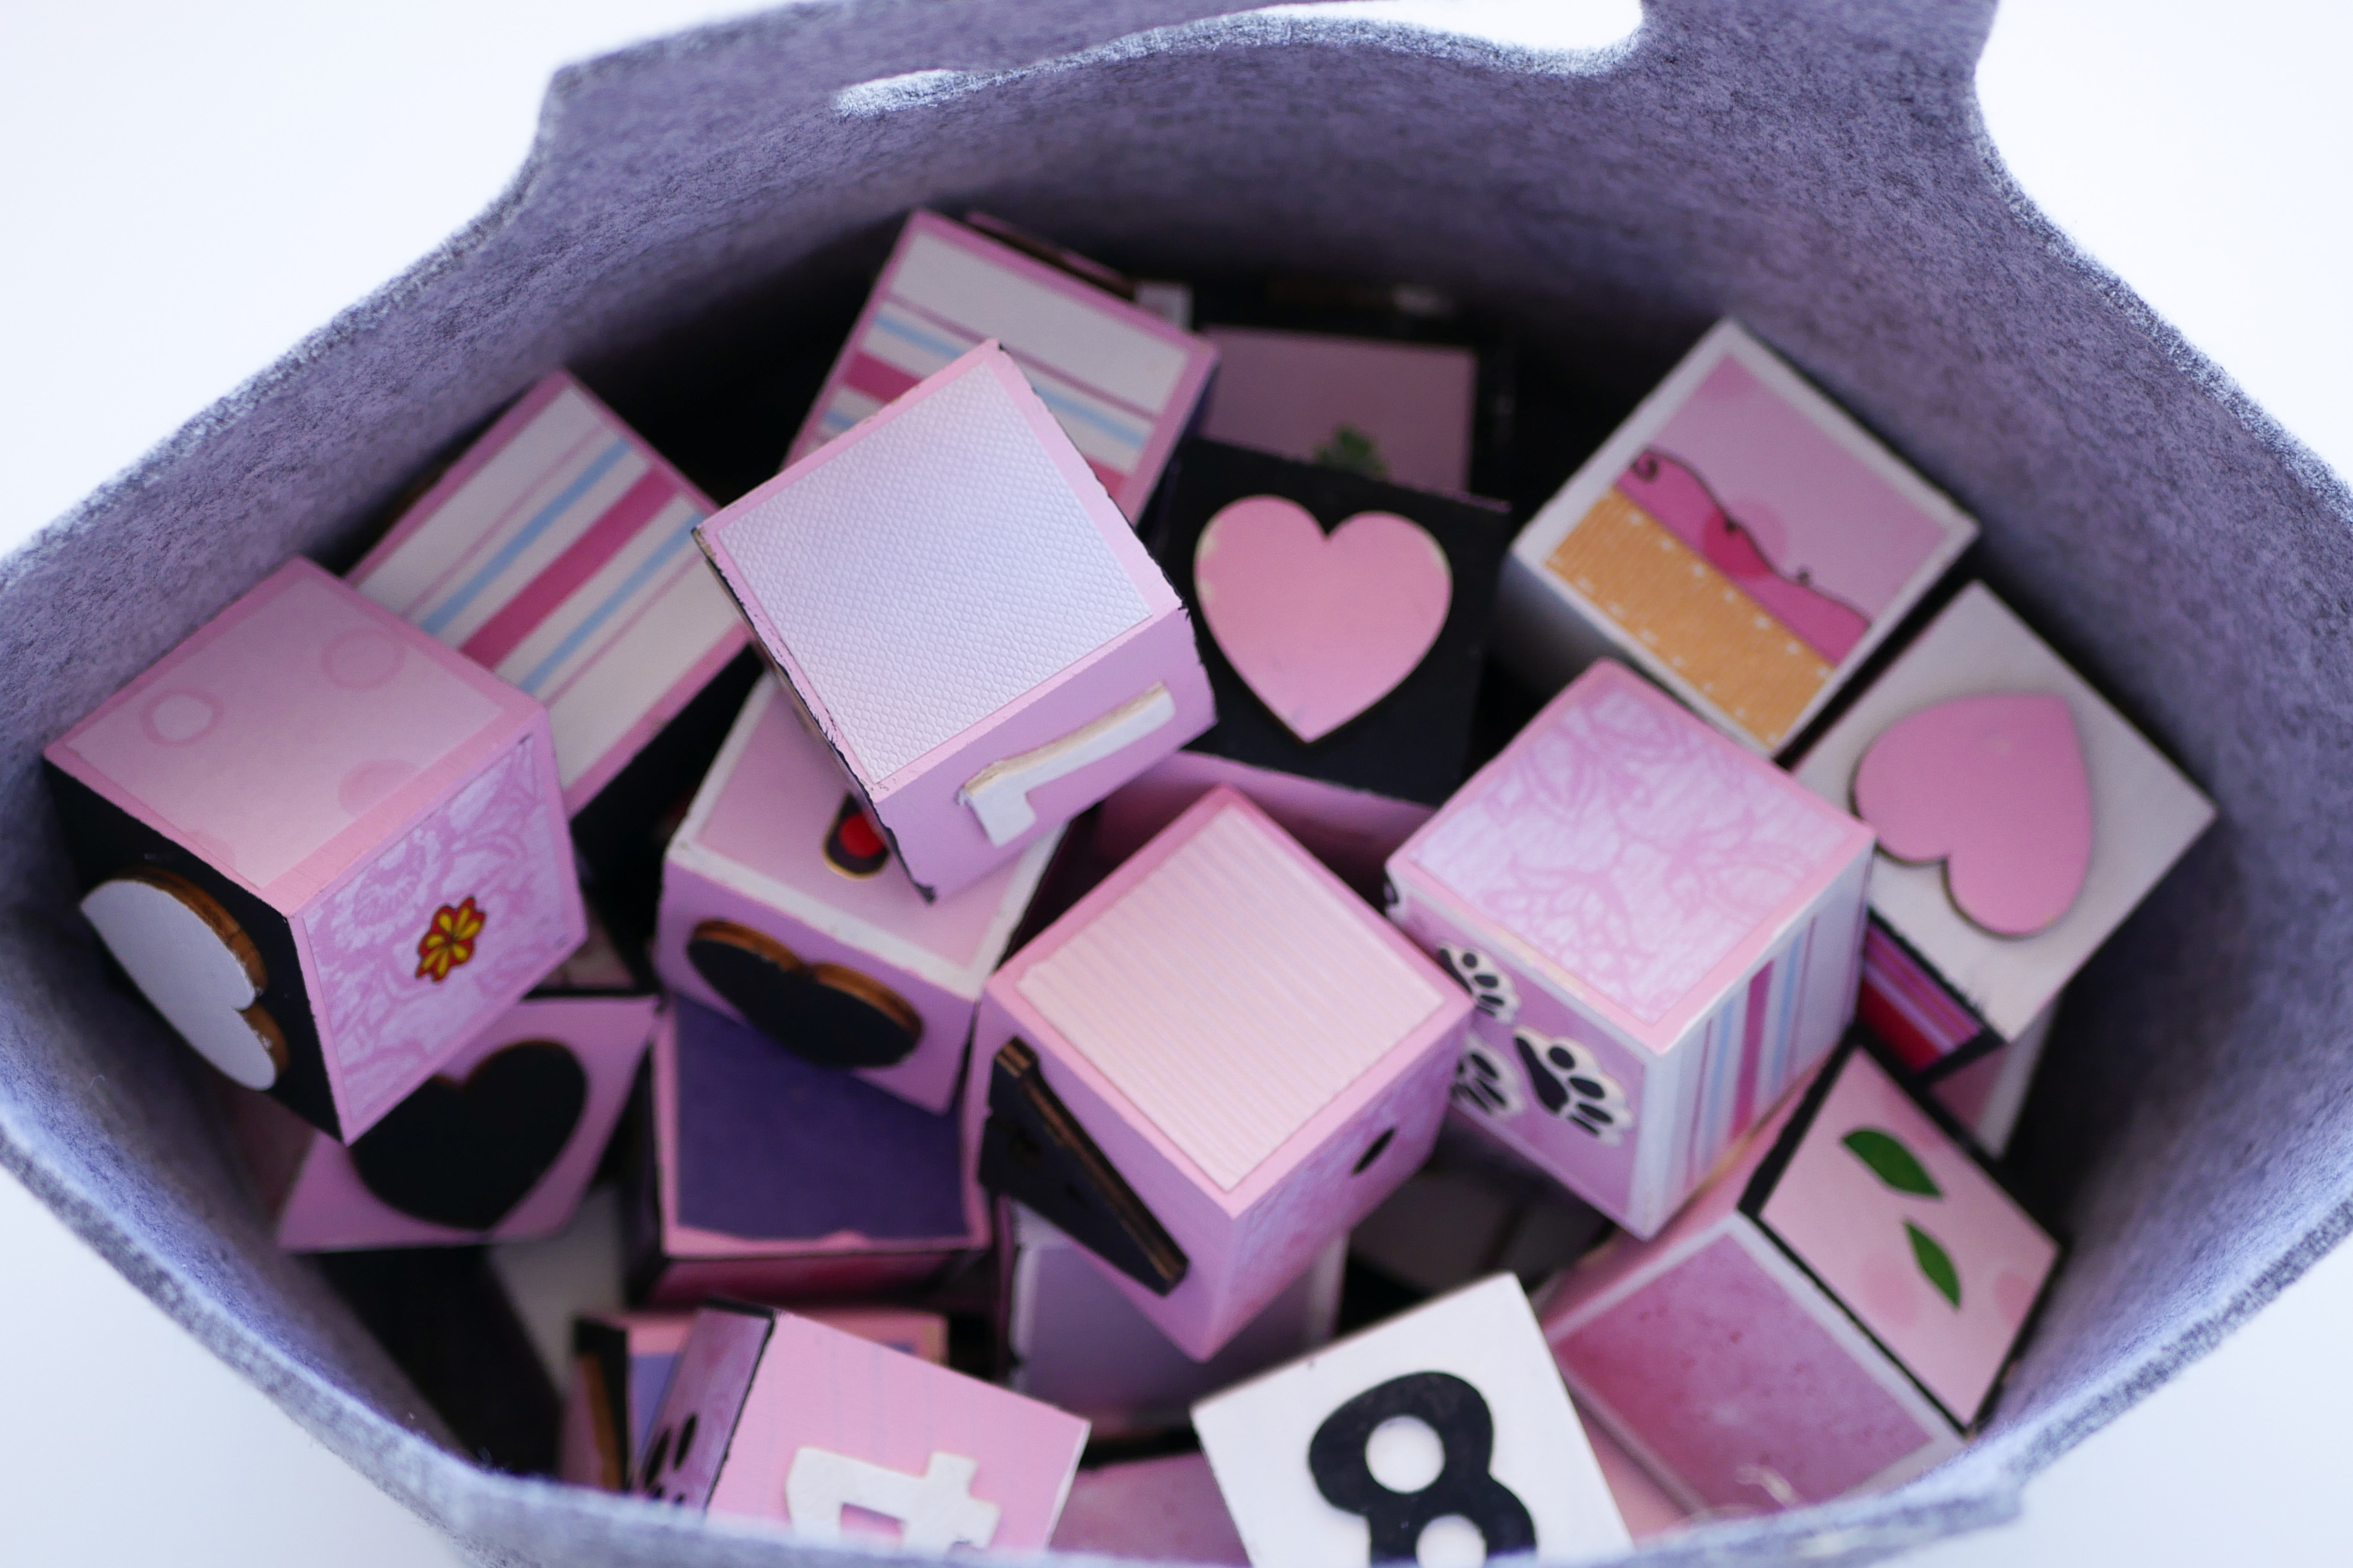
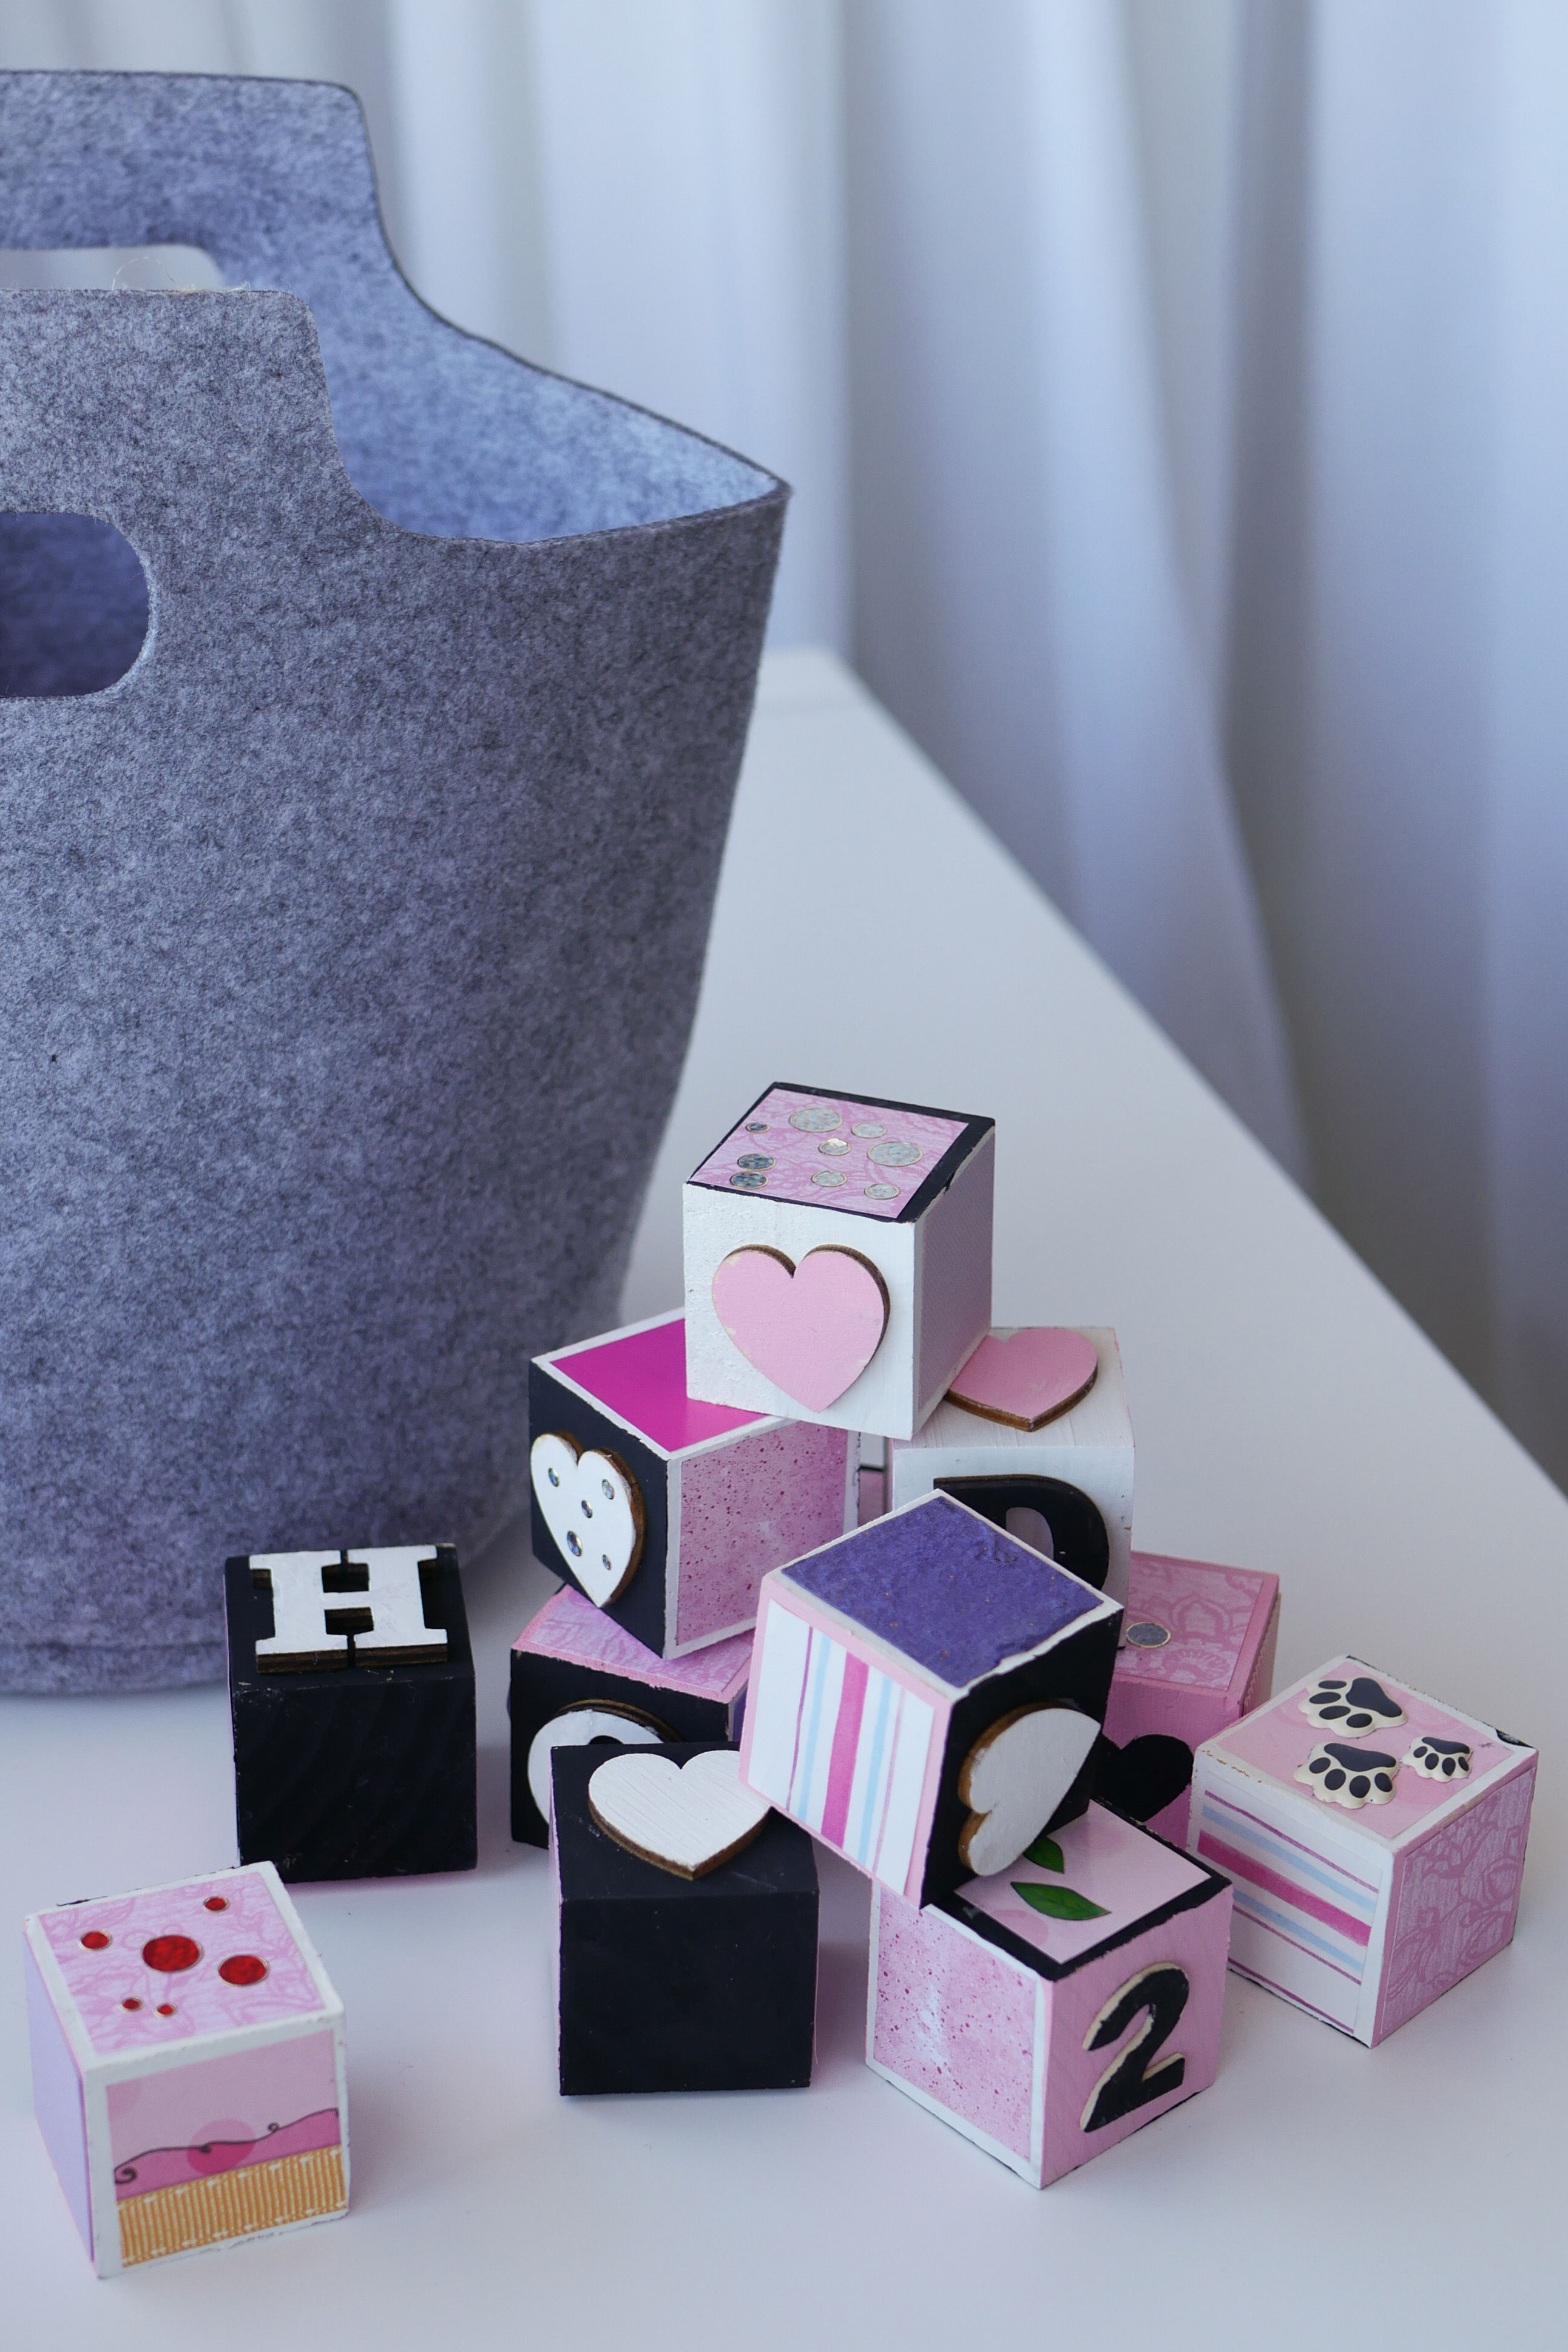
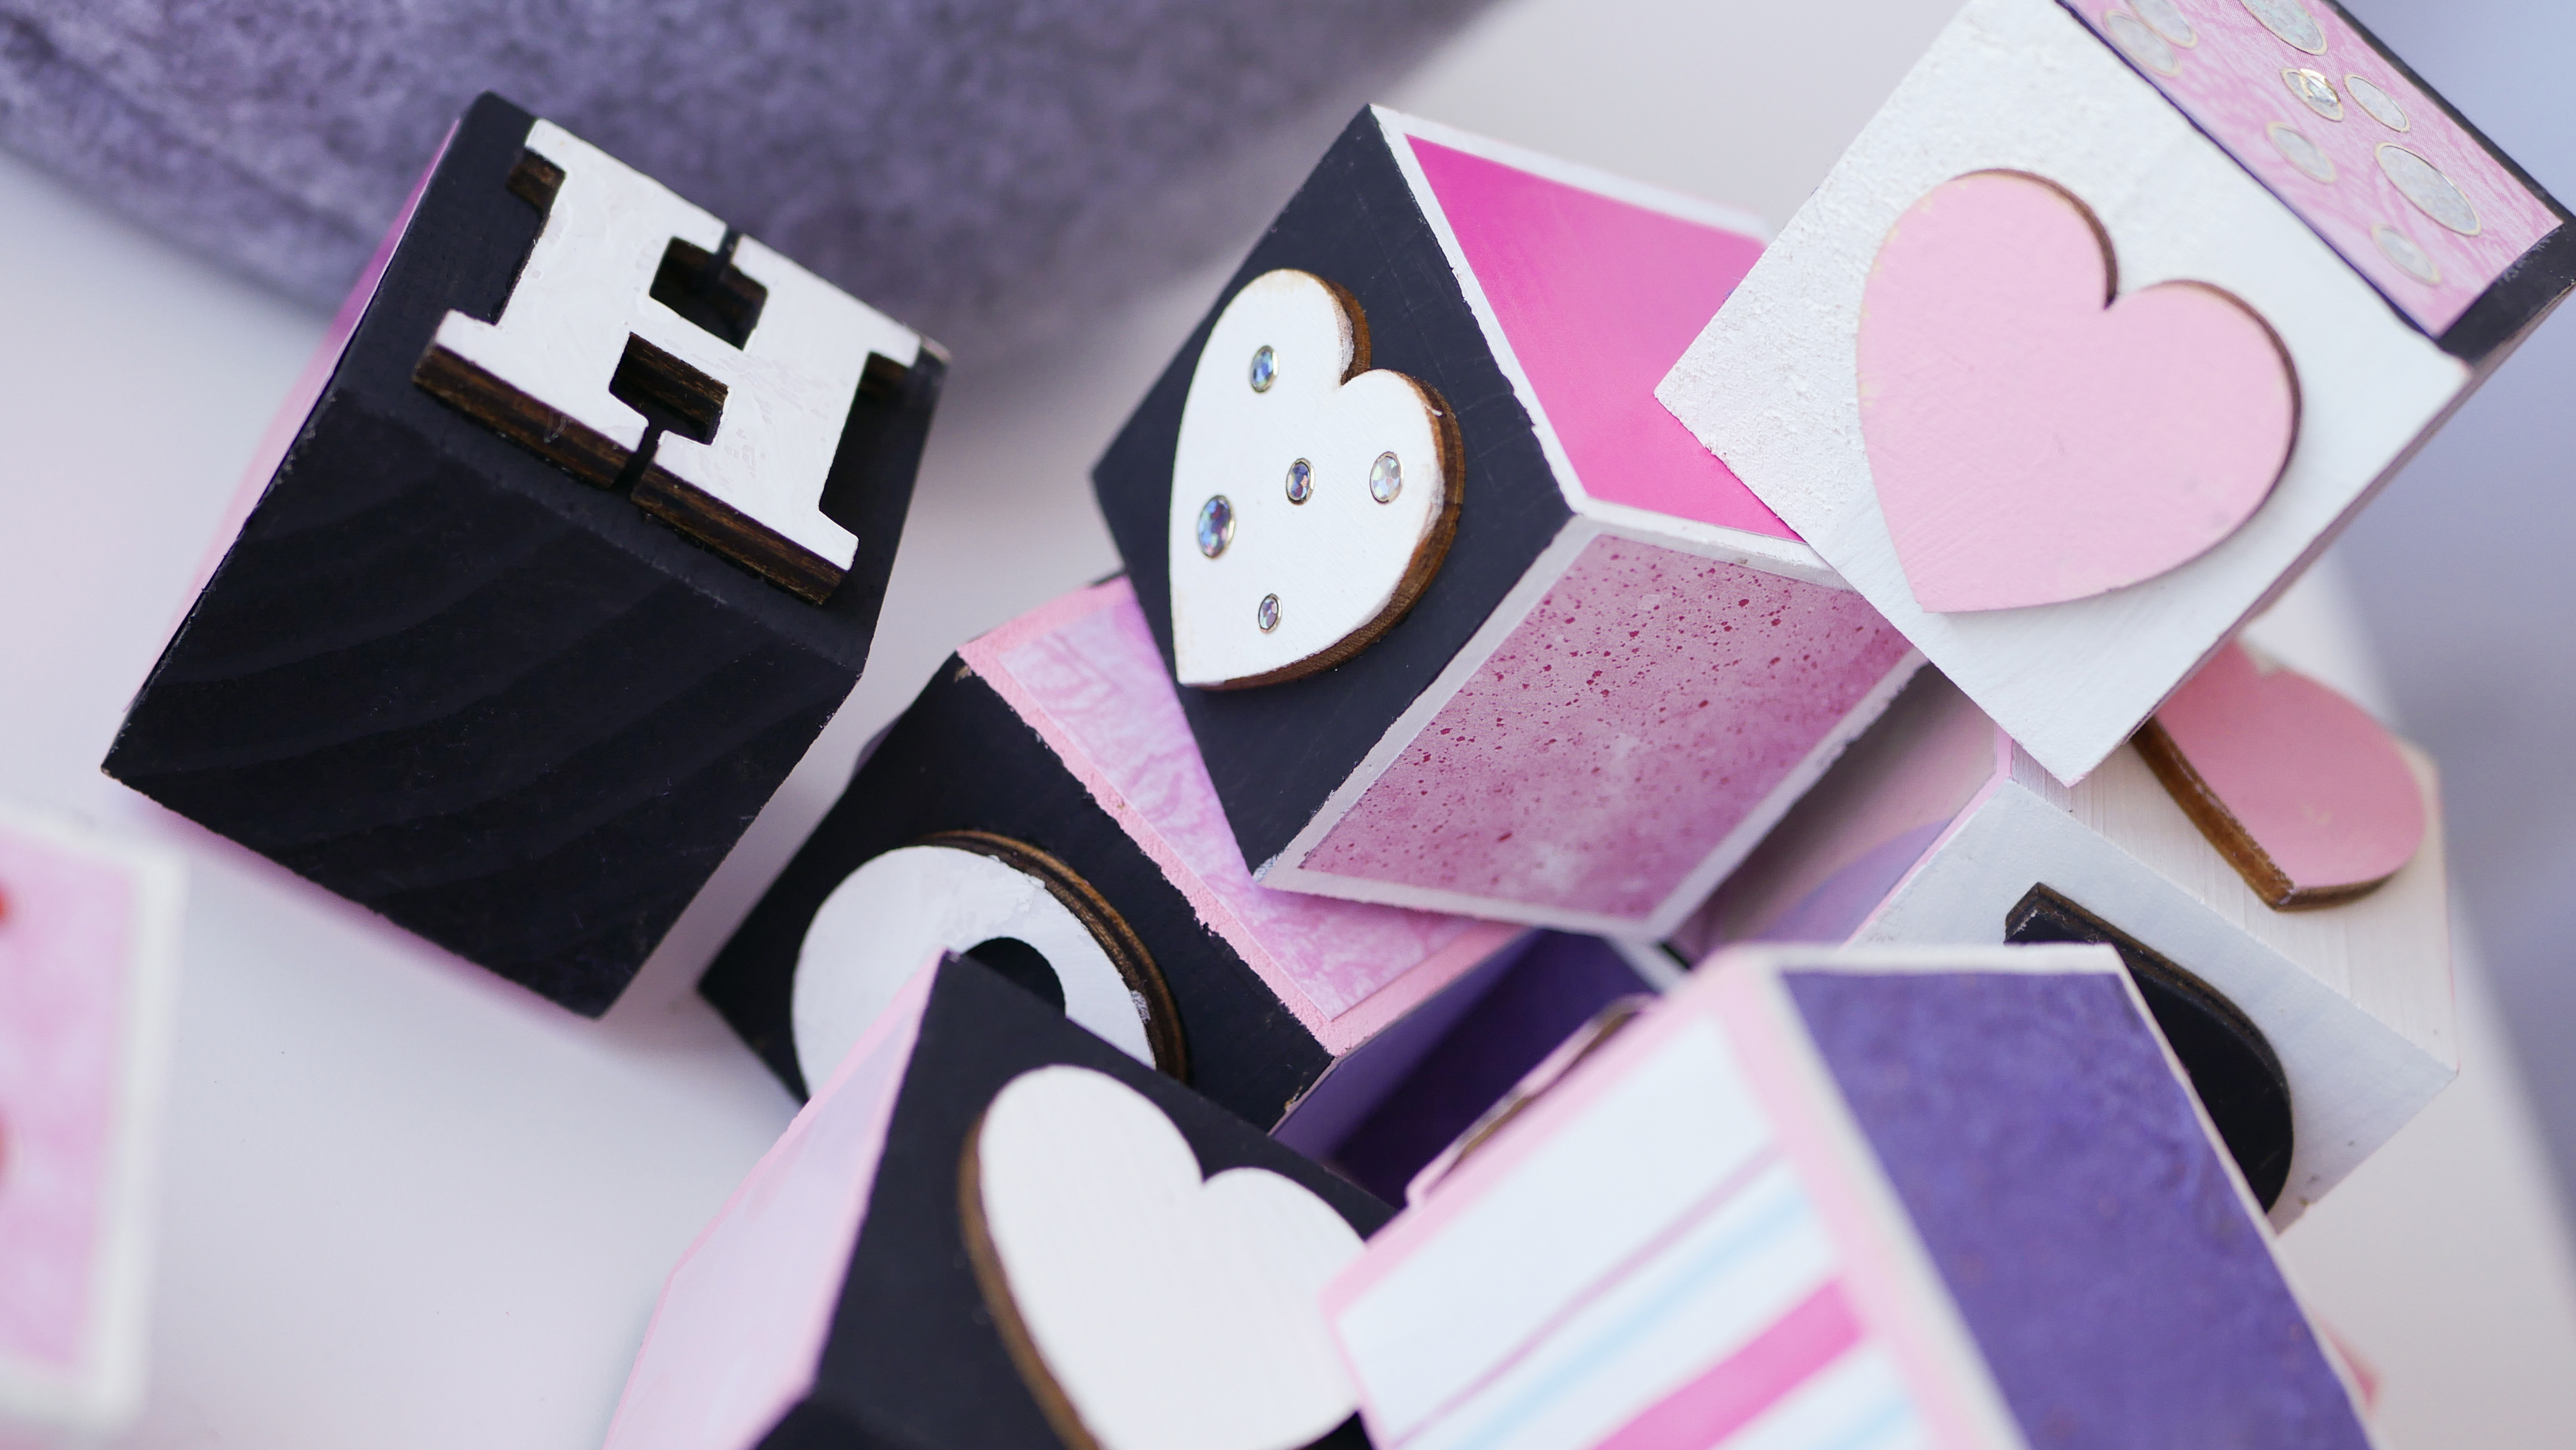
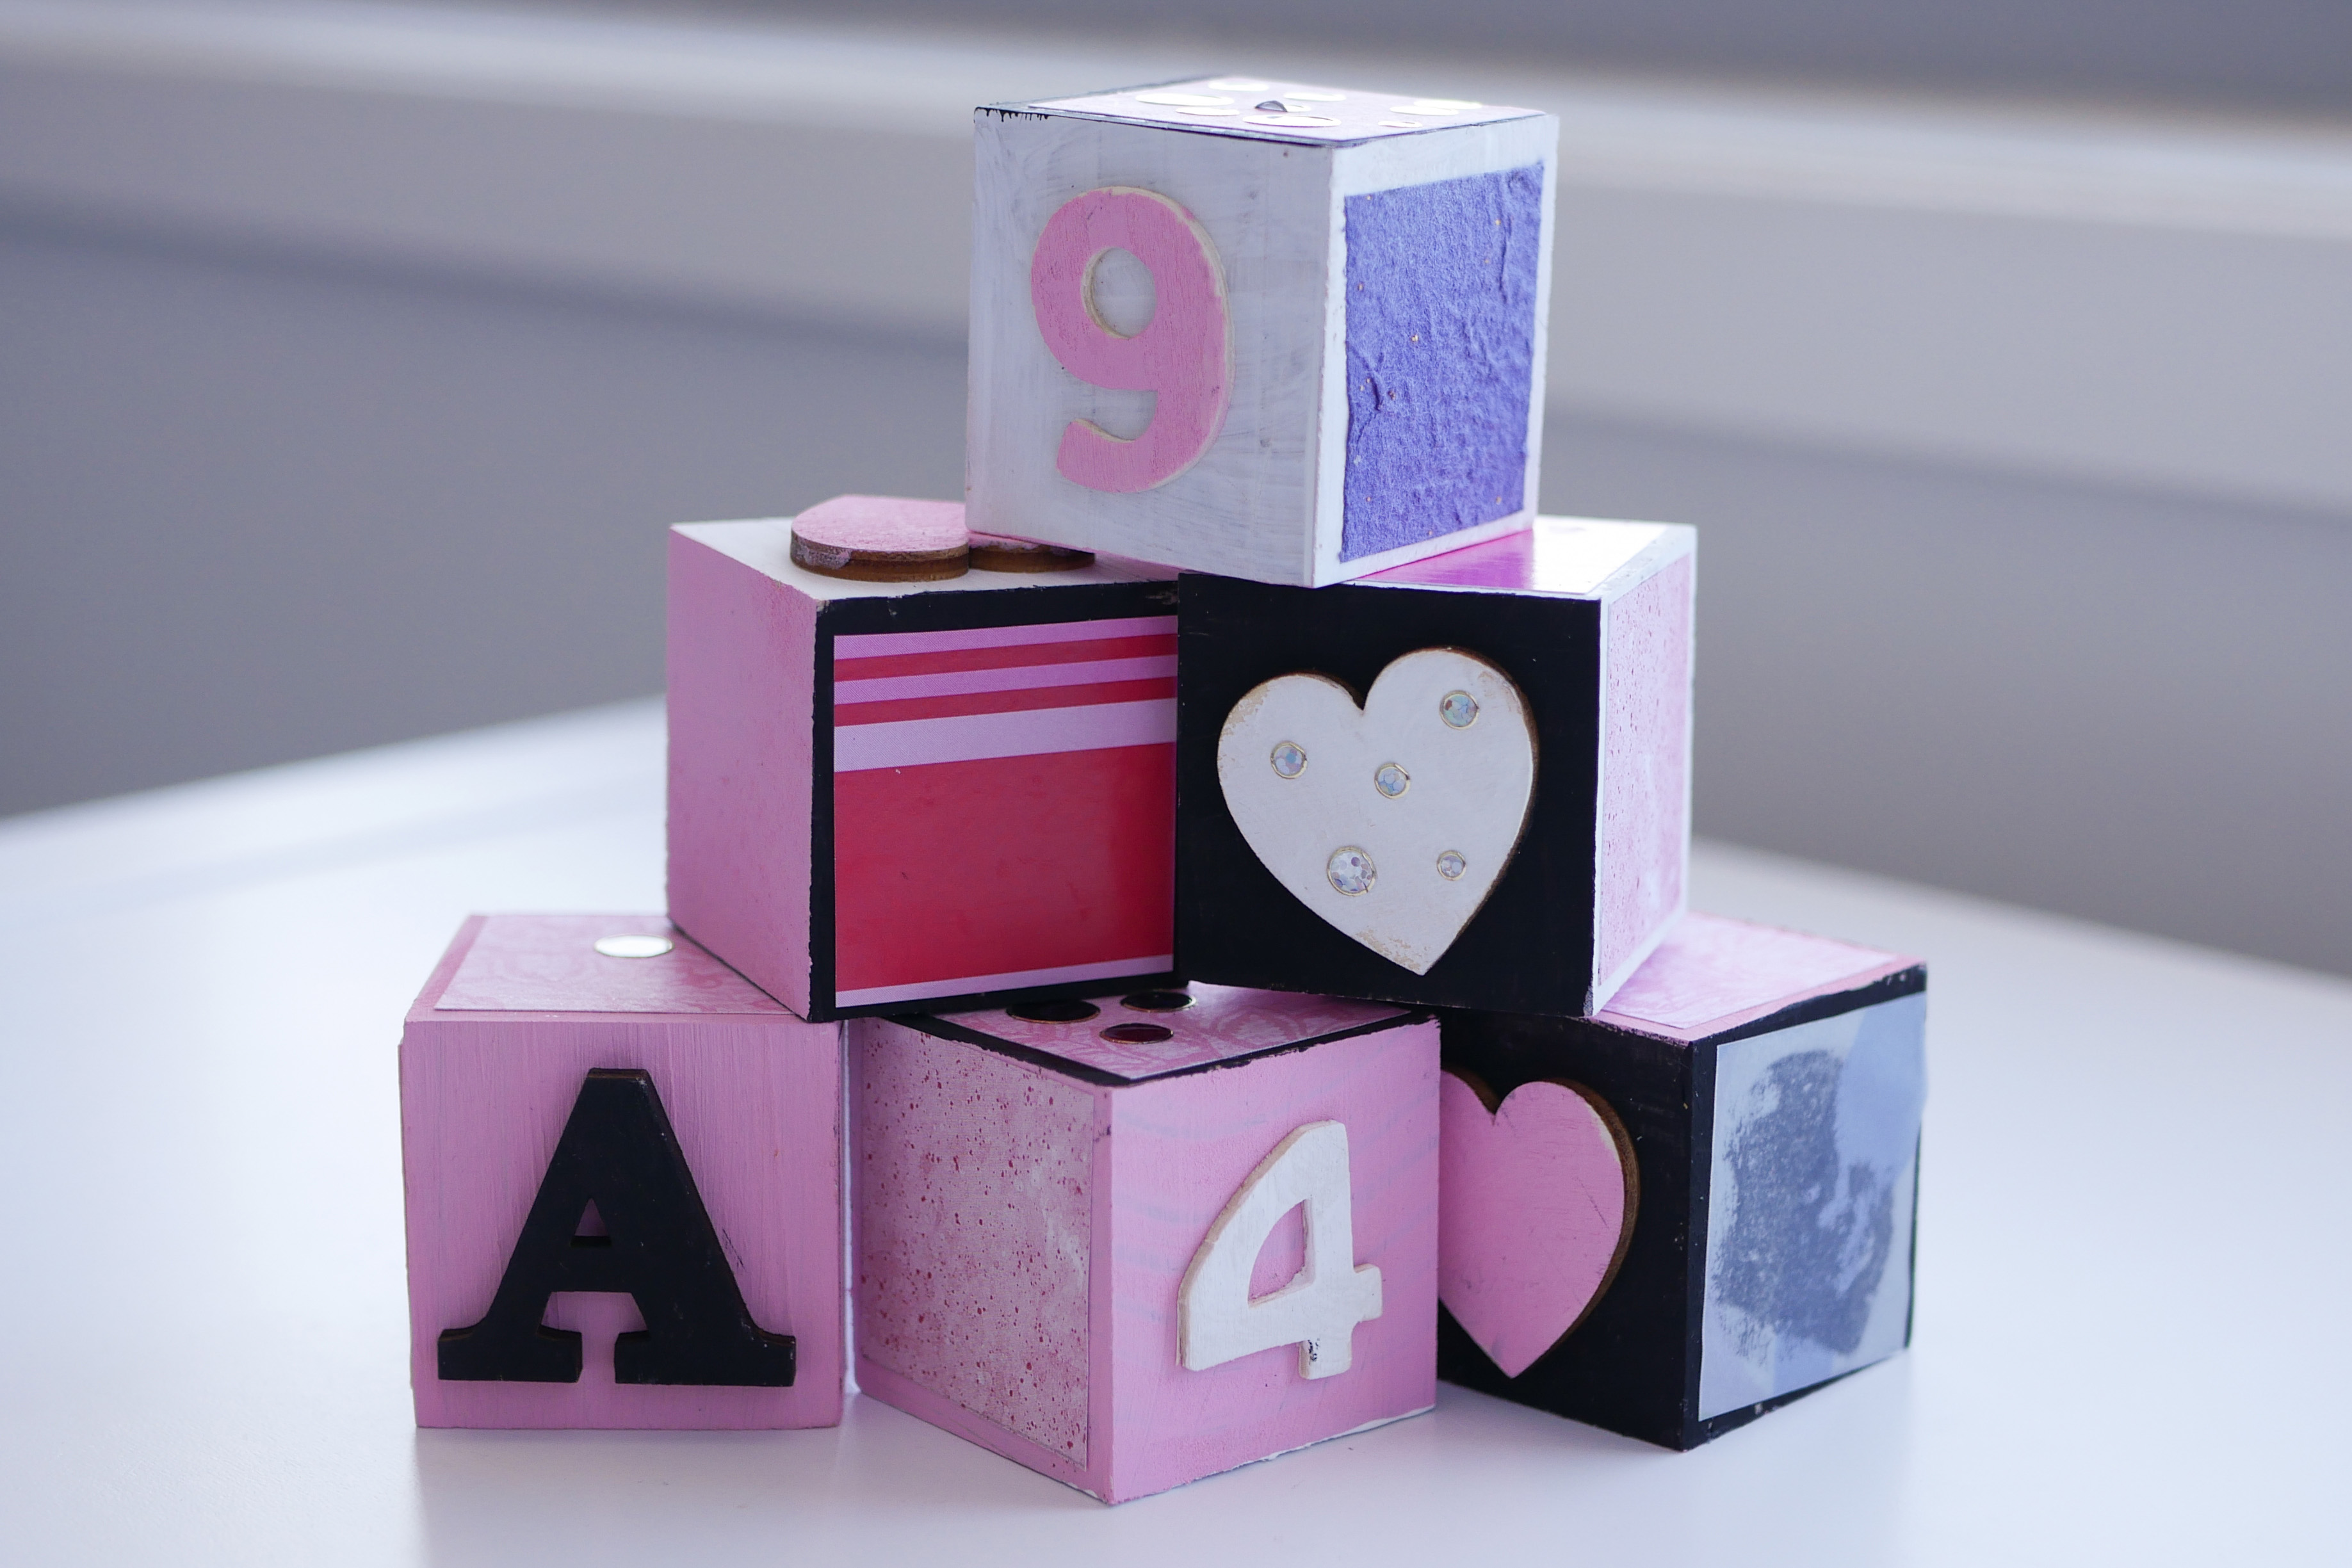
The decorate a block station was the other really big and complicated crafting station I organised for the day. The station was next to the headband making station so it could also make use of the hot glue gun. I bought 3 packs of 40mm blocks which had 12 pieces in each from eBay for $11.89 each. This meant I had 36 blocks altogether. Enough for the 26 letters of the alphabet with enough left over for numbered blocks from 1 to 10. The grey felt basket from Kmart was the perfect place to store them in both on the day and afterwards.
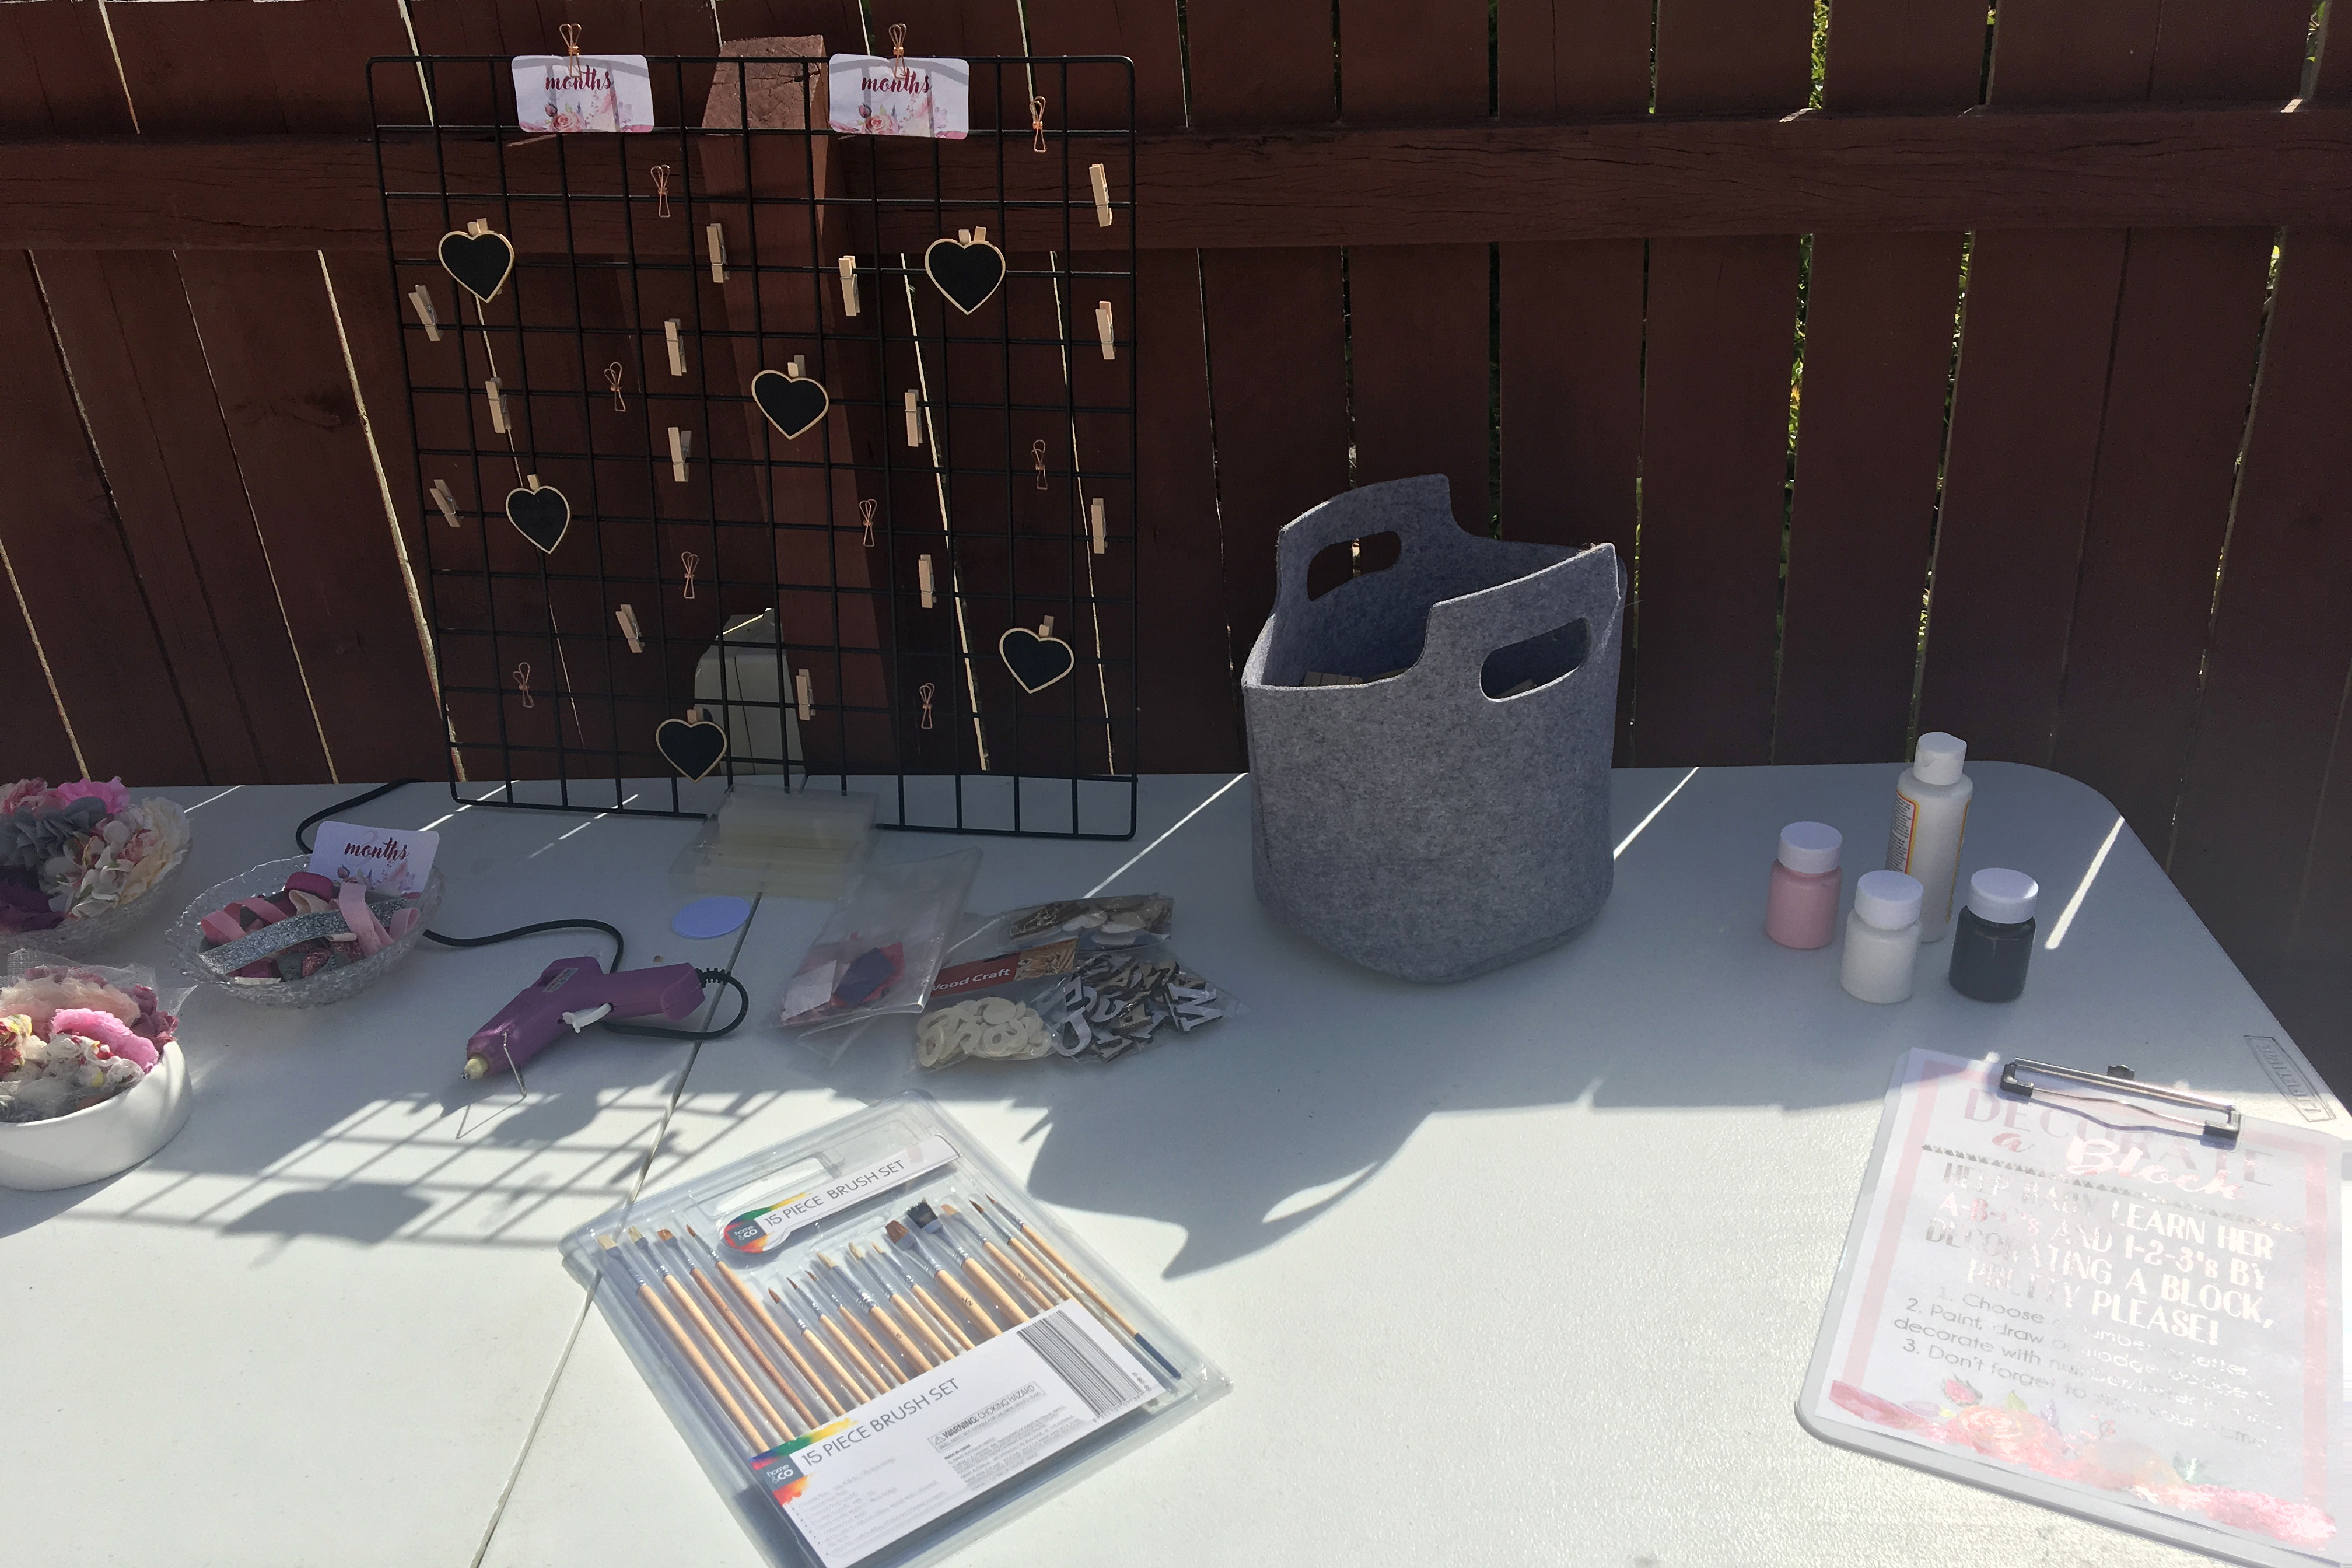
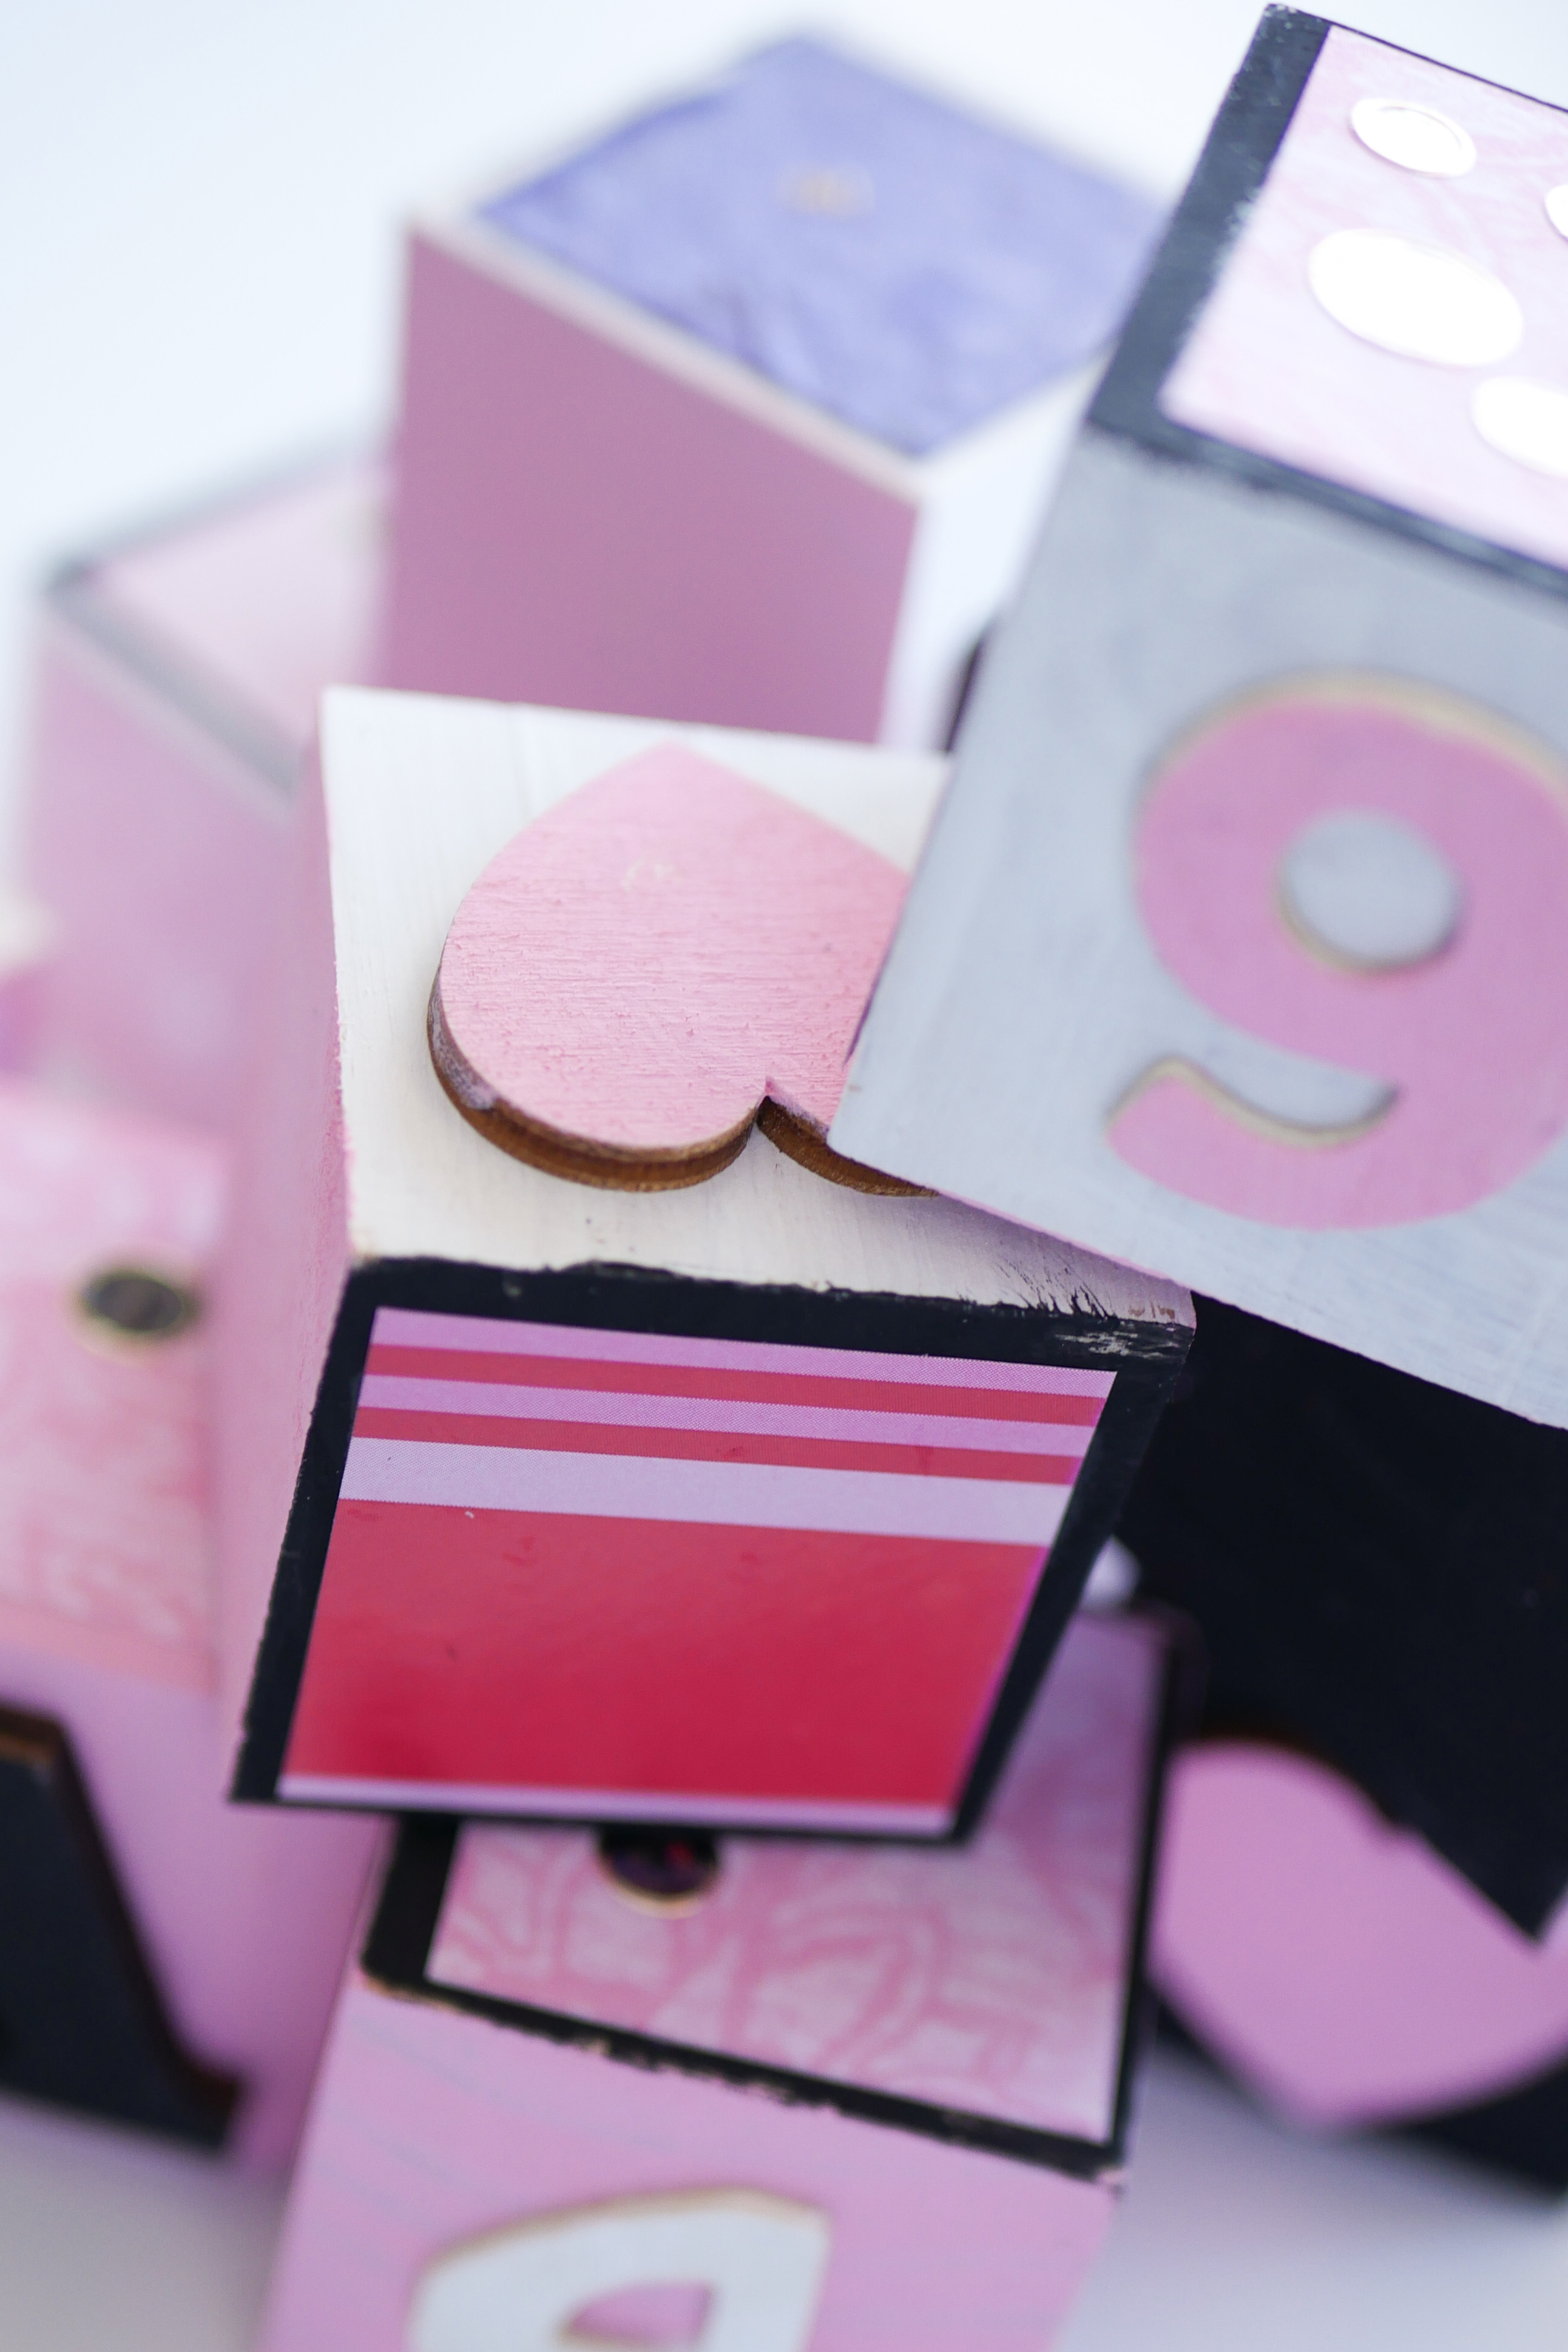
I originally was just going to have guests use sharpies to decorate the blocks but then I possibly went a little overboard and bought MDF wooden letters and numbers to glue to the blocks instead. I also bought little wooden hearts as well for more decoration.
To try and create a cohesive looking set of blocks I also put out little tubs of chalk paint in pink, black and white. Since I had paint, I also needed paint brushes so I used this set from Kmart. I had every intention of putting water out to clean the brushes but it slipped my mind on the day. To add another element of design to the blocks, I also had little bits of various patterned scrapbook paper squares which could be modge podged to the sides of the blocks.
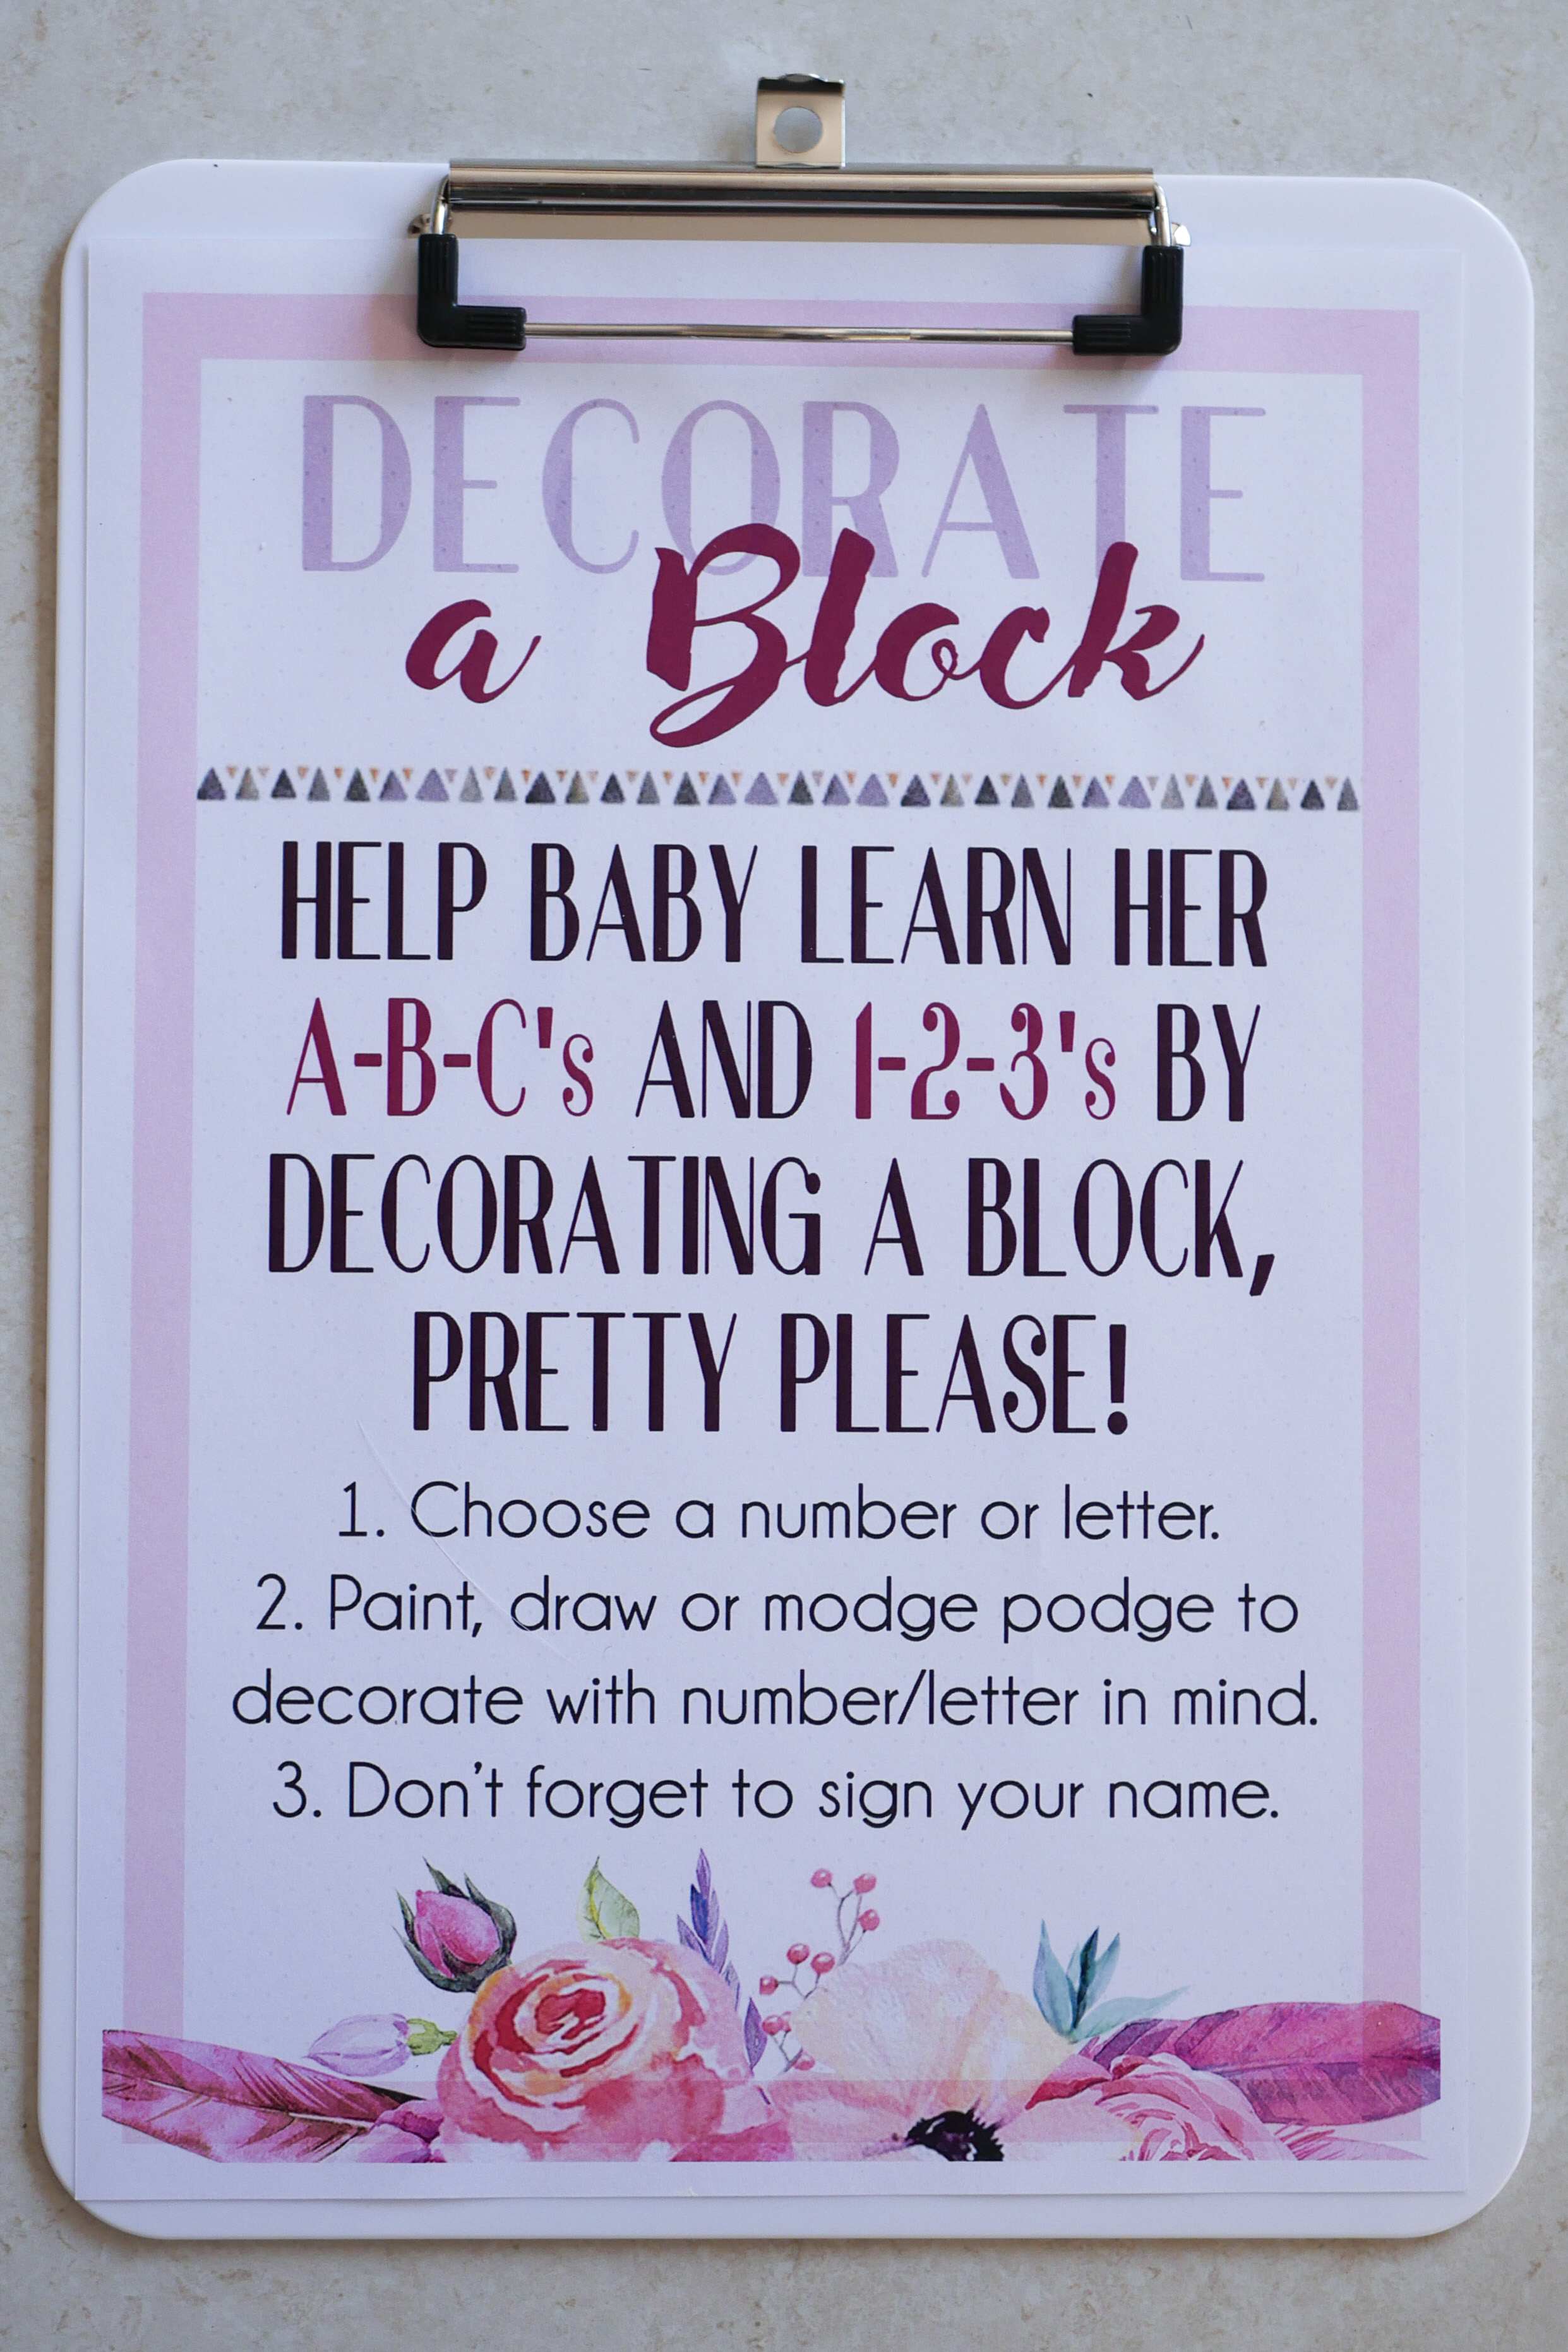
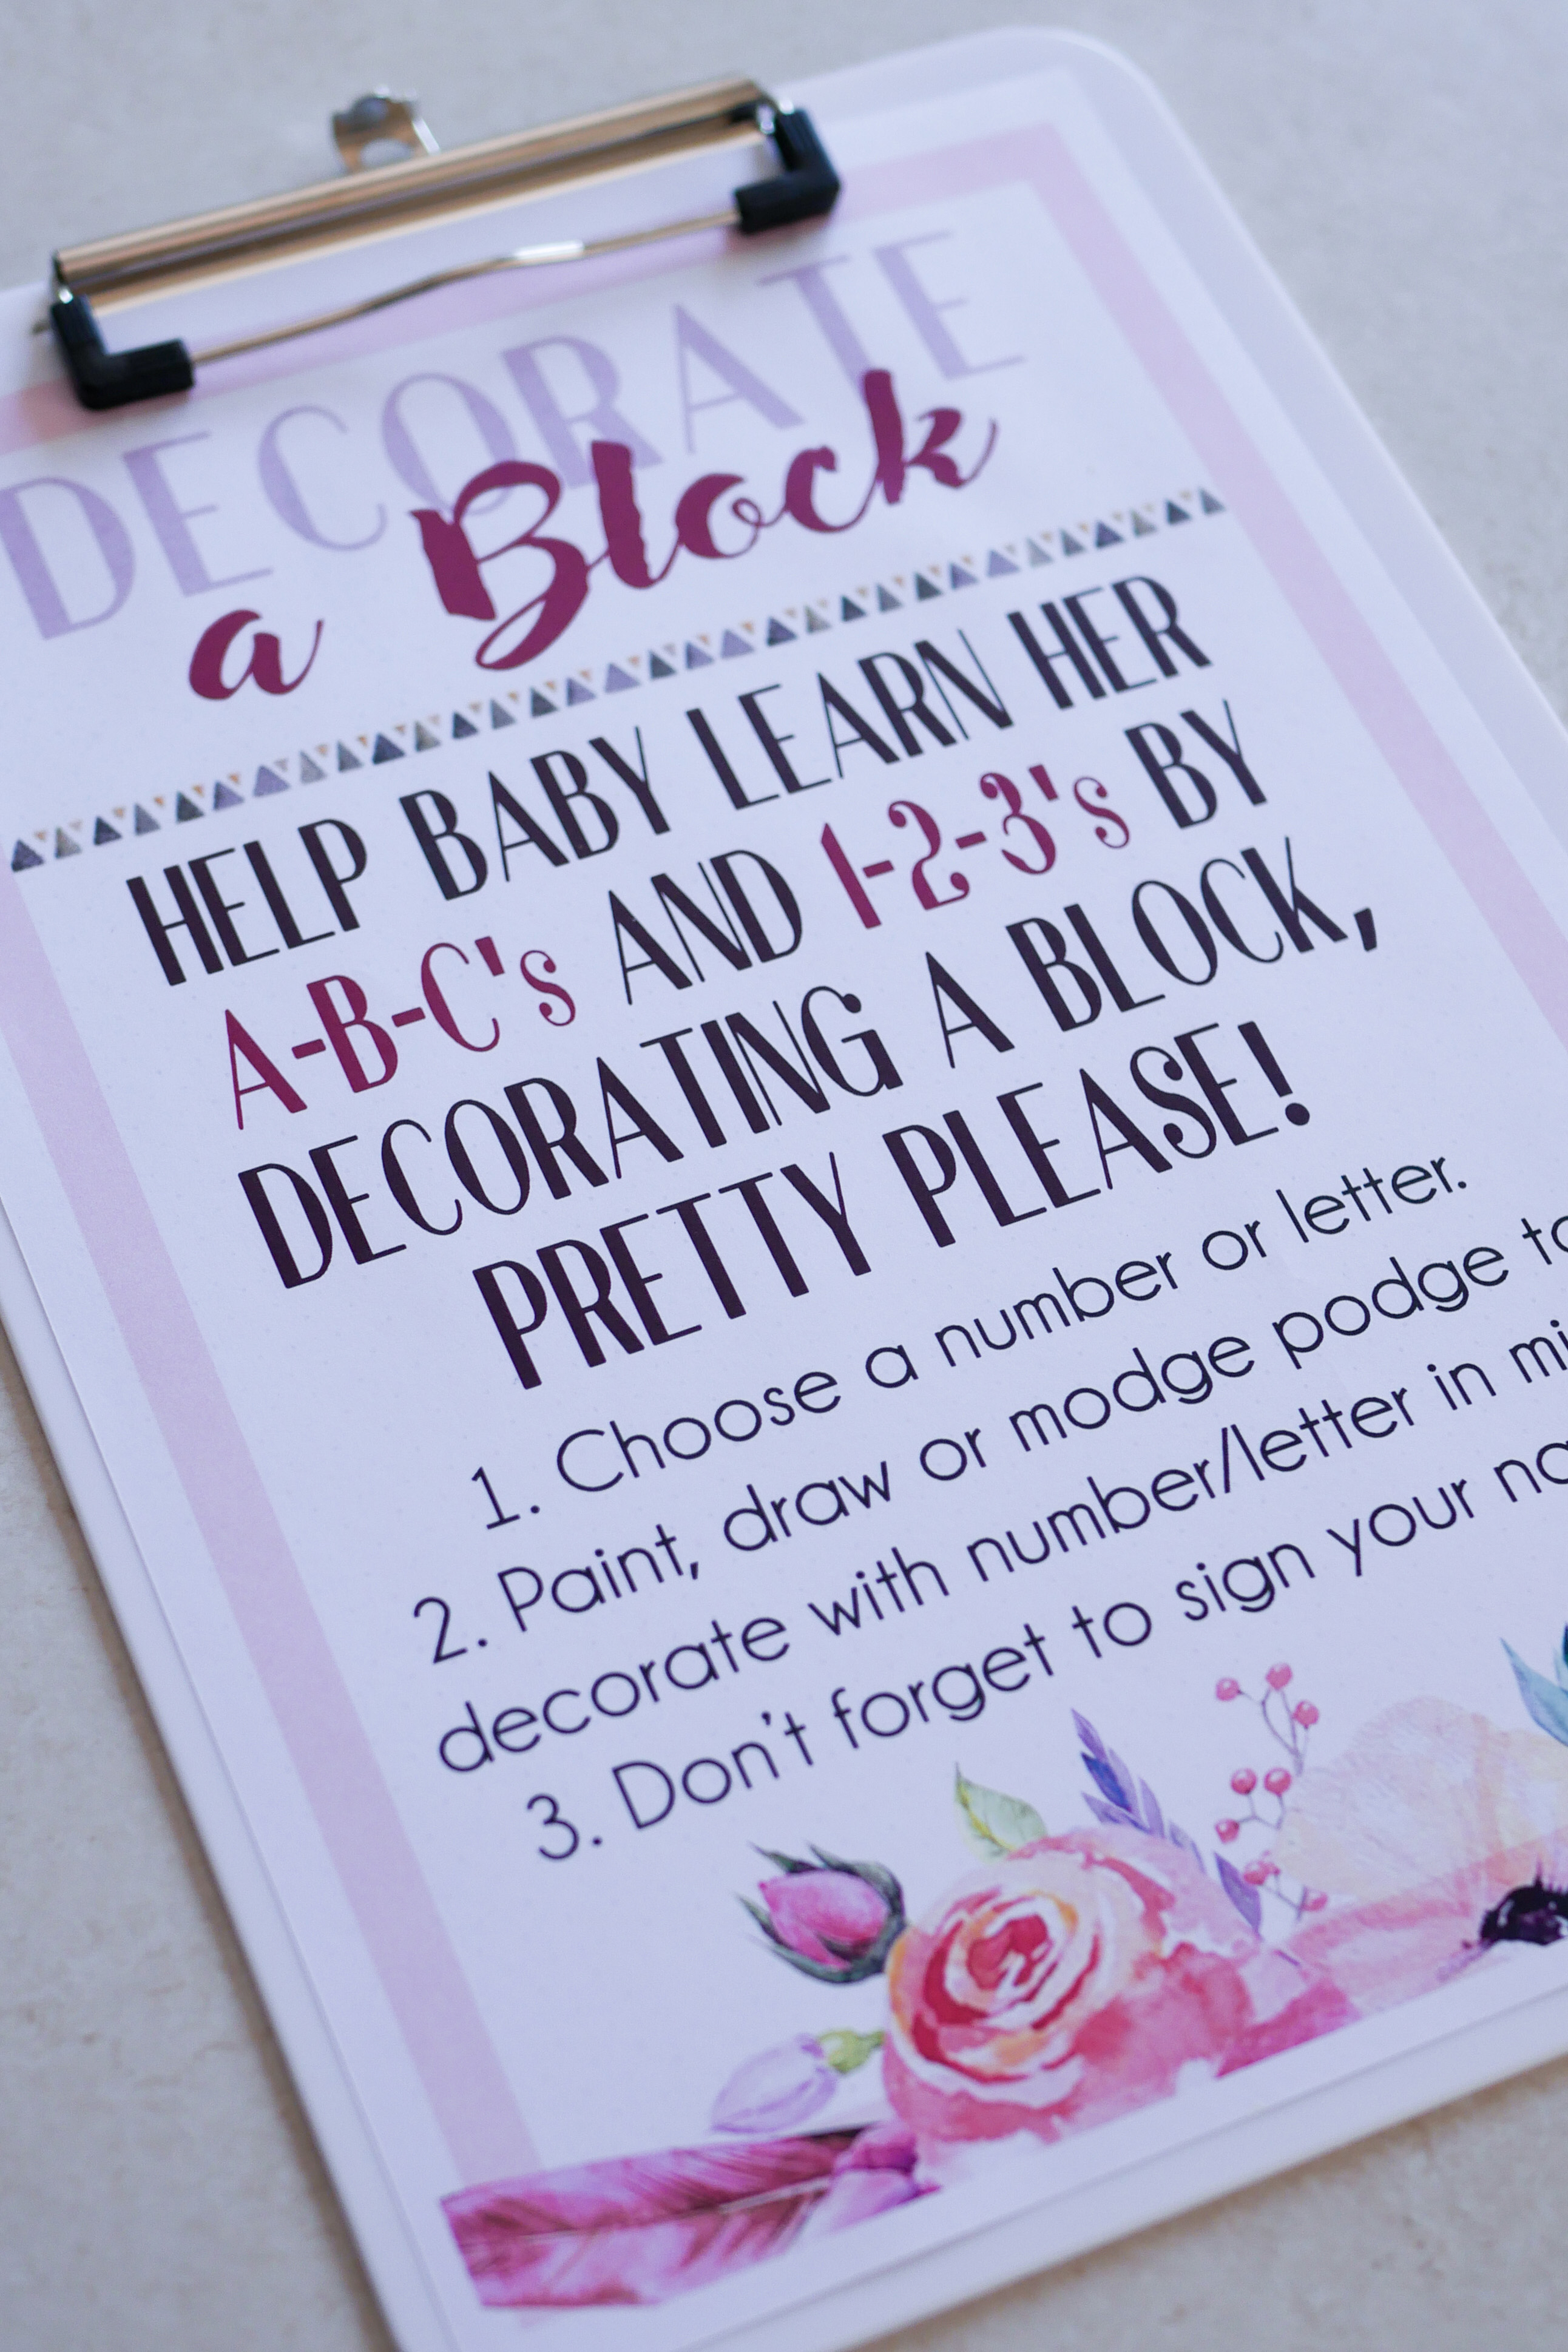
Again I used a clipboard from Kmart to hold the instructions but this time in white. Again people didn’t read the instructions and no one signed their name lol! You can’t win whether you put instructions out or not.
I think I probably gave everyone too much choice at this station. It would have been simpler for everyone, including me, to just have one way for people to decorate the blocks. Perhaps the guests felt overwhelmed. Perhaps they didn’t want to get paint on their clothes but only about 5 blocks were decorated on the day. Thankfully my mum took up the job to finish these off for me.
It’s A Girl Photo Booth
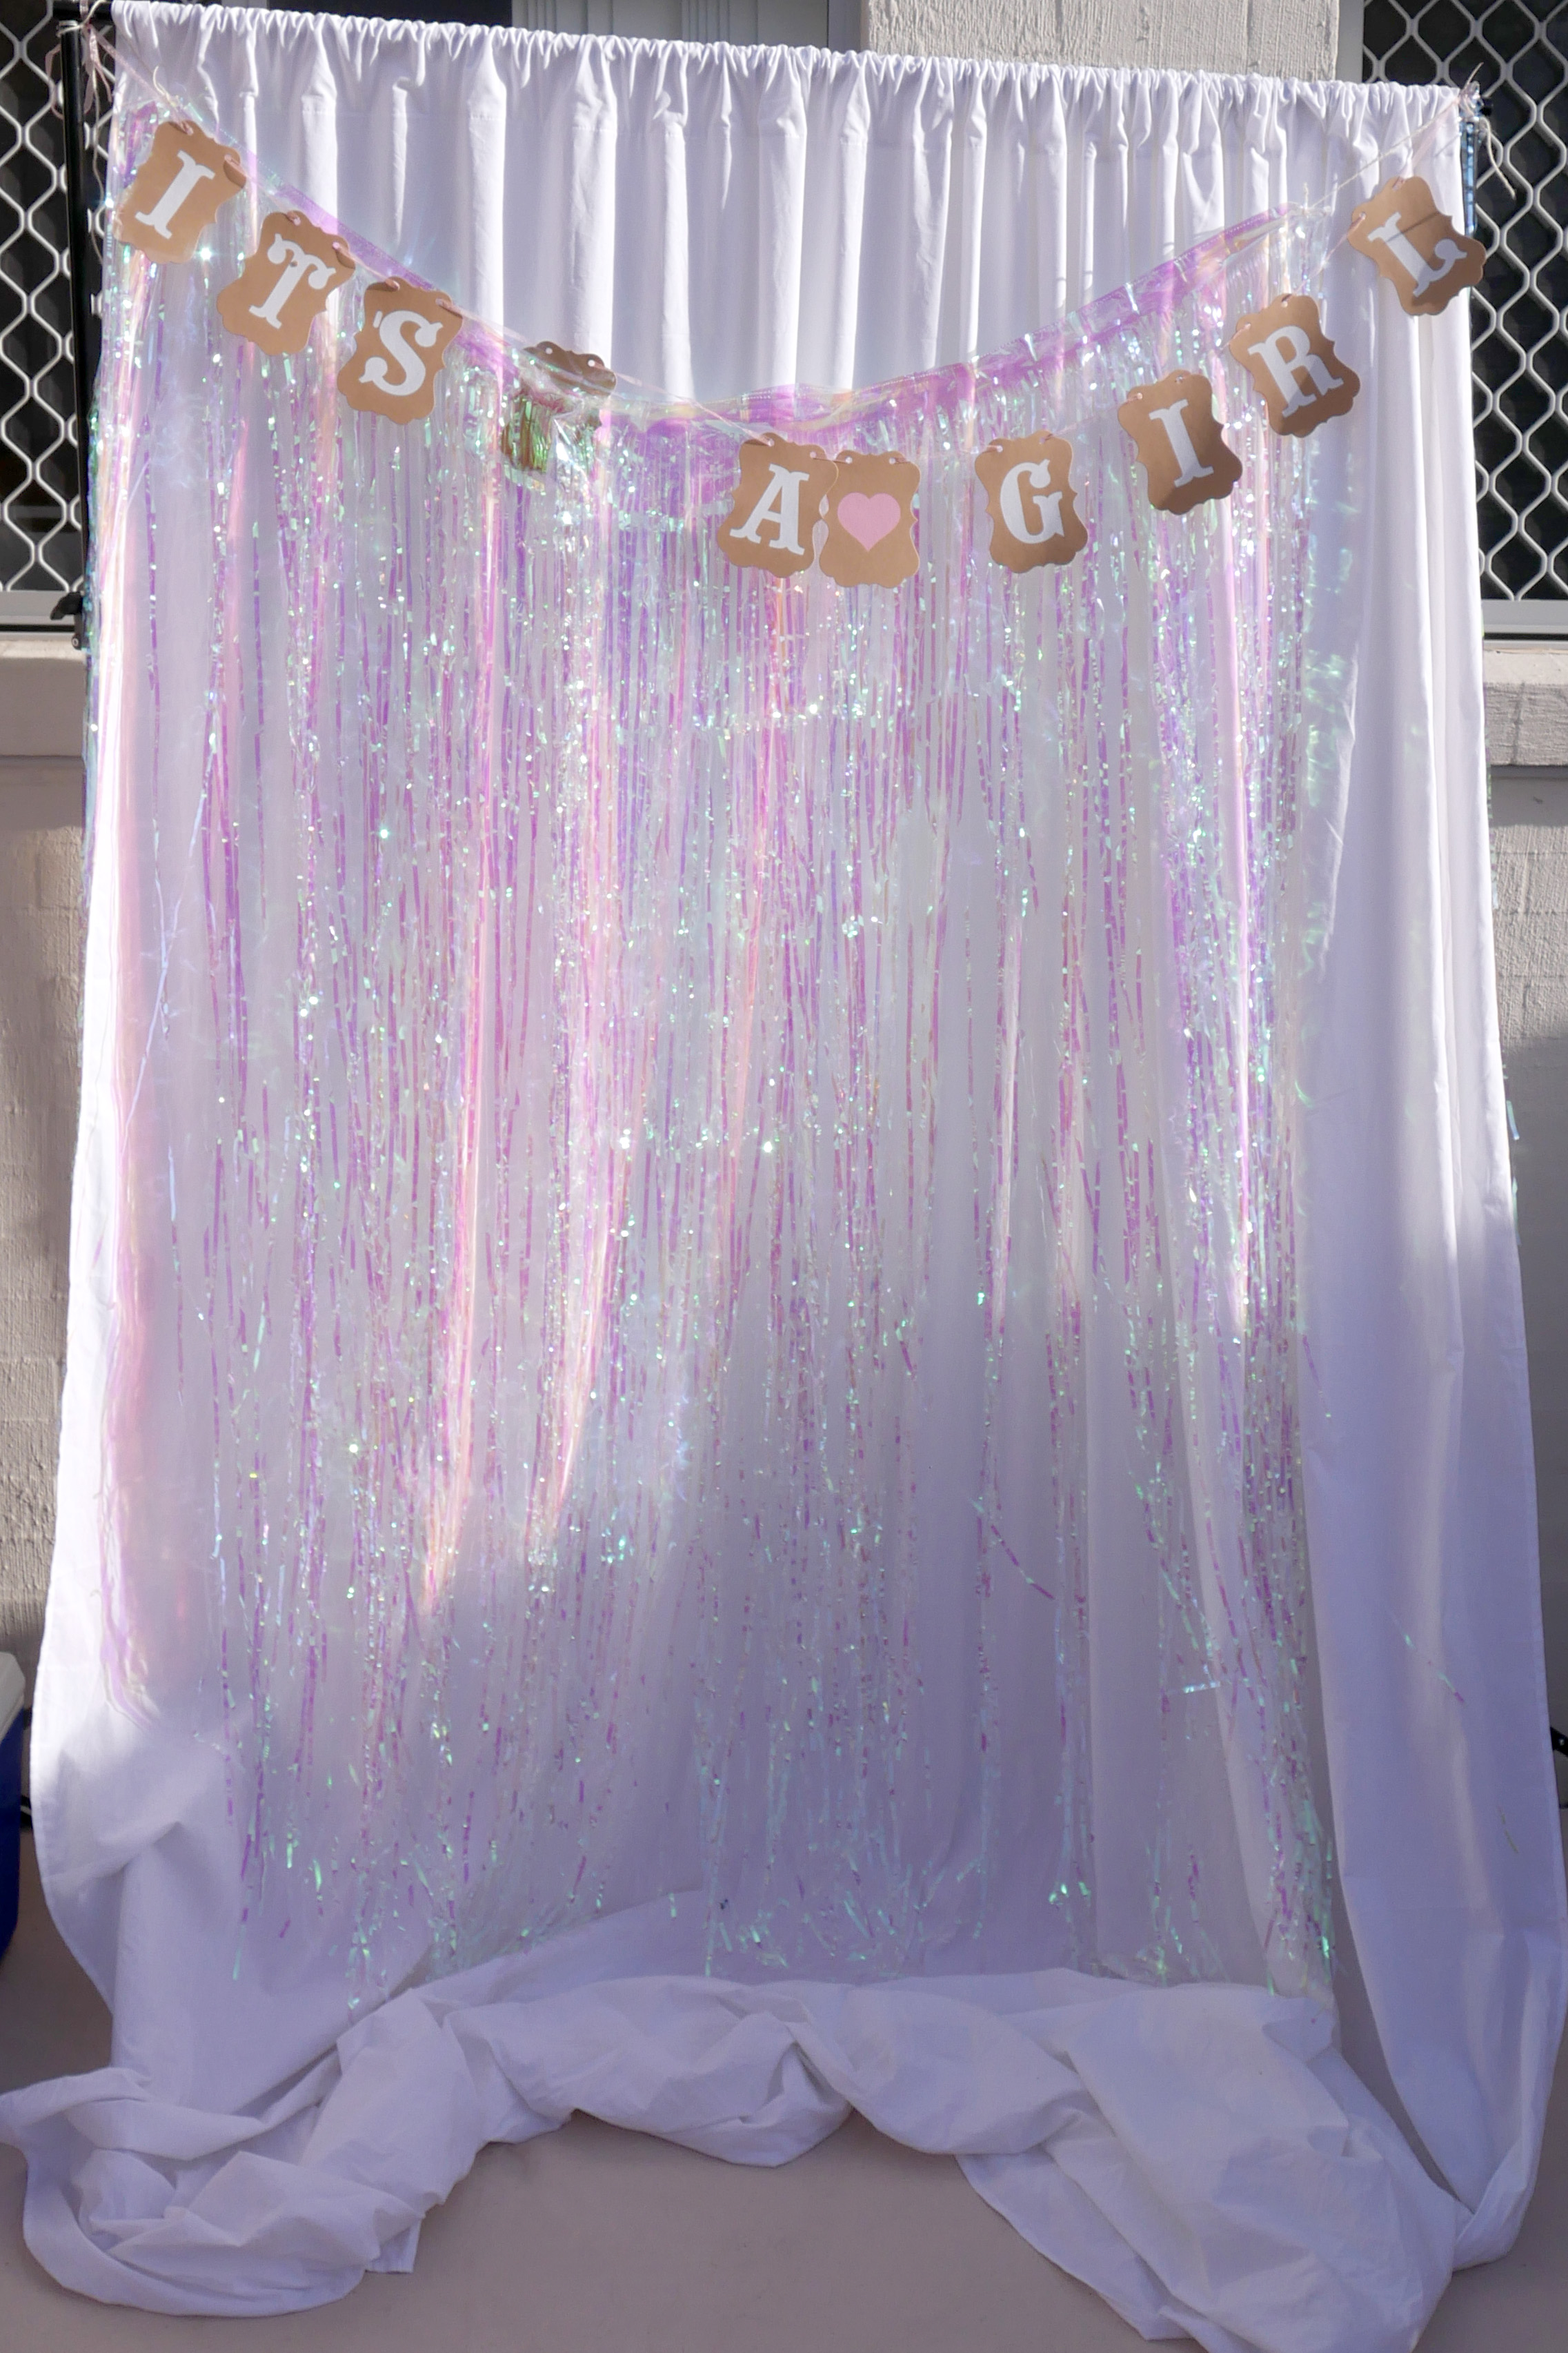
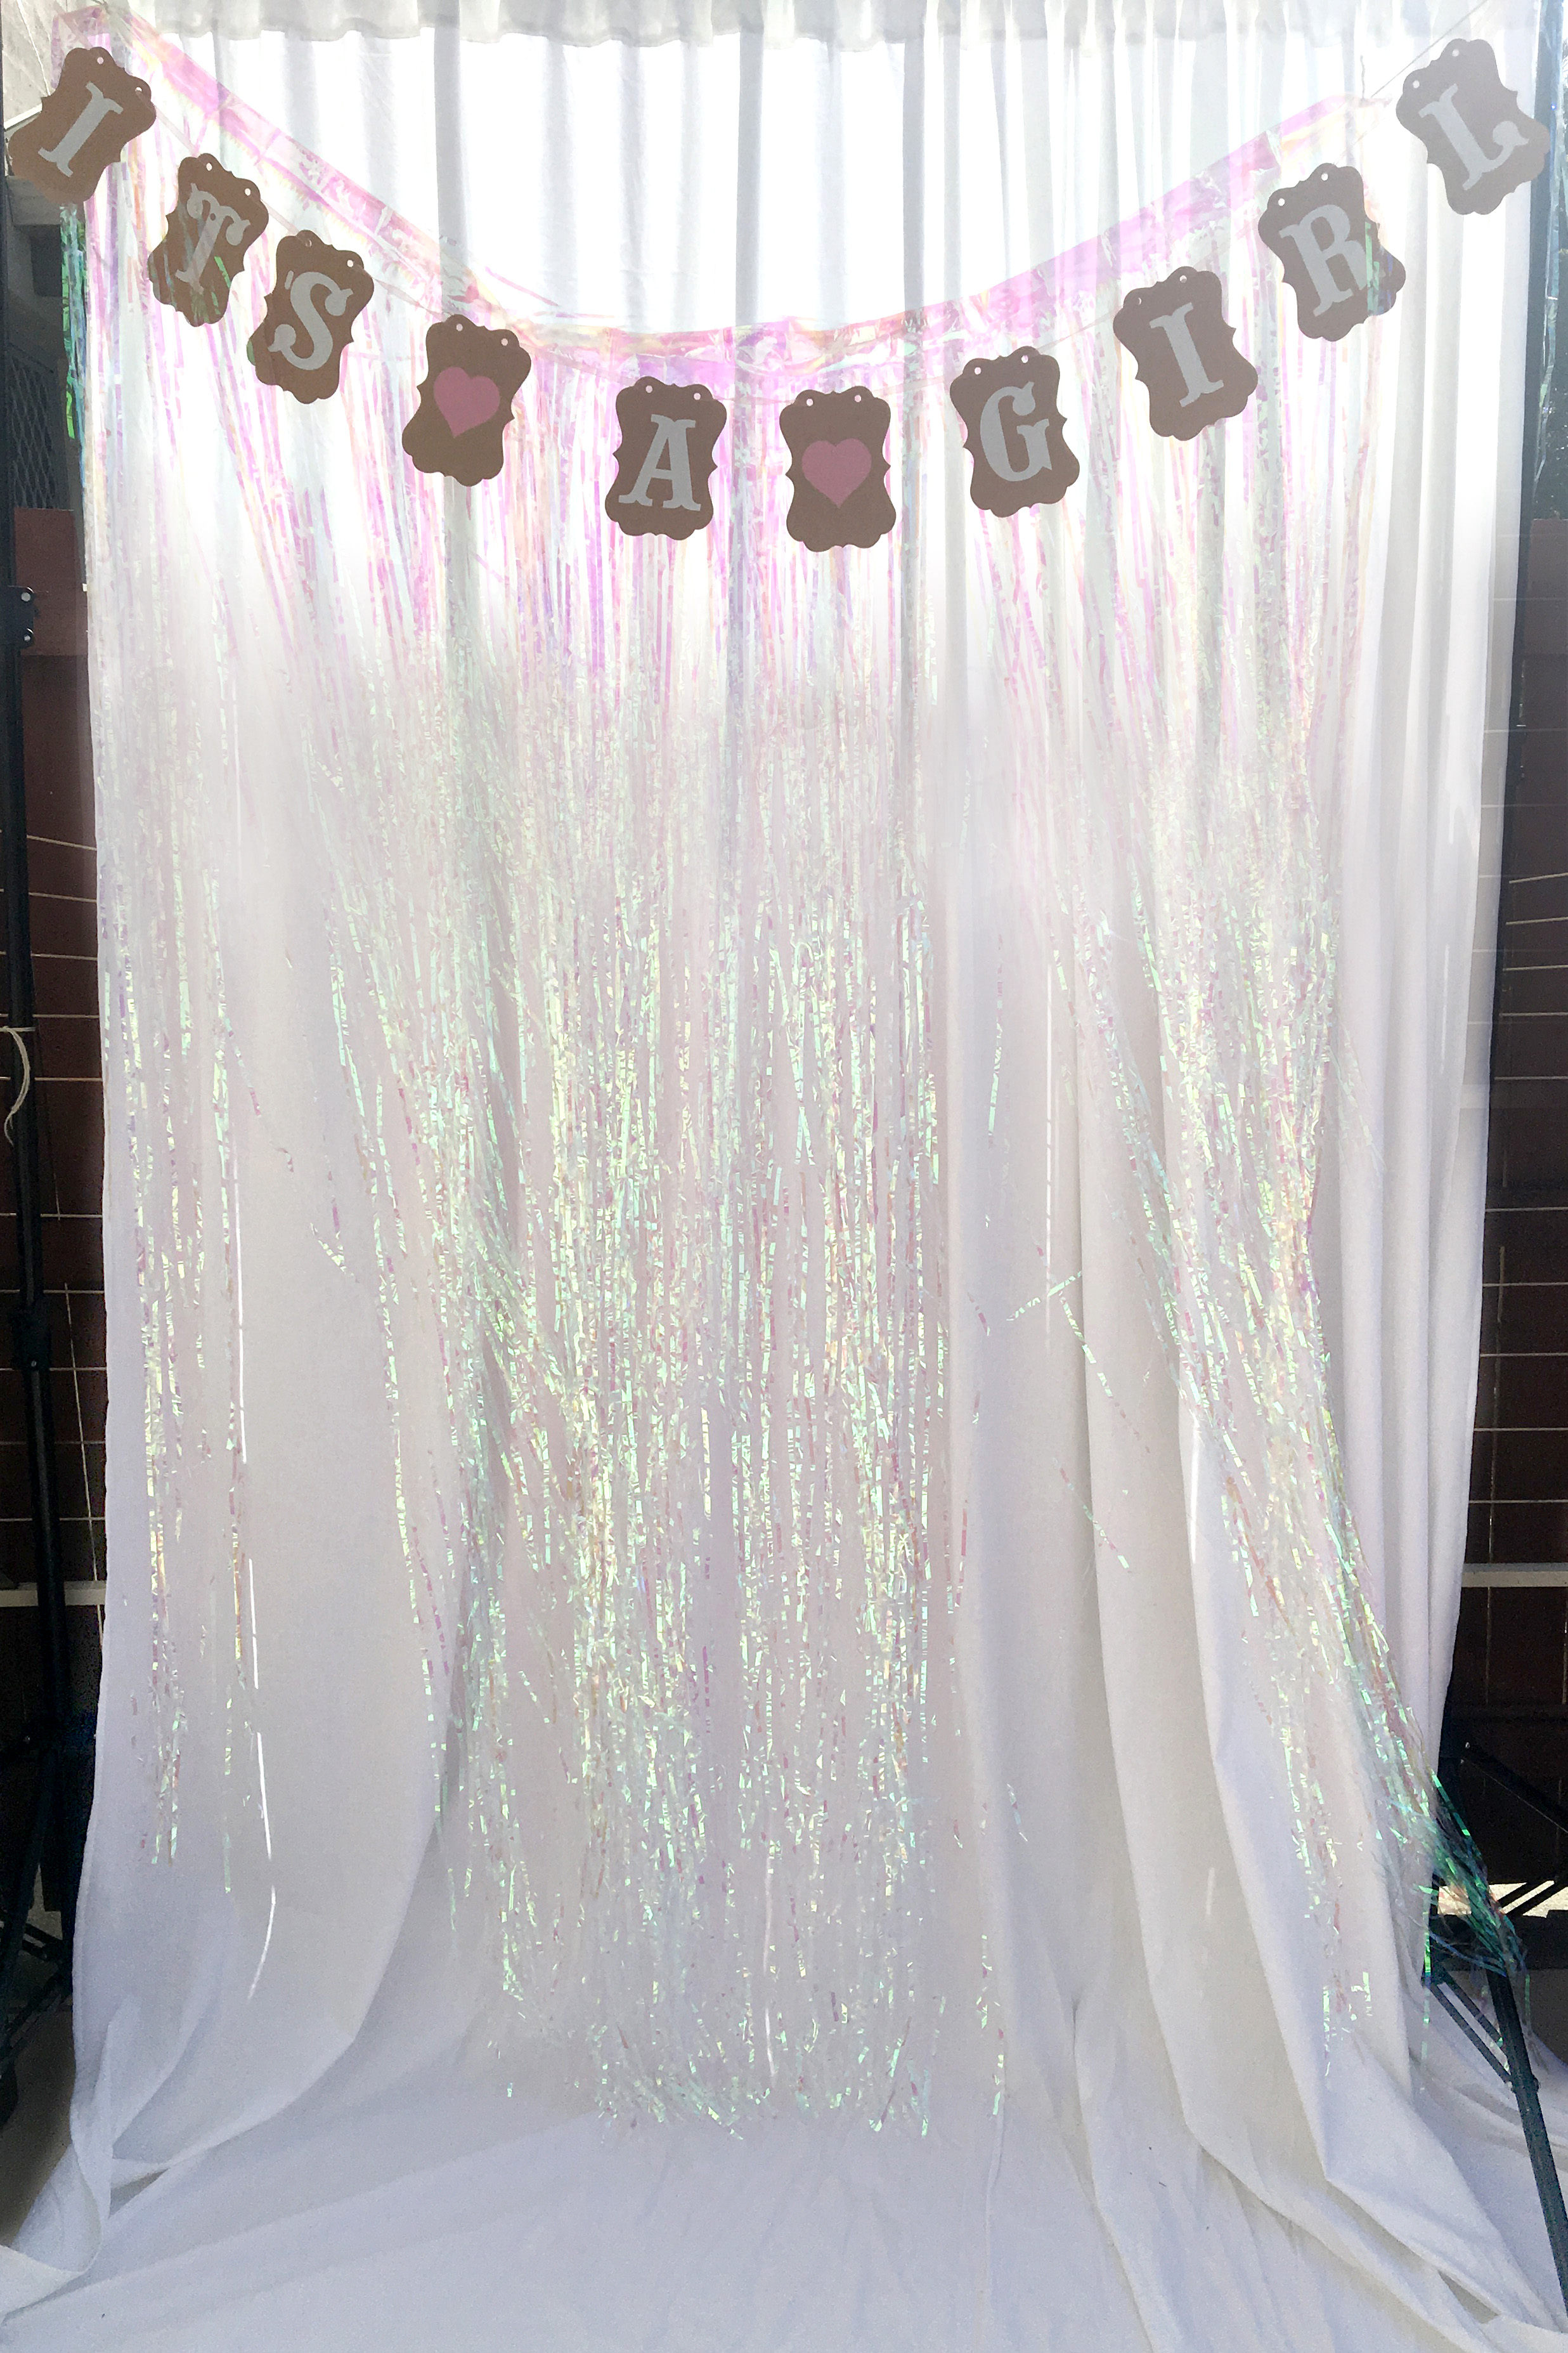
Everyone always loves a photo booth at a party! It’s guaranteed to ensure you capture many beautiful memories of the day as well. While it’s not really a baby shower craft, it still creates keepsakes you can look back on with joy! I already had this white photo backdrop for my blog photos! I then overlapped two lots of the Iridescent Foil Backdrop for $5 each from Kmart over the top and strung up the It’s a girl banner that came with this baby shower decoration kit from eBay.
My plan was to string up some of the other decorations from the kit but it didn’t end up happening. I set up the photo booth outside as inside was too dark for good photos. But then I got harsh sunlight and shadows from the fence in the photos until about 5pm. It was also quite a windy day. I had to make sure to attach the frame to the wall so it wouldn’t blow over.
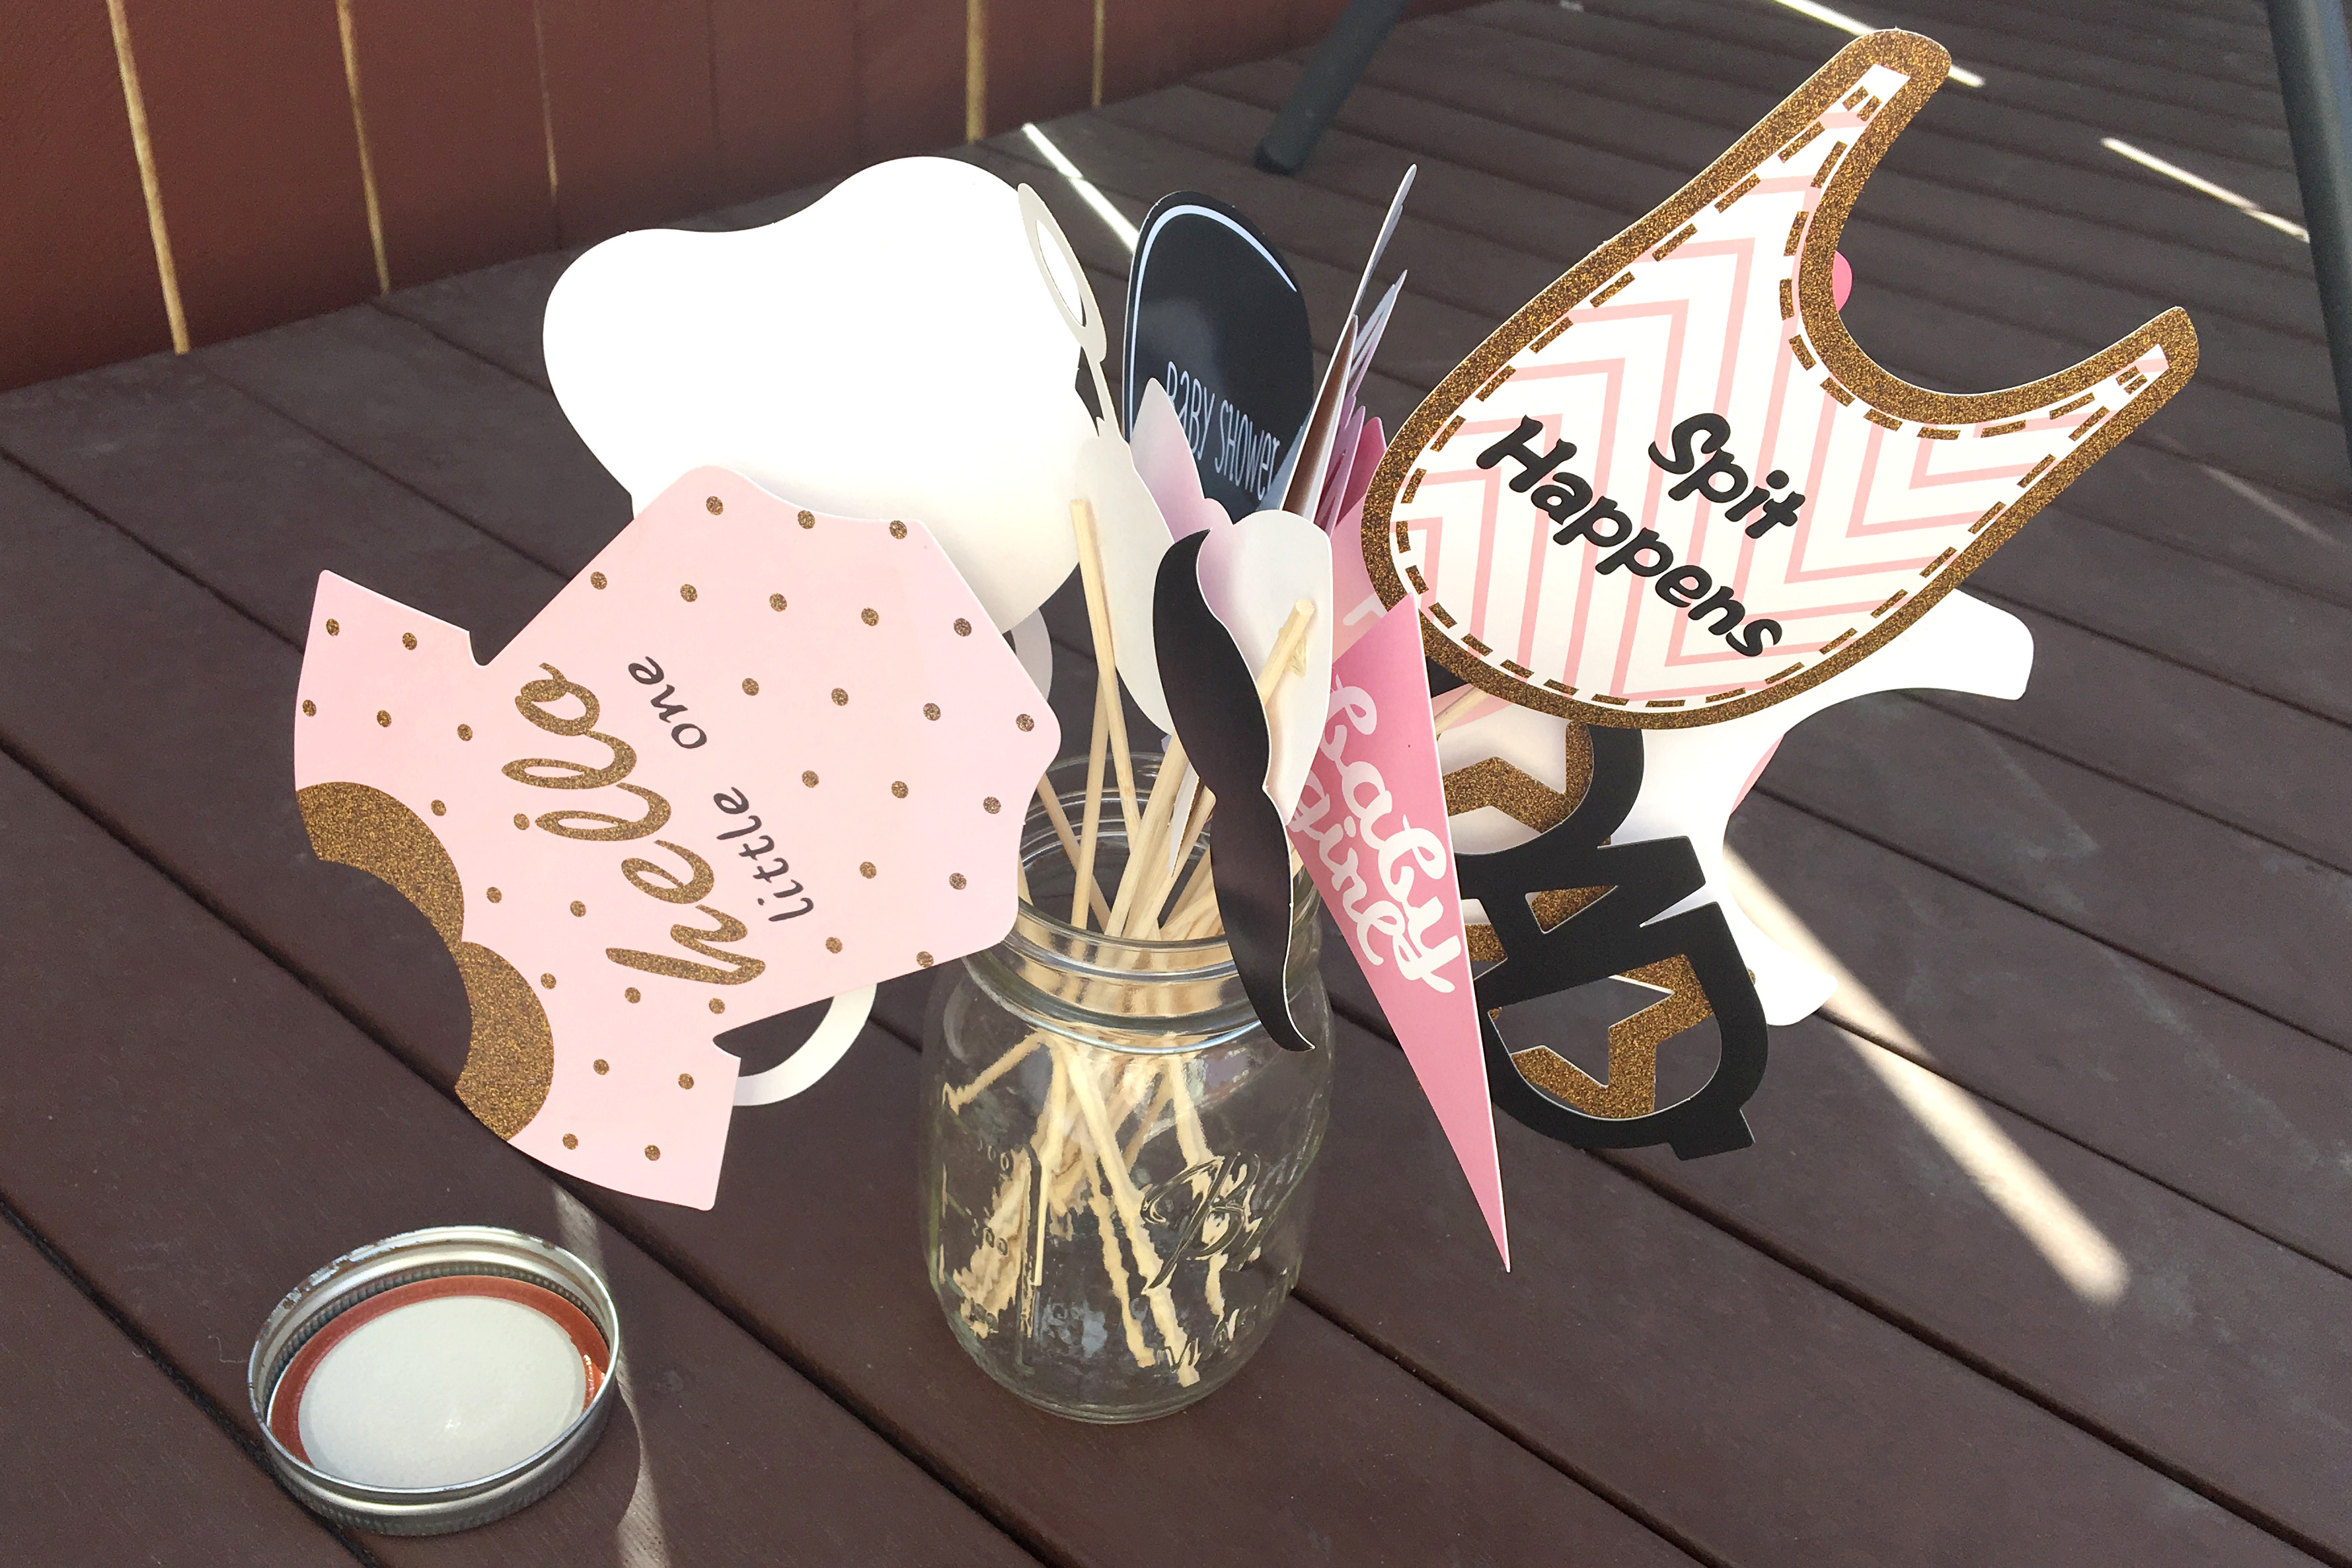
Along with the photo booth backdrop, I prepared some baby girl photo booth props as well. I thought about making my own but when you can buy them for only $7 why go to the effort? There was a little bit of an issue securing them properly to the sticks provided with the glue circles. They worked just fine for the day though. I put them on display next to the backdrop in a mason jar.
So that turned into quite the long post but you should not be wanting for baby shower crafts after that! You should also have plenty of keepsakes and memories to remember the special day with. Use the form below to sign up to the newsletter and gain access to all the free baby shower printables. If you do use any of the free printables I provide from any of the posts in the floral baby shower series, I would love for you to tag me @stylewithingrace if you post to social media! Have a very happy baby shower! I hope your labour or whoever you are throwing the party for’s labour goes smoothly.
Other Posts in the Series
– Floral Baby Shower Invites
– Floral Baby Shower Food
– Floral Baby Shower Games
