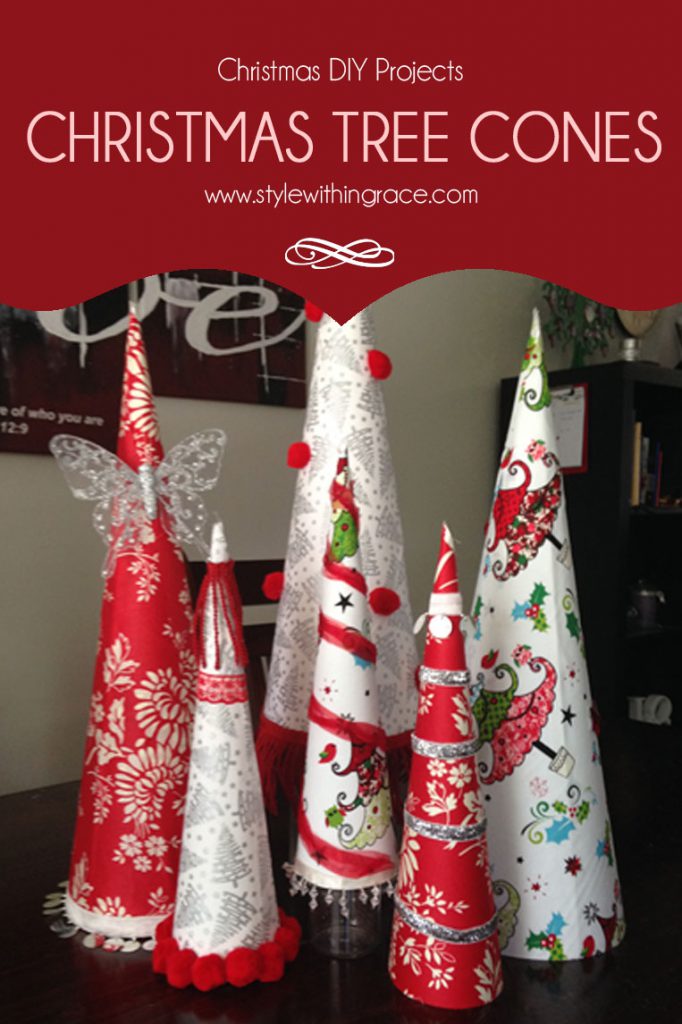
Spotlight had a half price sale on all Christmas themed material a few weeks ago so I stocked up for a couple more Christmas themed DIYs. To start with the easiest, I made some Christmas Tree Cones to continue decorating the downstairs area in our home. These can be used alongside your Christmas tree or used as an alternative to a Christmas tree if you don’t have the space or like me have pets that will climb and wreck said Christmas tree if you were to put it up.
What you will need:
- Card stock or Styrofoam Cones
- Pencil
- Ribbon or String
- Scissors
- Sticky Tape
- Craft/Wood Glue or Hot Glue Gun
- Christmas Fabric
- Spray Adhesive
- Any accessories you want to add e.g. ribbon, pompoms, trimming, glitter, bells, stars, feathers etc.
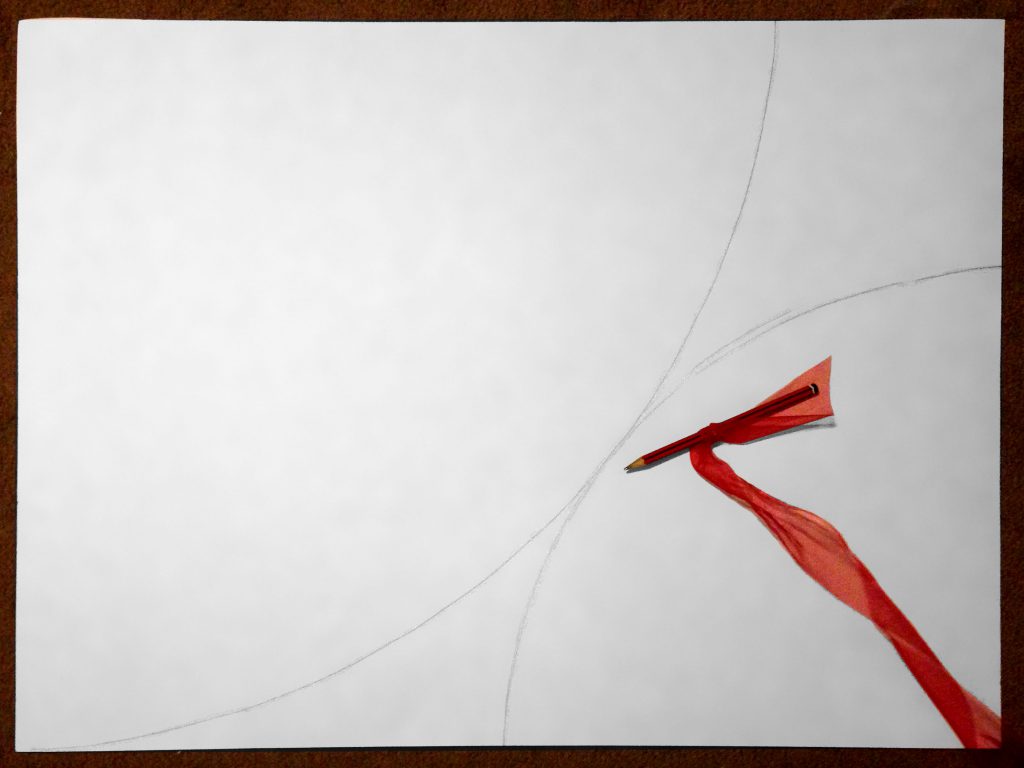
Step 1: Draw out cone shapes on your card stock and fabric.
I started with 4 pieces of card stock and drew out the cones to cut out so that I could fit a big cone and a small cone out of each piece of card. I tied a piece of ribbon to my pencil and held one end at the corner of the card so that the pencil could draw out a fairly smooth round edge. Alternatively you could buy Styrofoam cones if you can find them for a good price and then just skip to step 4.
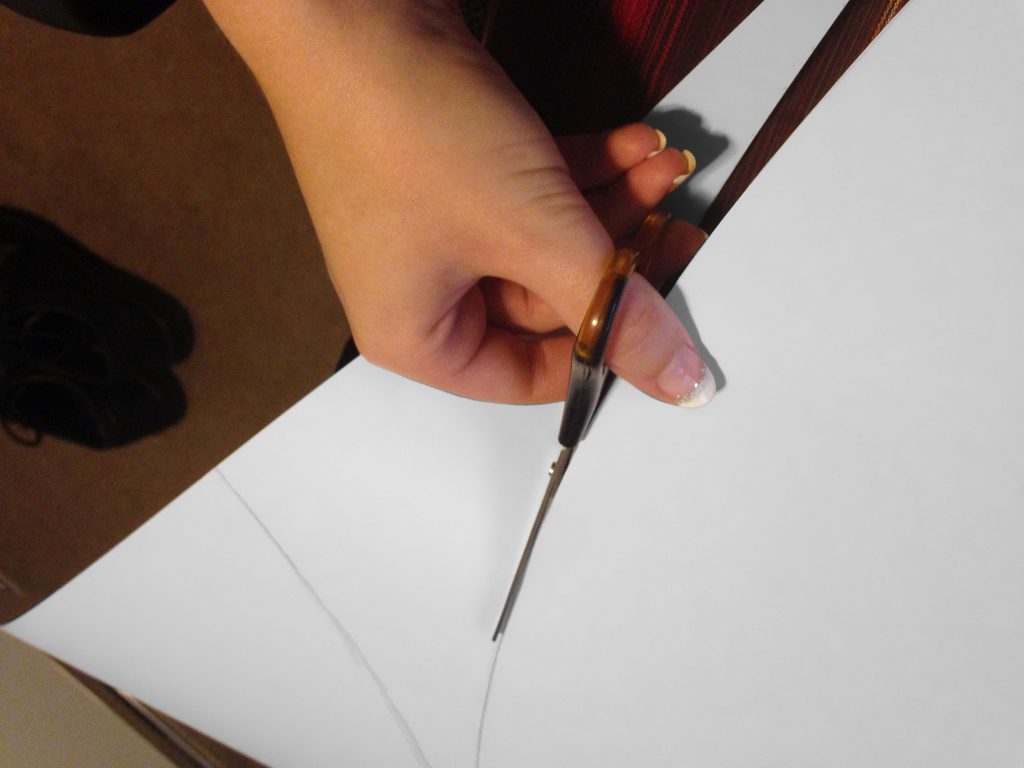
Step 2: Cut out all pieces
Cut out the card pieces and fabric so you are all ready to glue them together. You wont need as much fabric as you do cardstock. I would recommend creating a base cone first and testing how much fabric you need before cutting it all out.
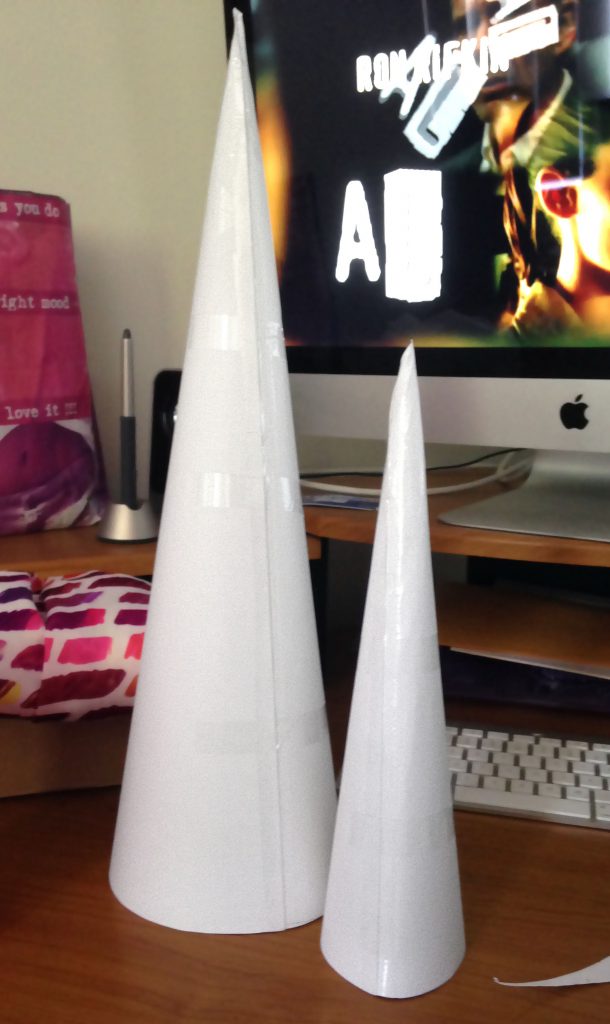
Step 3: Roll up and secure with either a hot glue gun or sticky tape
I saw tutorials around the net that used a hot glue gun to glue them together but I didn’t have one handy so I just sticky taped it thoroughly with Scotch tape and it seems to be holding just fine, especially now that they are reinforced with the fabric. Just make sure to get the seam to sit down against the other side otherwise you’ll have a lump after you apply the material. (Yes I was watching Alias while doing this)
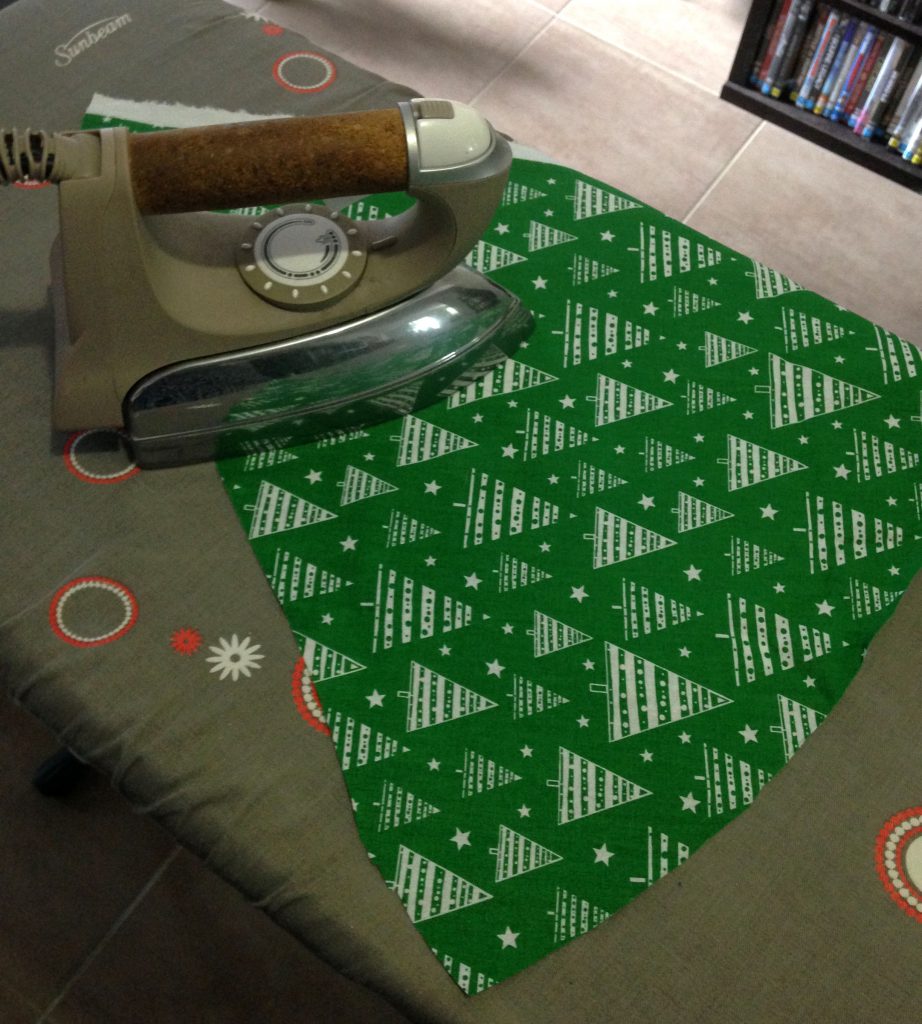
Step 4: (Optional) Iron Fabric if needed
My fabric had fairly strong crease lines from being folded so I ironed the pieces briefly to get rid of these. This seemed to expand the fabric slightly which meant that it went onto the cone a lot more smoothly than the ones I didn’t iron so I would recommend doing this step but of course it’s your choice.
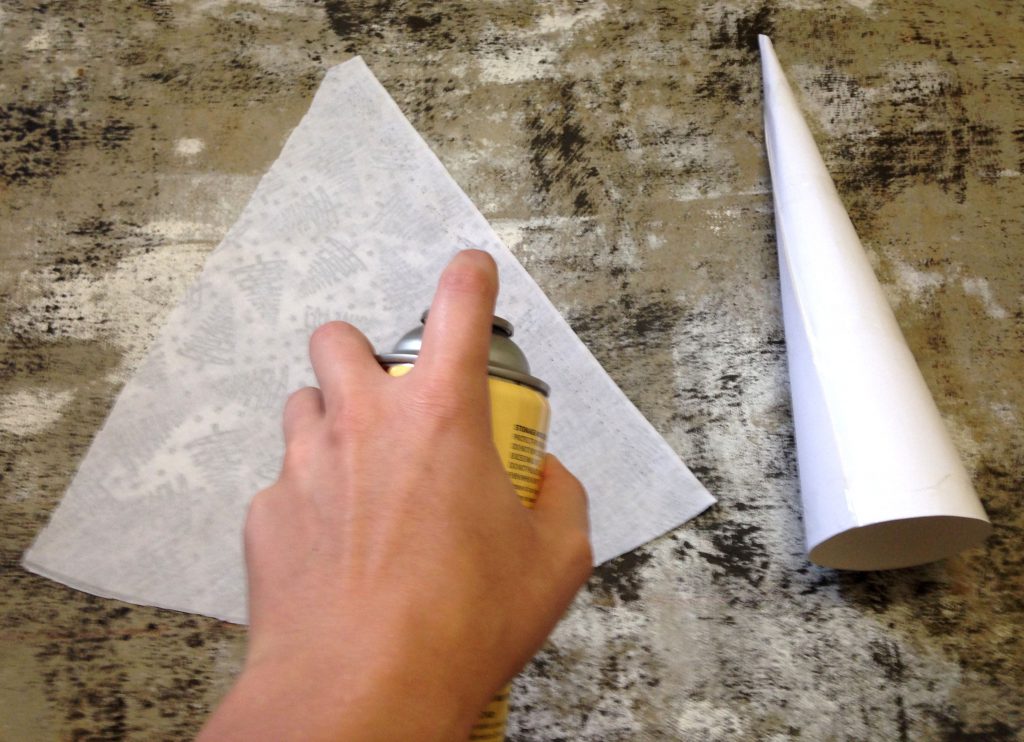
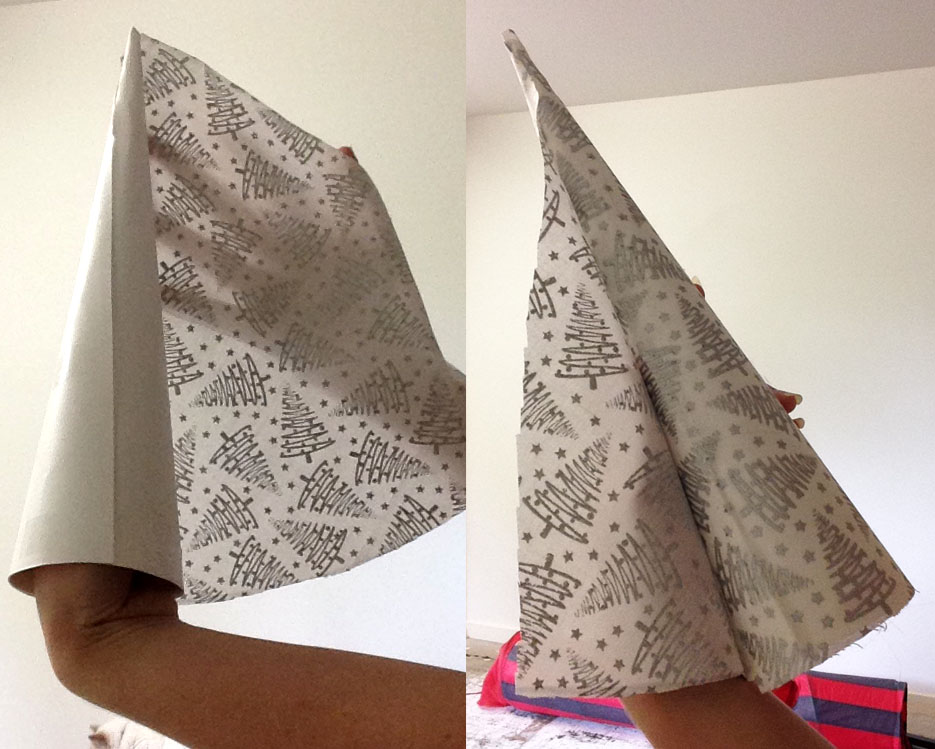

Step 5: Glue Fabric onto cone
Spray cone and fabric piece liberally with spray adhesive and allow to go slightly tacky before connecting to cardboard cone. Try to smooth out any lumps as you go. You’ll need to spray more adhesive on the overlap of material to keep the ends down. Try not to have too much overlap as it wastes the fabric and with any white-based fabric you may be able to see the pattern through the top layer. If there is any extra fabric at the base of your cone, trim away with your scissors.
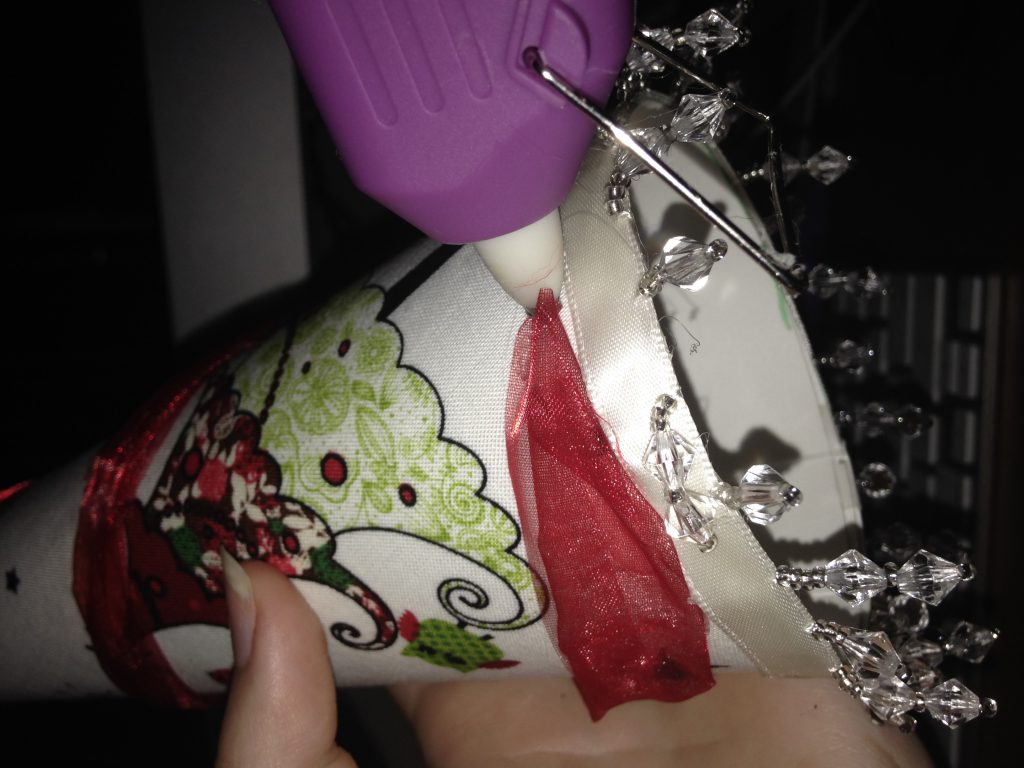
Step 6: Glue any additional decorations to your cones
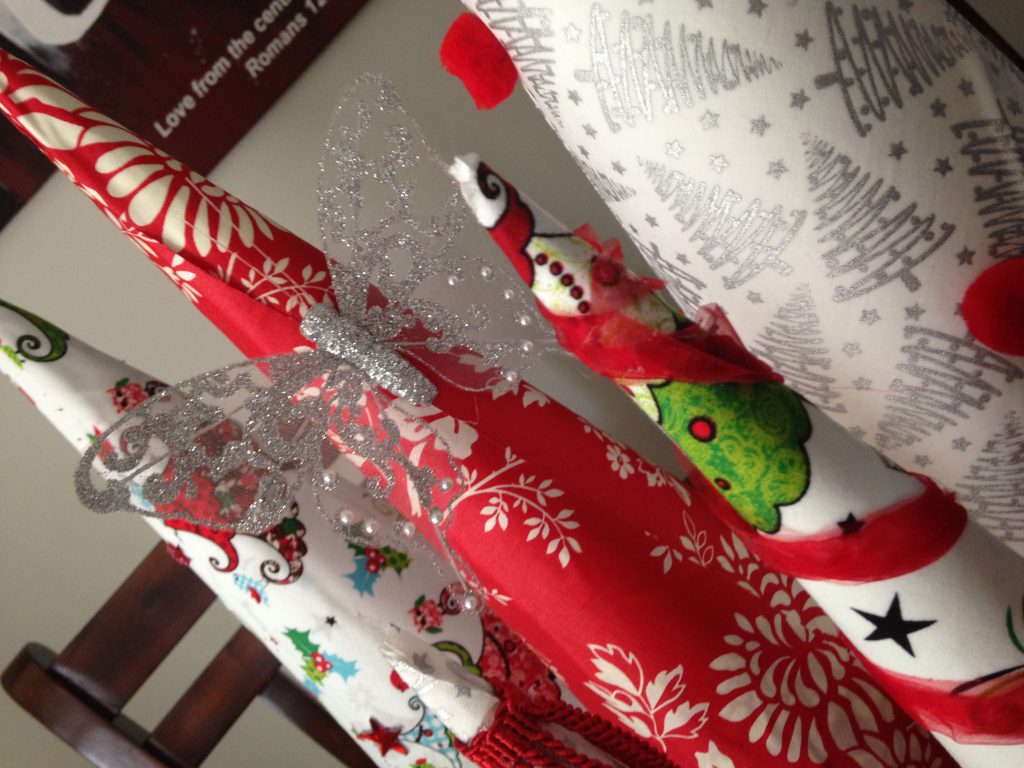
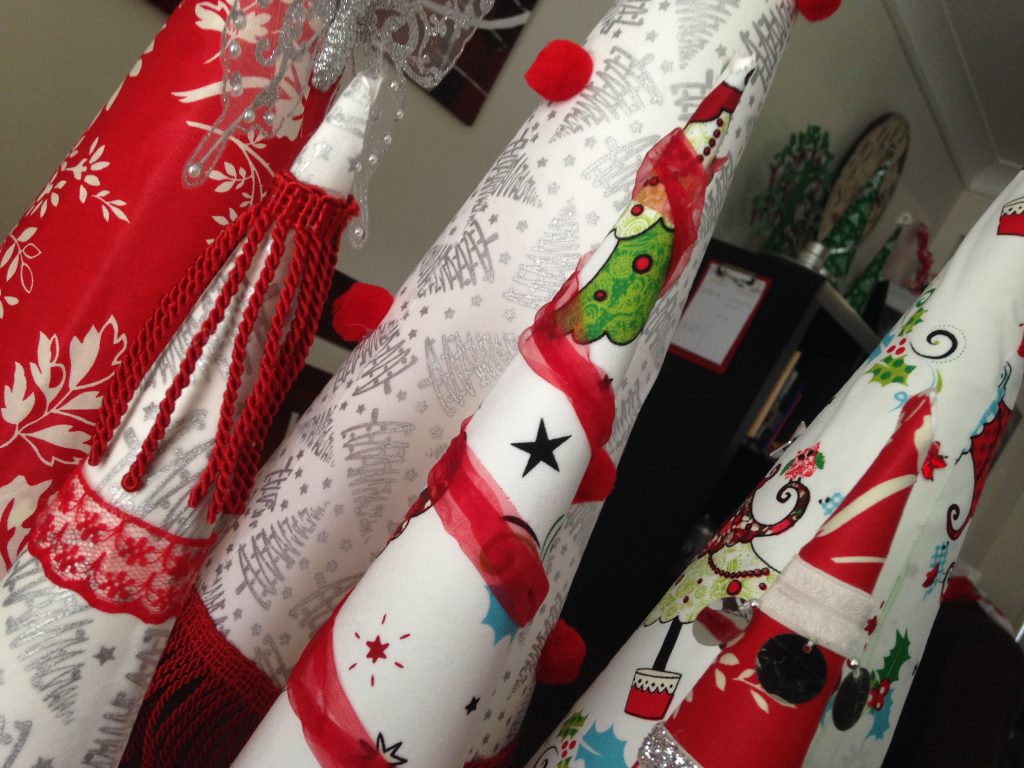
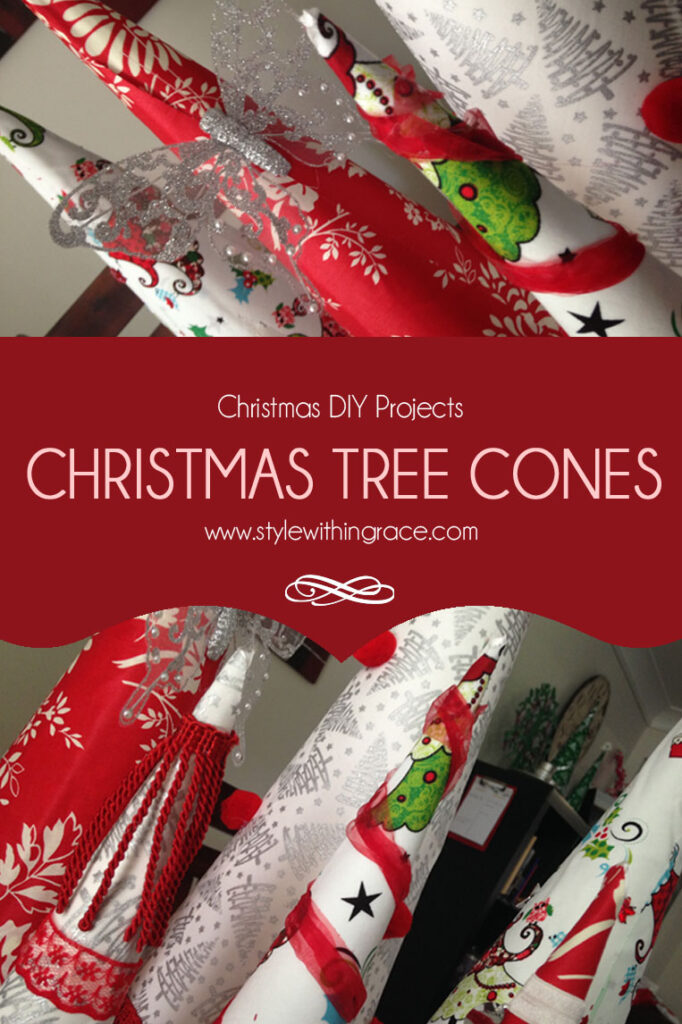
You will need a fairly strong glue to add these. By the time I got to this stage I had gone out and bought myself a $10 hot glue gun. I believe you could use craft glue but it would take a lot longer to dry and would run down the tree. You would also need to hold the accessories in place while waiting for it to dry. Add these decorations wherever you see fit. Use your creative flair. I put star gems on the tops of the Christmas trees, winded ribbon around the cone like tinsel on a tree, places pompoms like baubles and lined the bottoms with dangling diamante and sequin ribbon.
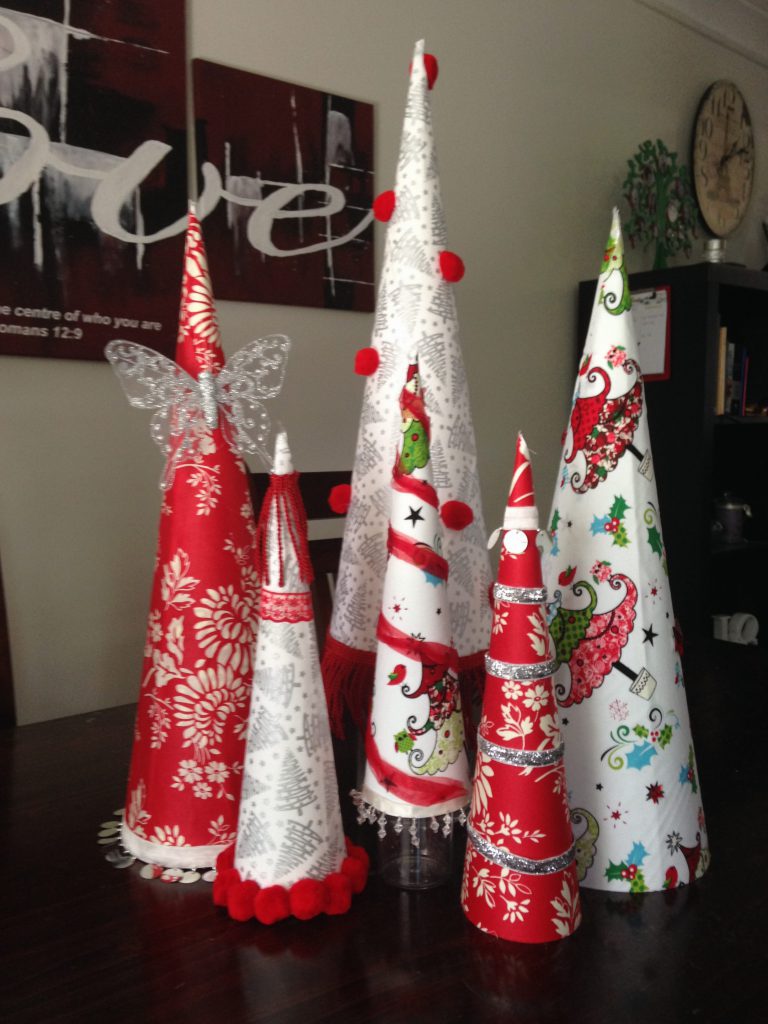

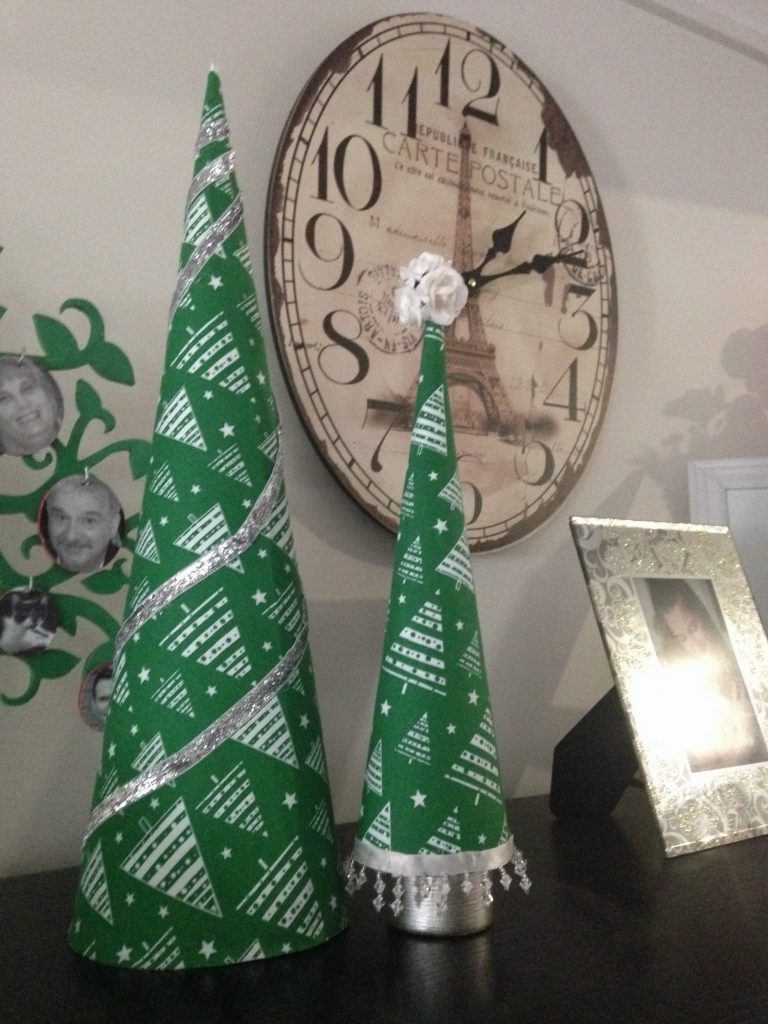
Once dry, place around your house wherever you think they fit. I used them as centrepieces on the dining room table. I also put them as features on the top of our bookcases. You can also place them on candle holders or vases to give them more height. Mix up the patterns and colours or place like ones together, it’s up to you. It’s hard to estimate how much this cost altogether because I only used bits and pieces of the fabric I bought. The card stock was about $1.20 per piece. I used a mixture of decorations I had lying around in my craft cupboard and supplemented those with a few pieces I bought from Spotlight for less than $10.
Just take my word for it that it was seriously cheap and should be affordable for any budget. If you complete this DIY I’d love for you to share your photos with me. Snap a pic and chuck it up on Instagram or Facebook and don’t forget to tag me @stylewithingrace so that I can see the beauties you have come up with. I have plenty of fabric left over after this DIY so I will be making another Christmas tree alternative some time in the future. Keep your eyes peeled!
Merry Christmas Everyone!
")
")
")
I’ve been absent for a while, but now I remember why I used to love this blog. Thanks , I will try and check back more frequently. How frequently you update your site?
Hello Corliss, I’m so glad you enjoy my blog. Unfortunately I haven’t been able to stick to a schedule for adding blog posts so I can’t really tell you when to expect new content but I post at least twice a month.