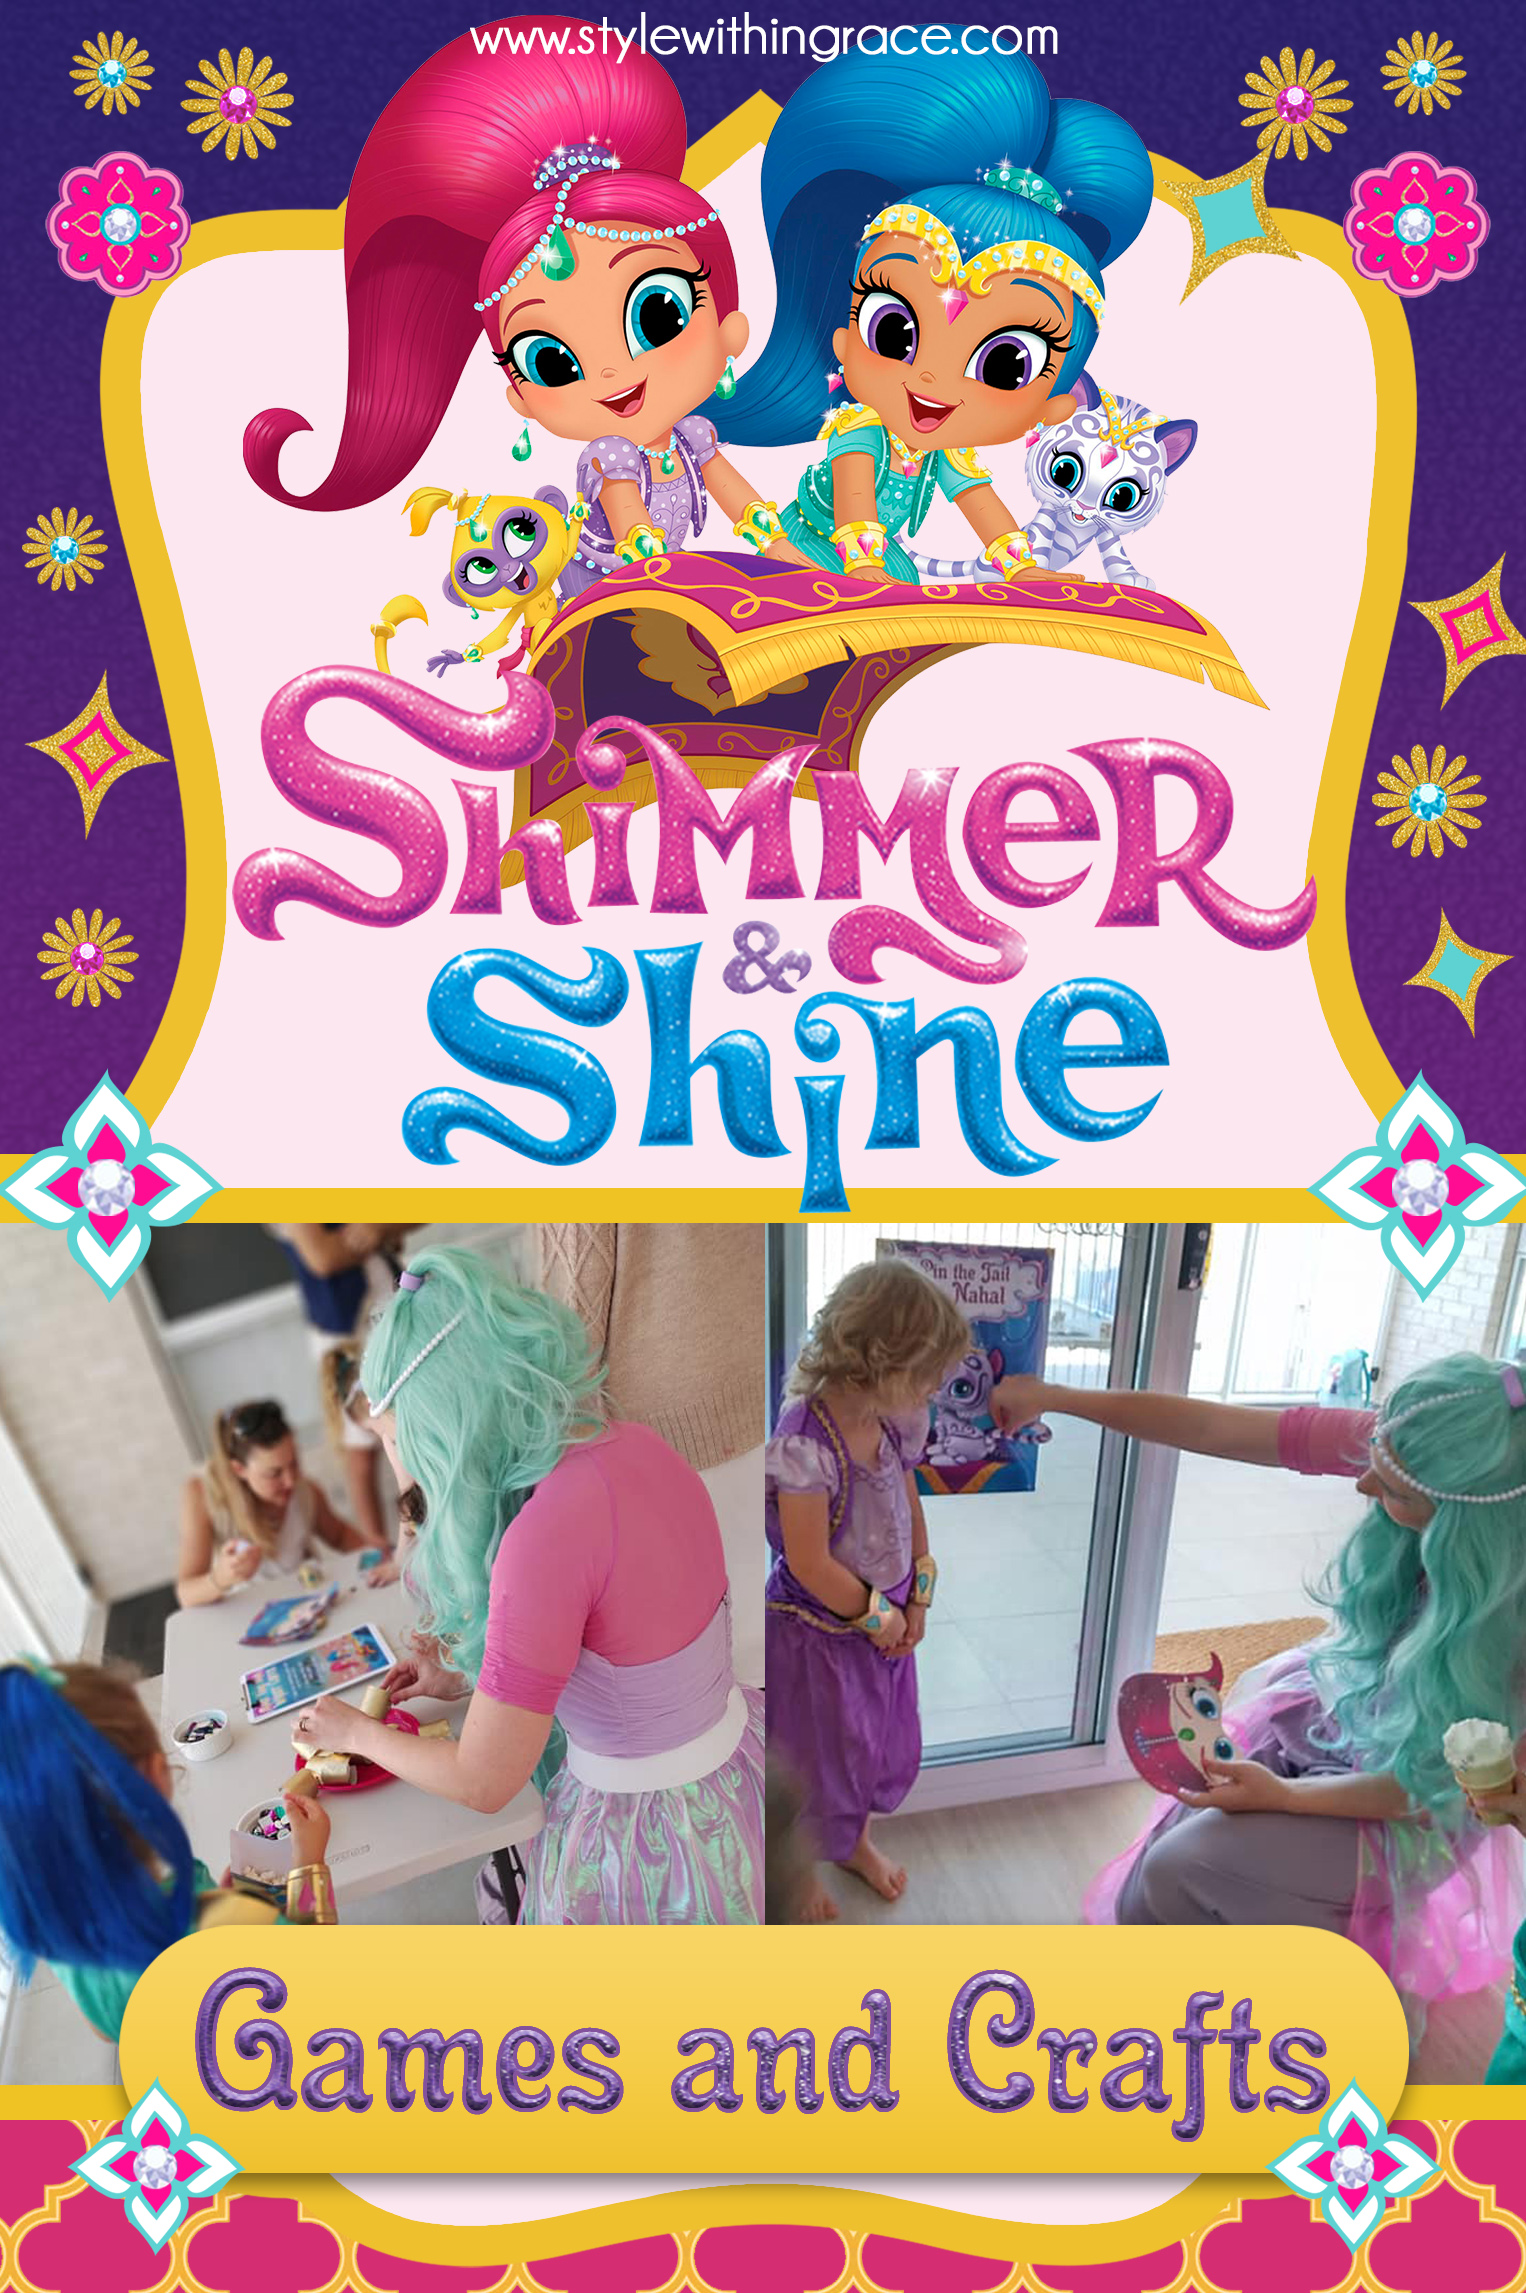
If you have been following along on my Shimmer and Shine party journey than welcome back! If you’ve only just joined us, you might want to catch up on my other Shimmer and Shine Party posts – Shimmer and Shine Party Invites, Decor and Favours and Shimmer and Shine Party Food. This post is all about the activities of the day, namely the games we played and the crafts we created. All keeping with the Shimmer and Shine birthday party theme.
Crafts
Crafts aren’t necessarily something you need to include at a party but I find it’s a good opportunity to get creative! It also allows the kids to get into the spirit of the party even if they haven’t dressed up. I find the simpler and faster the craft the better!
Make your own Genie Wrist cuffs
This isn’t my own original idea. I have seen a few people do different versions of these on Pinterest but this is my take. Just cut empty toilet rolls into two with a slit up the middle and spray paint them gold. I also punched a couple holes in each side and wrapped a small hair elastic (which I had also spray painted gold) through them to create a loop so they could be held closed once looped over a hot glued gem.
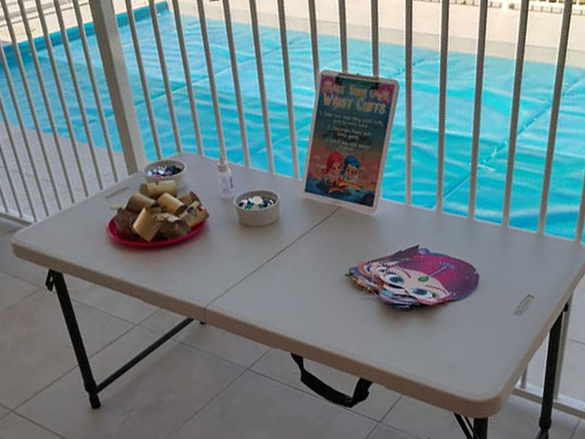
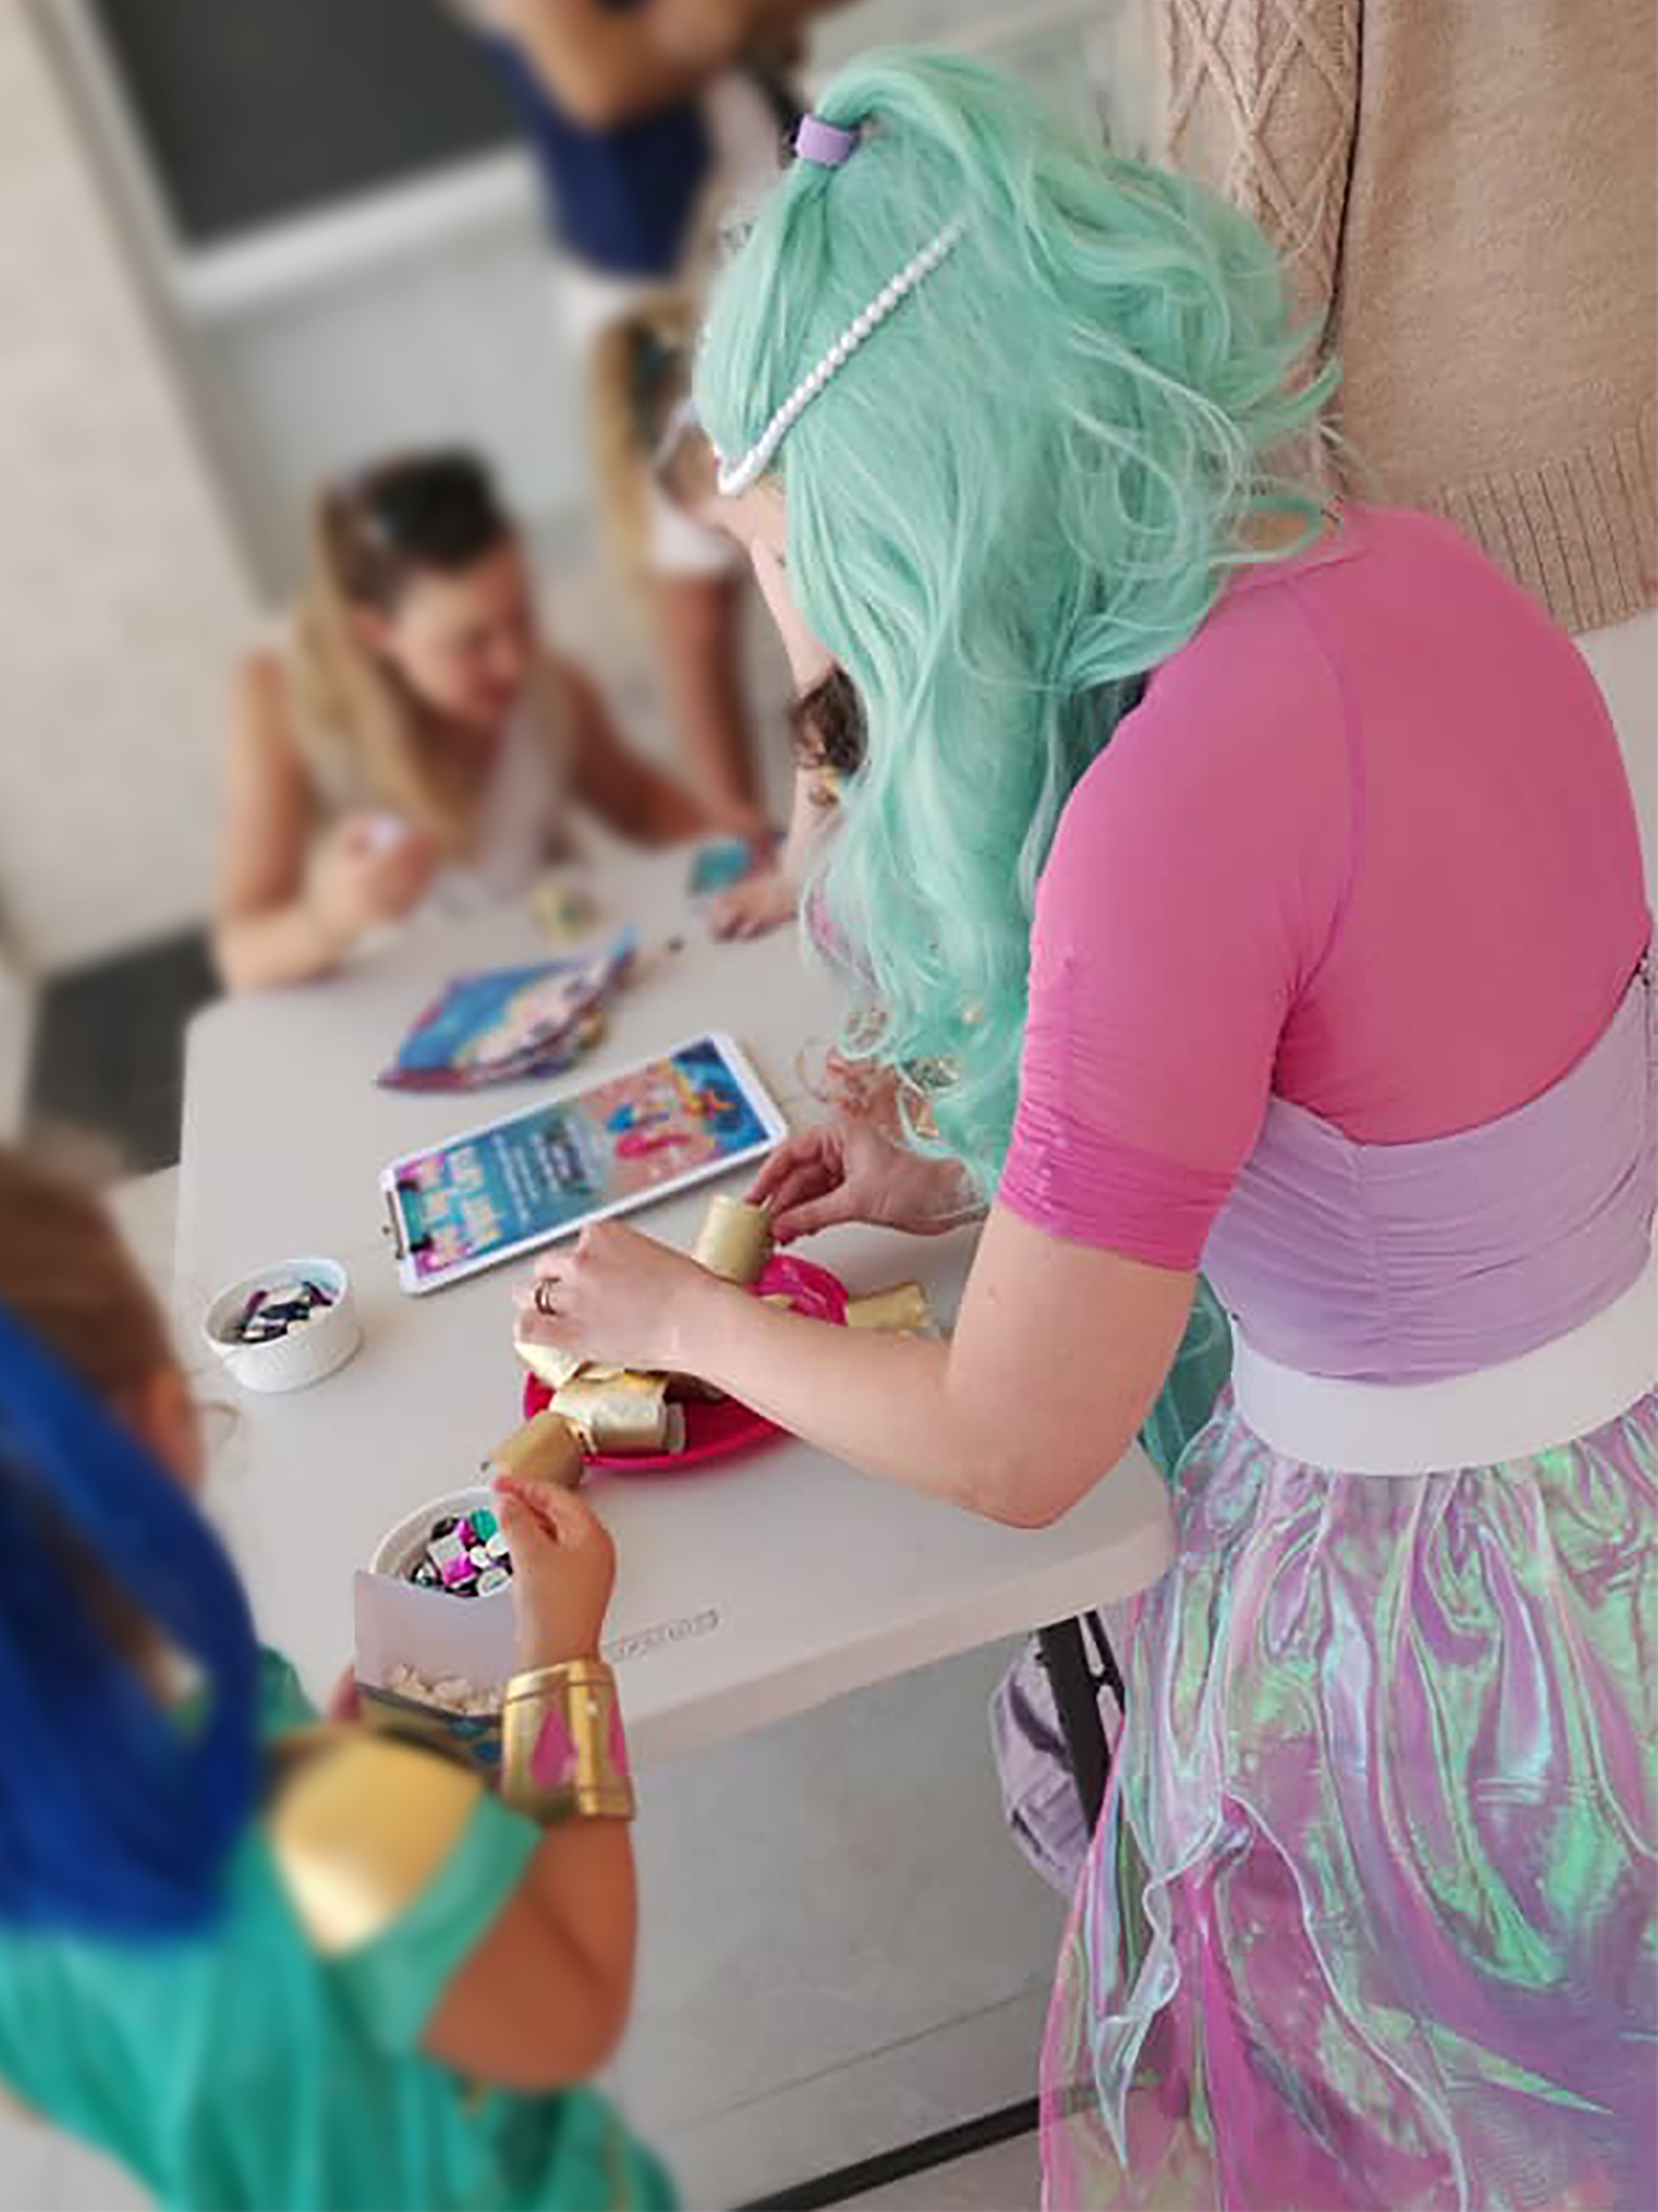
The kids could then decorate the rest of the wrist cuff with gems of their choice with a quick dry glue I got from Spotlight. Looking back I should have bought at least a couple containers of glue. Everyone ended up working on this at the same time so everyone was waiting for the glue.
Masks
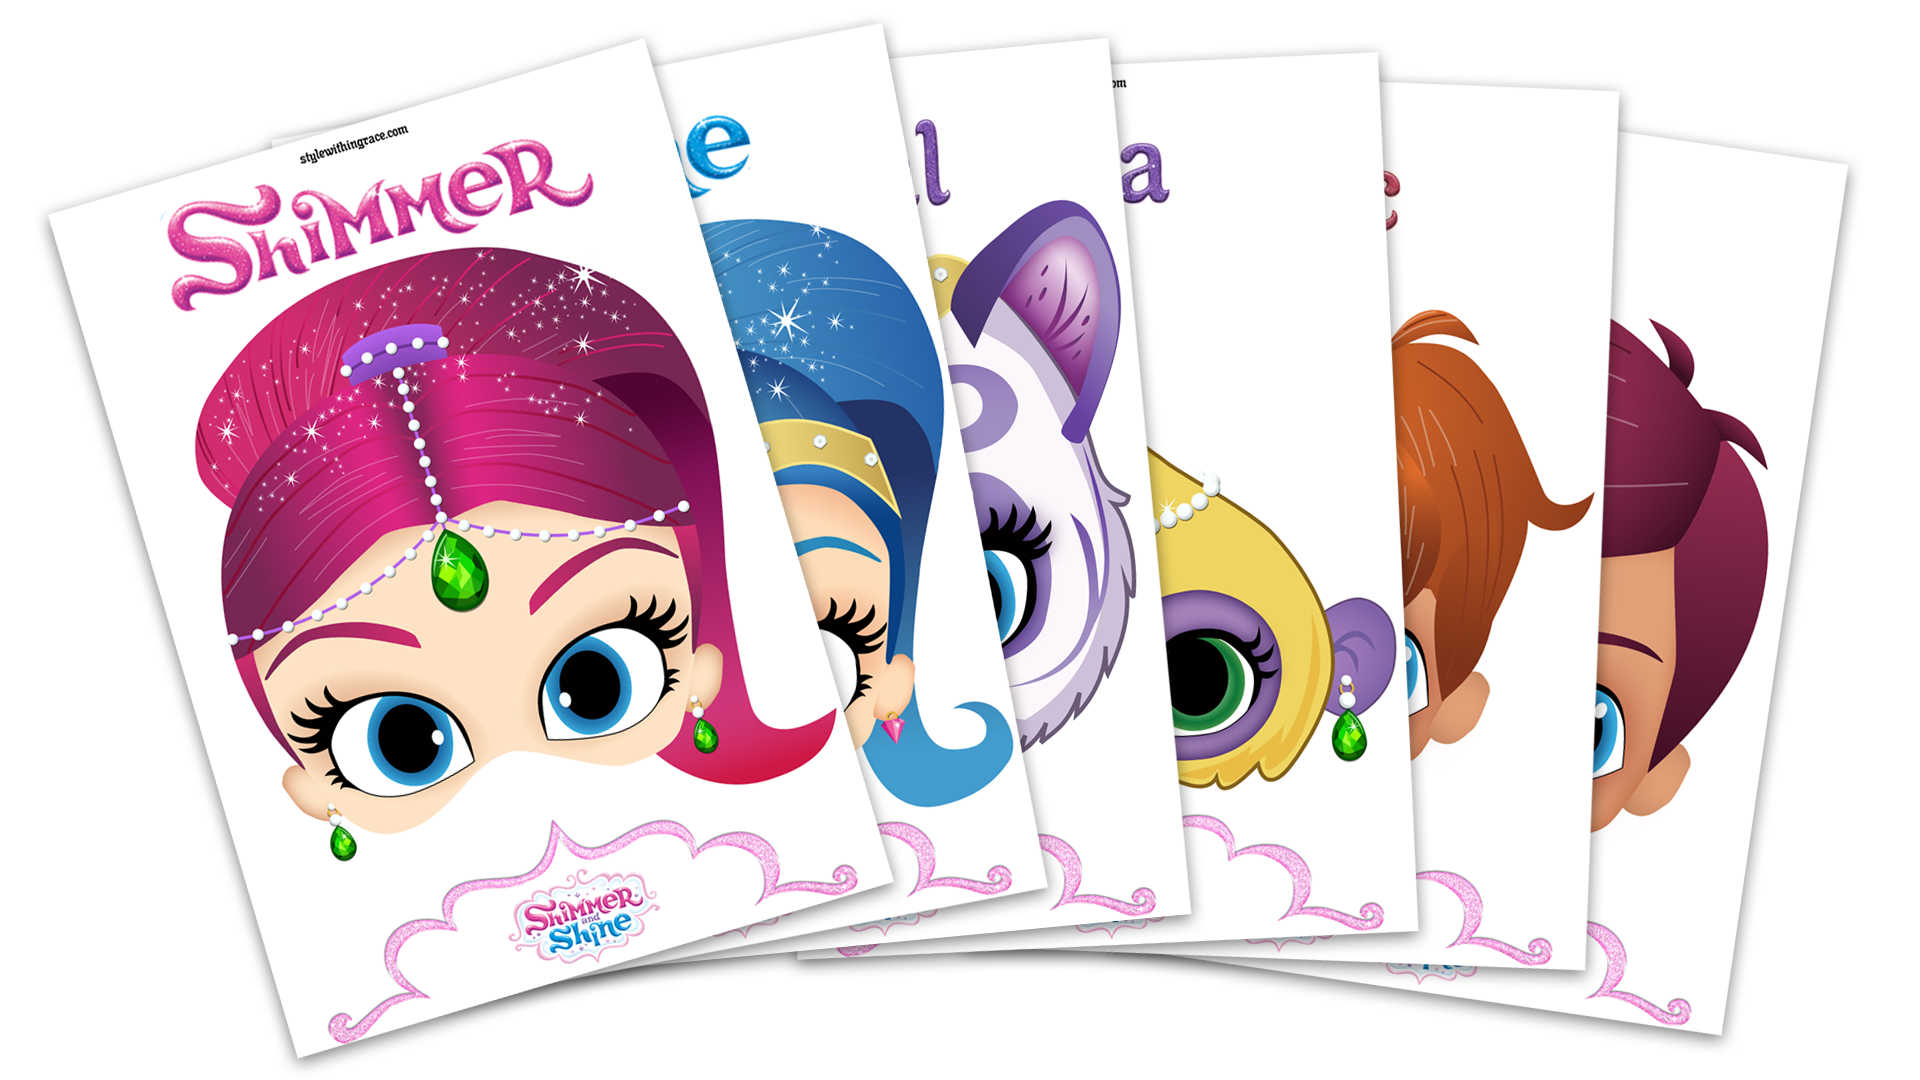
These are included in the crafts because depending on the age of your guest you could have them cut out their own masks and attach elastic to the backs to fit their heads. As my guests weren’t really up to the scissor stage yet I just had them all made and ready to go. I made masks for Shimmer, Shine, Tala, Nahal, Zac and Cas. We had a coed party so I wanted to make sure there were a couple boy options.
I left the eyes in for the start of the party so that the masks could be used for the games as blindfolds with the intention of cutting them out afterwards. They worked really well as blindfolds but the cutting out didn’t happen during the party. This meant they weren’t really worn much during the party. Such a pity because it would have made for some cute photos!
Games
Games always make a party more fun and get everyone out of their shells and involved. With a young age group though you need to have simple games that they can get their head around. You also don’t want too many. I tend to think 3 is the perfect number.
Pin the Tail on Nahal
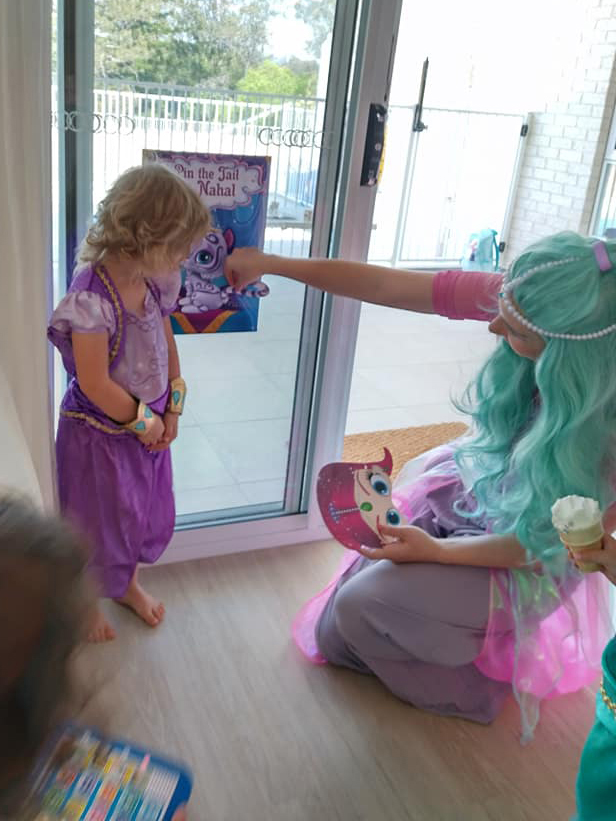
Nahal is Shine’s pet tiger if you weren’t sure. This is a re-imagining on the classic pin the tail game. If you’d like to download and print your own copy of this game the high res files are on my free resource library. I got mine printed on A5 silk paper from Officeworks as my printer only prints A4. Just cut out the tails, put blutac on the backs and you are ready to play. I used the masks as blindfolds before I cut the eye holes out. It was much easier than trying to blindfold them. Spinning around isn’t necessary with kids this young. They still managed to get the tails all over the place.
Freeze
Freeze is a classic that most people already know the rules to and that requires little to no effort. Chuck on a Shimmer and Shine music playlist on Spotify and you’re good to go. Depending on how young your party participants are, there may not be much actual freezing going on. If it’s too tricky or risky (tantrums are a parties worst enemy after all) to pick someone to be out each round then just have 5 rounds where no one gets eliminated. Instead at the end, pick the best dancer as the winner.
Musical Magic Carpets
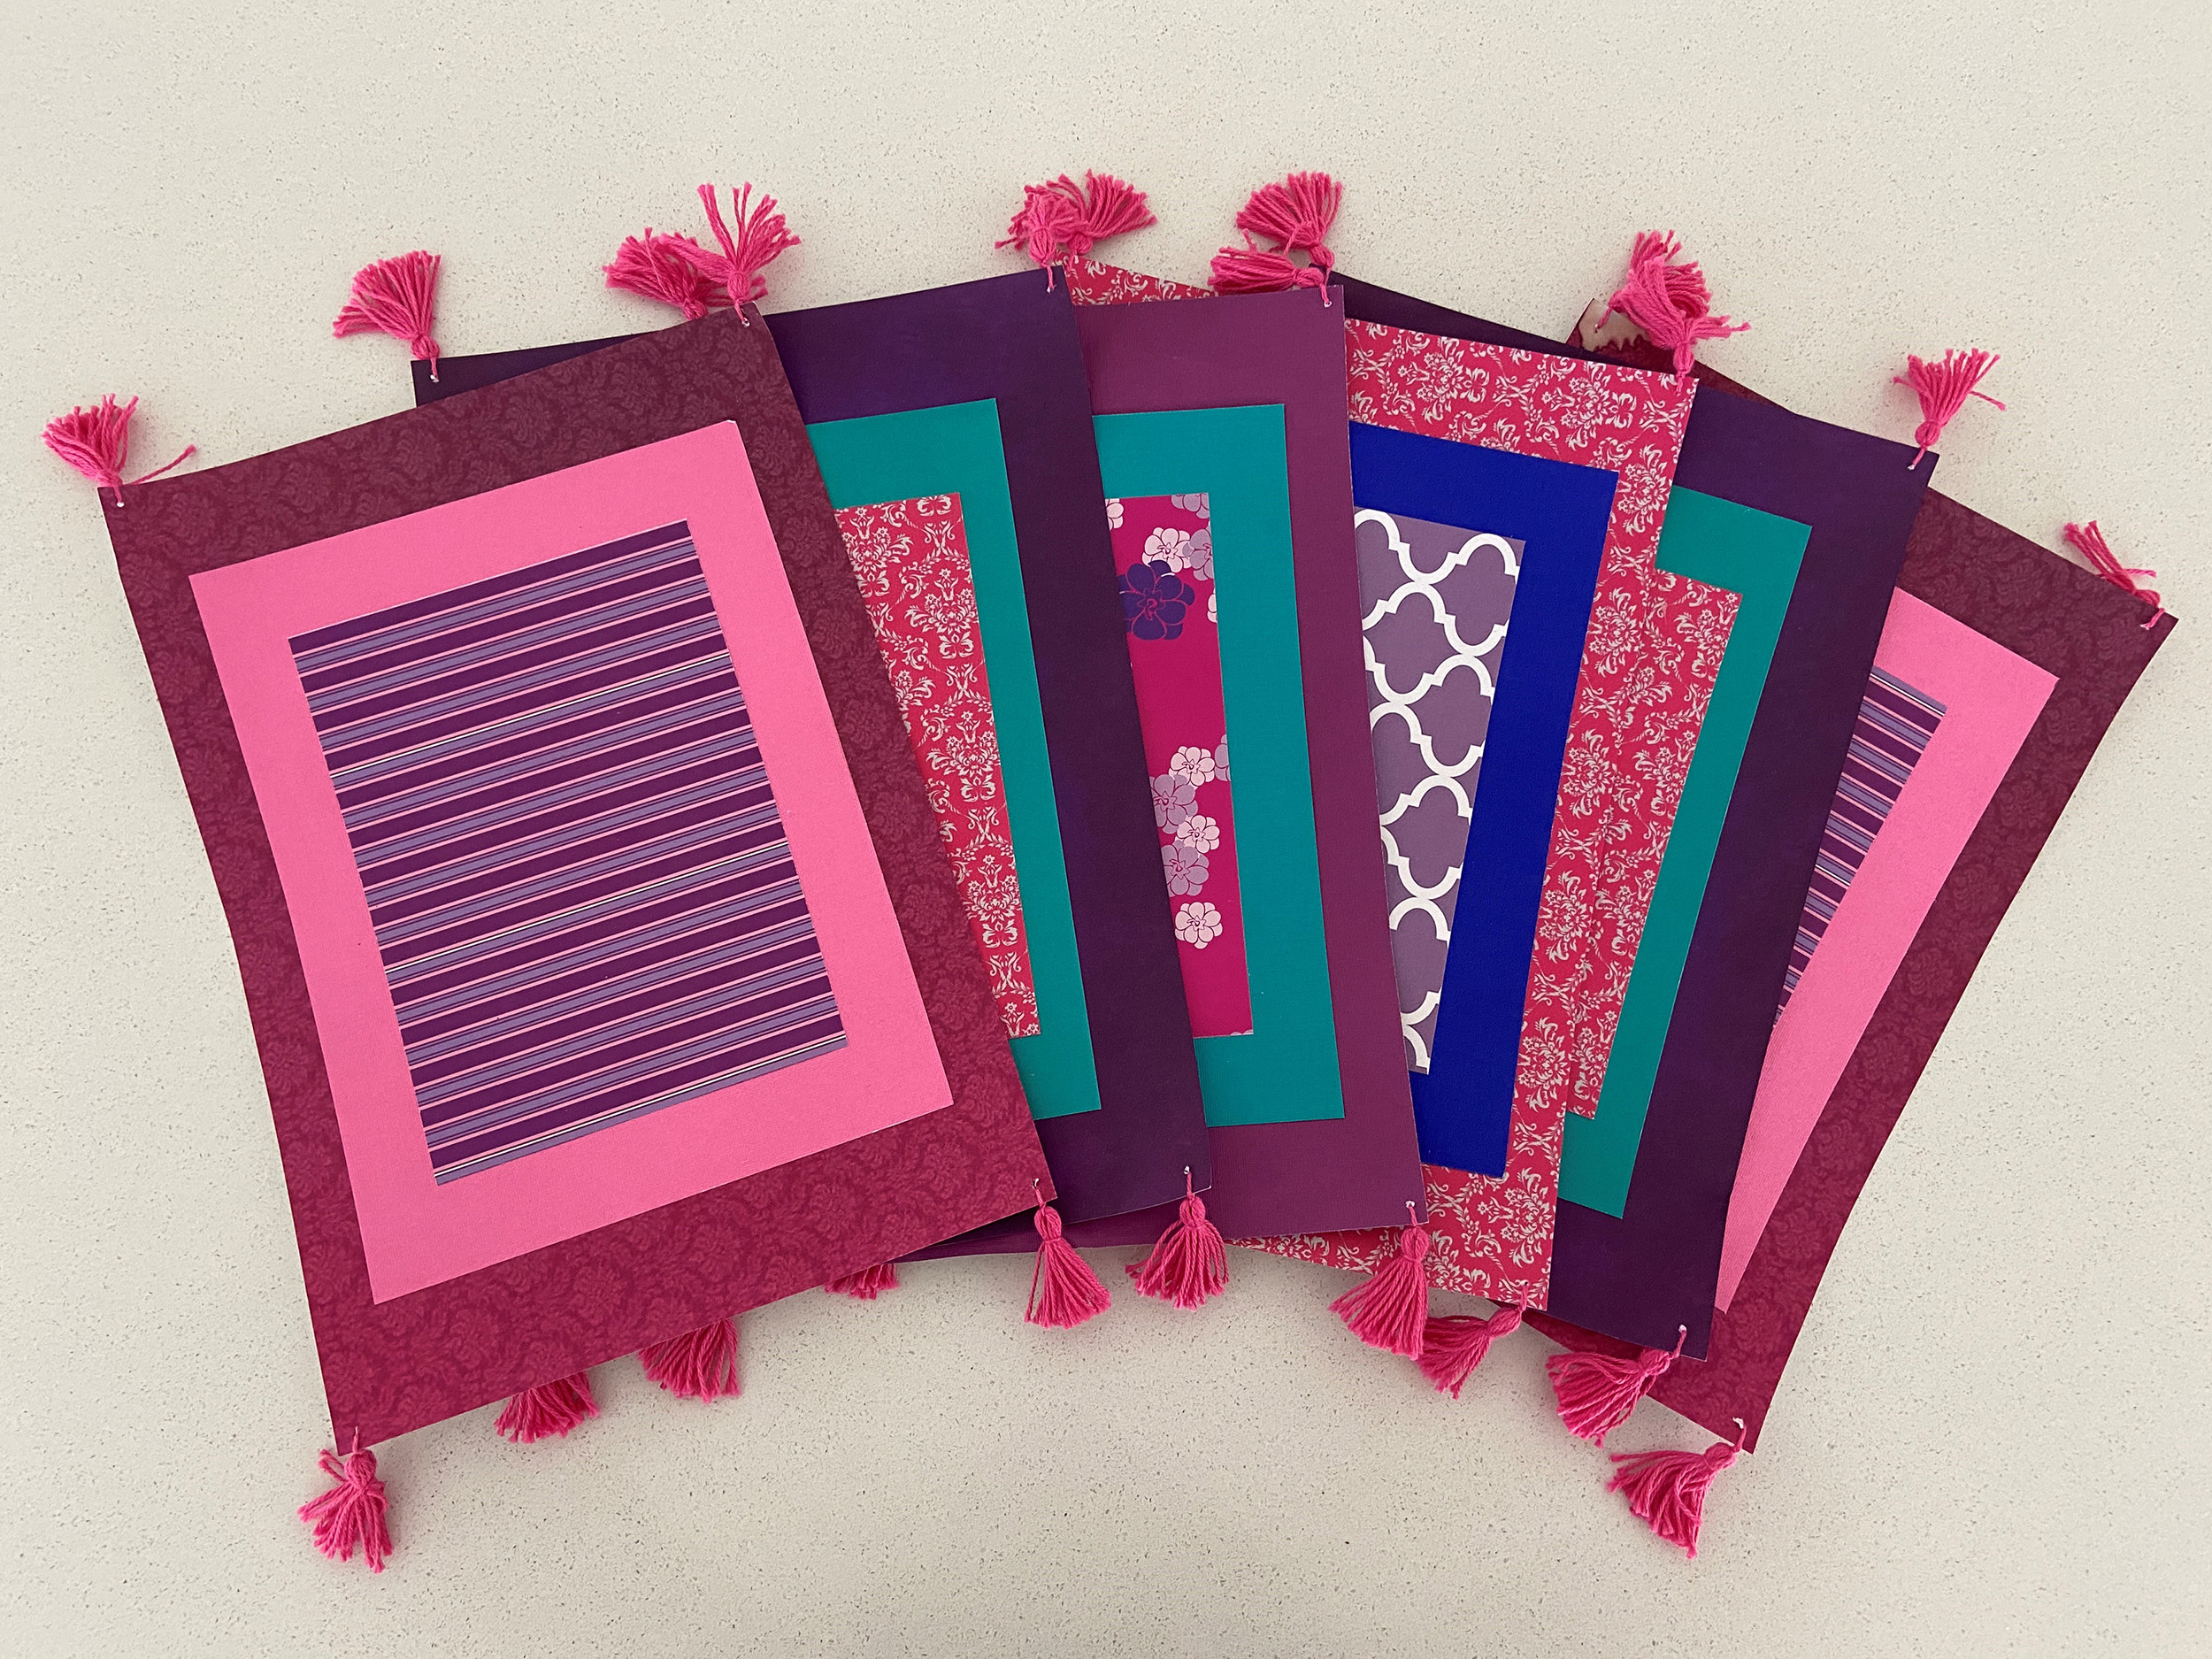
This one is a re-imagining of Musical Chairs. I reused the magic carpet place mats I made for the table. I placed one for each person playing, on the ground all around the room. The first round nobody gets out so everyone can get their head around what they are suppose to do. Use your Shimmer and Shine playlist again and have them dance or even just run around the room until the music is paused. Then they must seek out a magic carpet to stand on. I think magic carpets are easier and safer than chairs as kids don’t end up falling over chairs whilst trying to get on them. Each new round sees one magic carpet removed until there is only one left.
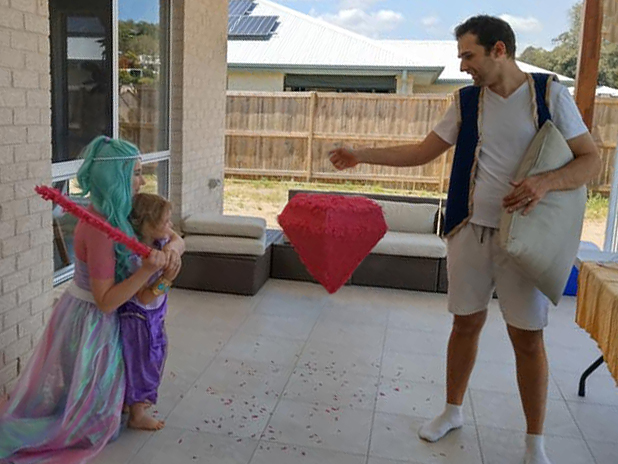
Genie Gem Pinata
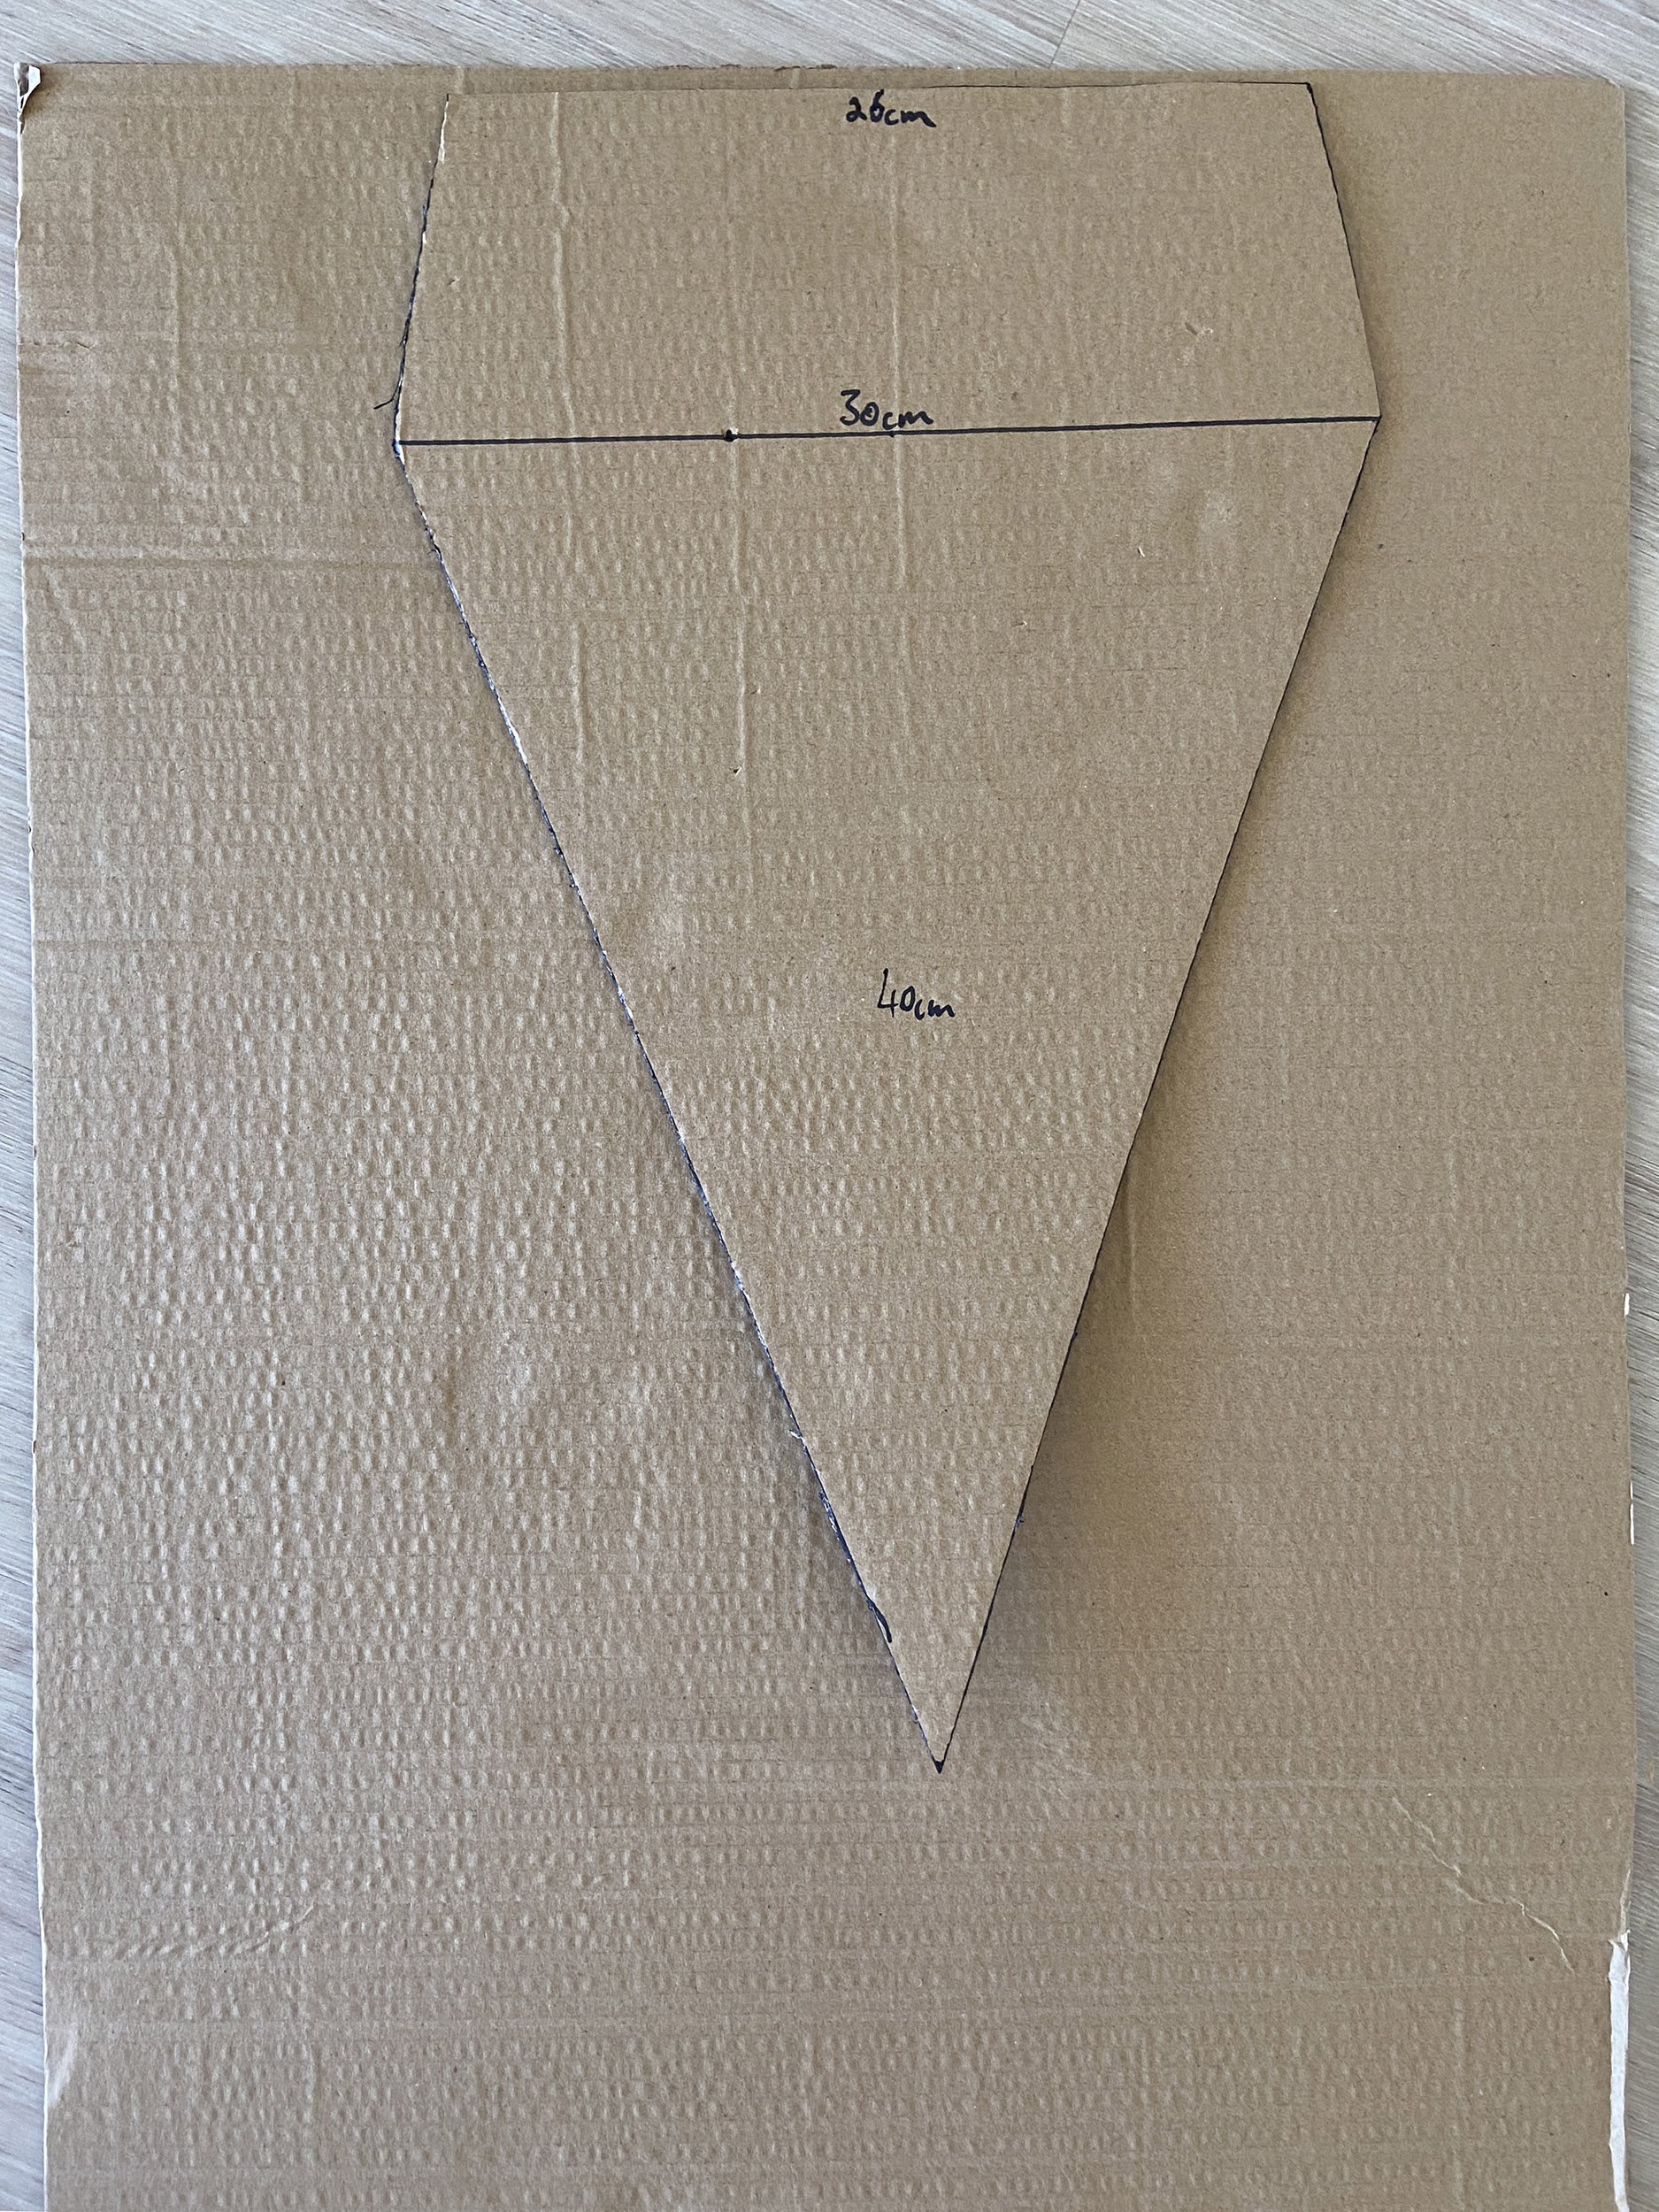
I followed a post I found online to make my Genie Gem pinata but I can’t seem to find it anymore. If you find it comment it below! Using leftover cardboard boxes from our move, I cut out the following shapes. Then I sticky taped them together with electrical tape.
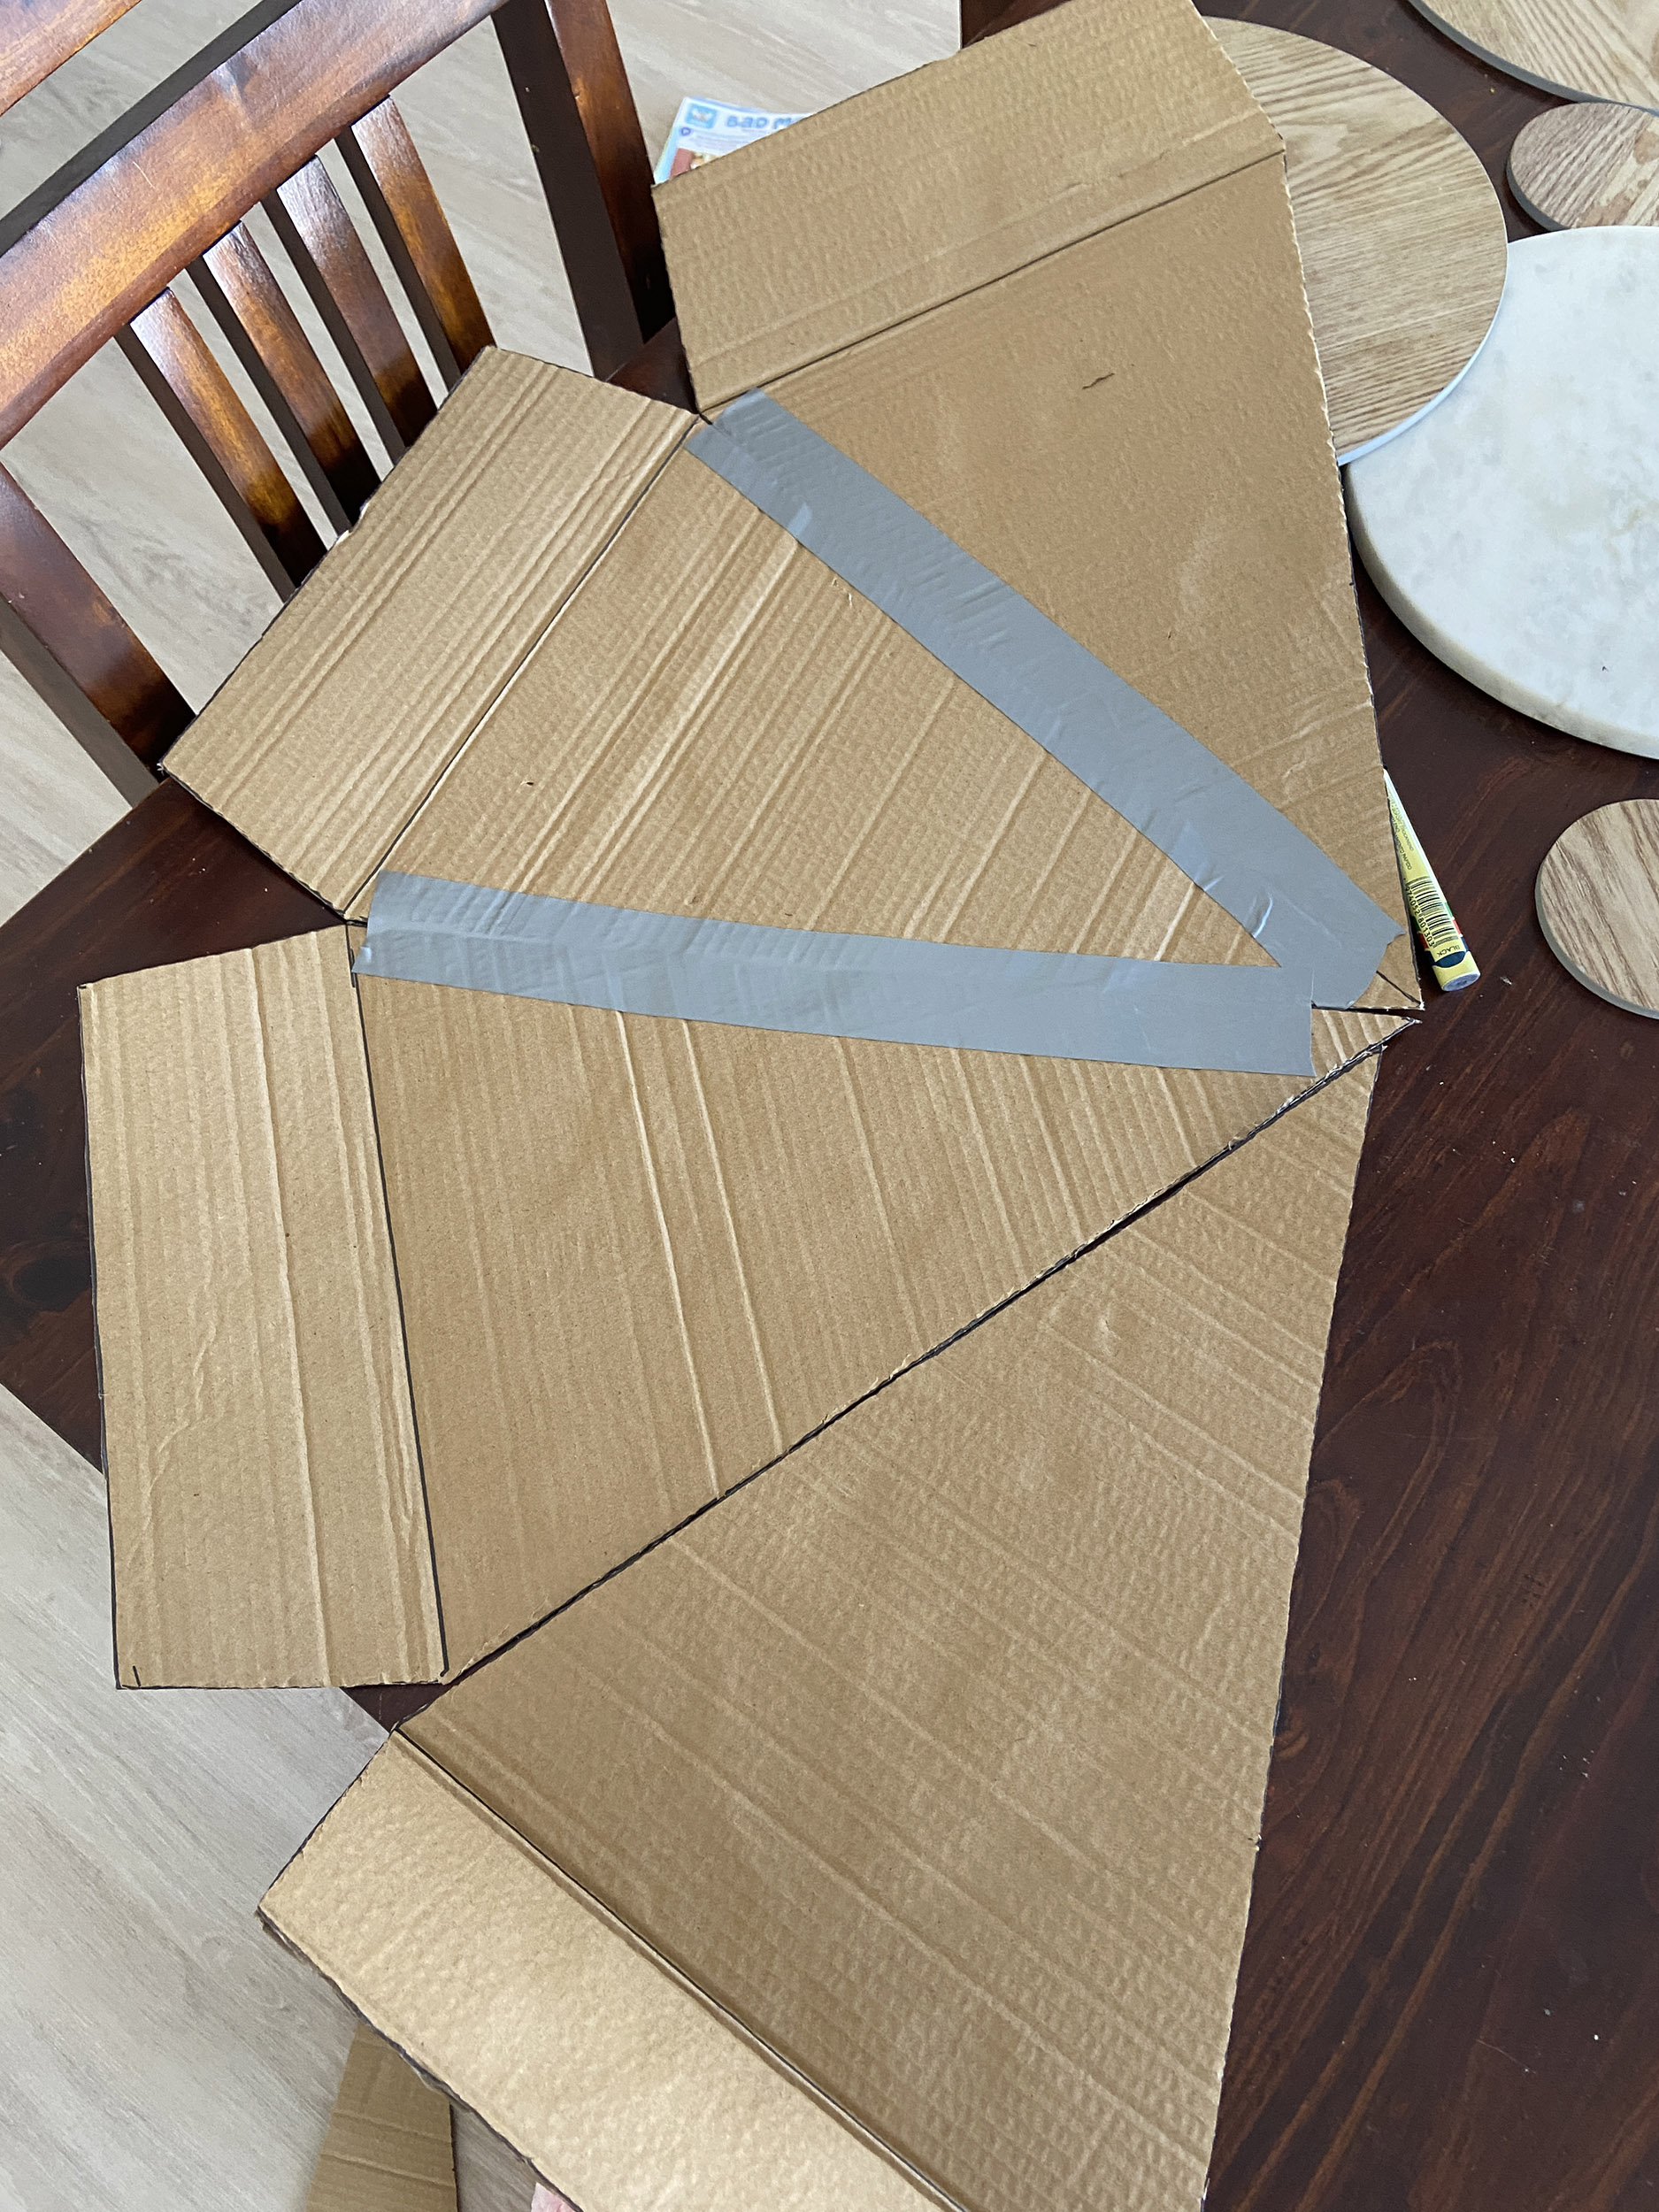
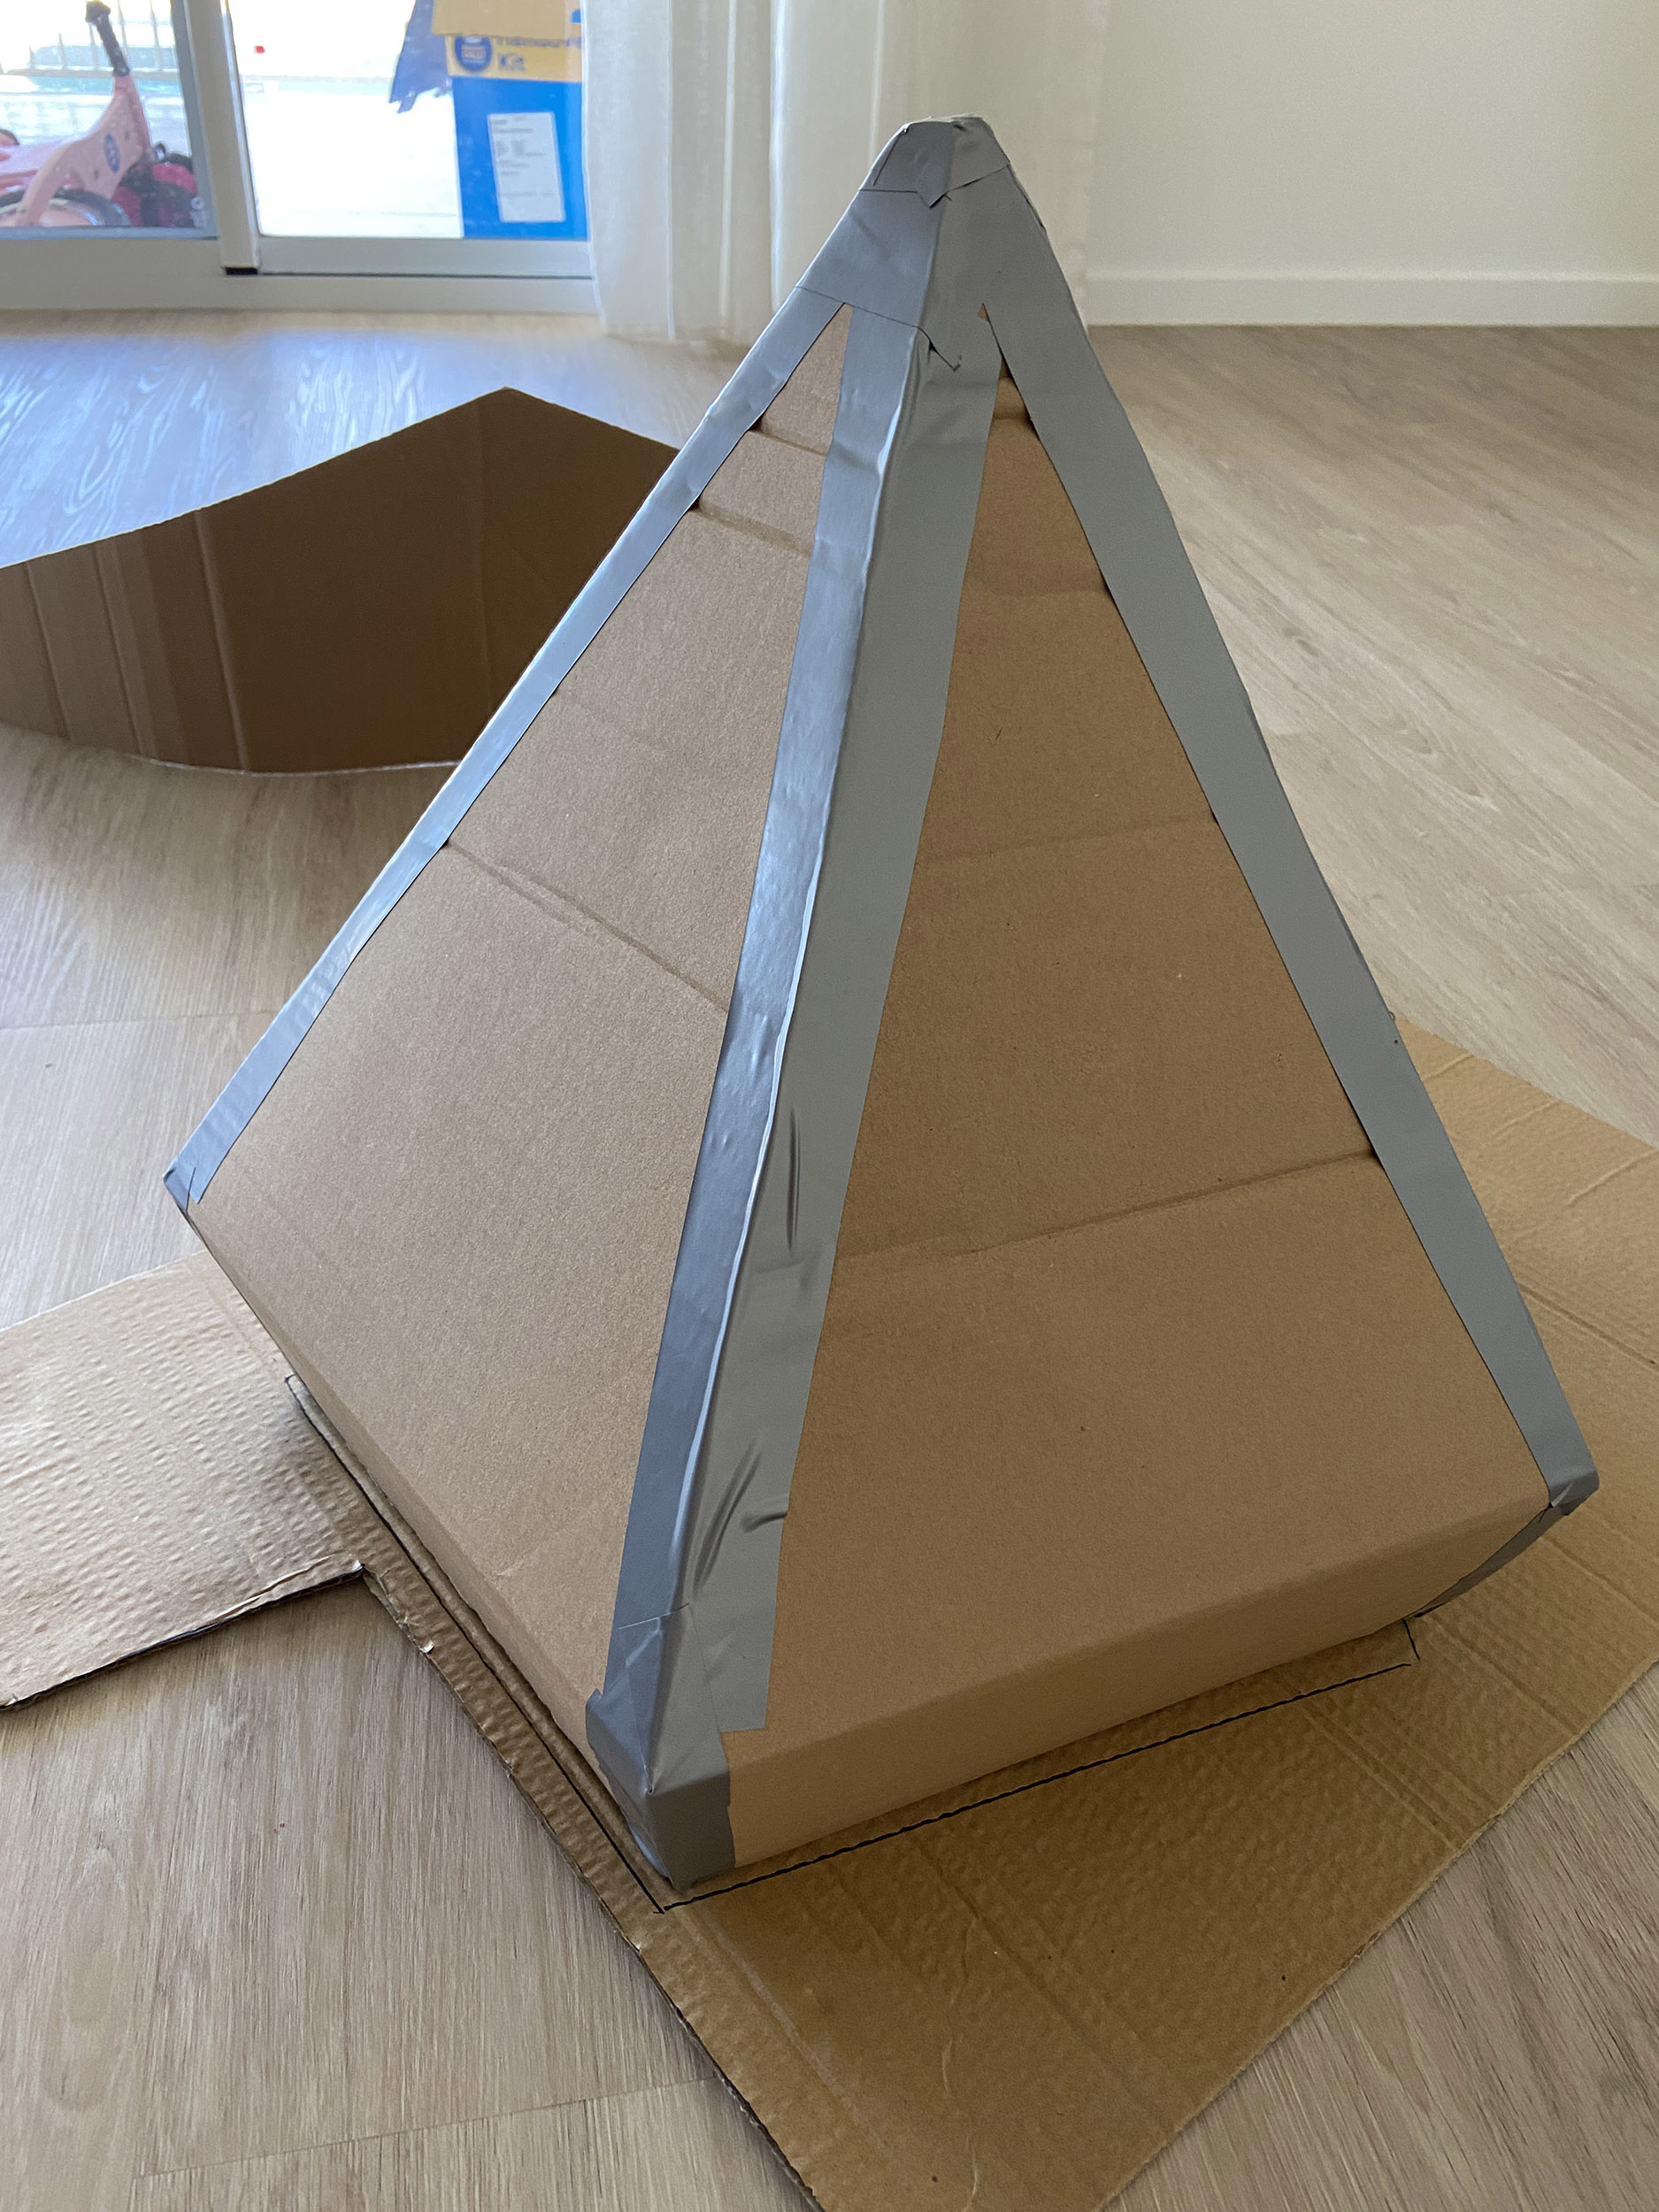
Once I attached 5 of the triangle type shapes together, I traced the hole onto the cardboard to create the perfect top piece. I made sure to cut in a flap so that I could fill it with candy and other treats before the party. I was worried the top wouldn’t stay attached once filled so I also cable tied the top piece to the sides. Turned out this was completely unnecessary so don’t bother. The next step was to add a string to the top to hang it by.
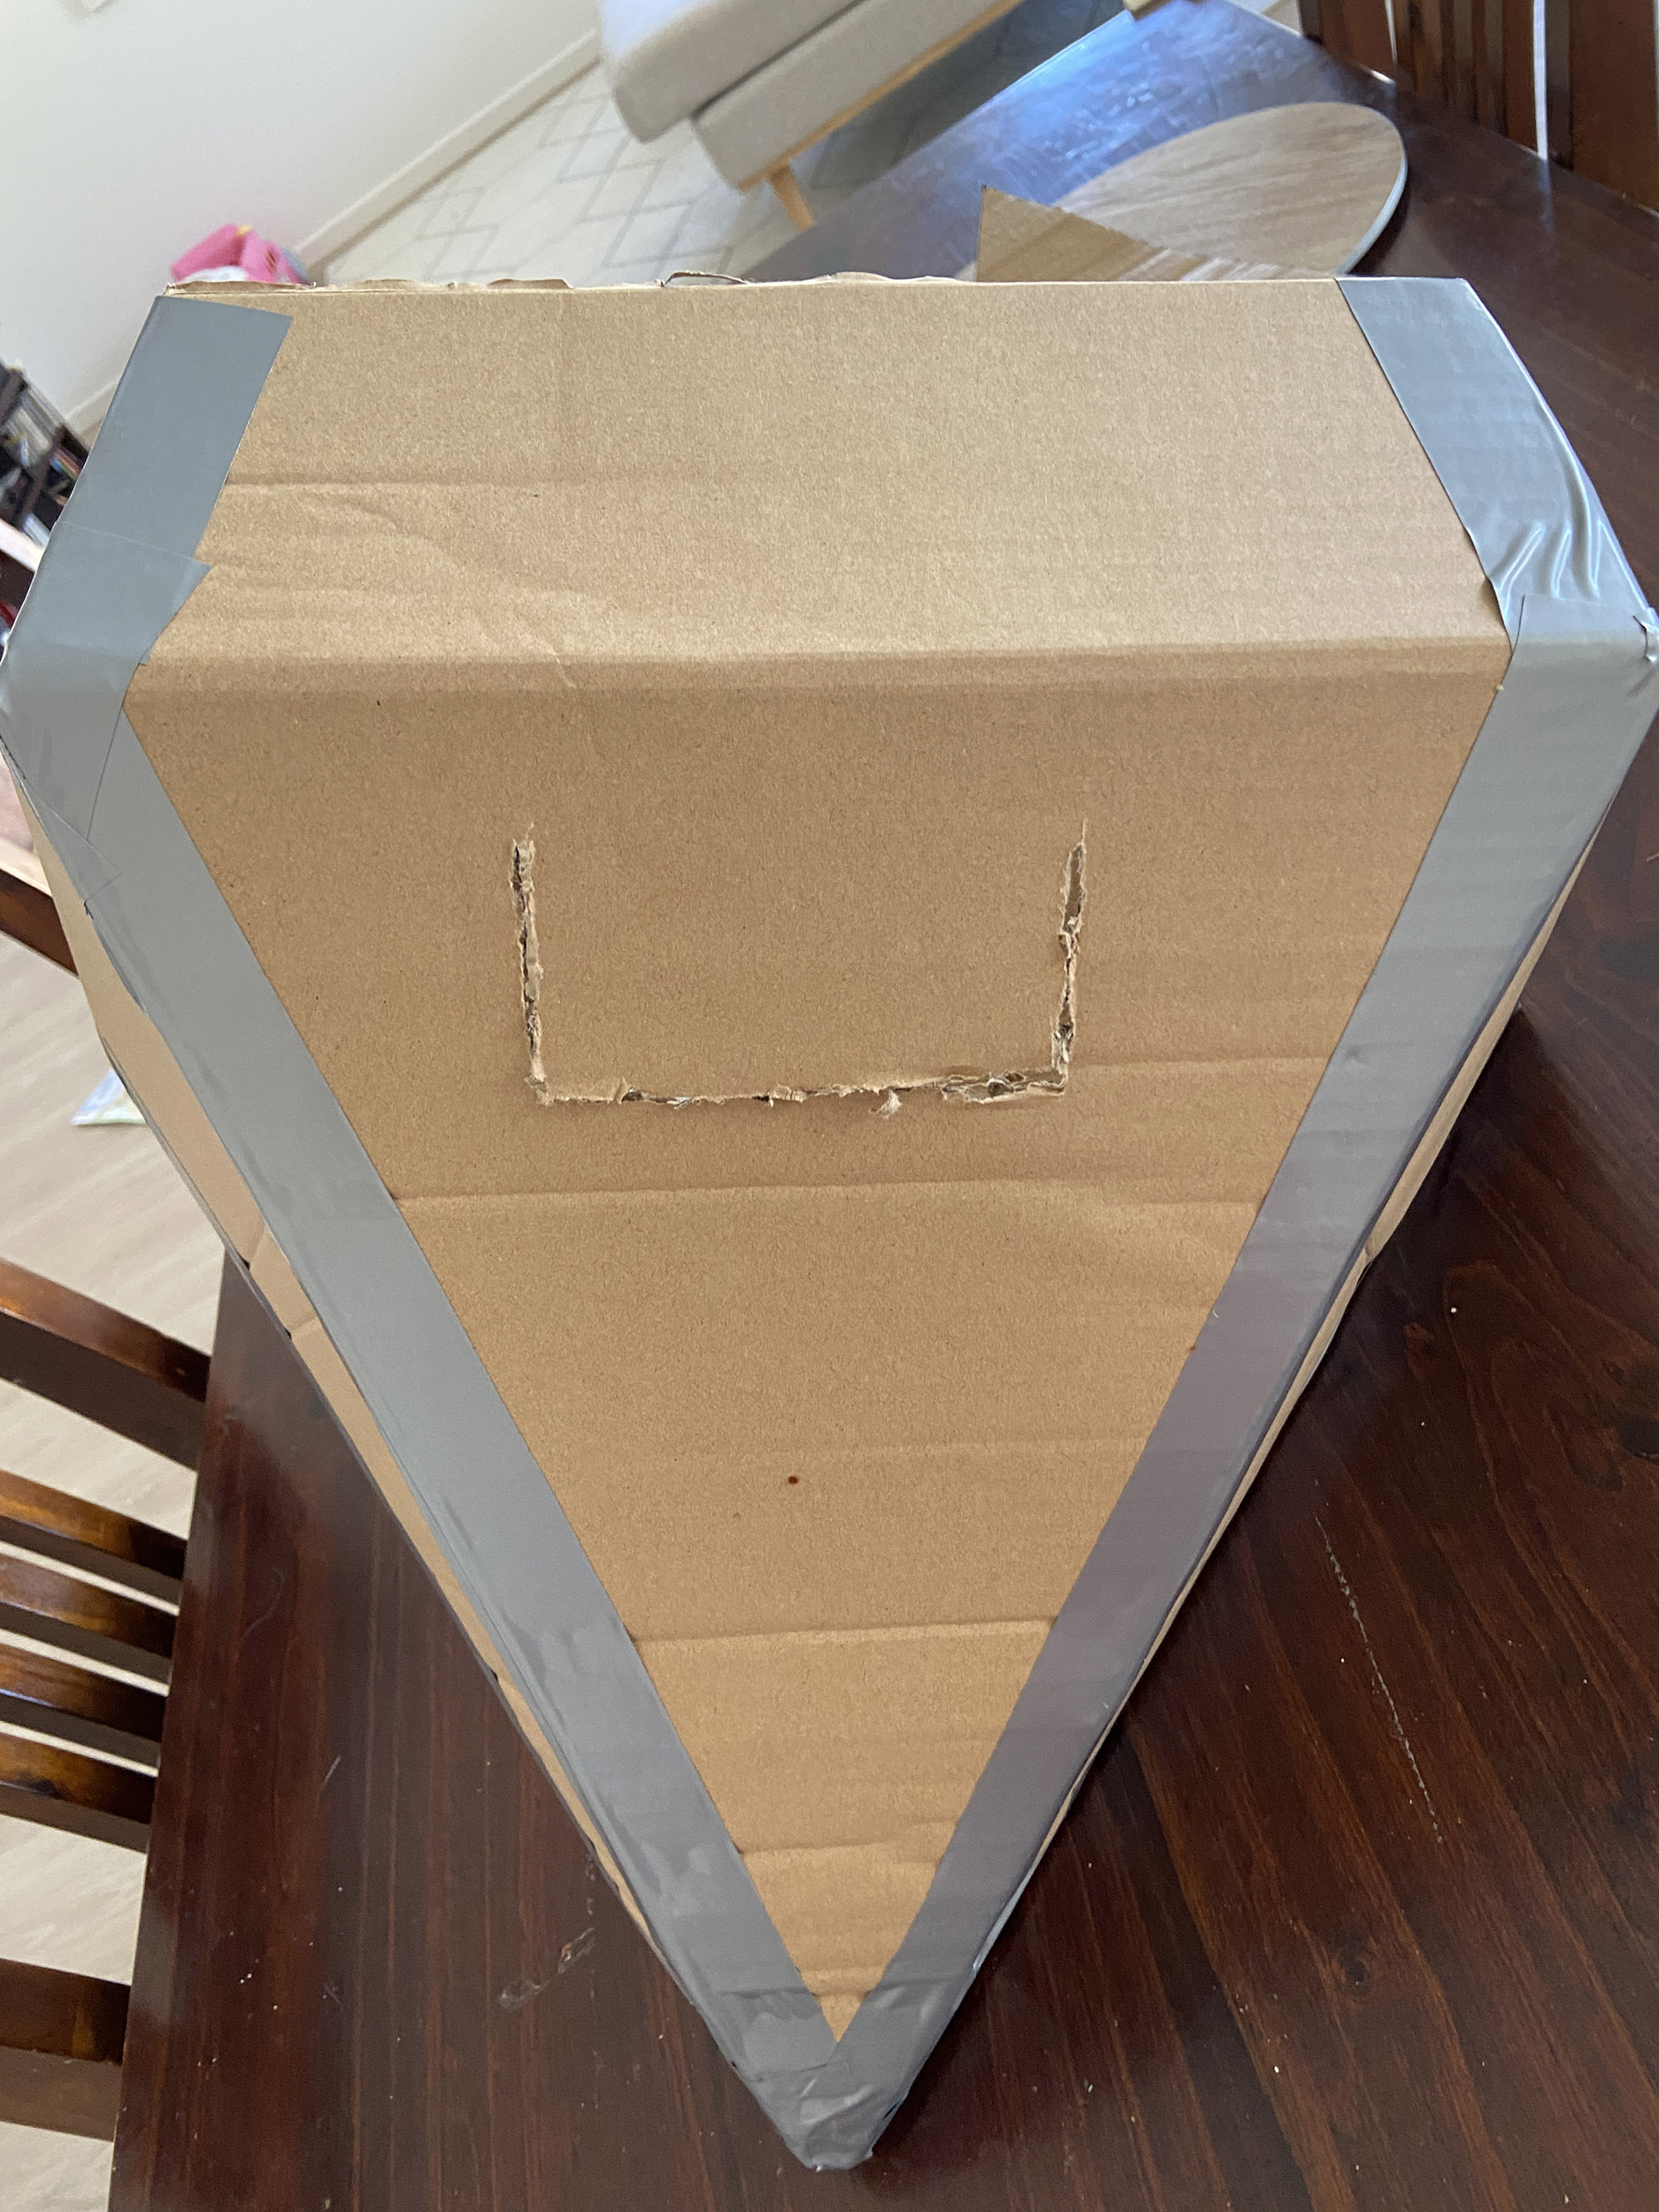
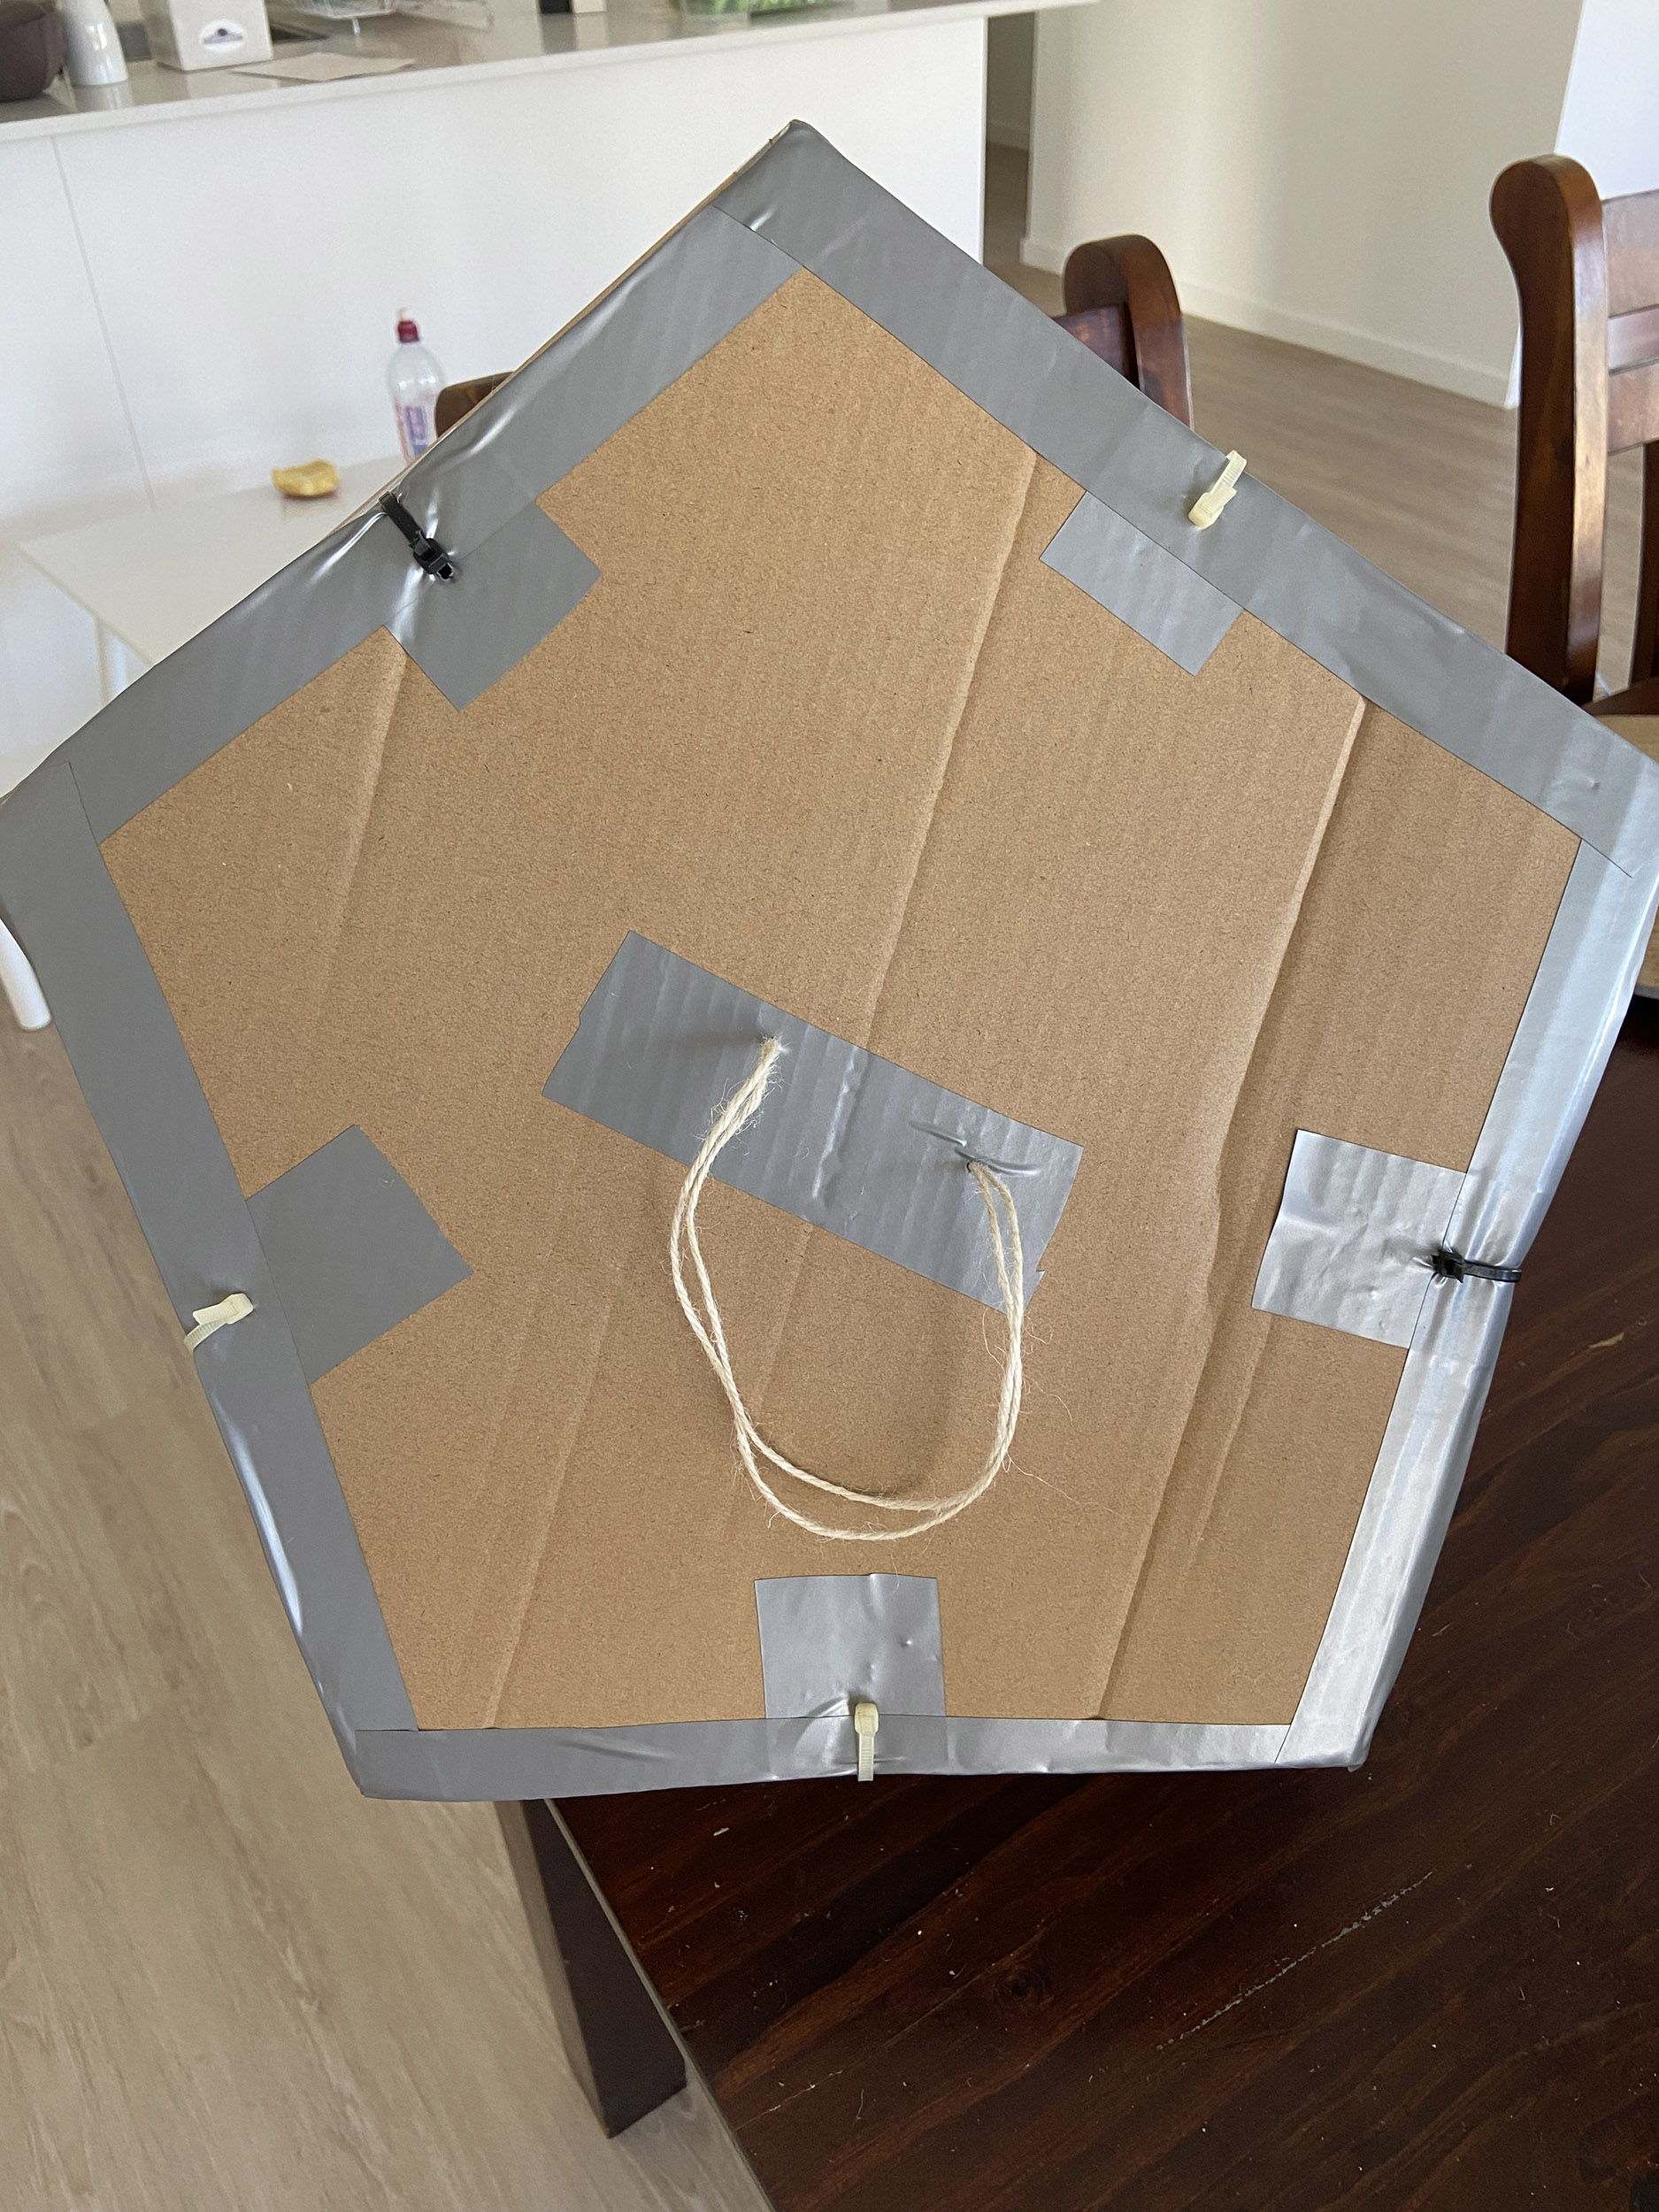
After I made the base shape from cardboard, I covered it in pink streamers with Mod Podge. I also covered a random piece of skirting board in the same streamers as the bashing stick. If you would like to see the process of the genie gem pinata getting made in video format, I worked on that in my Wearing Different Styles for a week video.
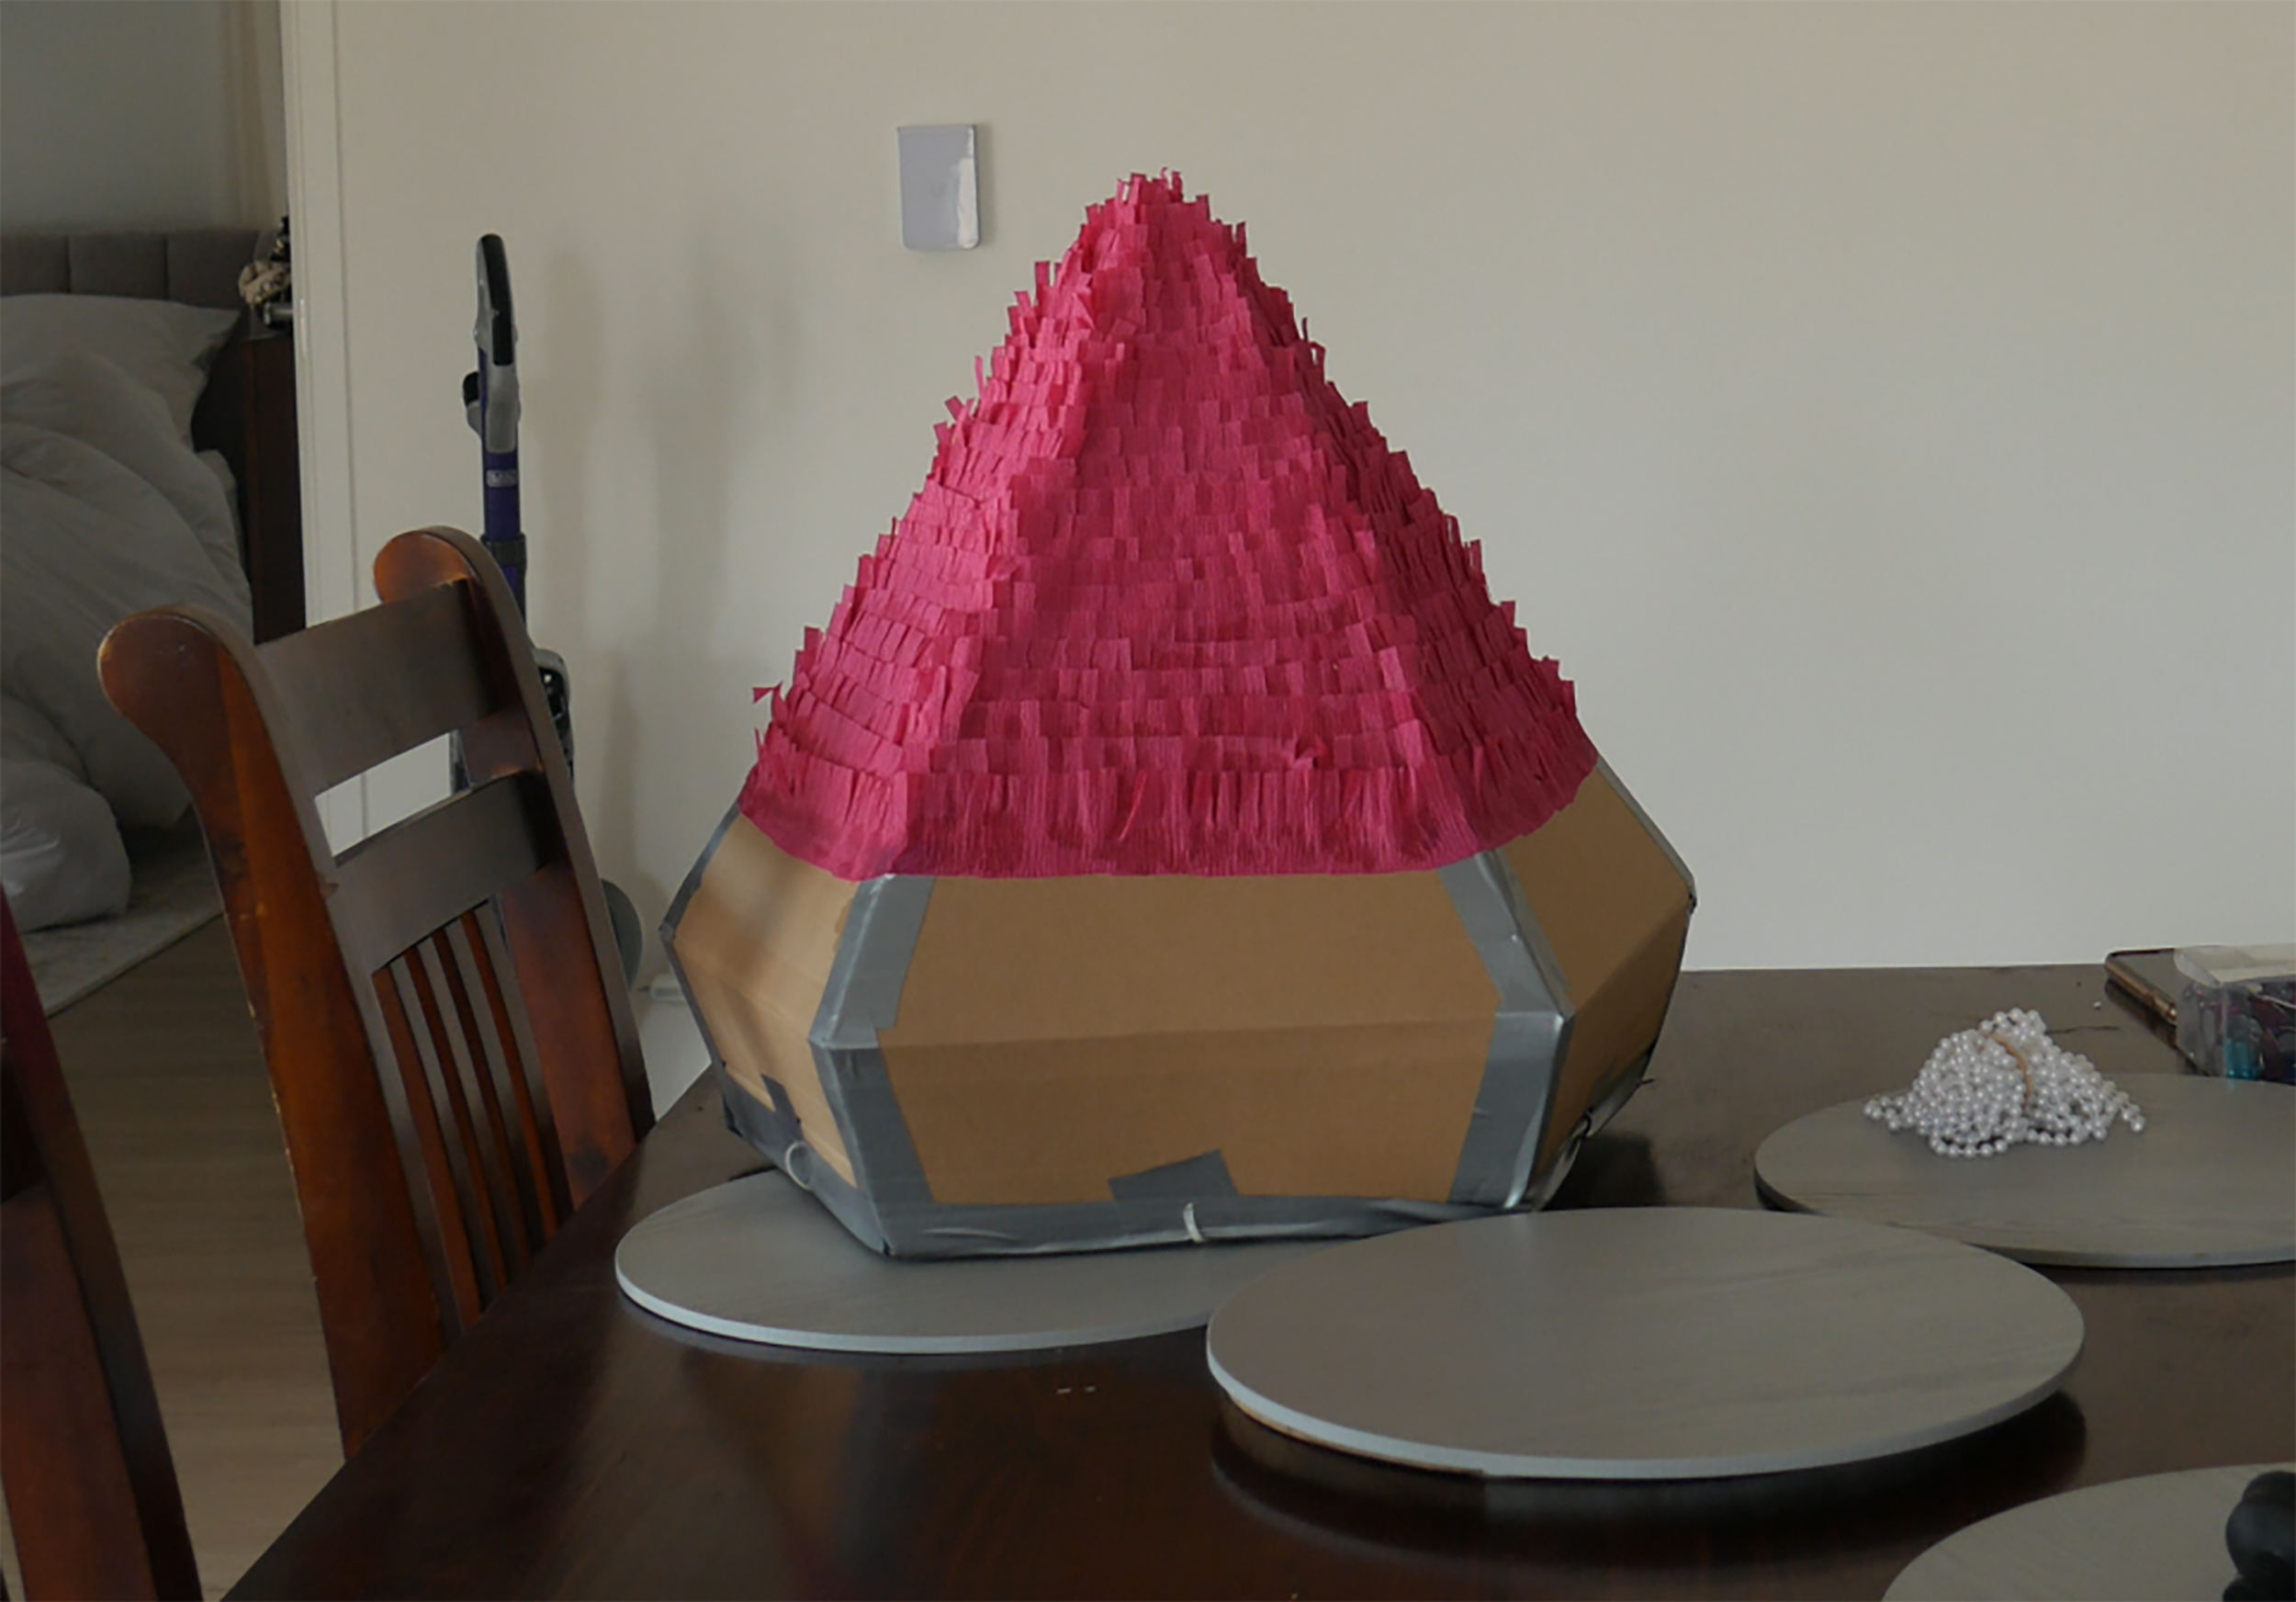
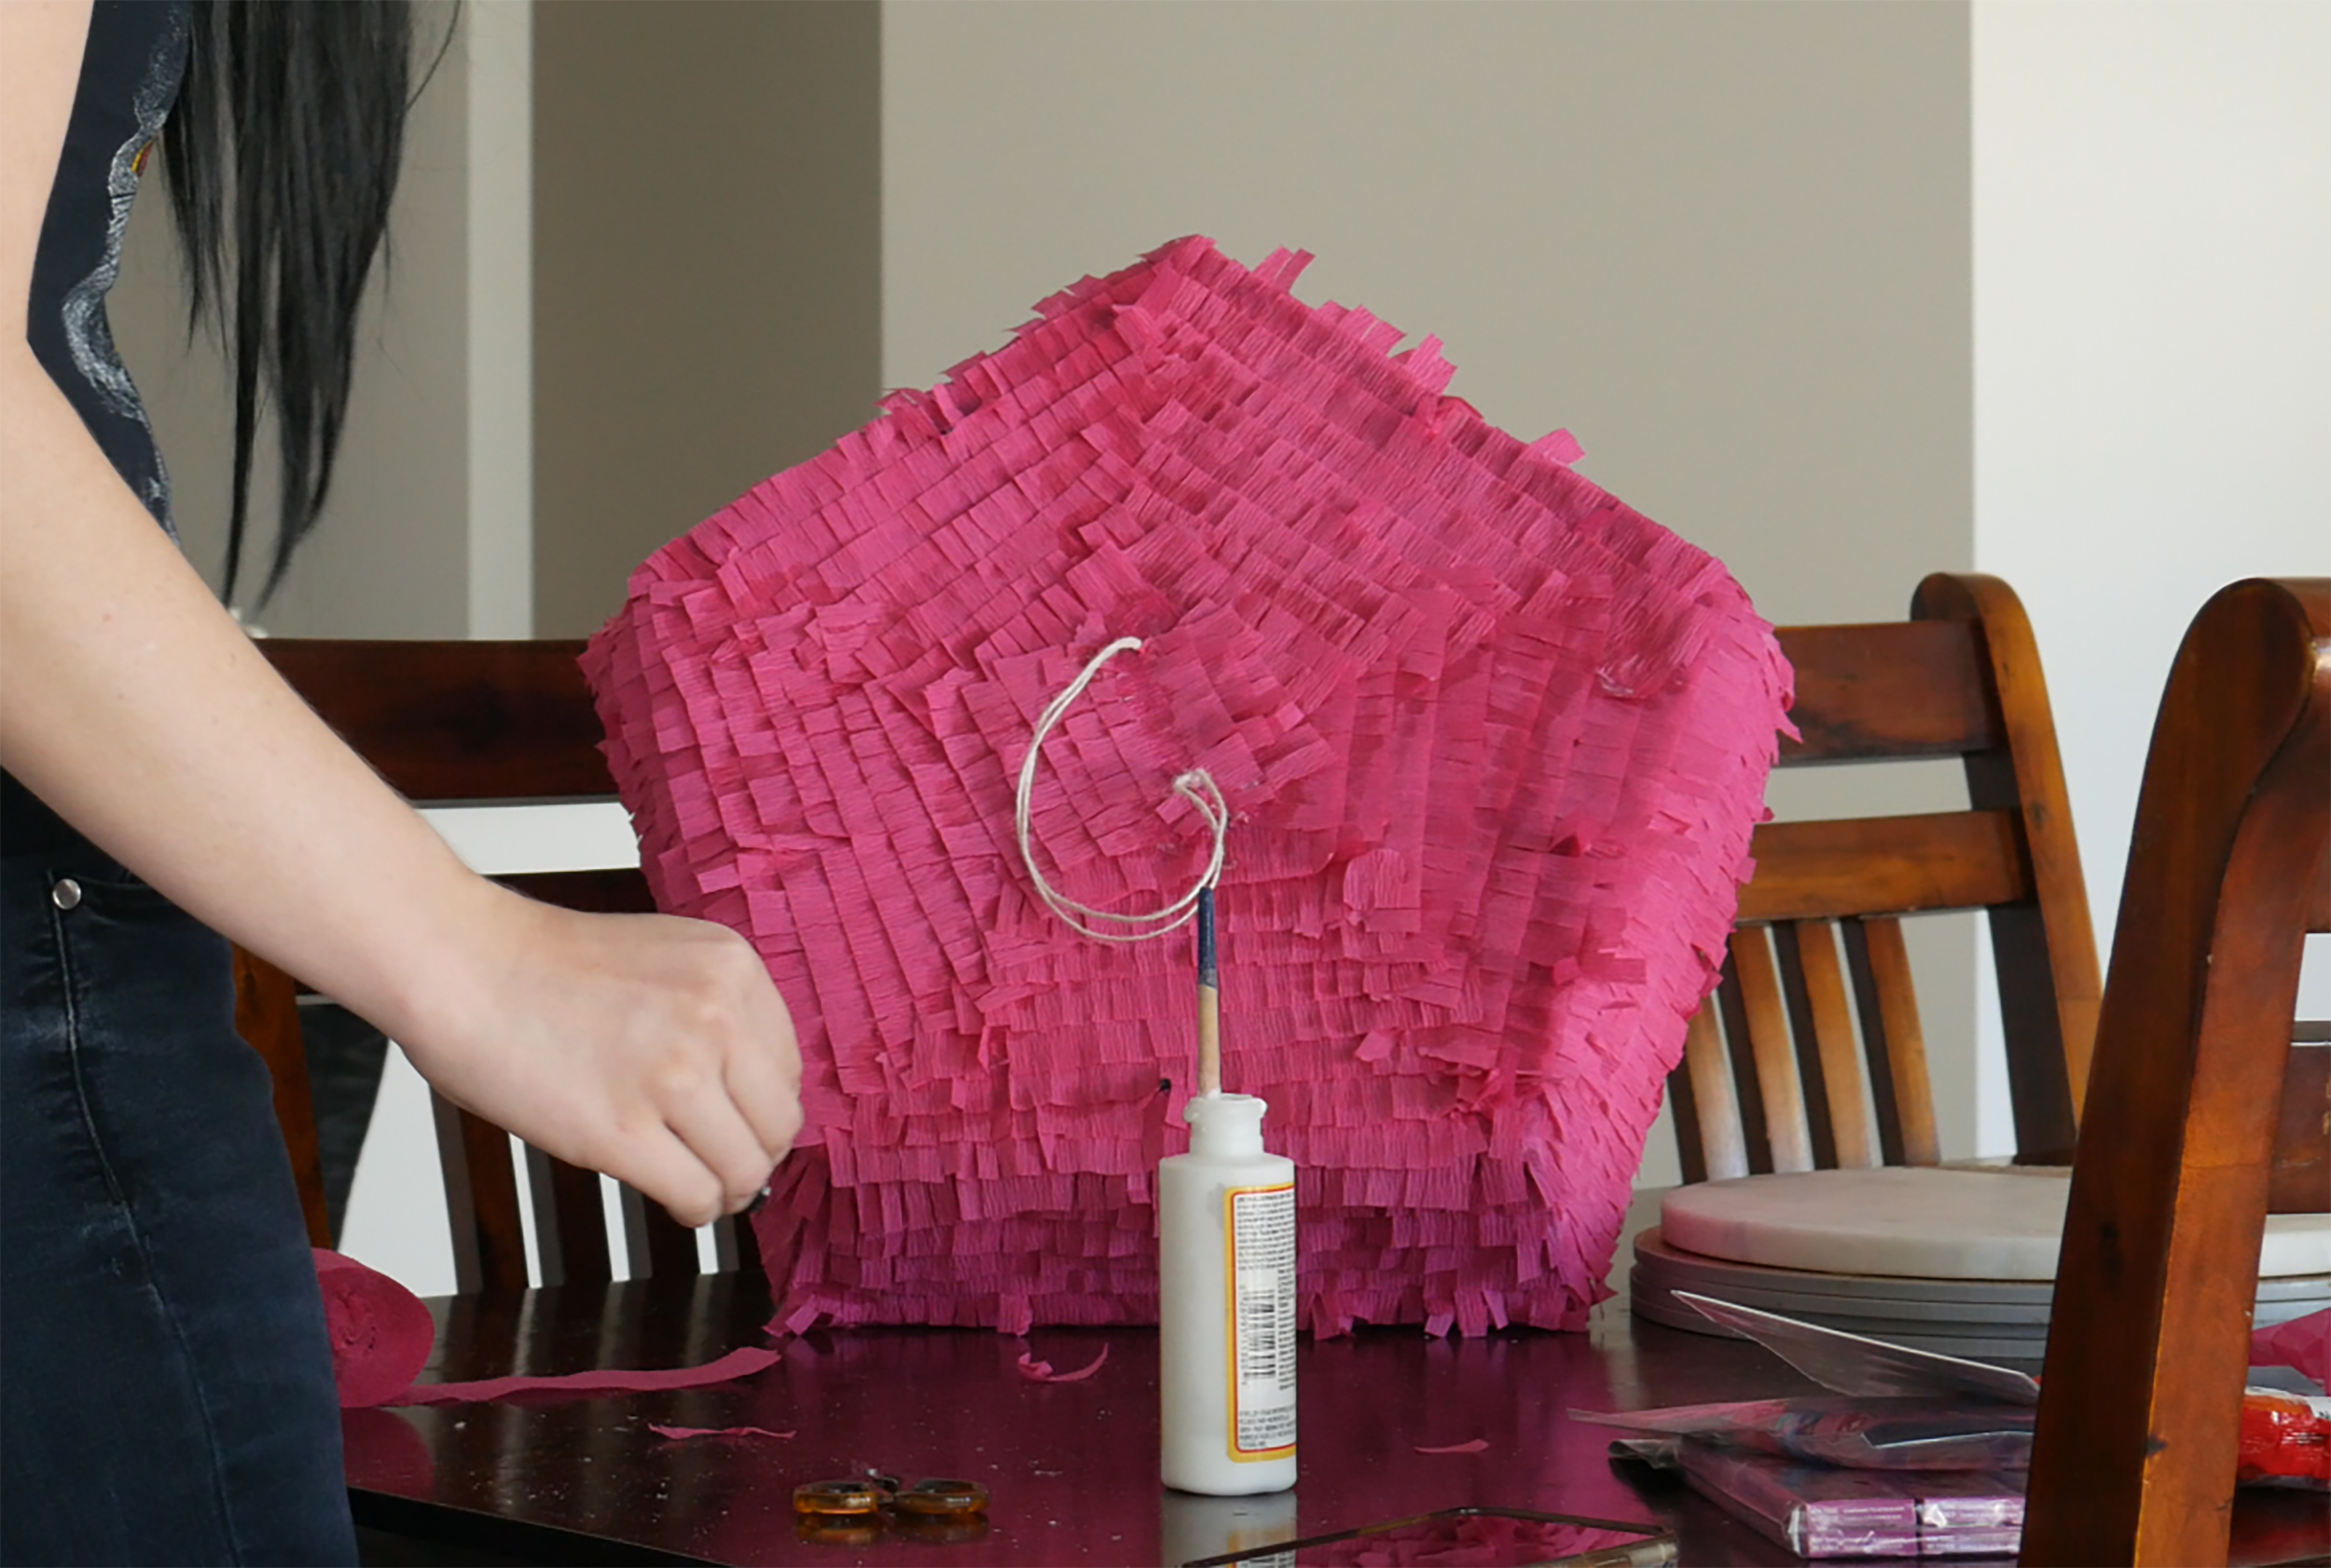
I was scared the pinata wouldn’t hold once it was full. But it actually turned out to be way too strong for the little kiddies to bash open. Each of the kids got a good few hits with their eyes open. It wasn’t even dented at all! Parental help was required to finally release all the goodies inside.
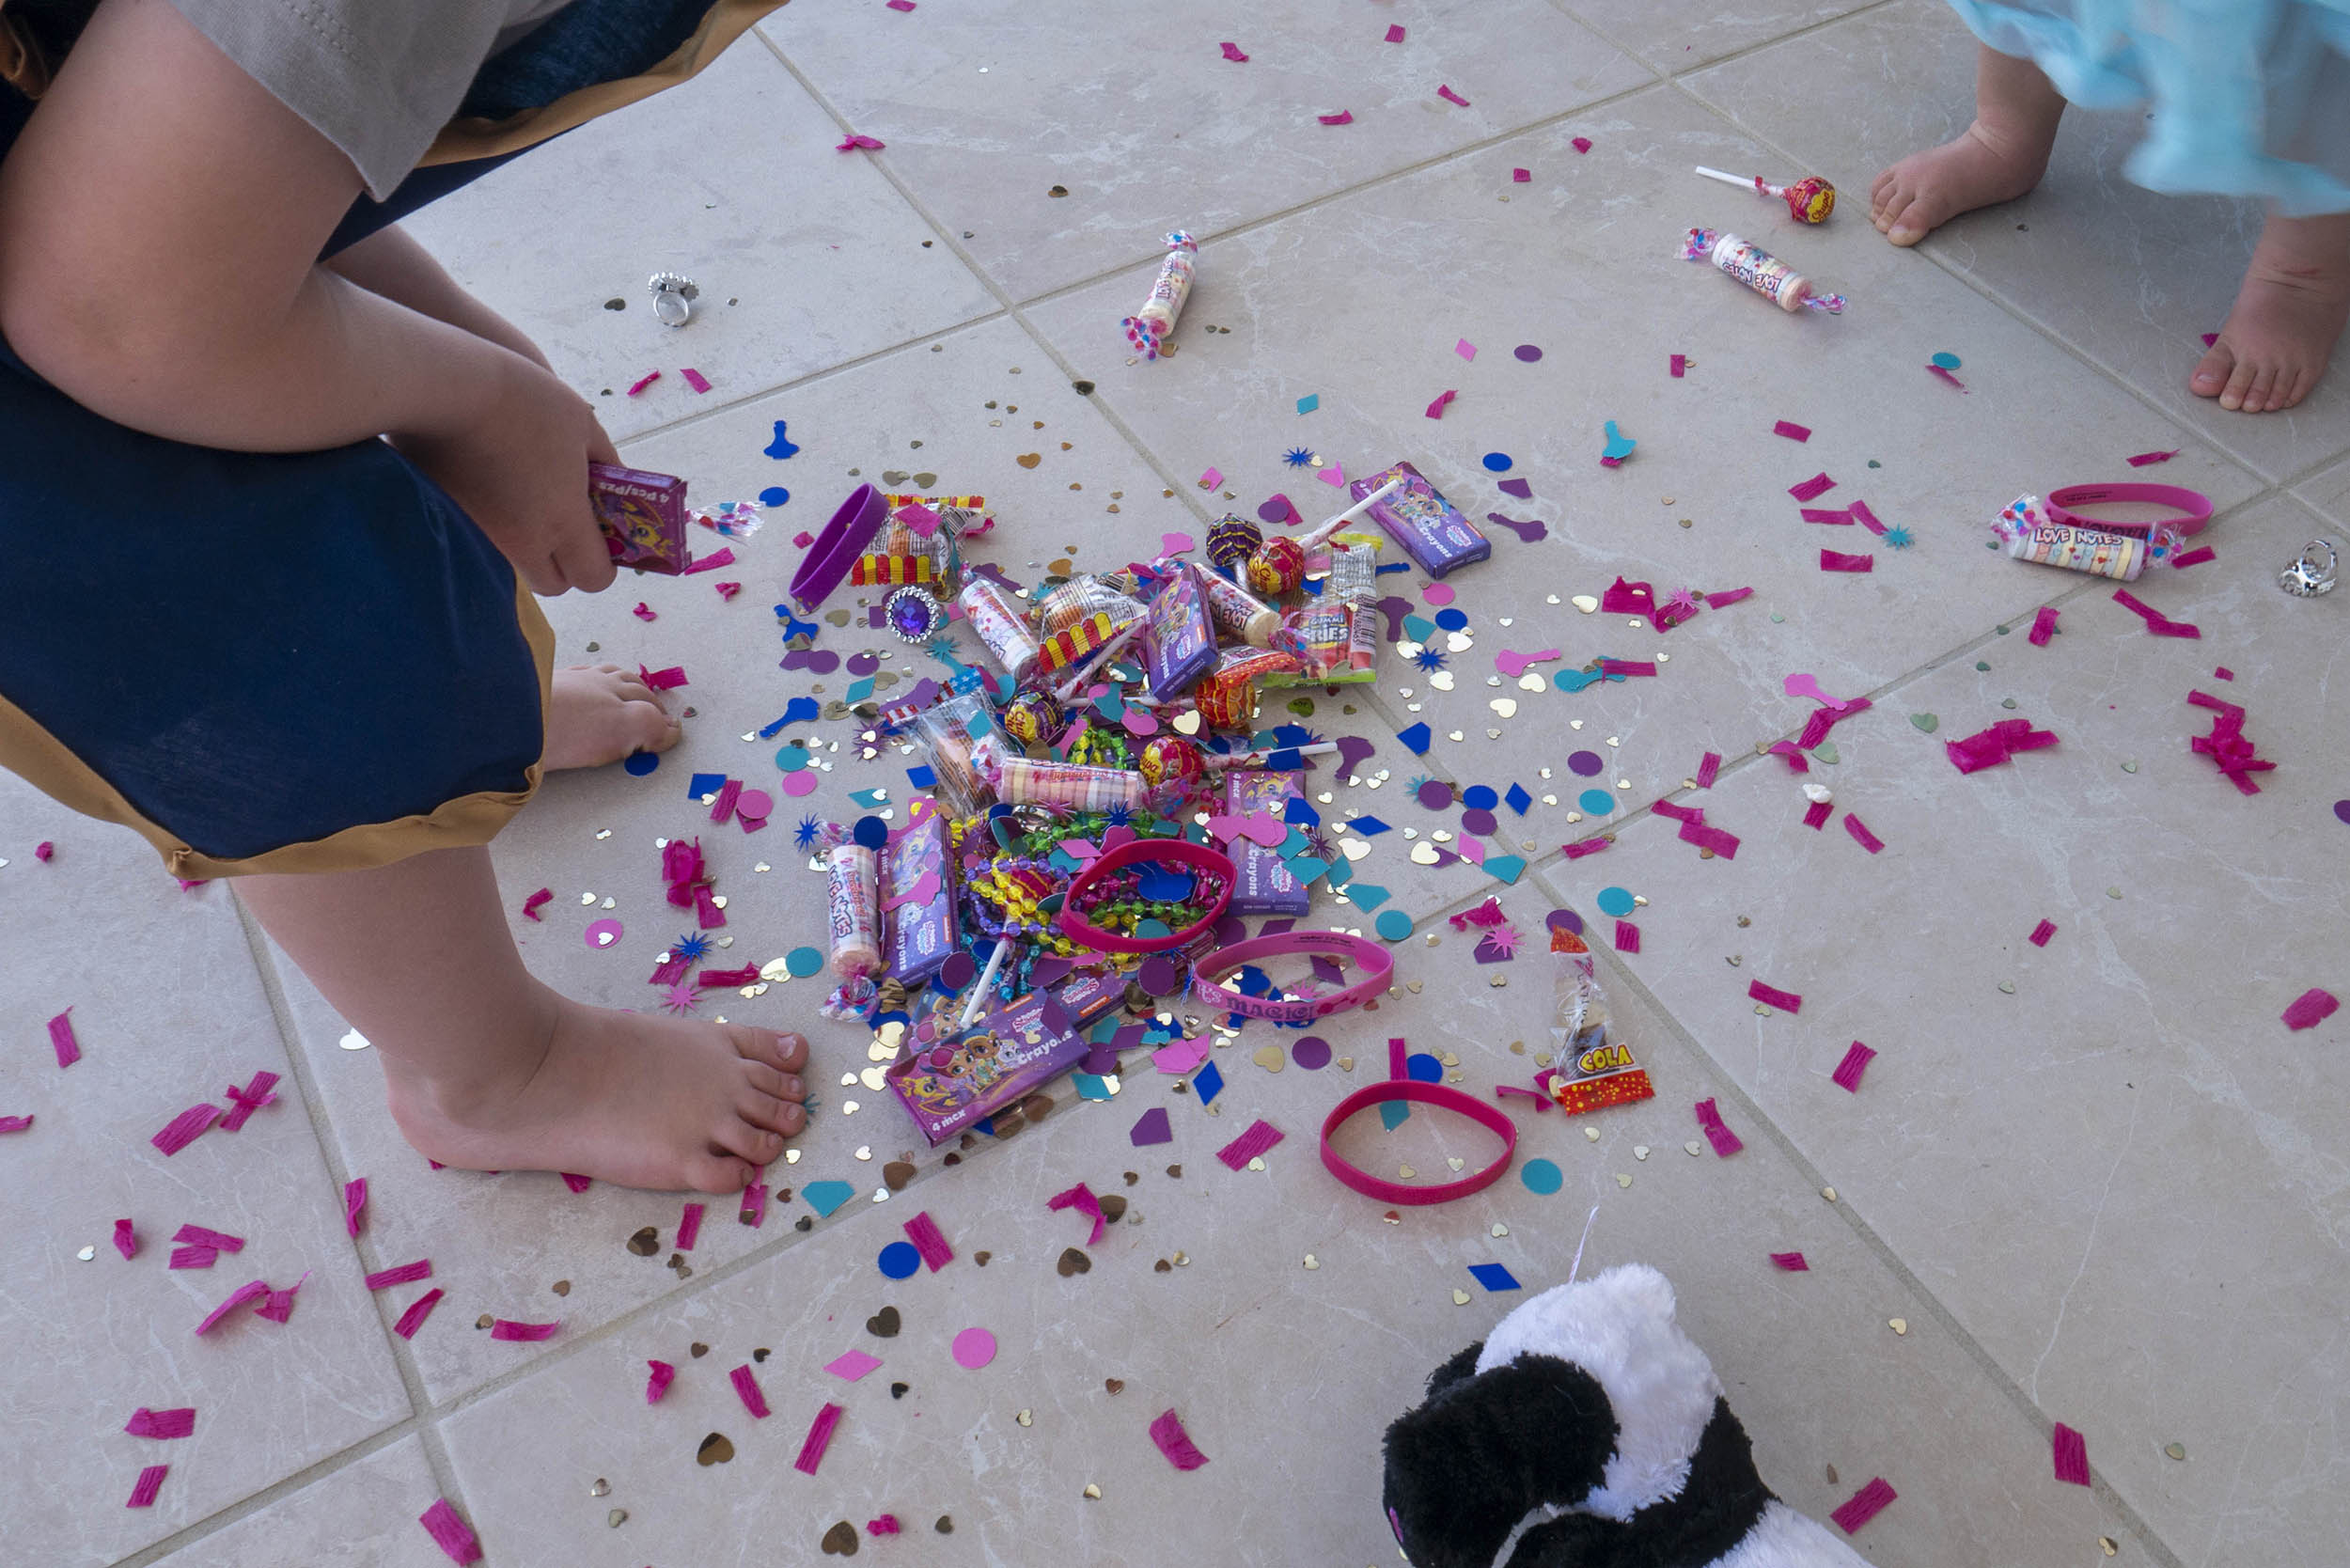
Speaking of goodies, I filled the pinata with Shimmer and Shine crayon packs and rubber bracelets, plastic kiddie gem rings and necklaces and lollies and lollipops as per Naomi’s request. To bulk out the filling I also made my own Shimmer and Shine confetti. I did this by cutting out some circles, diamonds, stars, gem and genie bottle shapes with my cricut maker. The gold shiny hearts I’ve had in my craft stockpile for years so I added them in too. You can download the vector files for the confetti here if you happen to have a cricut or other similar machine as well.
And there you have it! My daughter and all her friends had an excellent time crafting and playing all these games. It was the perfect amount to keep them busy and break the ice without overstimulating them. I hope this helps give you some inspiration for your own party. Boom Zahramay Out!
