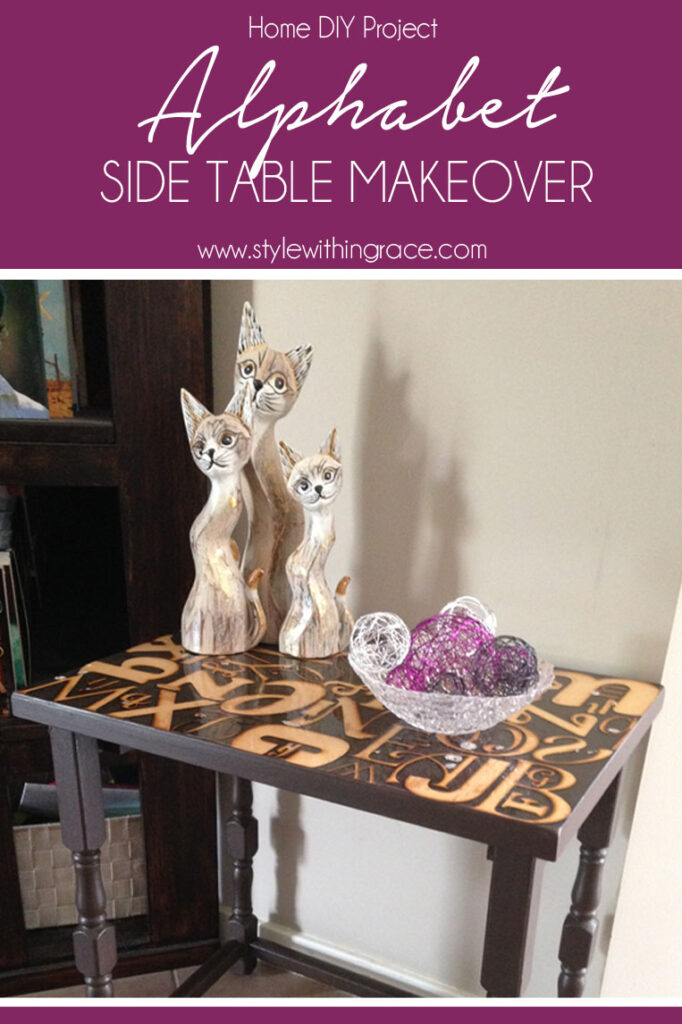
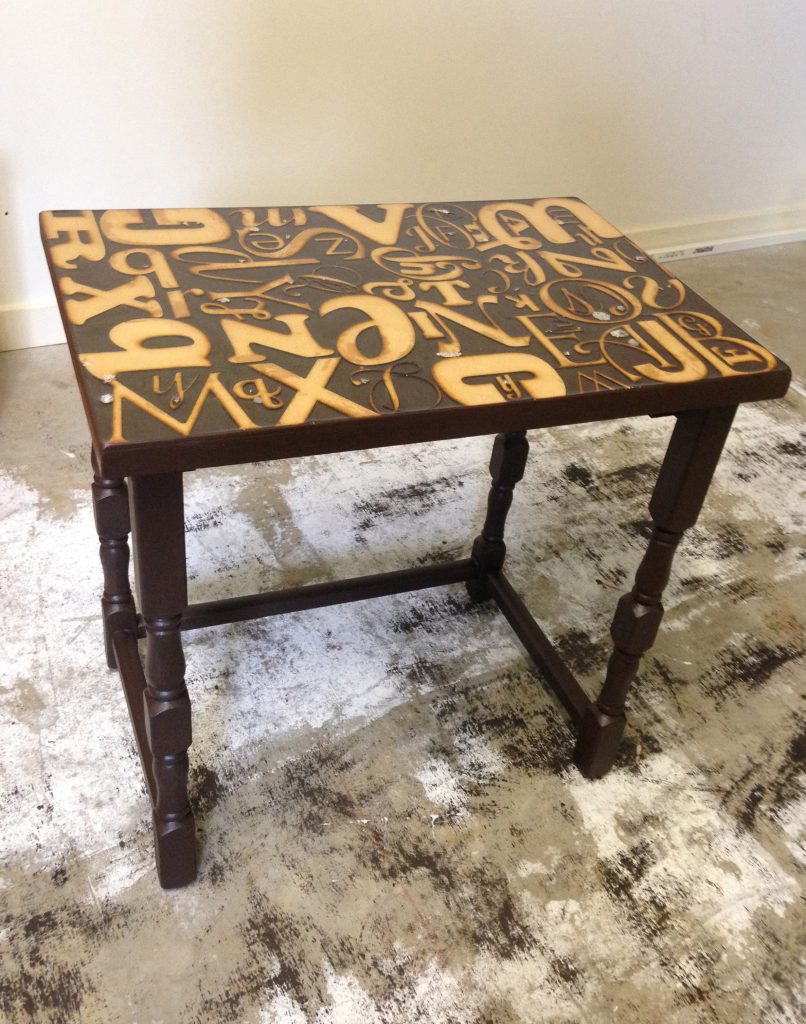
This side table used to belong to my parents but was given to me when I moved out of home with two smaller tables that fit stacked underneath it. They are great, sturdy tables but were a little worn and in need of some updating. I found a picture on Pinterest of this side table and knew that this was how I was going to go about it but the picture didn’t come with any instructions so I worked my way through it on my own, with a little help from my dad. I forgot to take a before picture so you will just have to imagine the table with a slightly scuffed dark brown stain.
What you need:
- Old Side Table
- Sander/Sand Paper
- Paint (I got a sample pot of a nice chocolate brown colour from Bunnings)
- Paintbrushes
- Impasto gel
- Alphabet Letters
- Resin
- Masking Tape
Step 1:
Sand away the old stain.
Step 2:
Wipe away any sawdust. Wipe down table with damp cloth to ensure all sawdust is gone.
Step 3:
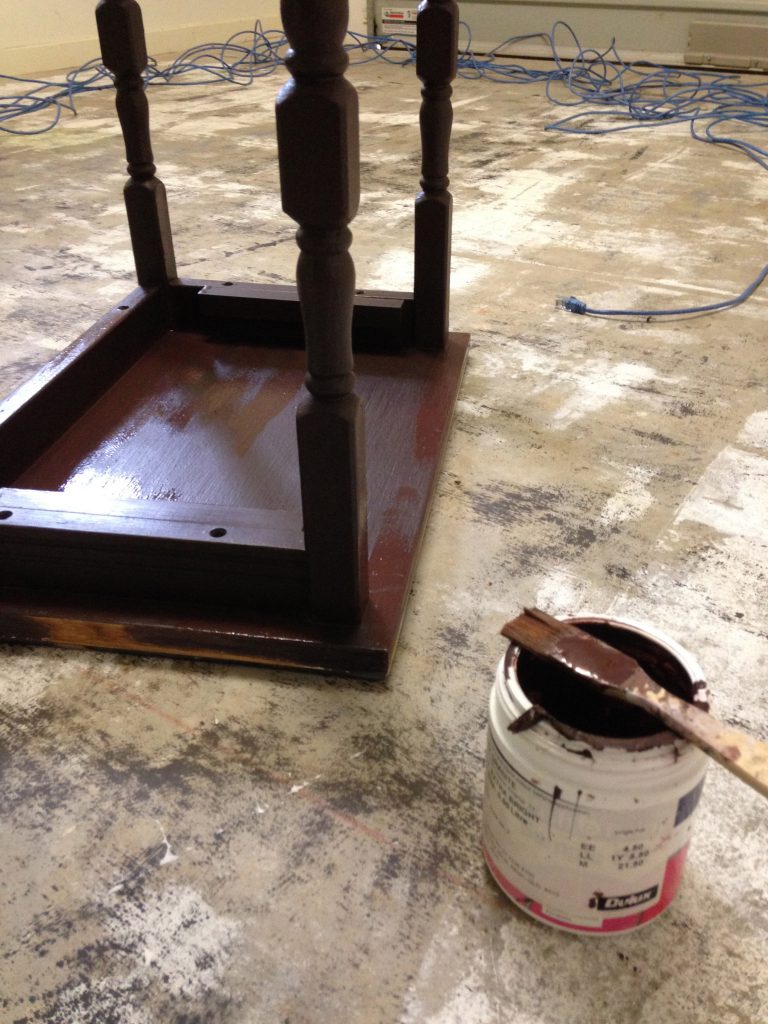
Paint Table.
Step 4:
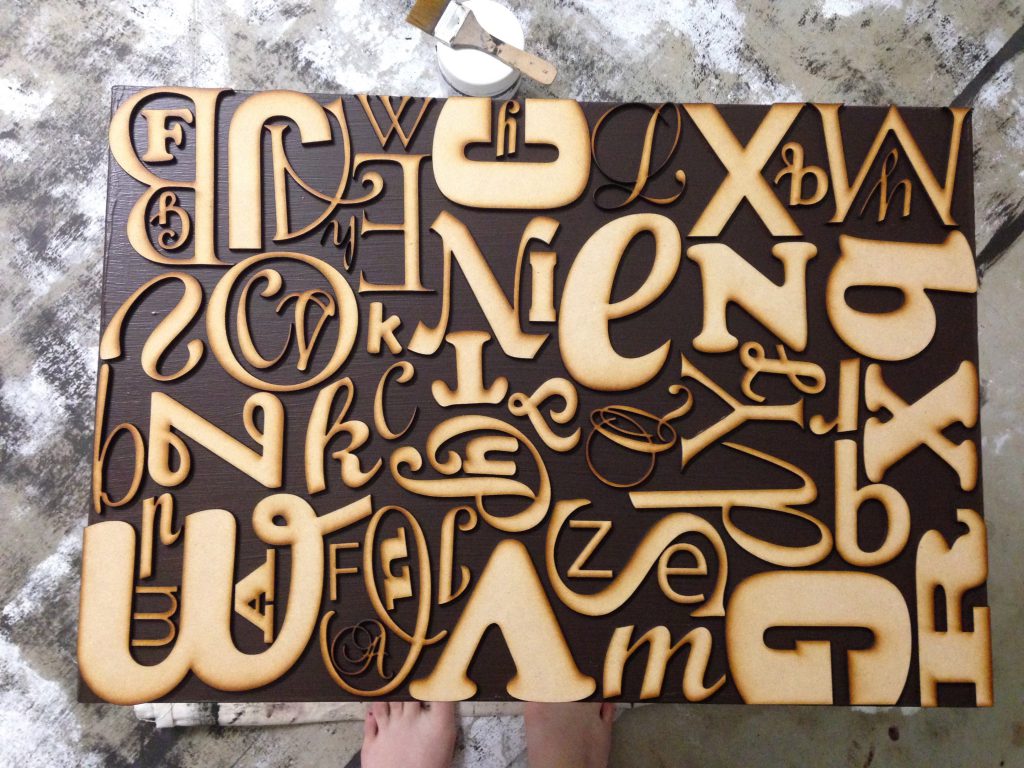
Glue Down Letters. Once paint is dry, layout the letters on the top of the table to figure out how they all fit. Then proceed to glue then down, one at a time. I used the impasto gel to do this.
Step 5:
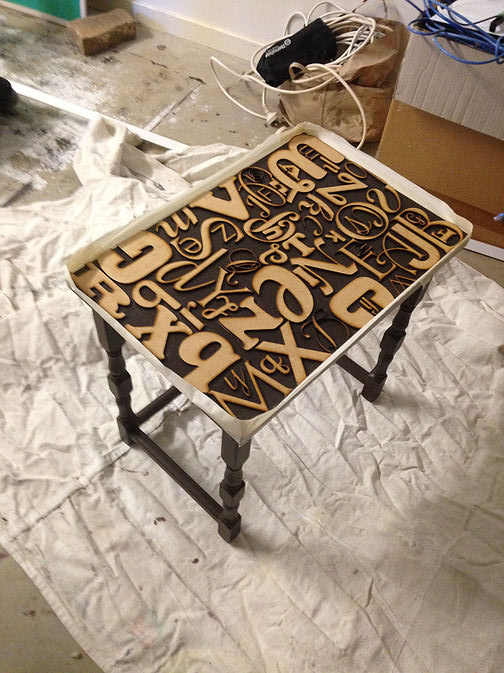
Masking Tape the Sides. Create a border around the top of the table with masking tape.
Step 6:
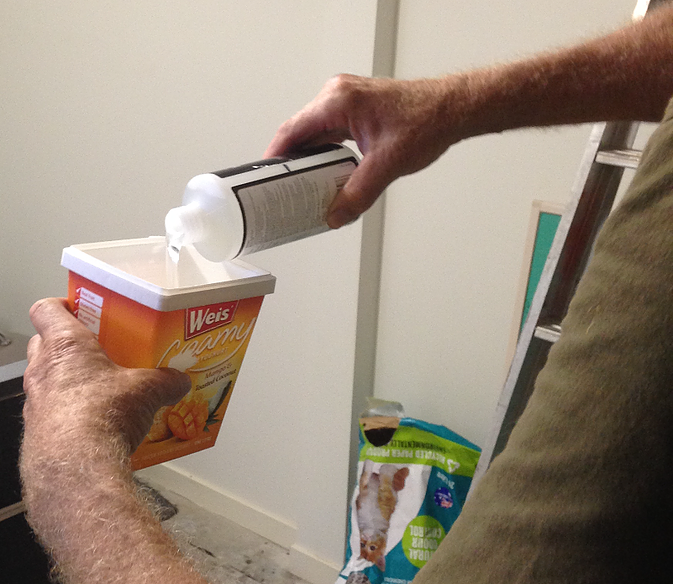
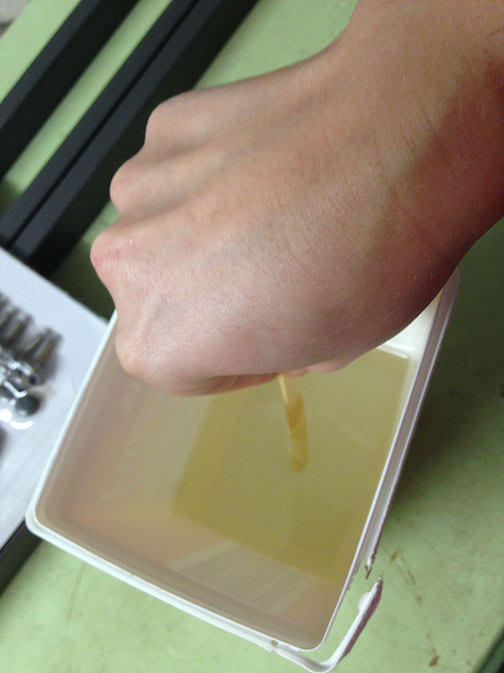
Mix resin according to packet instructions and apply. We did all in one go and then used a small clean brush to spread it out smoothly. Unfortunately a few hours into the drying process a fair few bubbles popped up. My dad tells me nothing can be done about it. I believe it must have been because I stirred the mixture too roughly. I wouldn’t say that I stirred it particularly forcefully but I feel this is probably the issue. If you use resin make sure to be ever so gentle. I’m greatly disappointed but I have learnt for next time and hopefully this post will help you to avoid the bubbles too. I would recommend looking into someone who has done this step successfully.
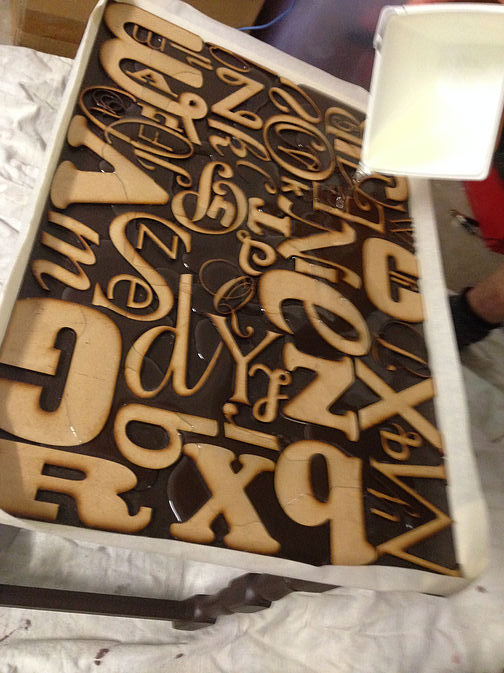
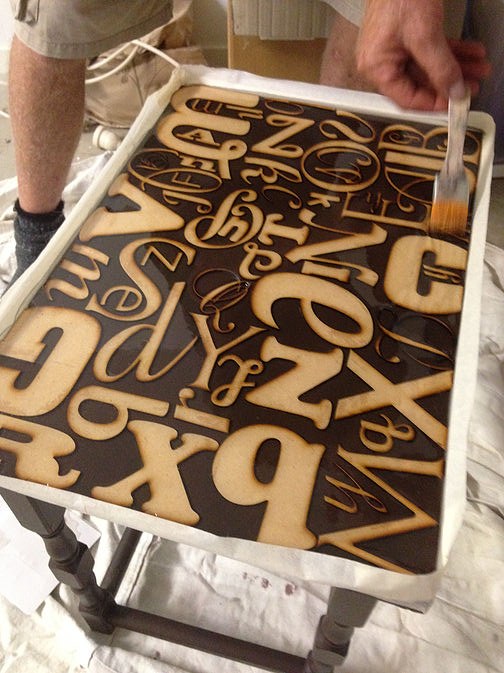
Step 7:
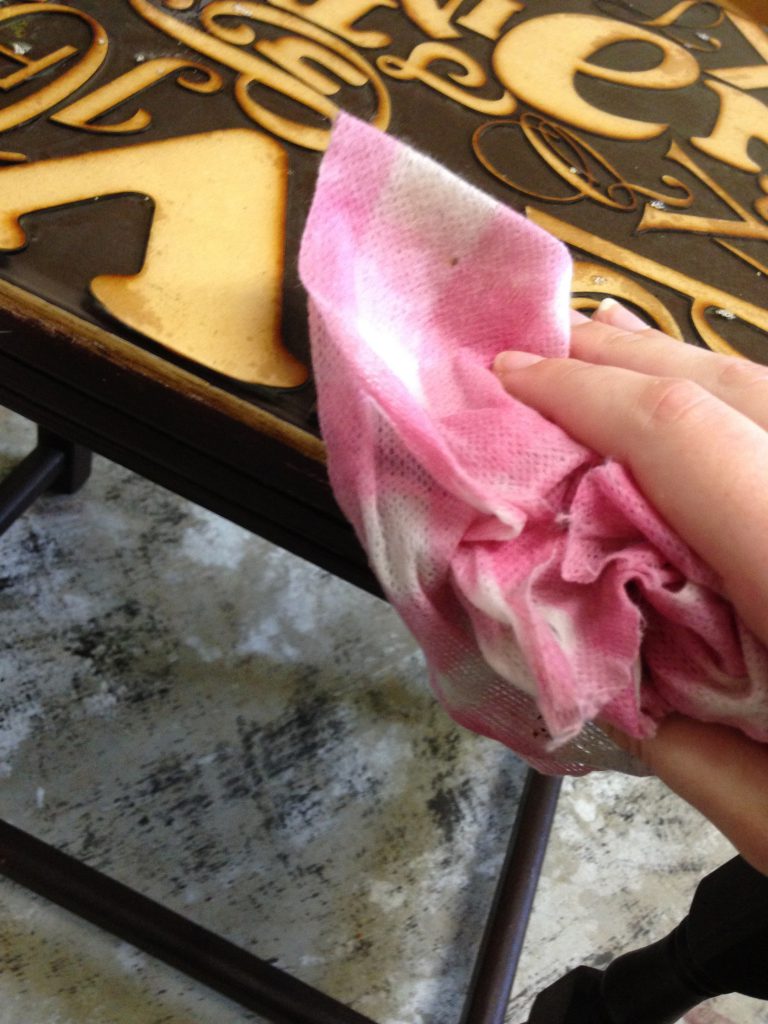
Remove Masking Tape and Sand Edges. Once it is completely dry (We waited a full 7 days) you can remove the masking tape and sand back the edges so they are not sharp and are neat and tidy. Wipe away the dust once sanded.
Step 8:
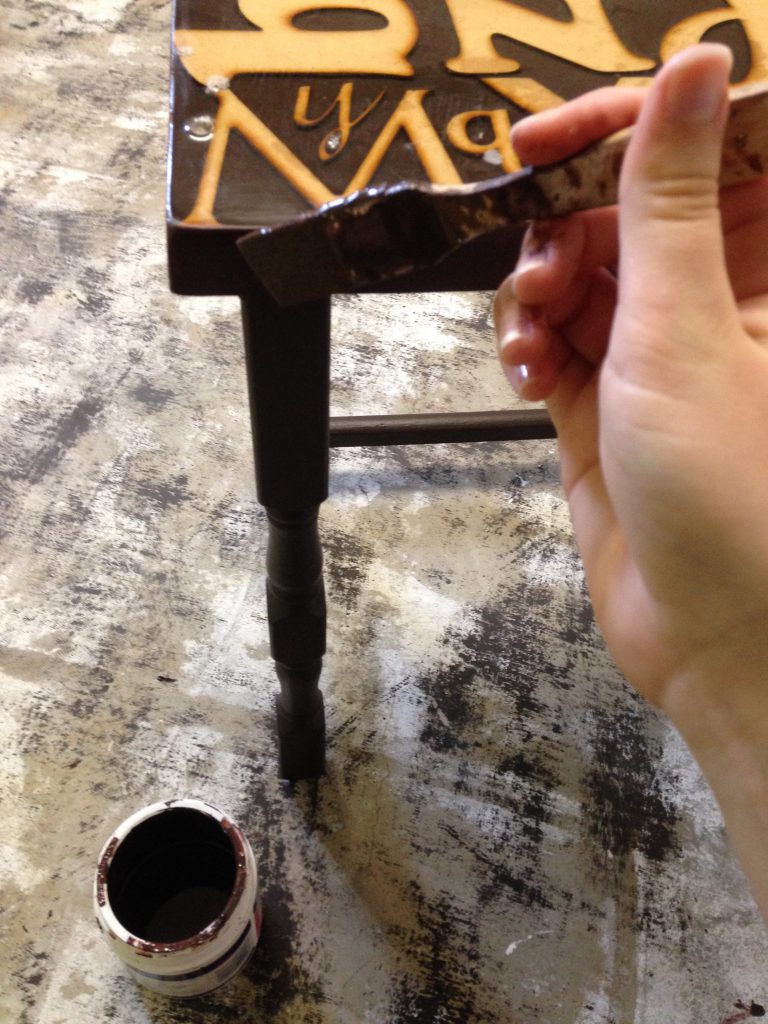
Touch Up Paint. Once the edges are sanded away, there will probably be areas where the paint has been sanded back too. Touch up the paint and you are all done.
Step 9:
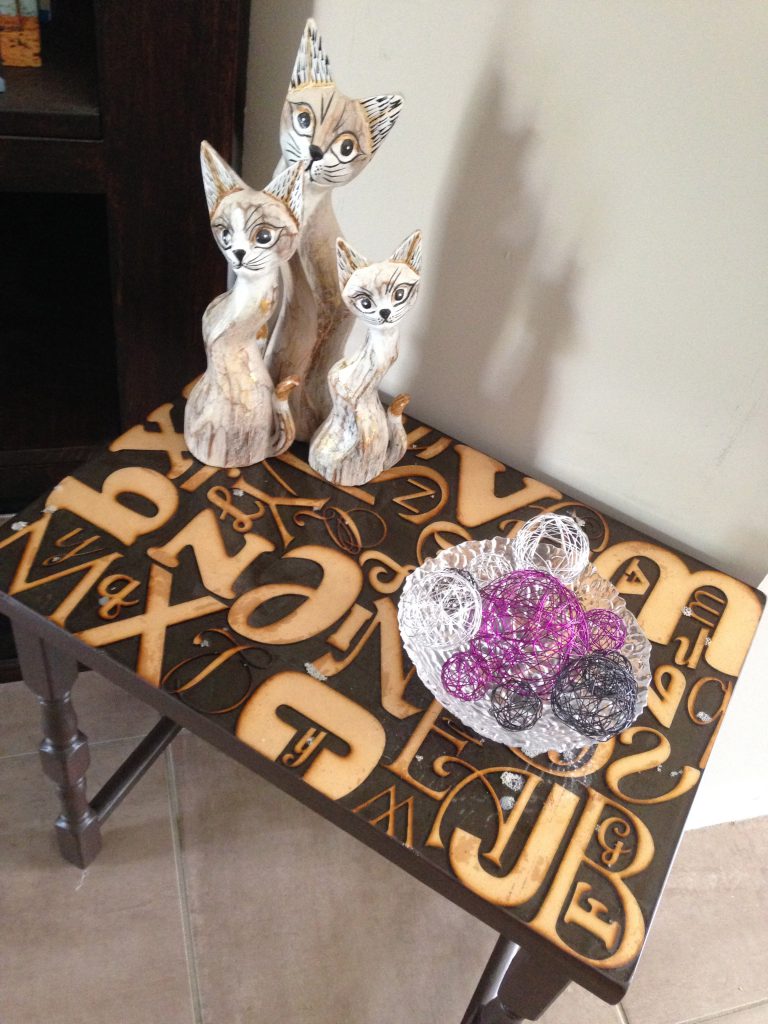
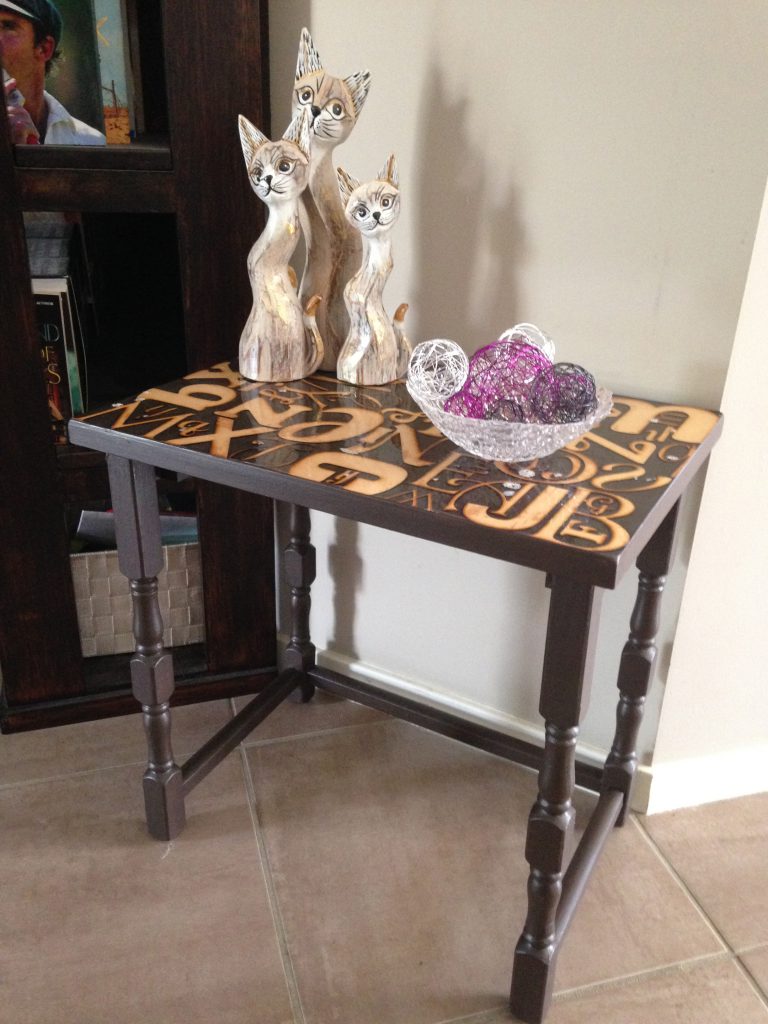
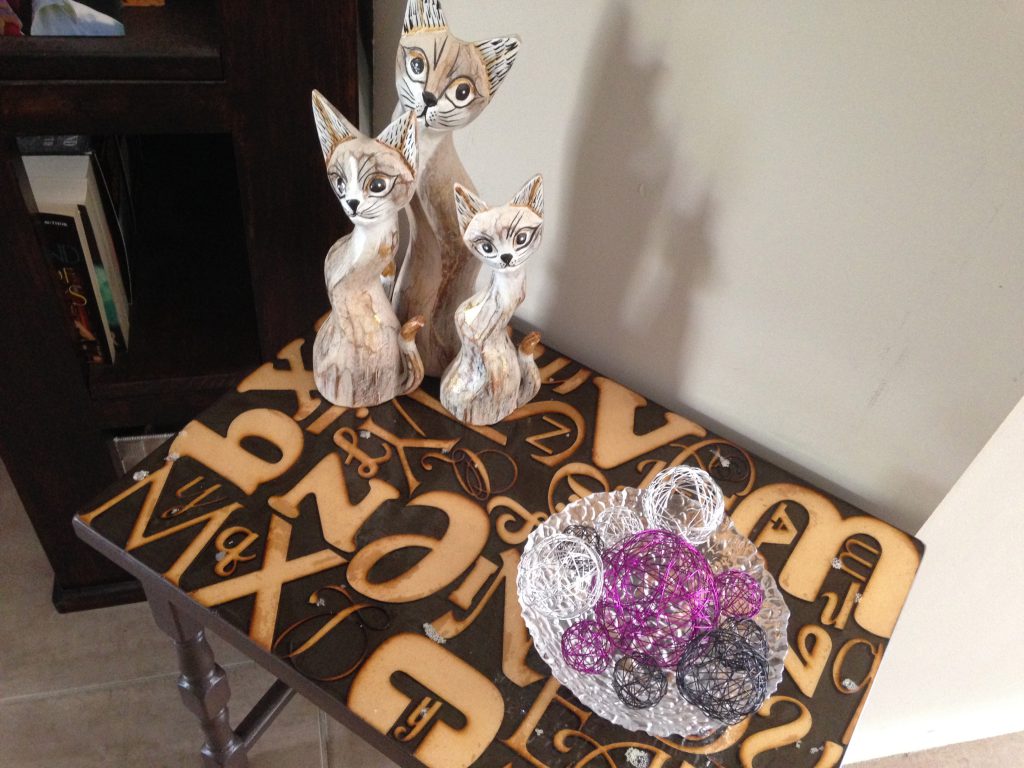
Decorate your lounge with a great looking side table! This little spot was always where I planned to keep the side table. Decorated with some cute cats because you can never have too many cute cats. 🙂
All up I paid:
Side Tables = Free
Alphabet Letters = $30.00
Impasto Gel = Already Owned
Resin Kit = $54.70 (Keep in mind there is lots left over)
Paint = $8.00
Total: $92.70
I really love how this looks in my lounge room but I’m very disappointed with the bubbles. They are like a constant reminder to me that I didn’t get it completely right but hopefully I will stop only seeing the bubbles and look at the rest of the table which does look good.
Wishing you luck in your DIY endeavours…
