Have you heard the happy news? Surely you have by now and if you haven’t, I say you must be living under a rock… because I’m pregnant! While writing this post I am 28 weeks and have just entered into the third trimester which means it’s not that much longer now until I have a bouncing bundle of joy to cuddle and I imagine to keep me awake at all hours of the night.
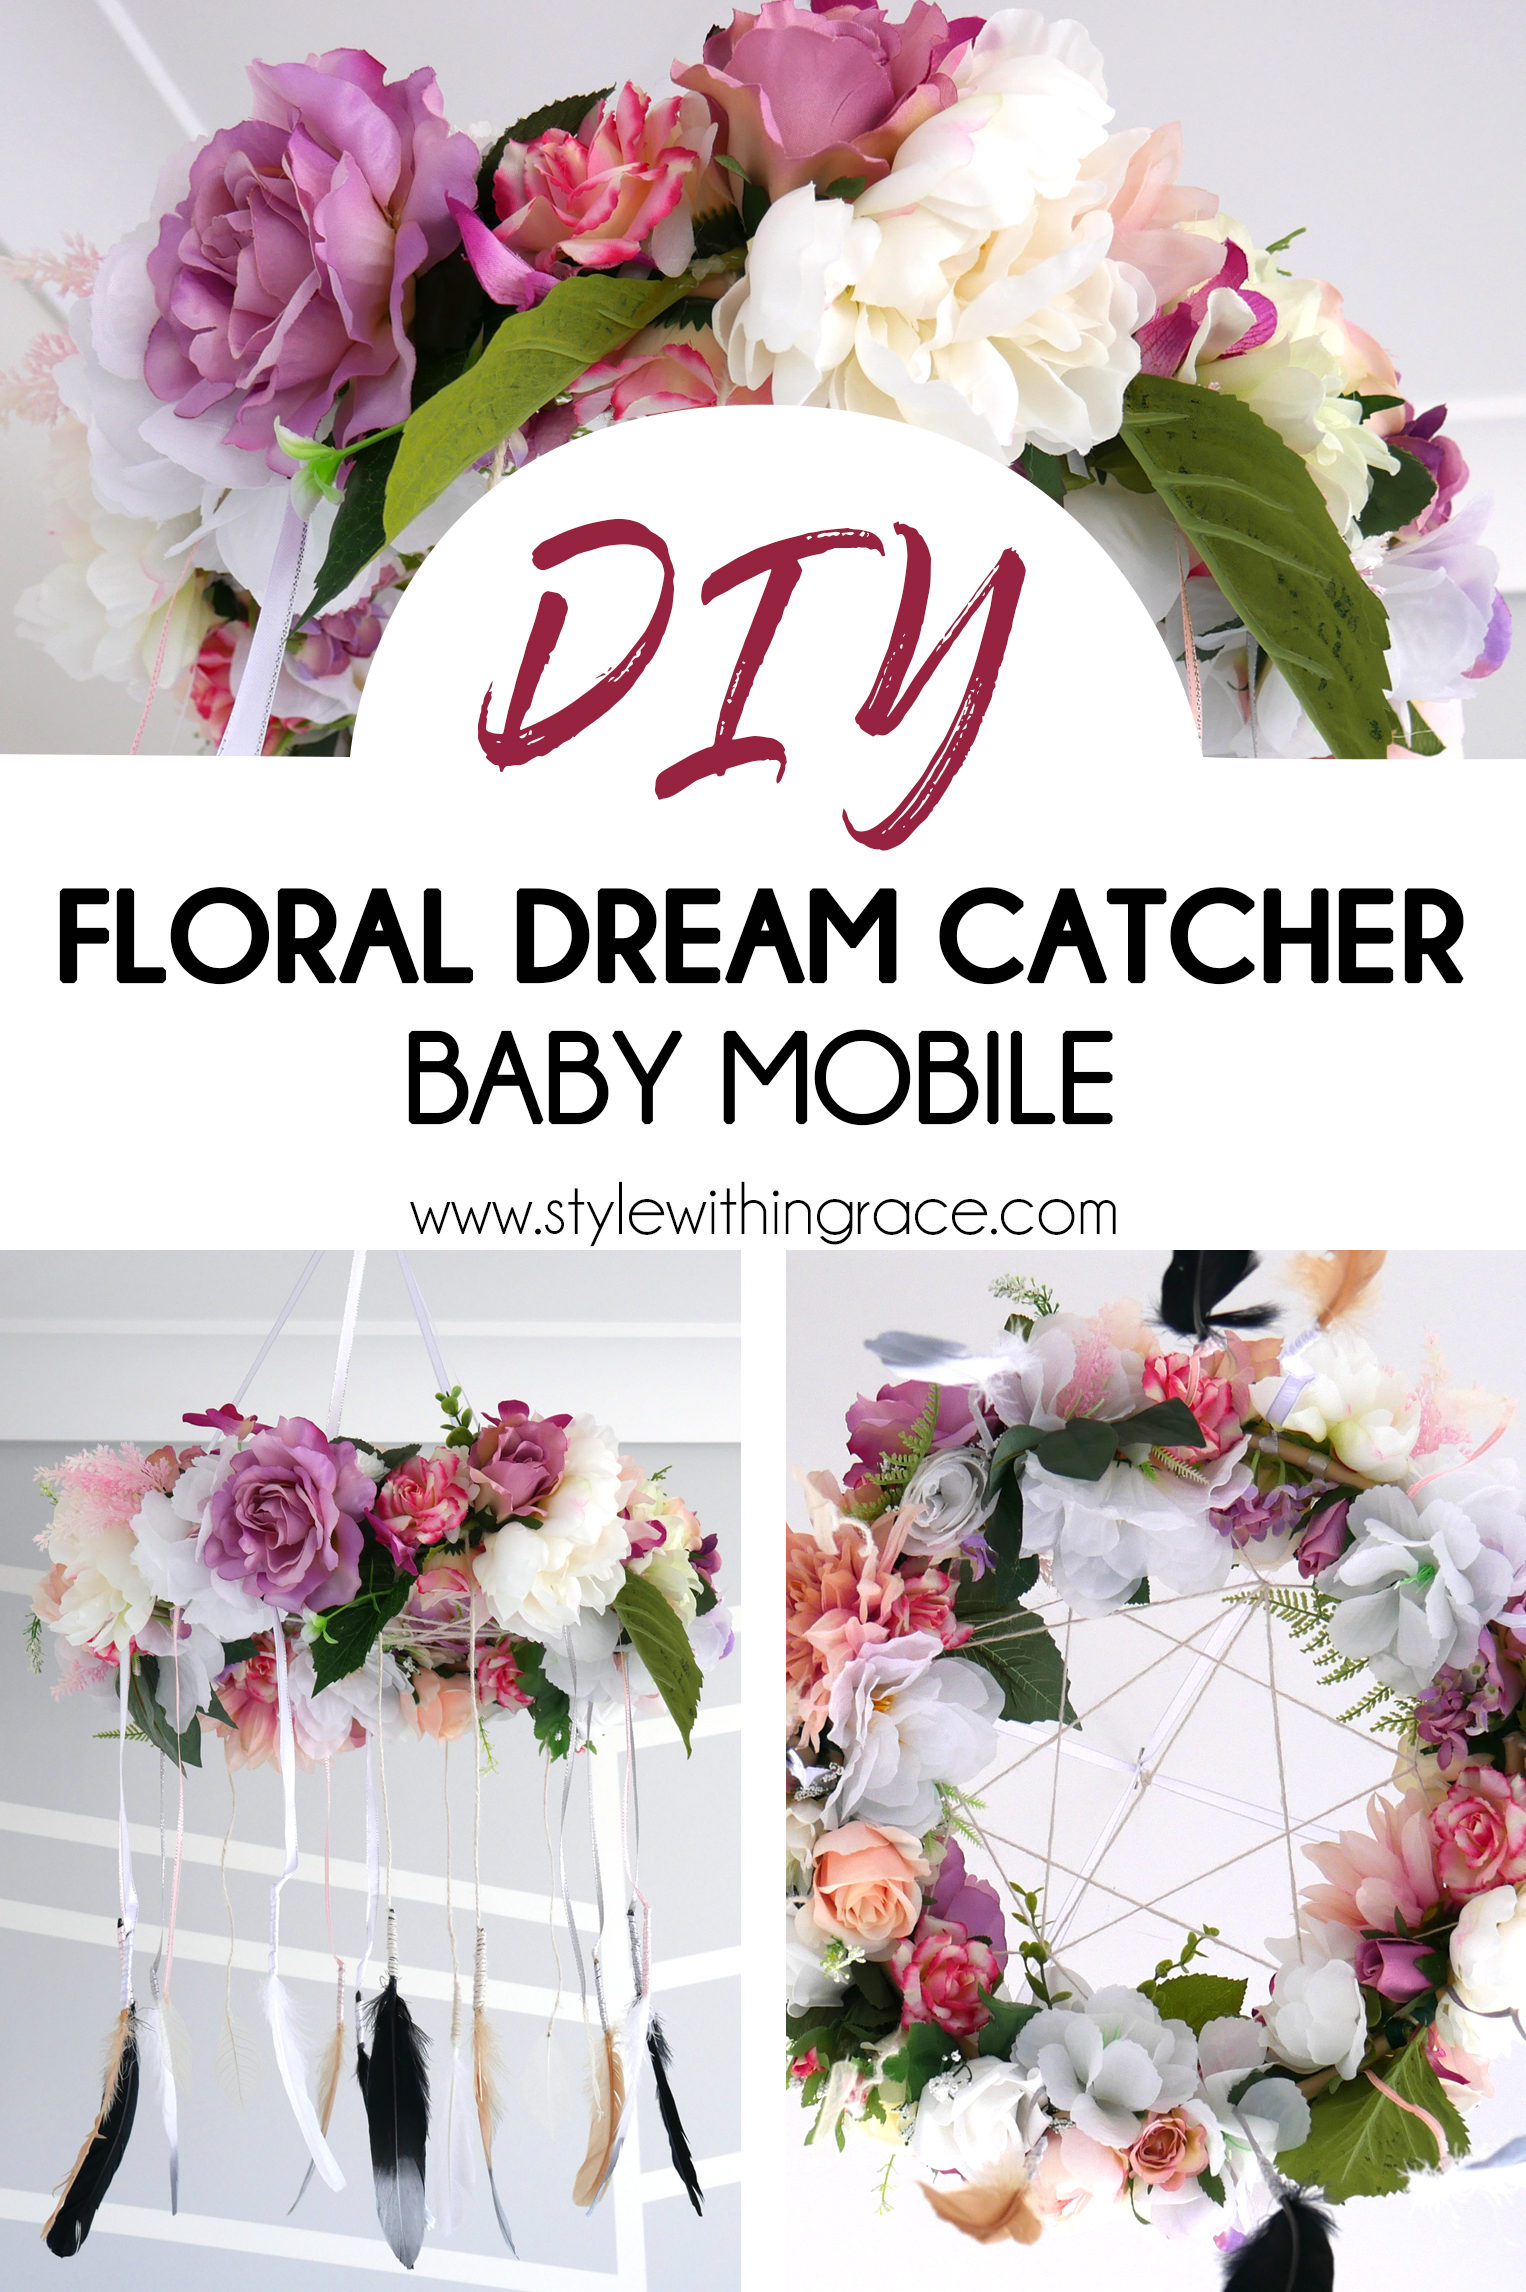
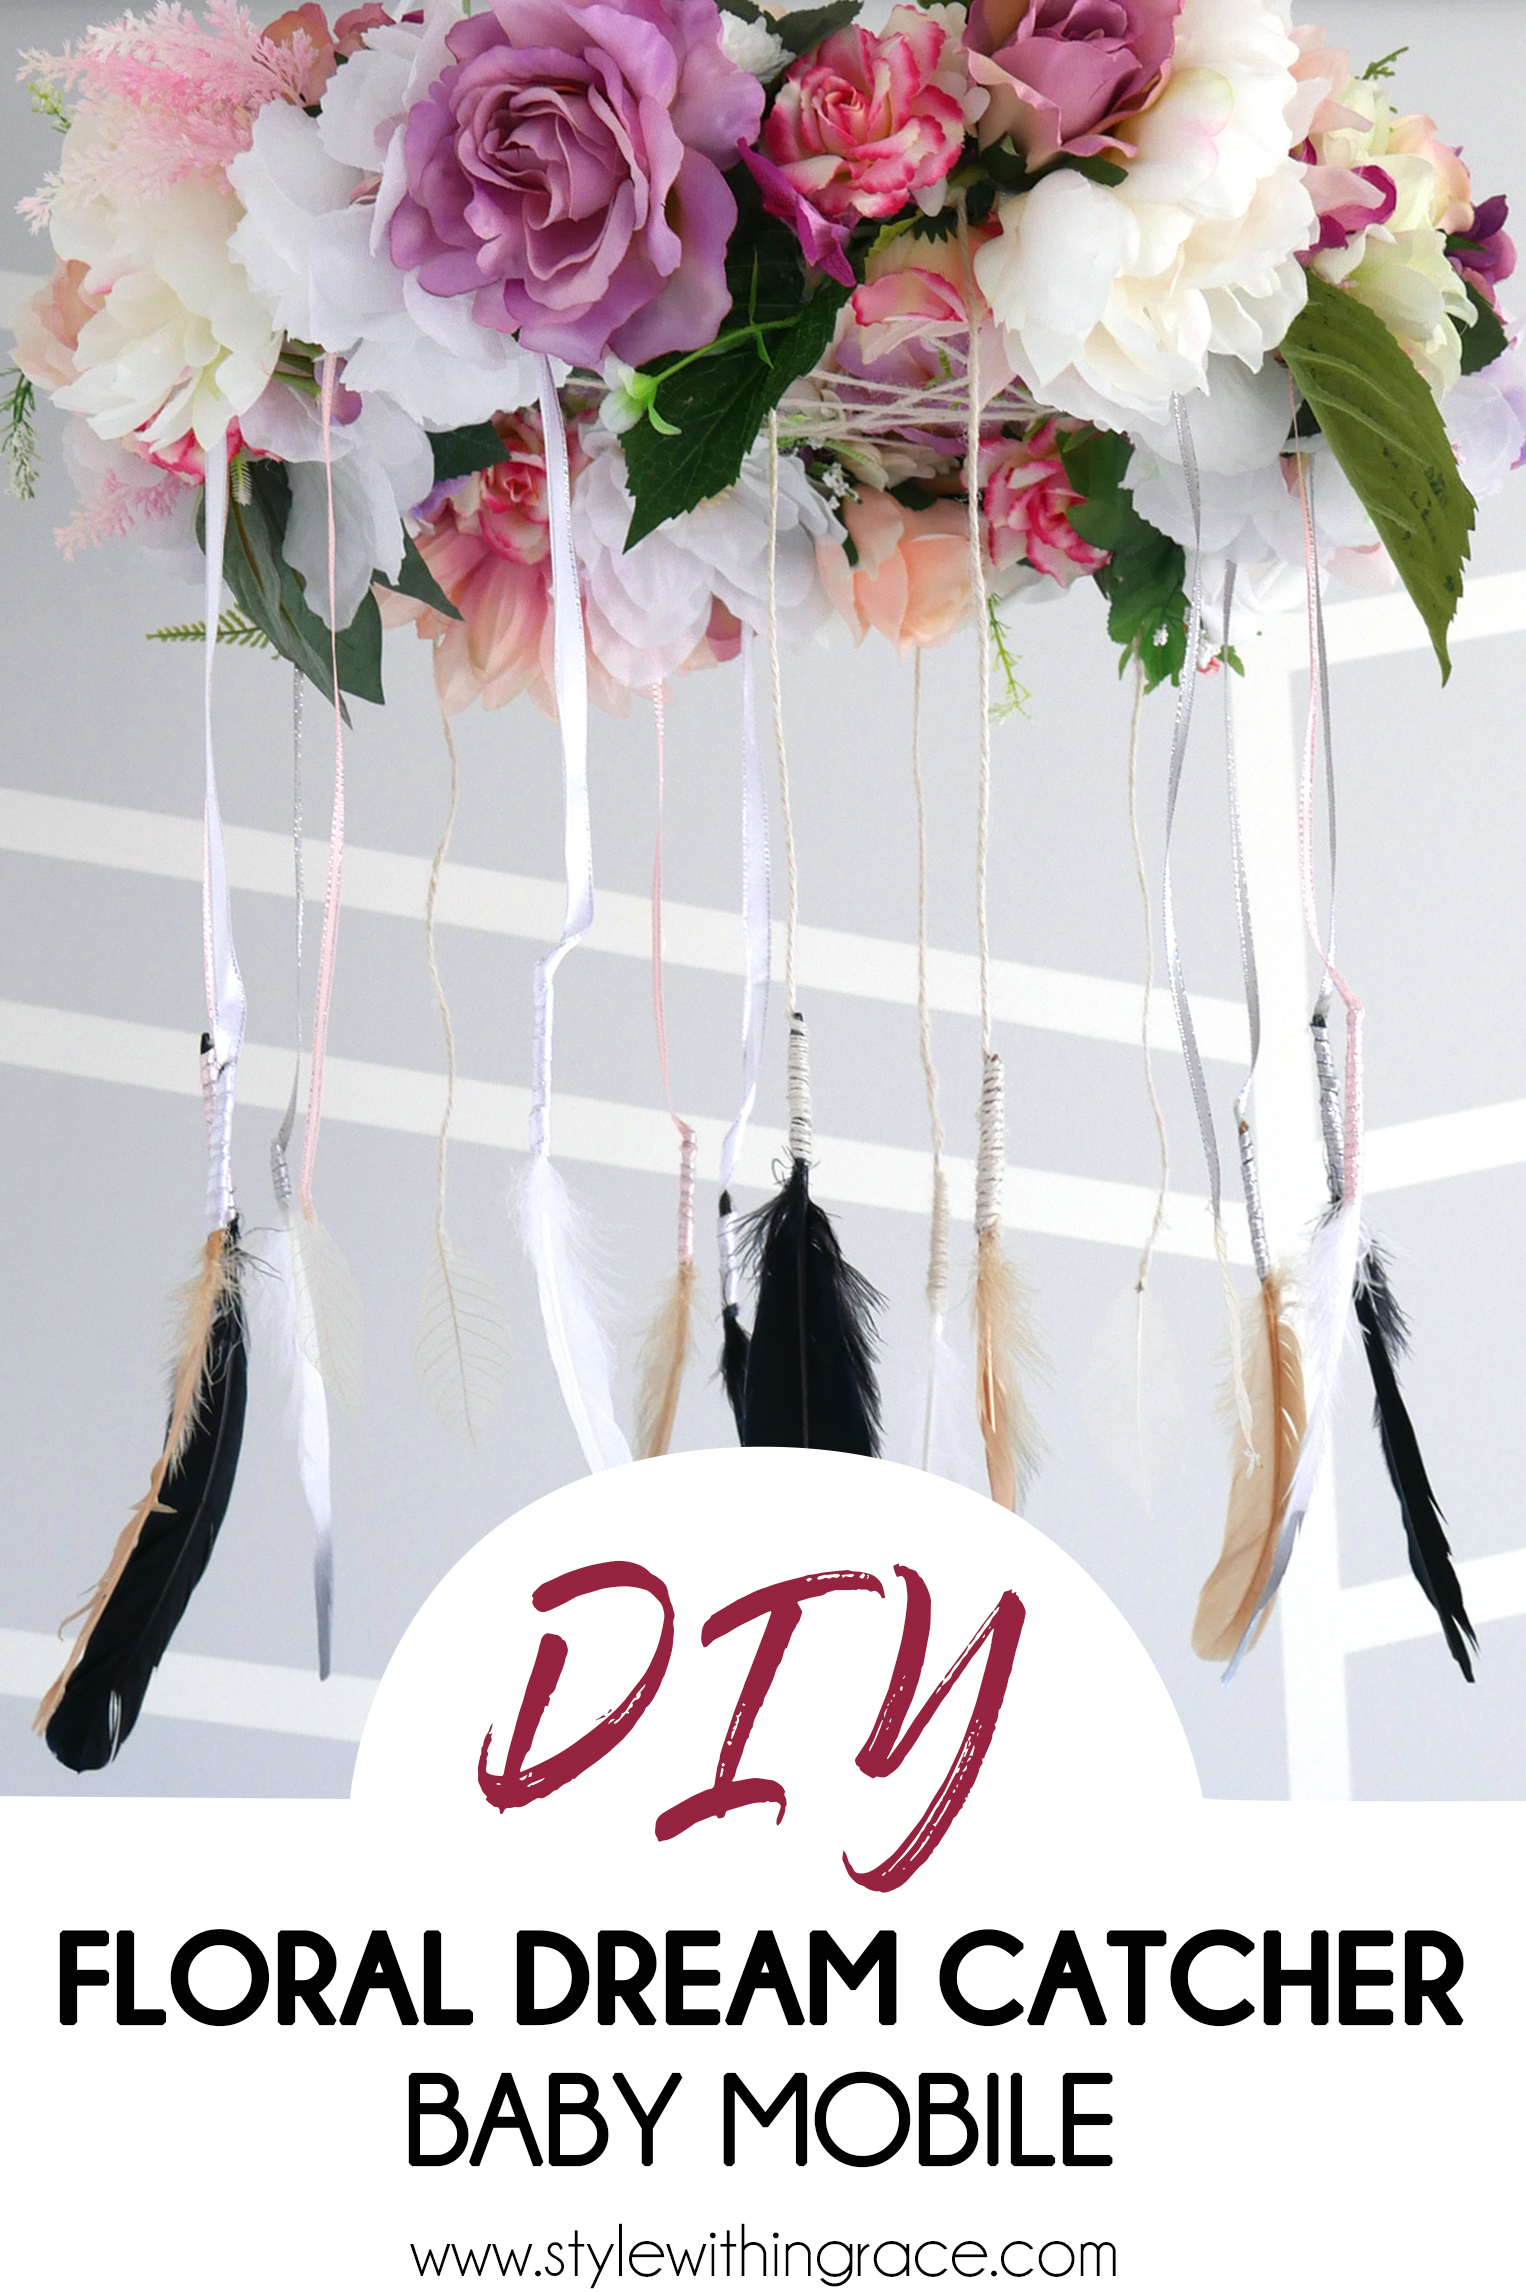
With a baby on the way, that means of course that it’s time for some seriously cute nursery DIYs. We are expecting a girl so I decided on a spring boho floral type theme for the nursery. I’m not exactly sure how to describe it but you can let me know what you think when I reveal the whole thing. To go along with that theme, I crafted a floral dream catcher baby mobile. I had seen these around quite a lot but wanted to do my own take on it. Follow along below to make your own or if you’re just curious how mine turned out.
What You Need:

– A hoop (I got an Acrylic Ring 350mm from Spotlight for $6.99)
– String (From Bargain City for $2.50)
– Various ribbons (I got a thick white and a thin pink from Bargain City for $2.50 each. I also had some silver ribbon left over from another project)
– An optional key ring loop (I stole one from my keys)
– Various faux flowers (I got 12 different bouquets from Bargain City for $2.00 each, a $5 bouquet from Kmart and then a few choice ones from Spotlight while they were on sale which still added up to about $60.)
– Feathers (From Spotlight for $4.99)
– Leaf embellishments (From Kmart for $3.00)
– Silver spray paint (From Bunnings for $8.30)
– Hot glue gun and glue (Already owned)
Total: $119.78
This sounds like a lot of money, like it would actually be better to just go out and buy a professionally made baby mobile. But I have so many flowers left over it’s not funny as well as lots of ribbon, string, feathers, leaves and spray paint. Basically I have leftovers of everything. If you were just needing flowers for this particular project you could just about buy half as many as I did. The reason I bought so many was because I intend to make a bunch for the top of the baby shower cake and use them in a couple of other DIY projects for the nursery. I was also rather fussy on colour scheme. I started off with the cheapies but they were all too bright for my vision so I actually pulled them off and replaced them with more pastel (expensive) ones I bought from Spotlight. Depending on how fussy you are about colour scheme you could make this project a lot cheaper. If I was doing it again, I wouldn’t bother with the leaf embellishments and just stick with the feathers instead.
Step 1:
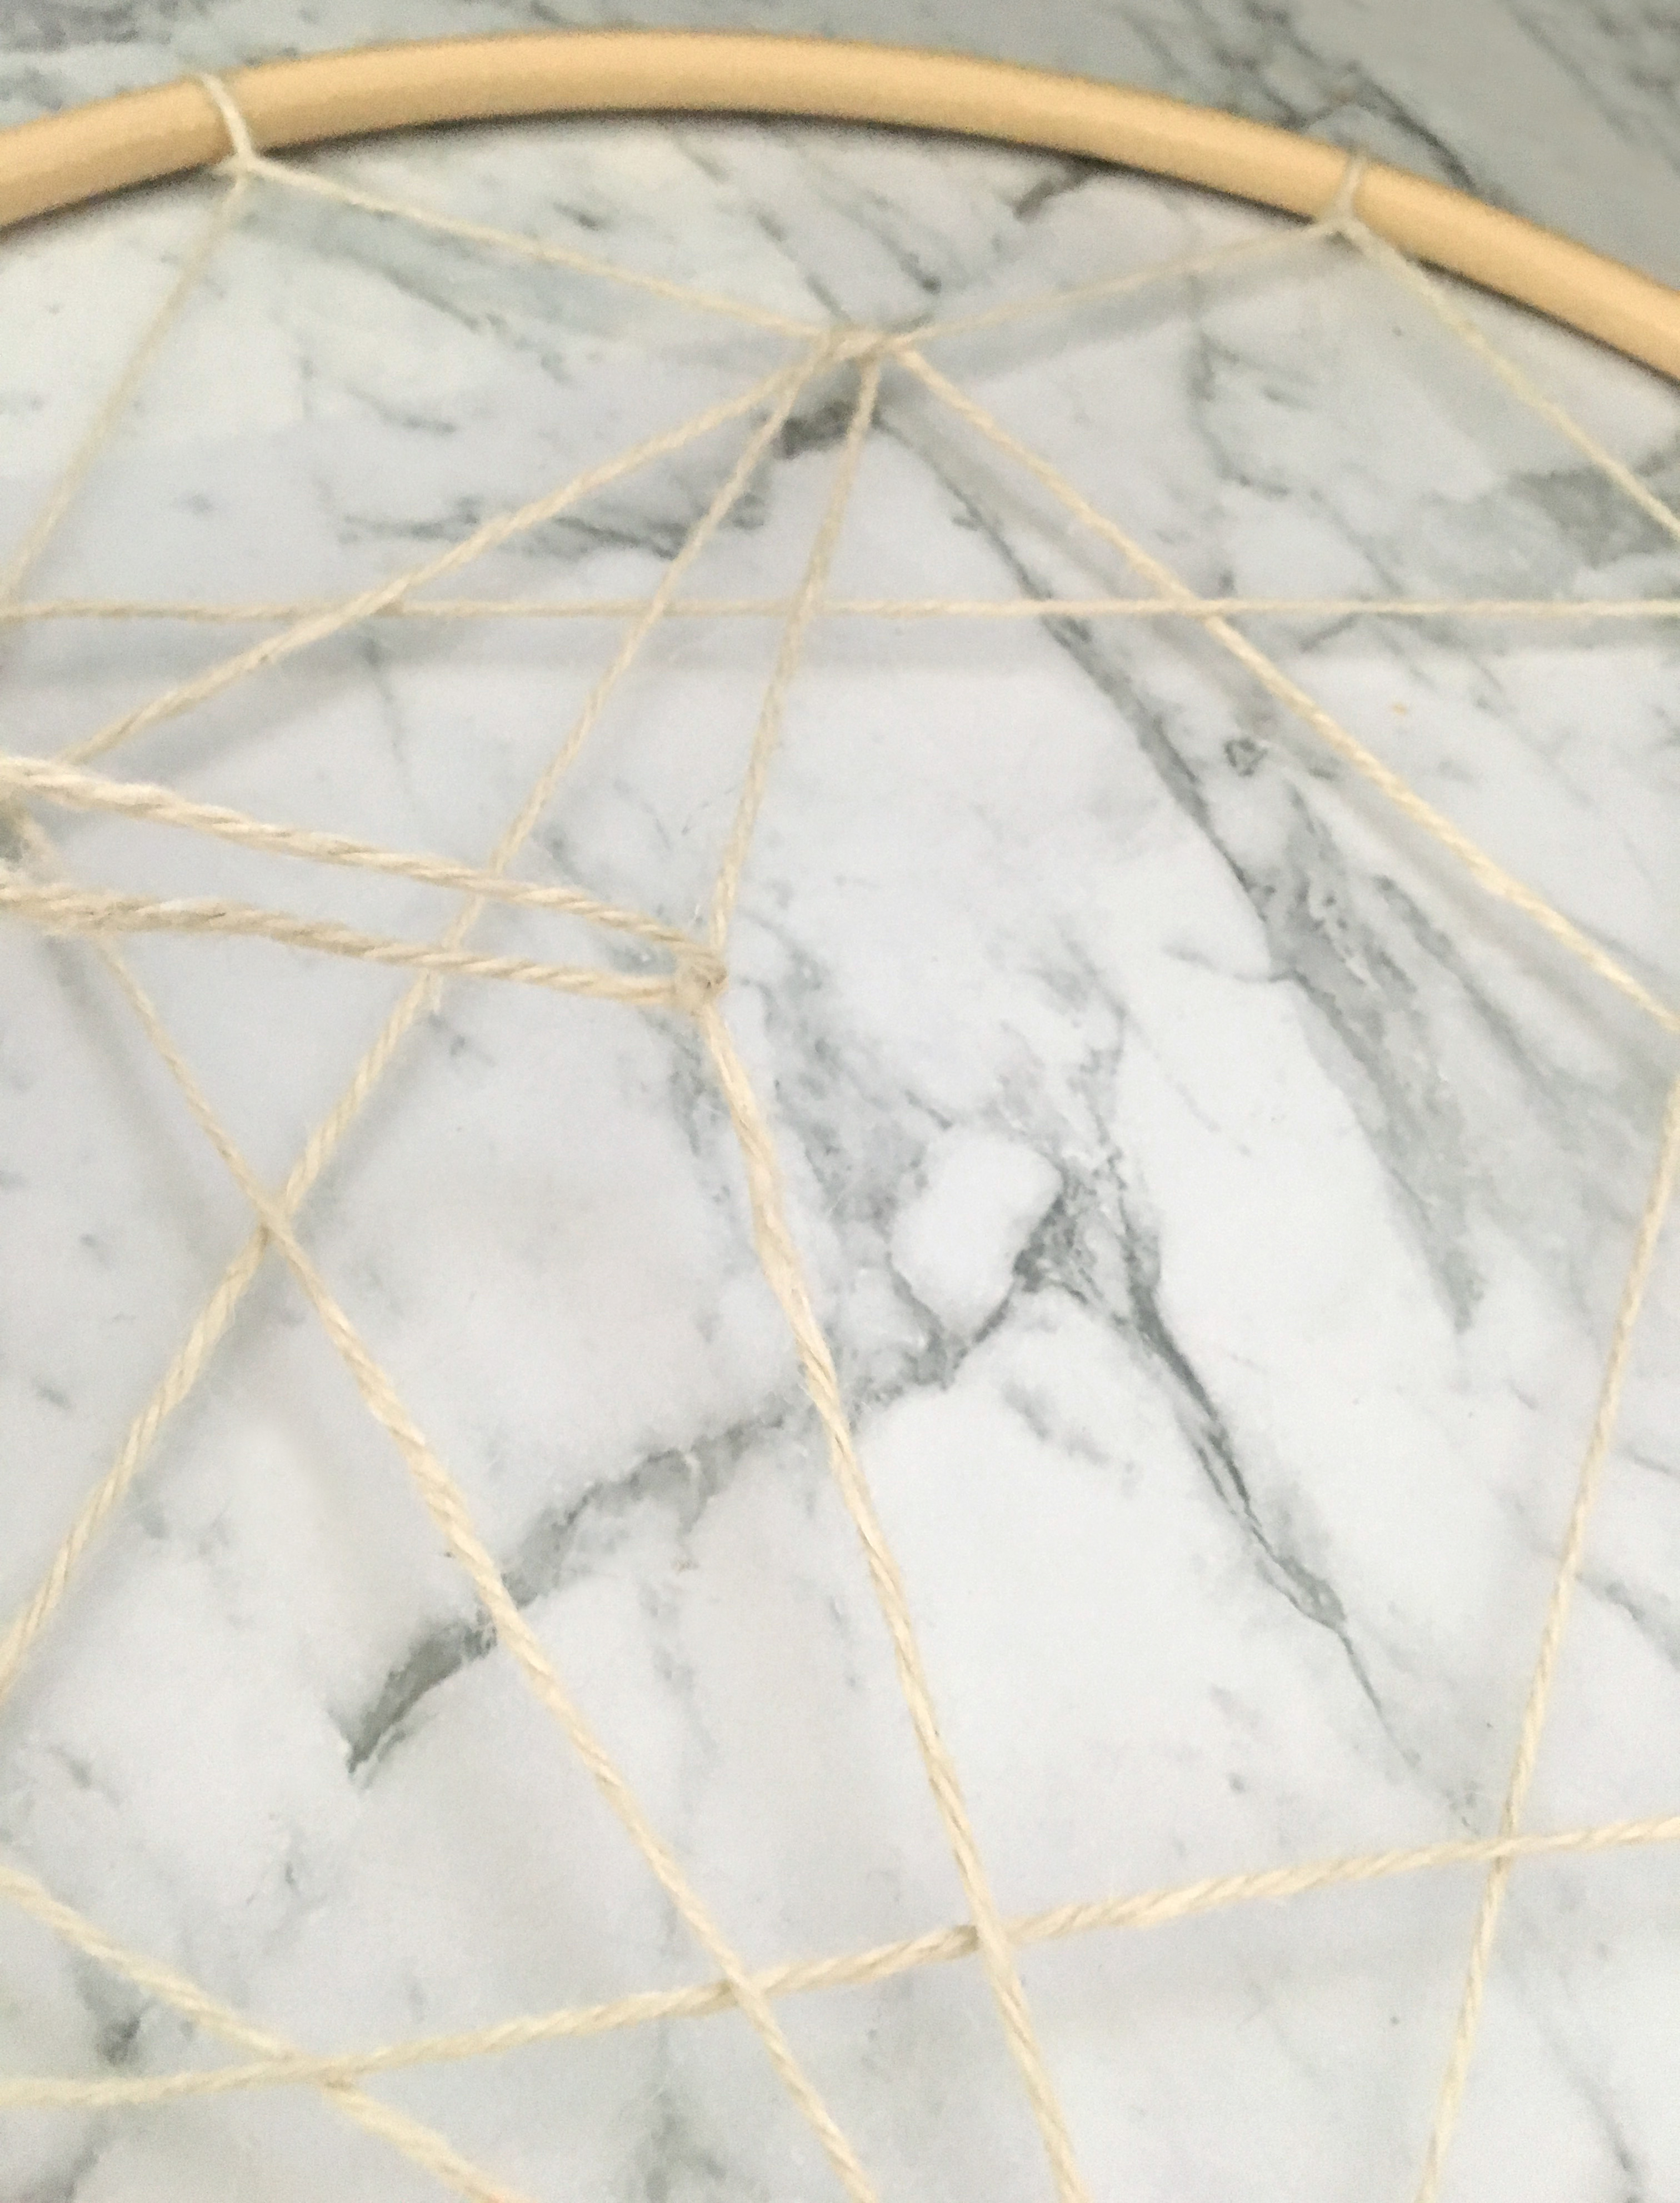
Start with your hoop and cut a long length of string depending on the size of your hoop. You need more than you think you’ll need because having too much is much better than not enough! Fold your string in half and do a loop over the hoop. Than take each side of the string to opposite sides of the hoop to make a triangle shape. Loop around the hoop and then continue to the next point on the hoop.
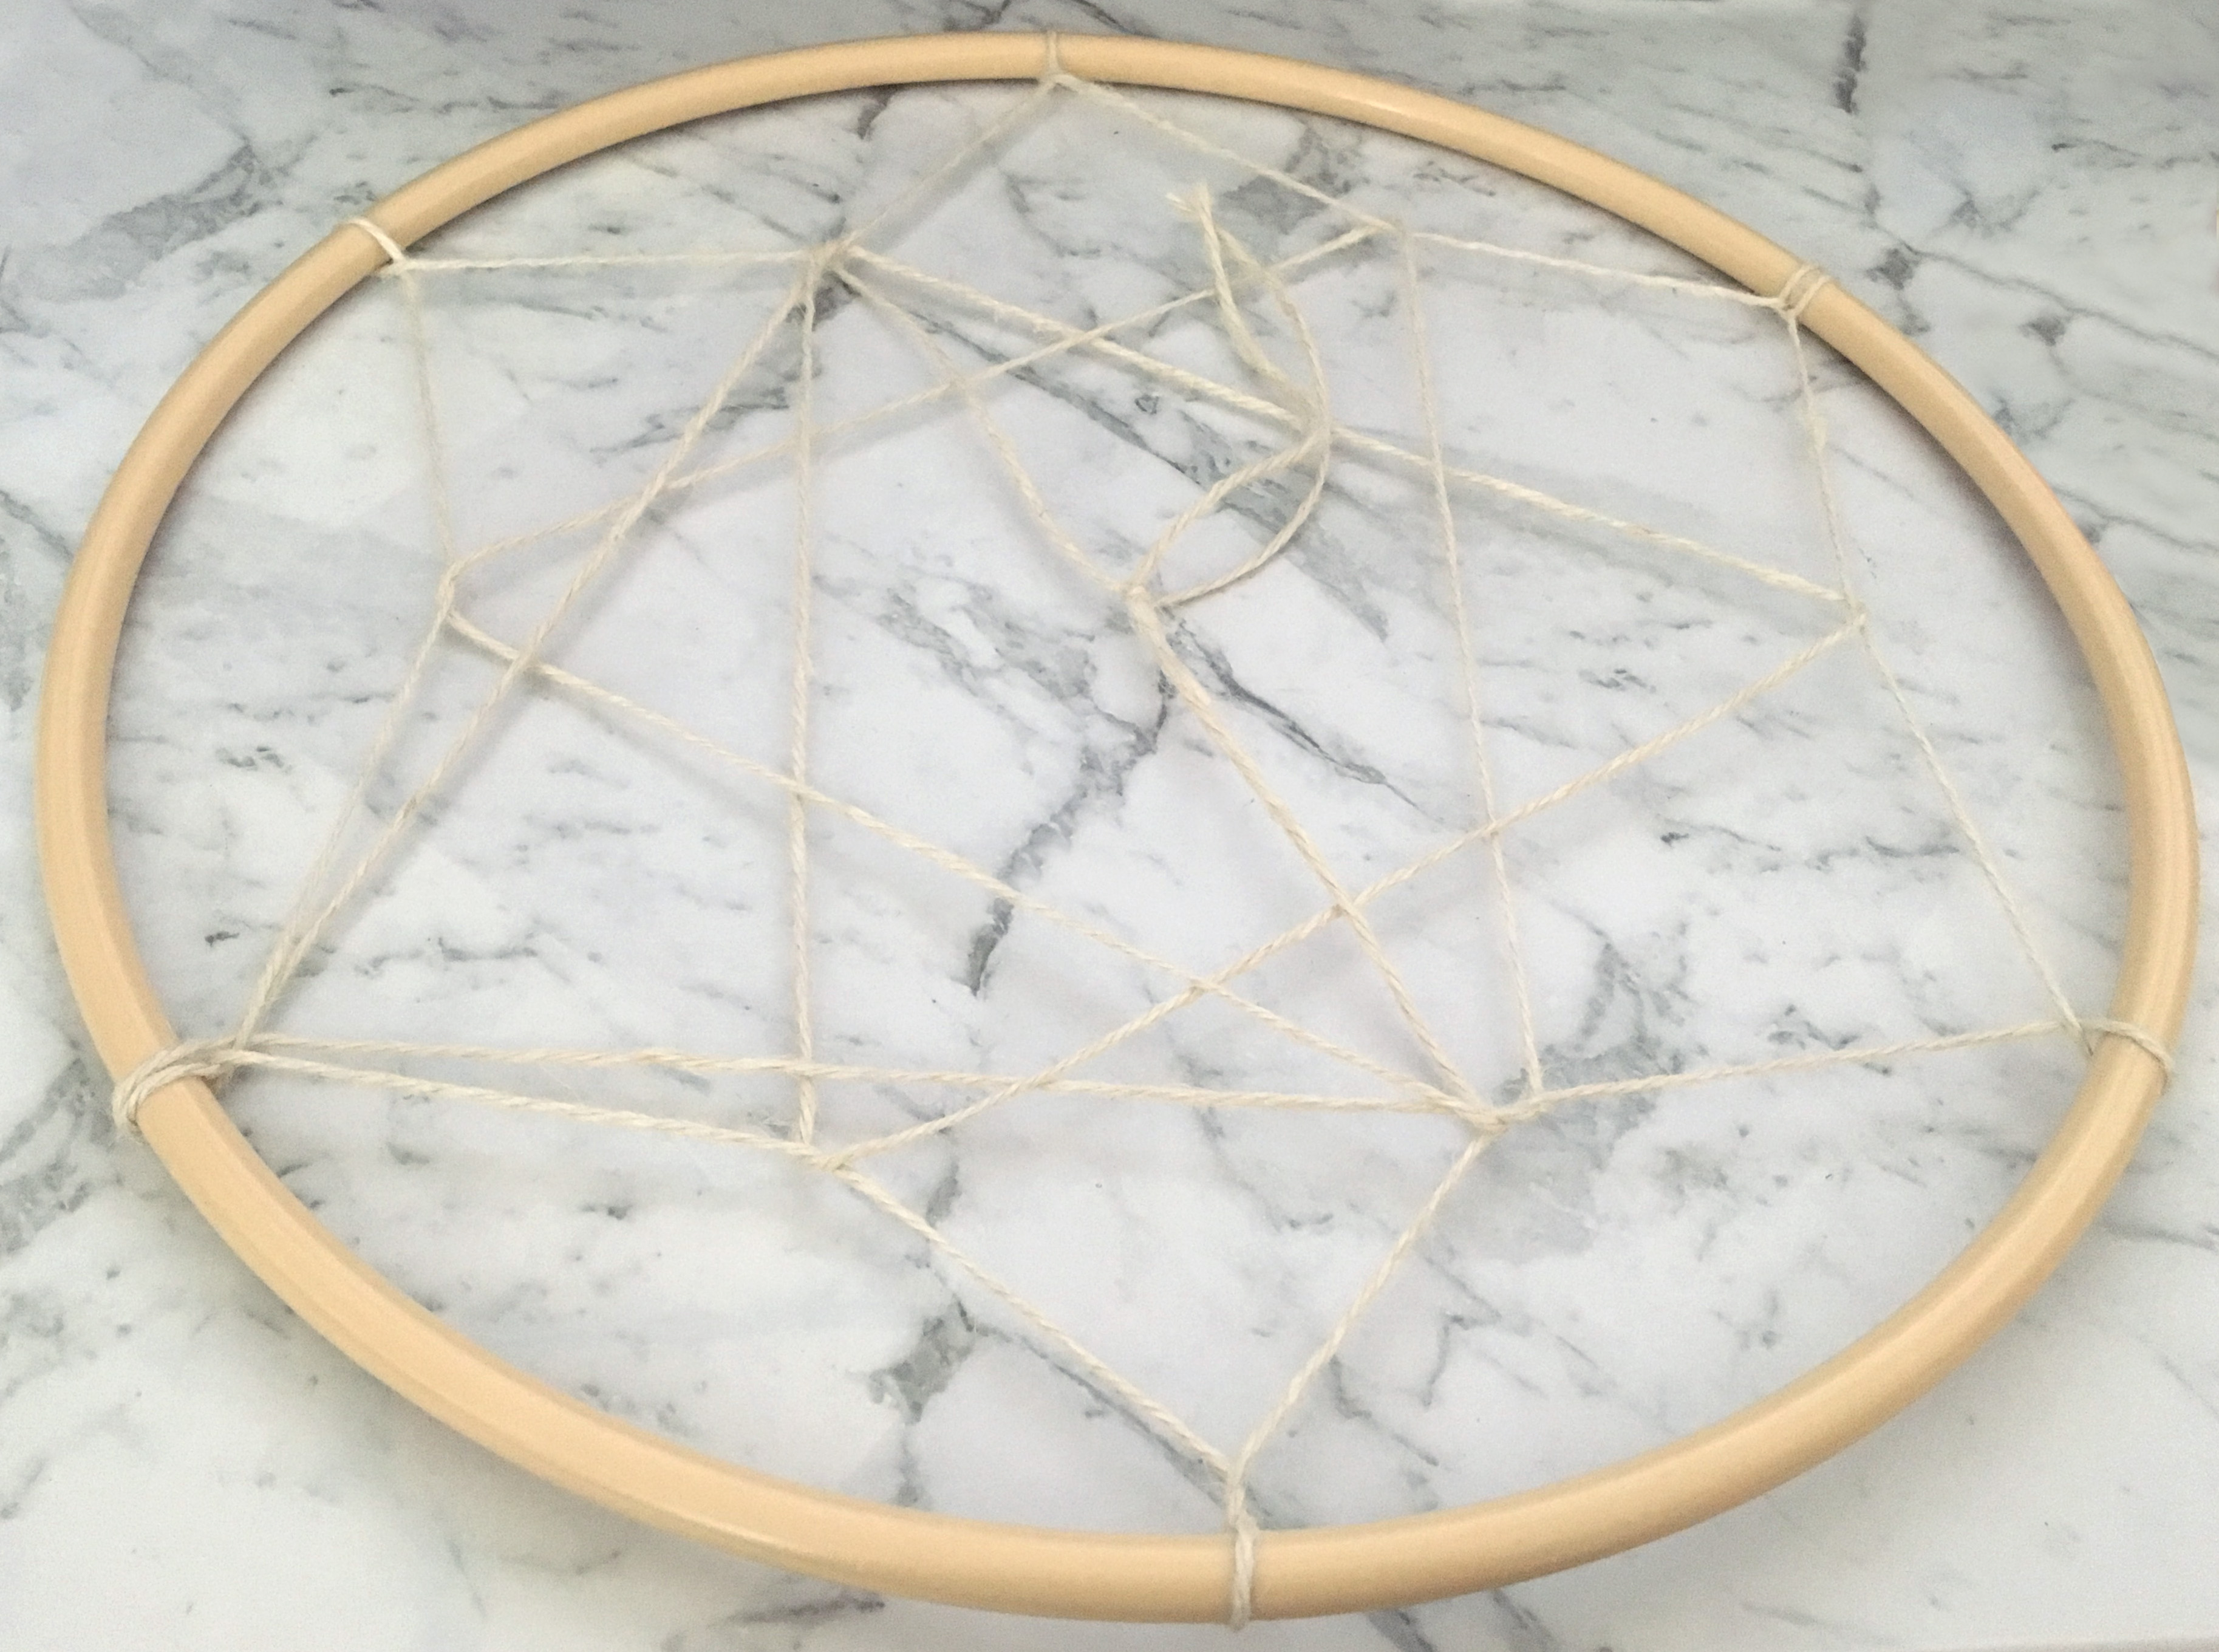
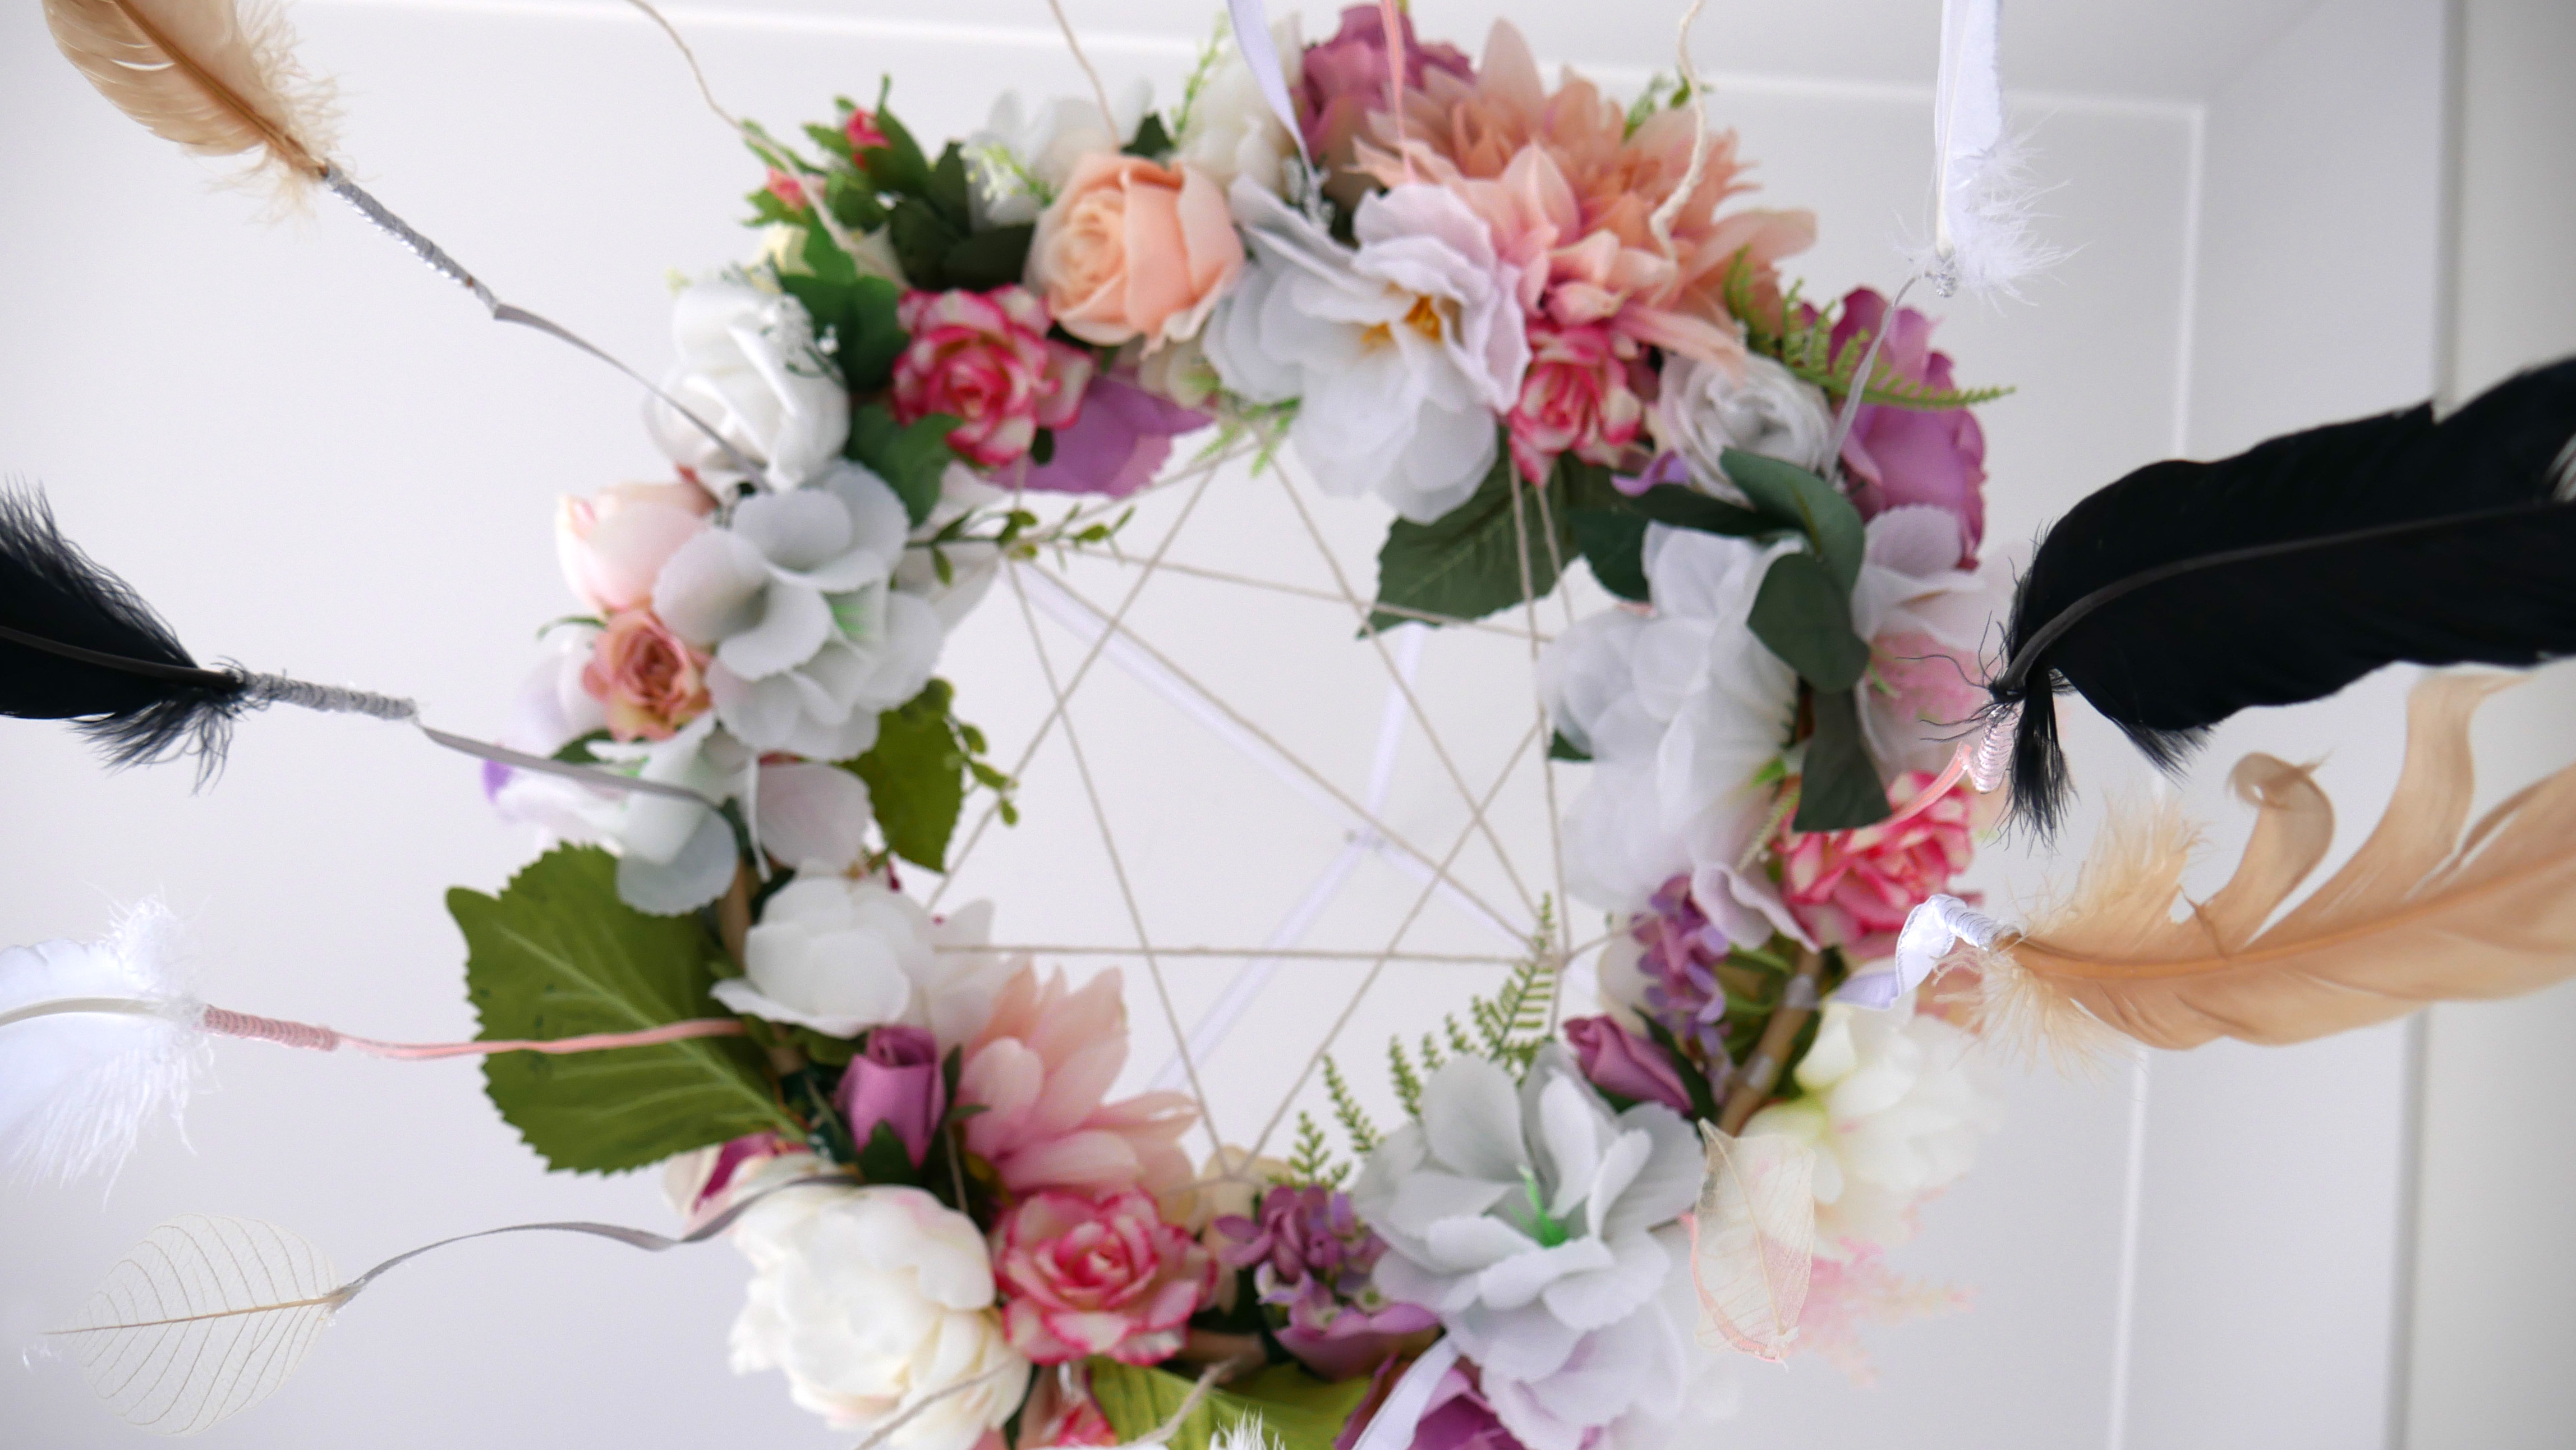
I basically just went with trial and error for this part of the project. If you want exact instructions, I suggest looking at a dream catcher tutorial. I followed The Journey Junkie‘s instructions to weave my pattern. It’s not by any means perfect but I was happy with it. It can only be seen by your baby when they are lying in the cot. I was thinking I could hang more bits of string and ribbon from it but I didn’t end up doing this. I ended with the string in the middle, tied it off and cut the string as close to the knot as possible.
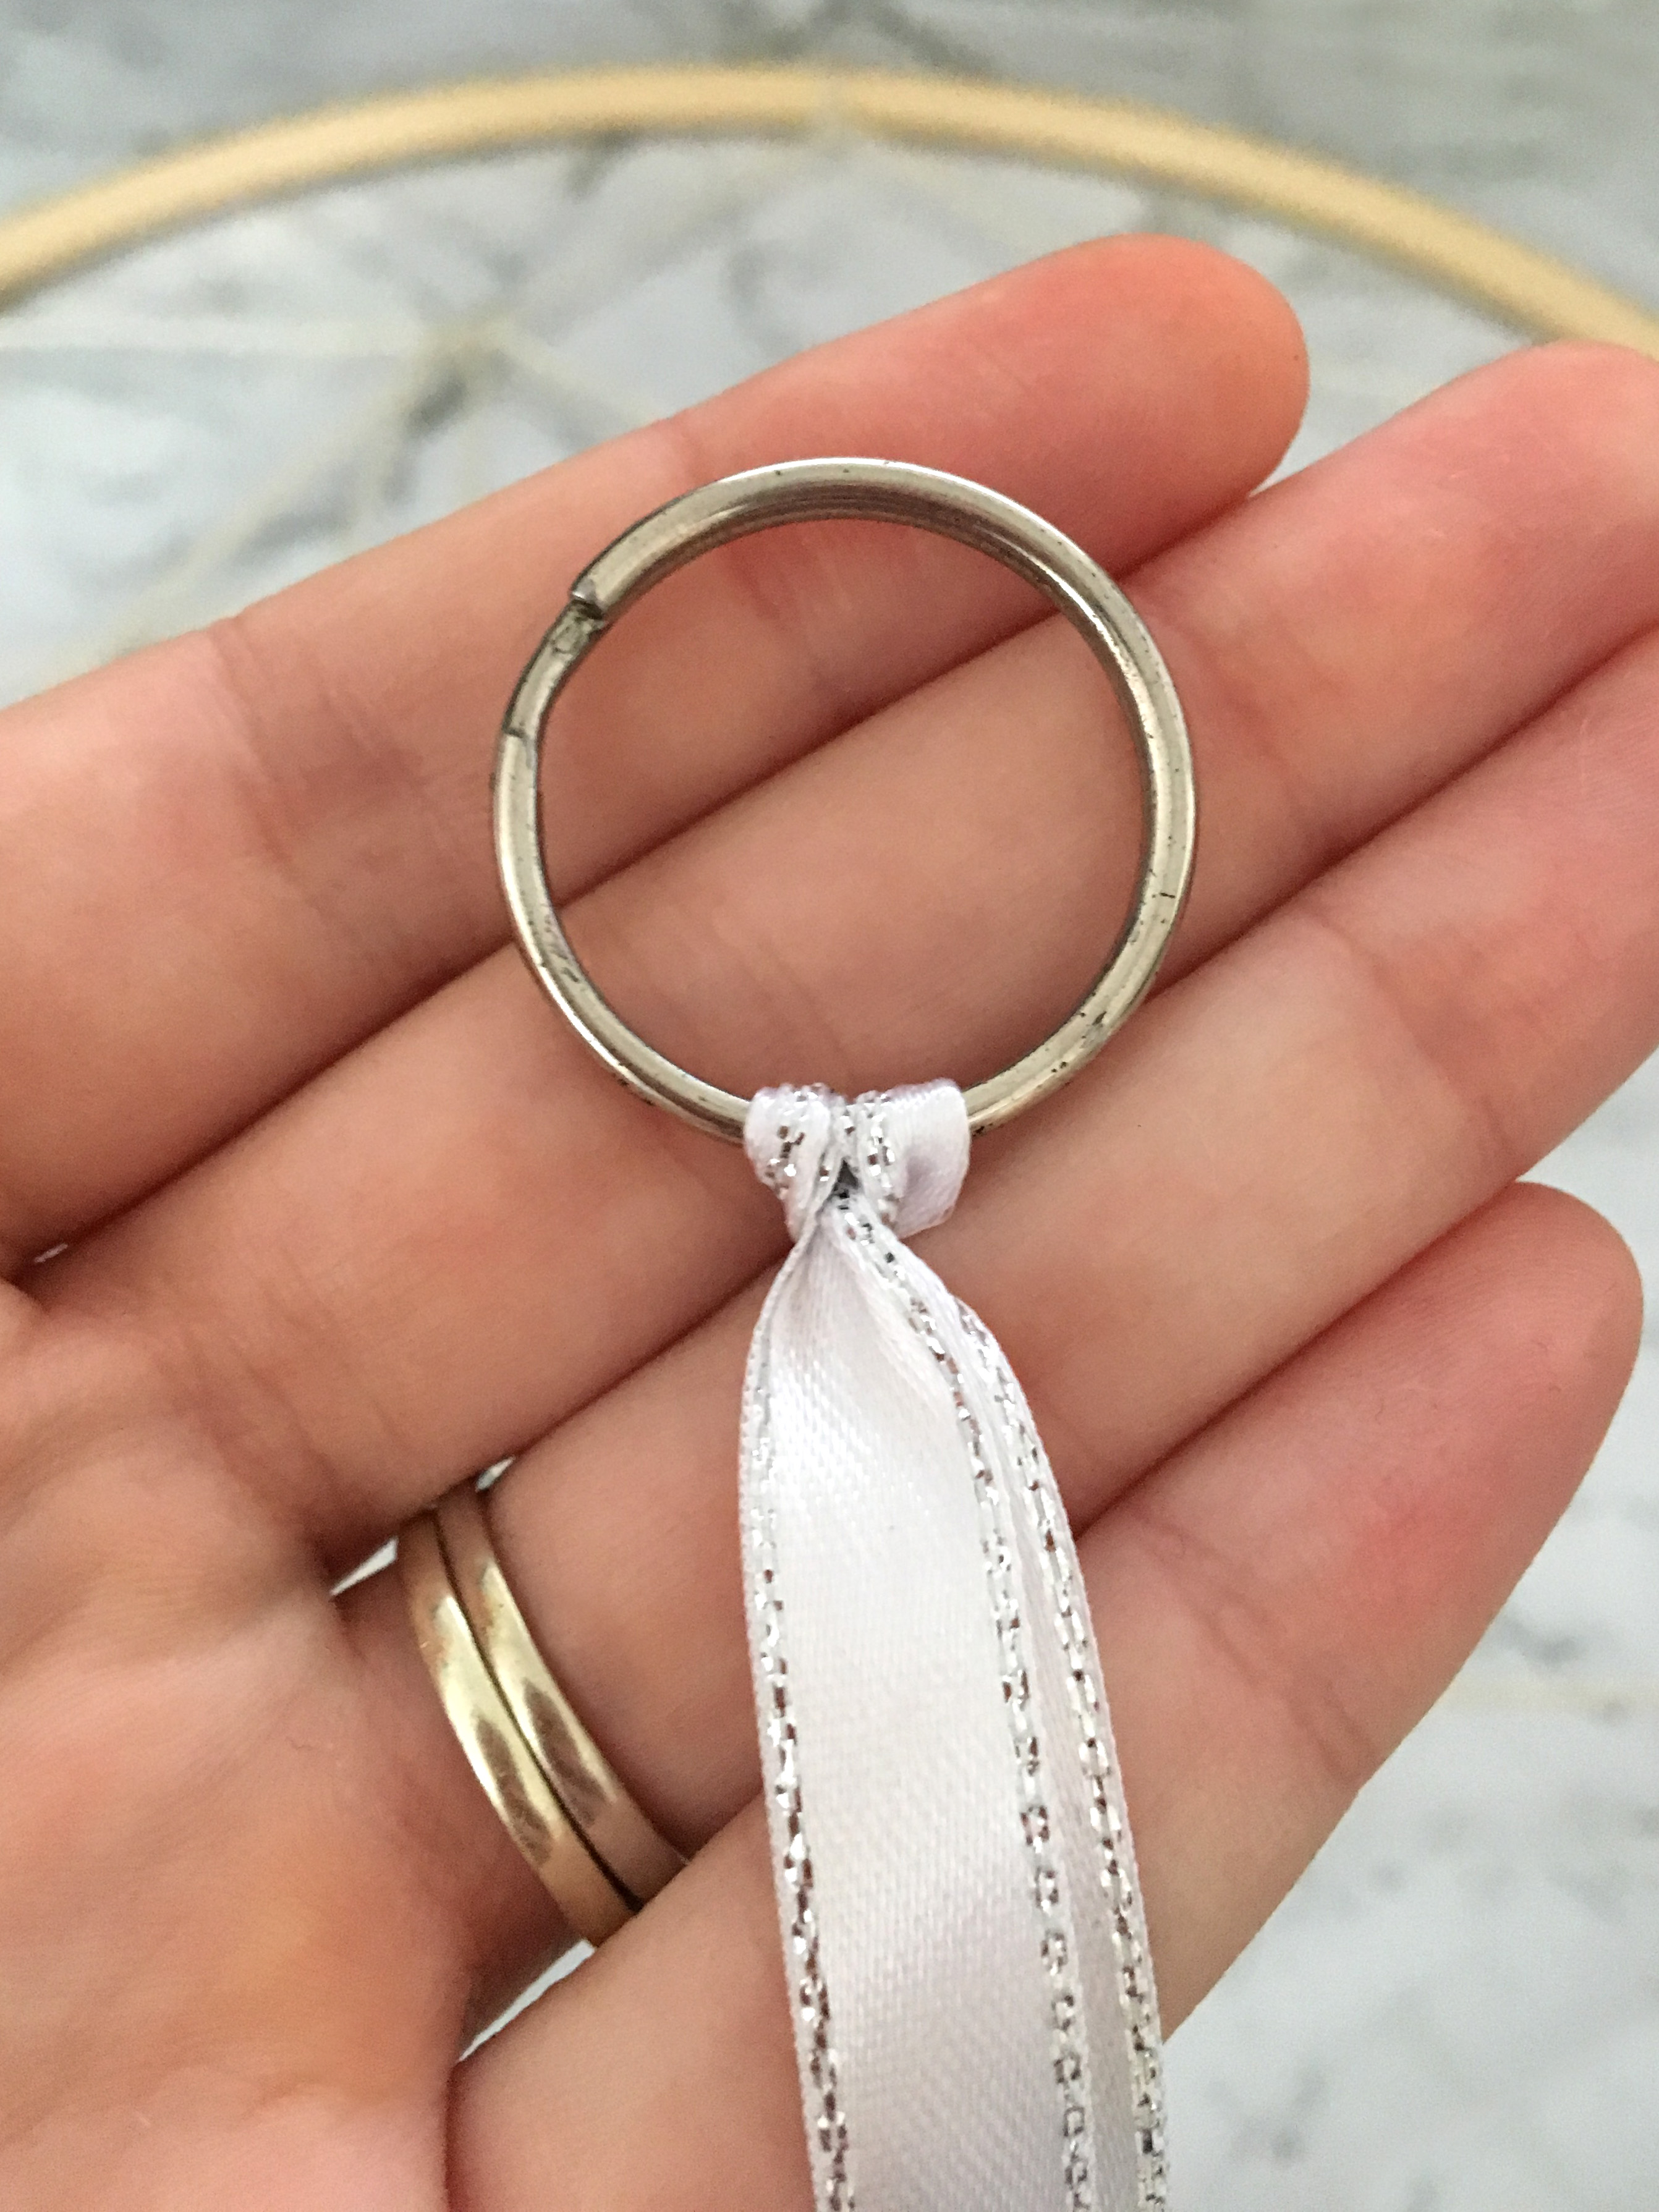
Step 2:
Get your key ring and cut two bits of ribbon the same length depending on how far down you want your mobile to hang from the ceiling. Loop each one around the key ring like so. Then hot glue each of the other ends to the hoop at four opposite points on the hoop so that it sits evenly. If you don’t want to use a key ring that is fine too. You will just need to make your own loop out of ribbon instead.
Step 3:
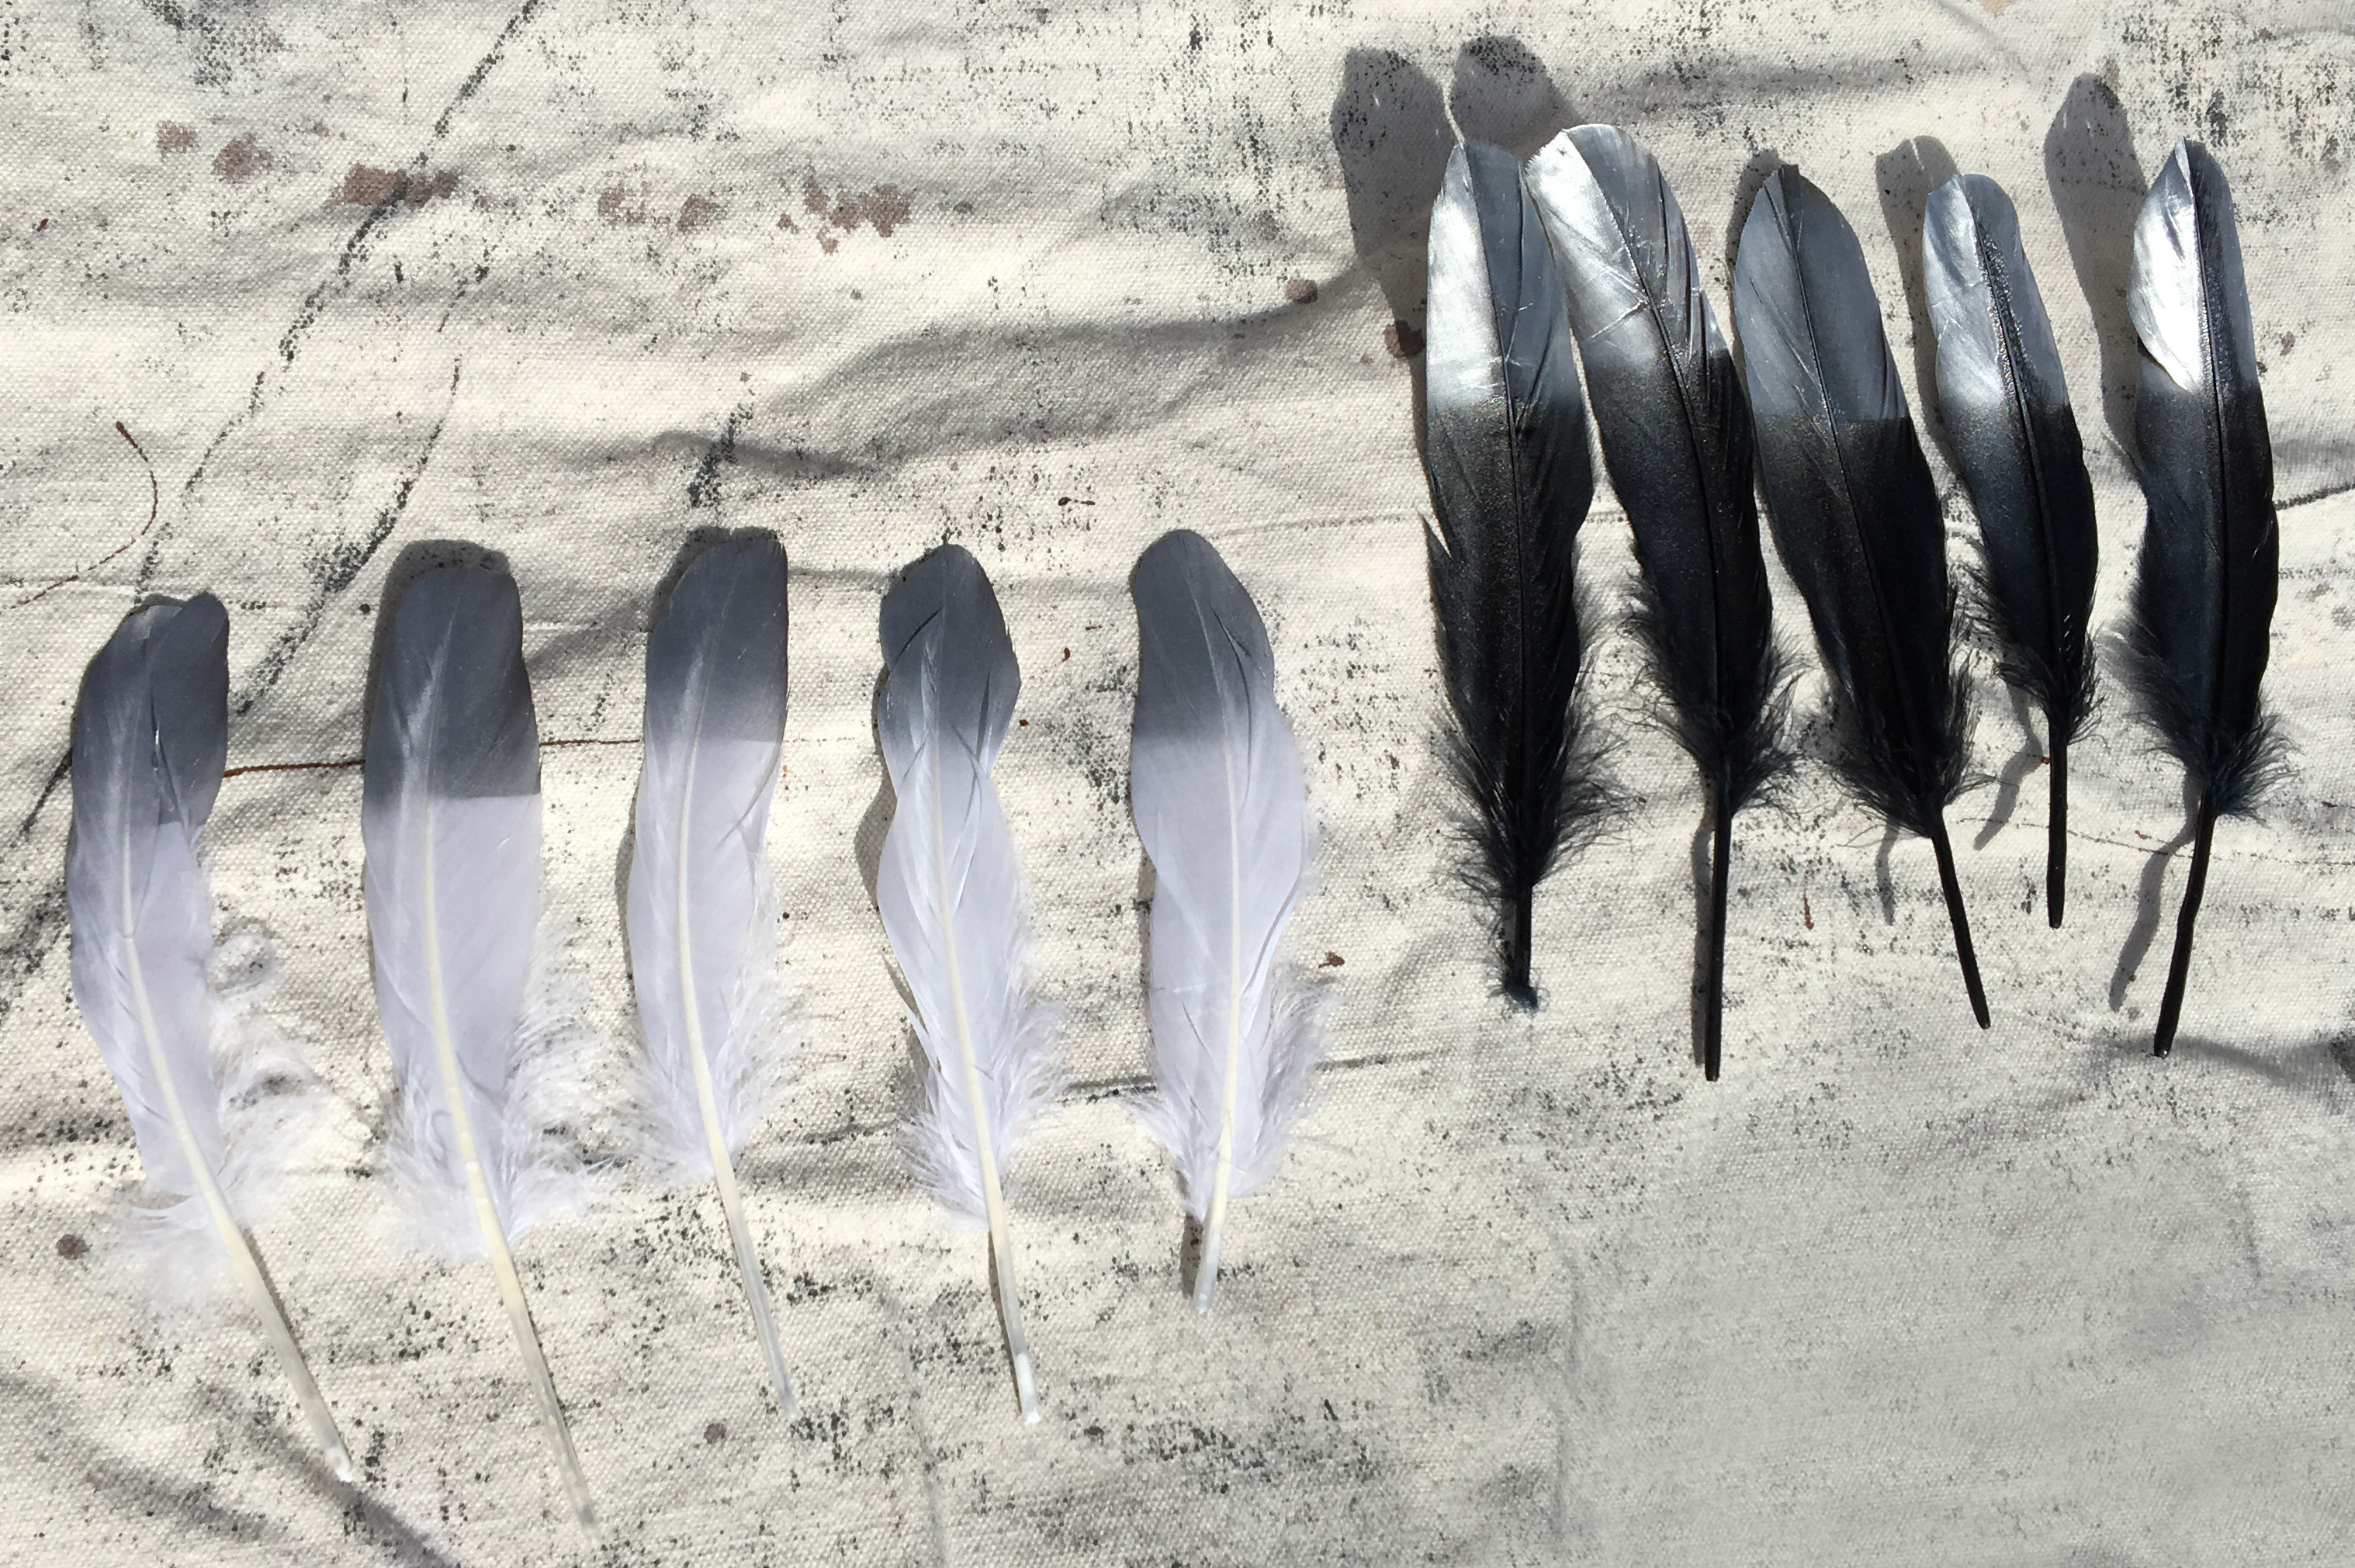
Line up your feathers on a drop sheet with a piece of scrap cardboard over the top displaying just the tips you want to spray paint. It is best to do this step outside because of the paint fumes. The feathers will also dry faster in the sun but be careful of any wind. As you might be able to tell I got my dad to do the spray painting for me to avoid any unnecessary fumes while pregnant.
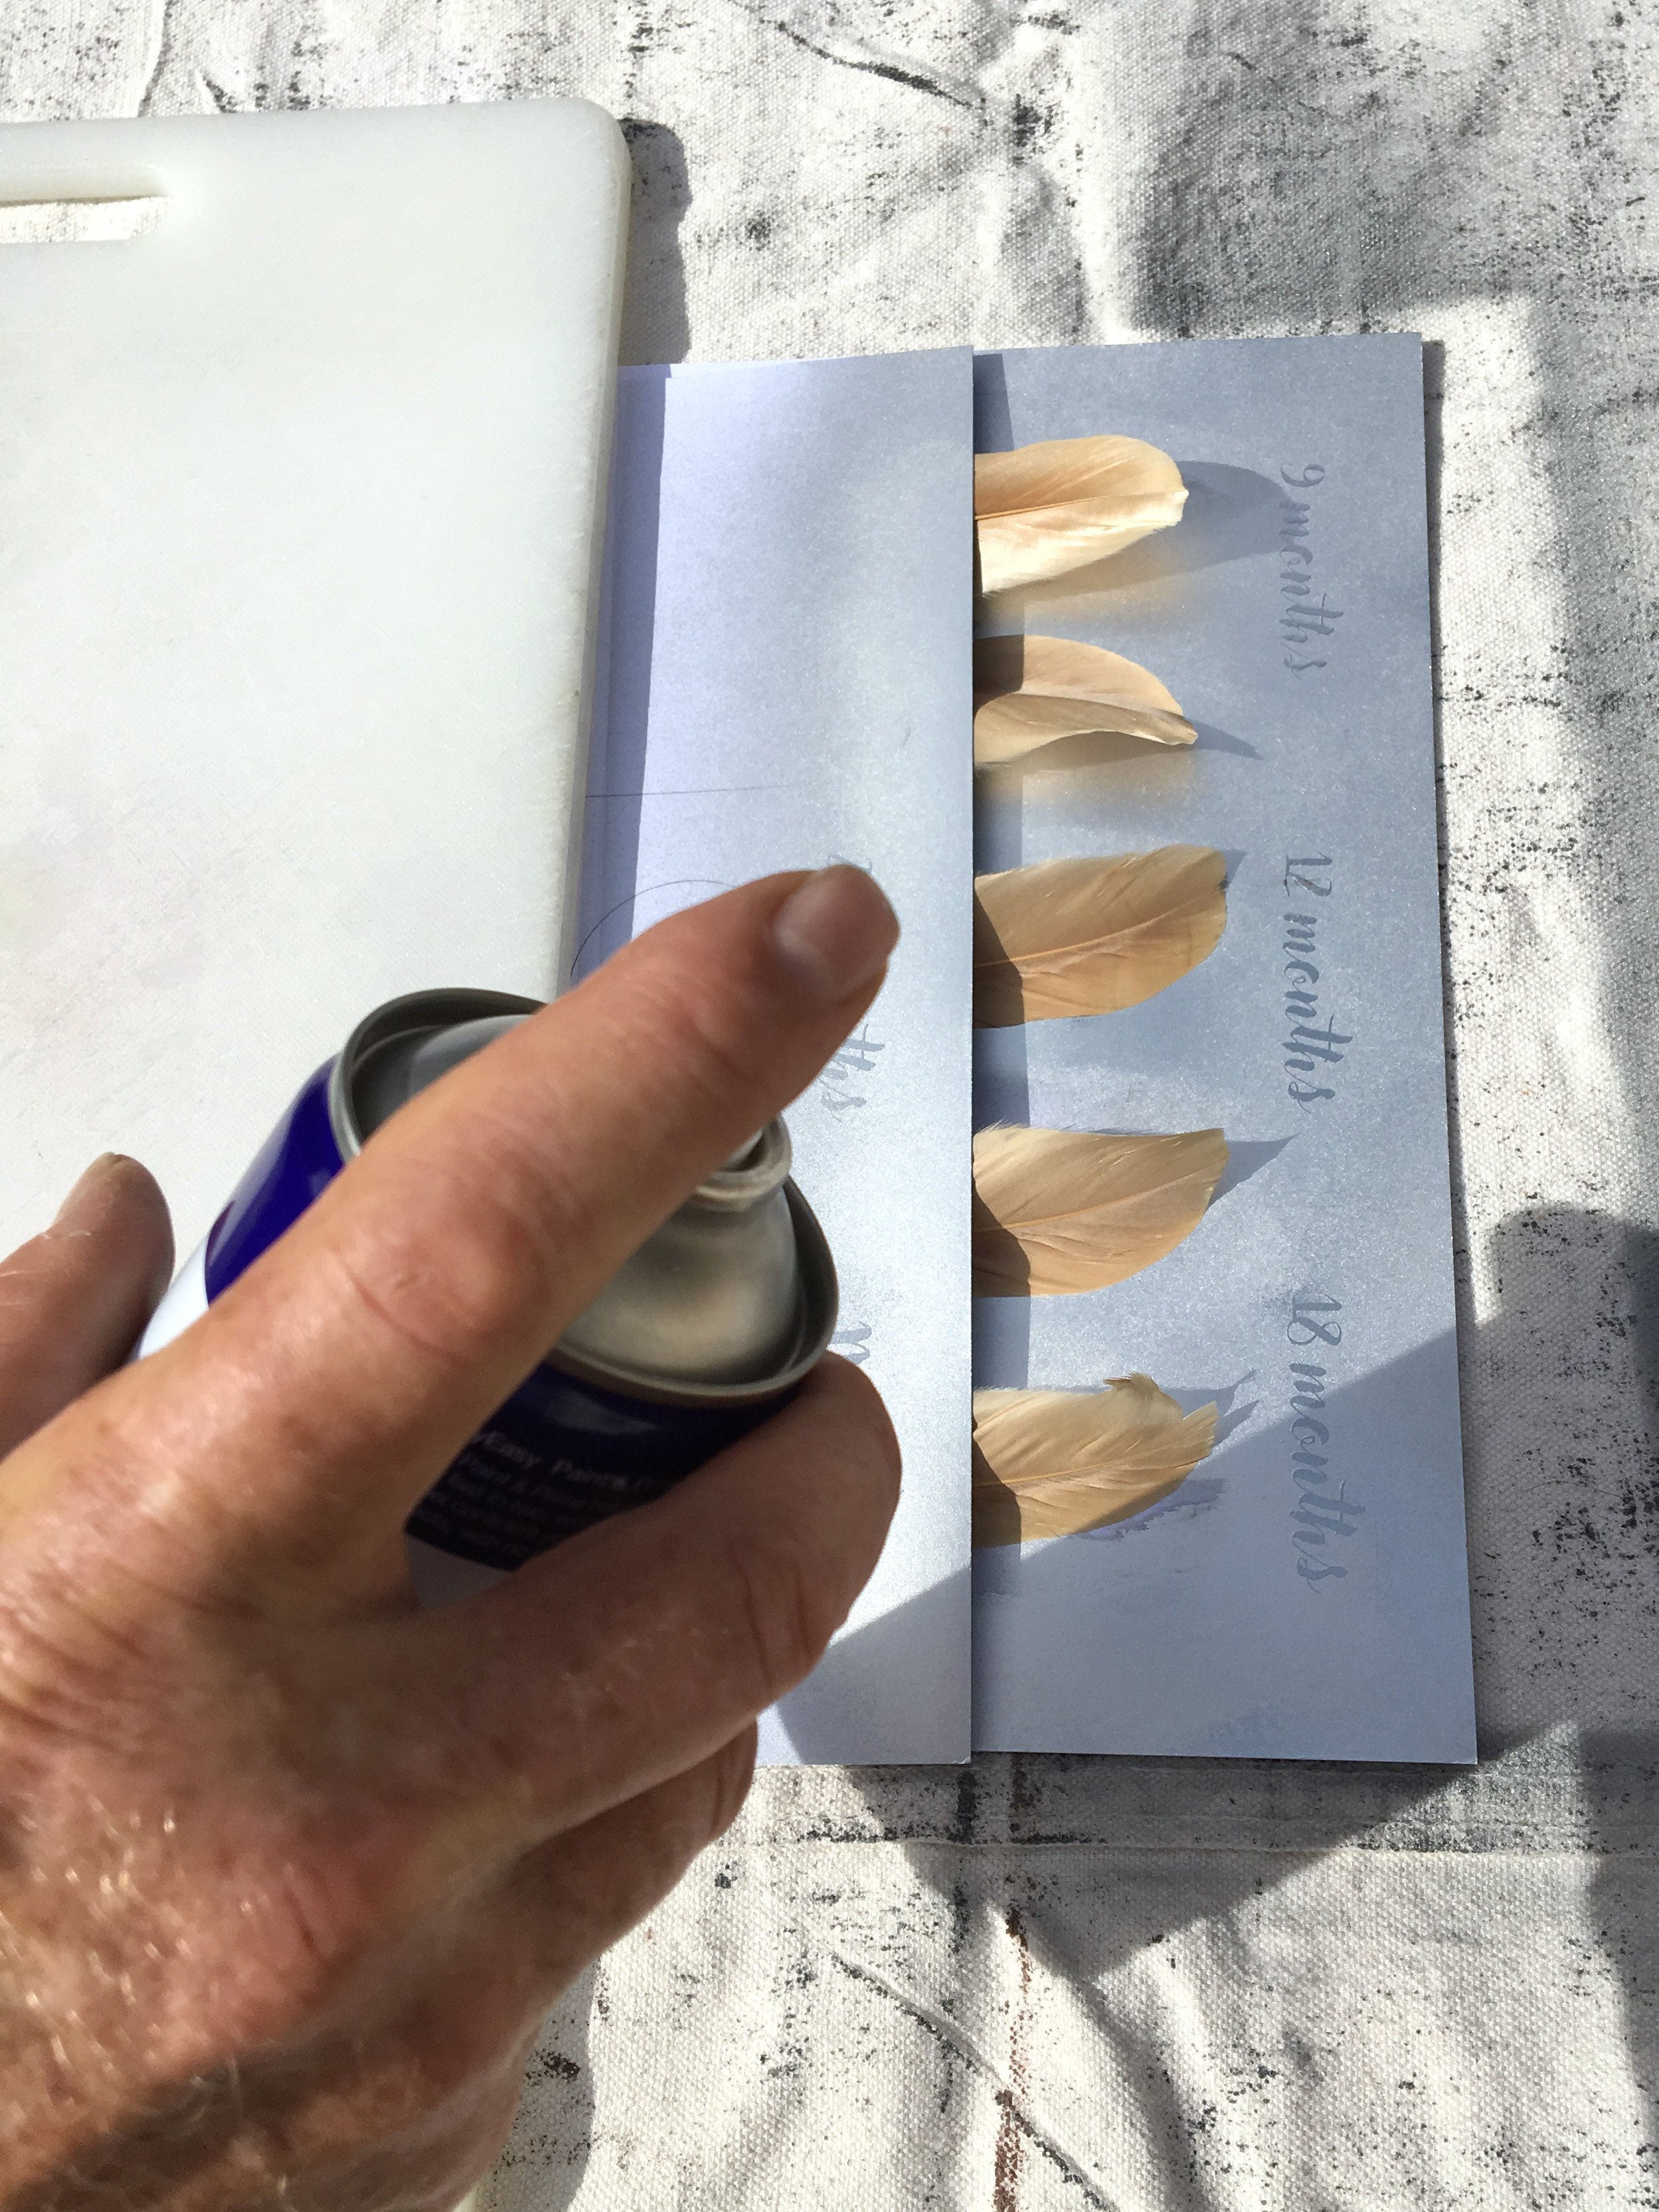
Shake the can well and follow any instructions on your spray paint can. Basically use short bursts while holding the can about 20cms away from the feathers to coat them in paint. Multiple light coats will look better than one heavy coat. If you are wanting to save costs this step is totally unnecessary and the mobile will still look amazing without it. I just liked the look of the metallic tipped feathers.
Step 4:
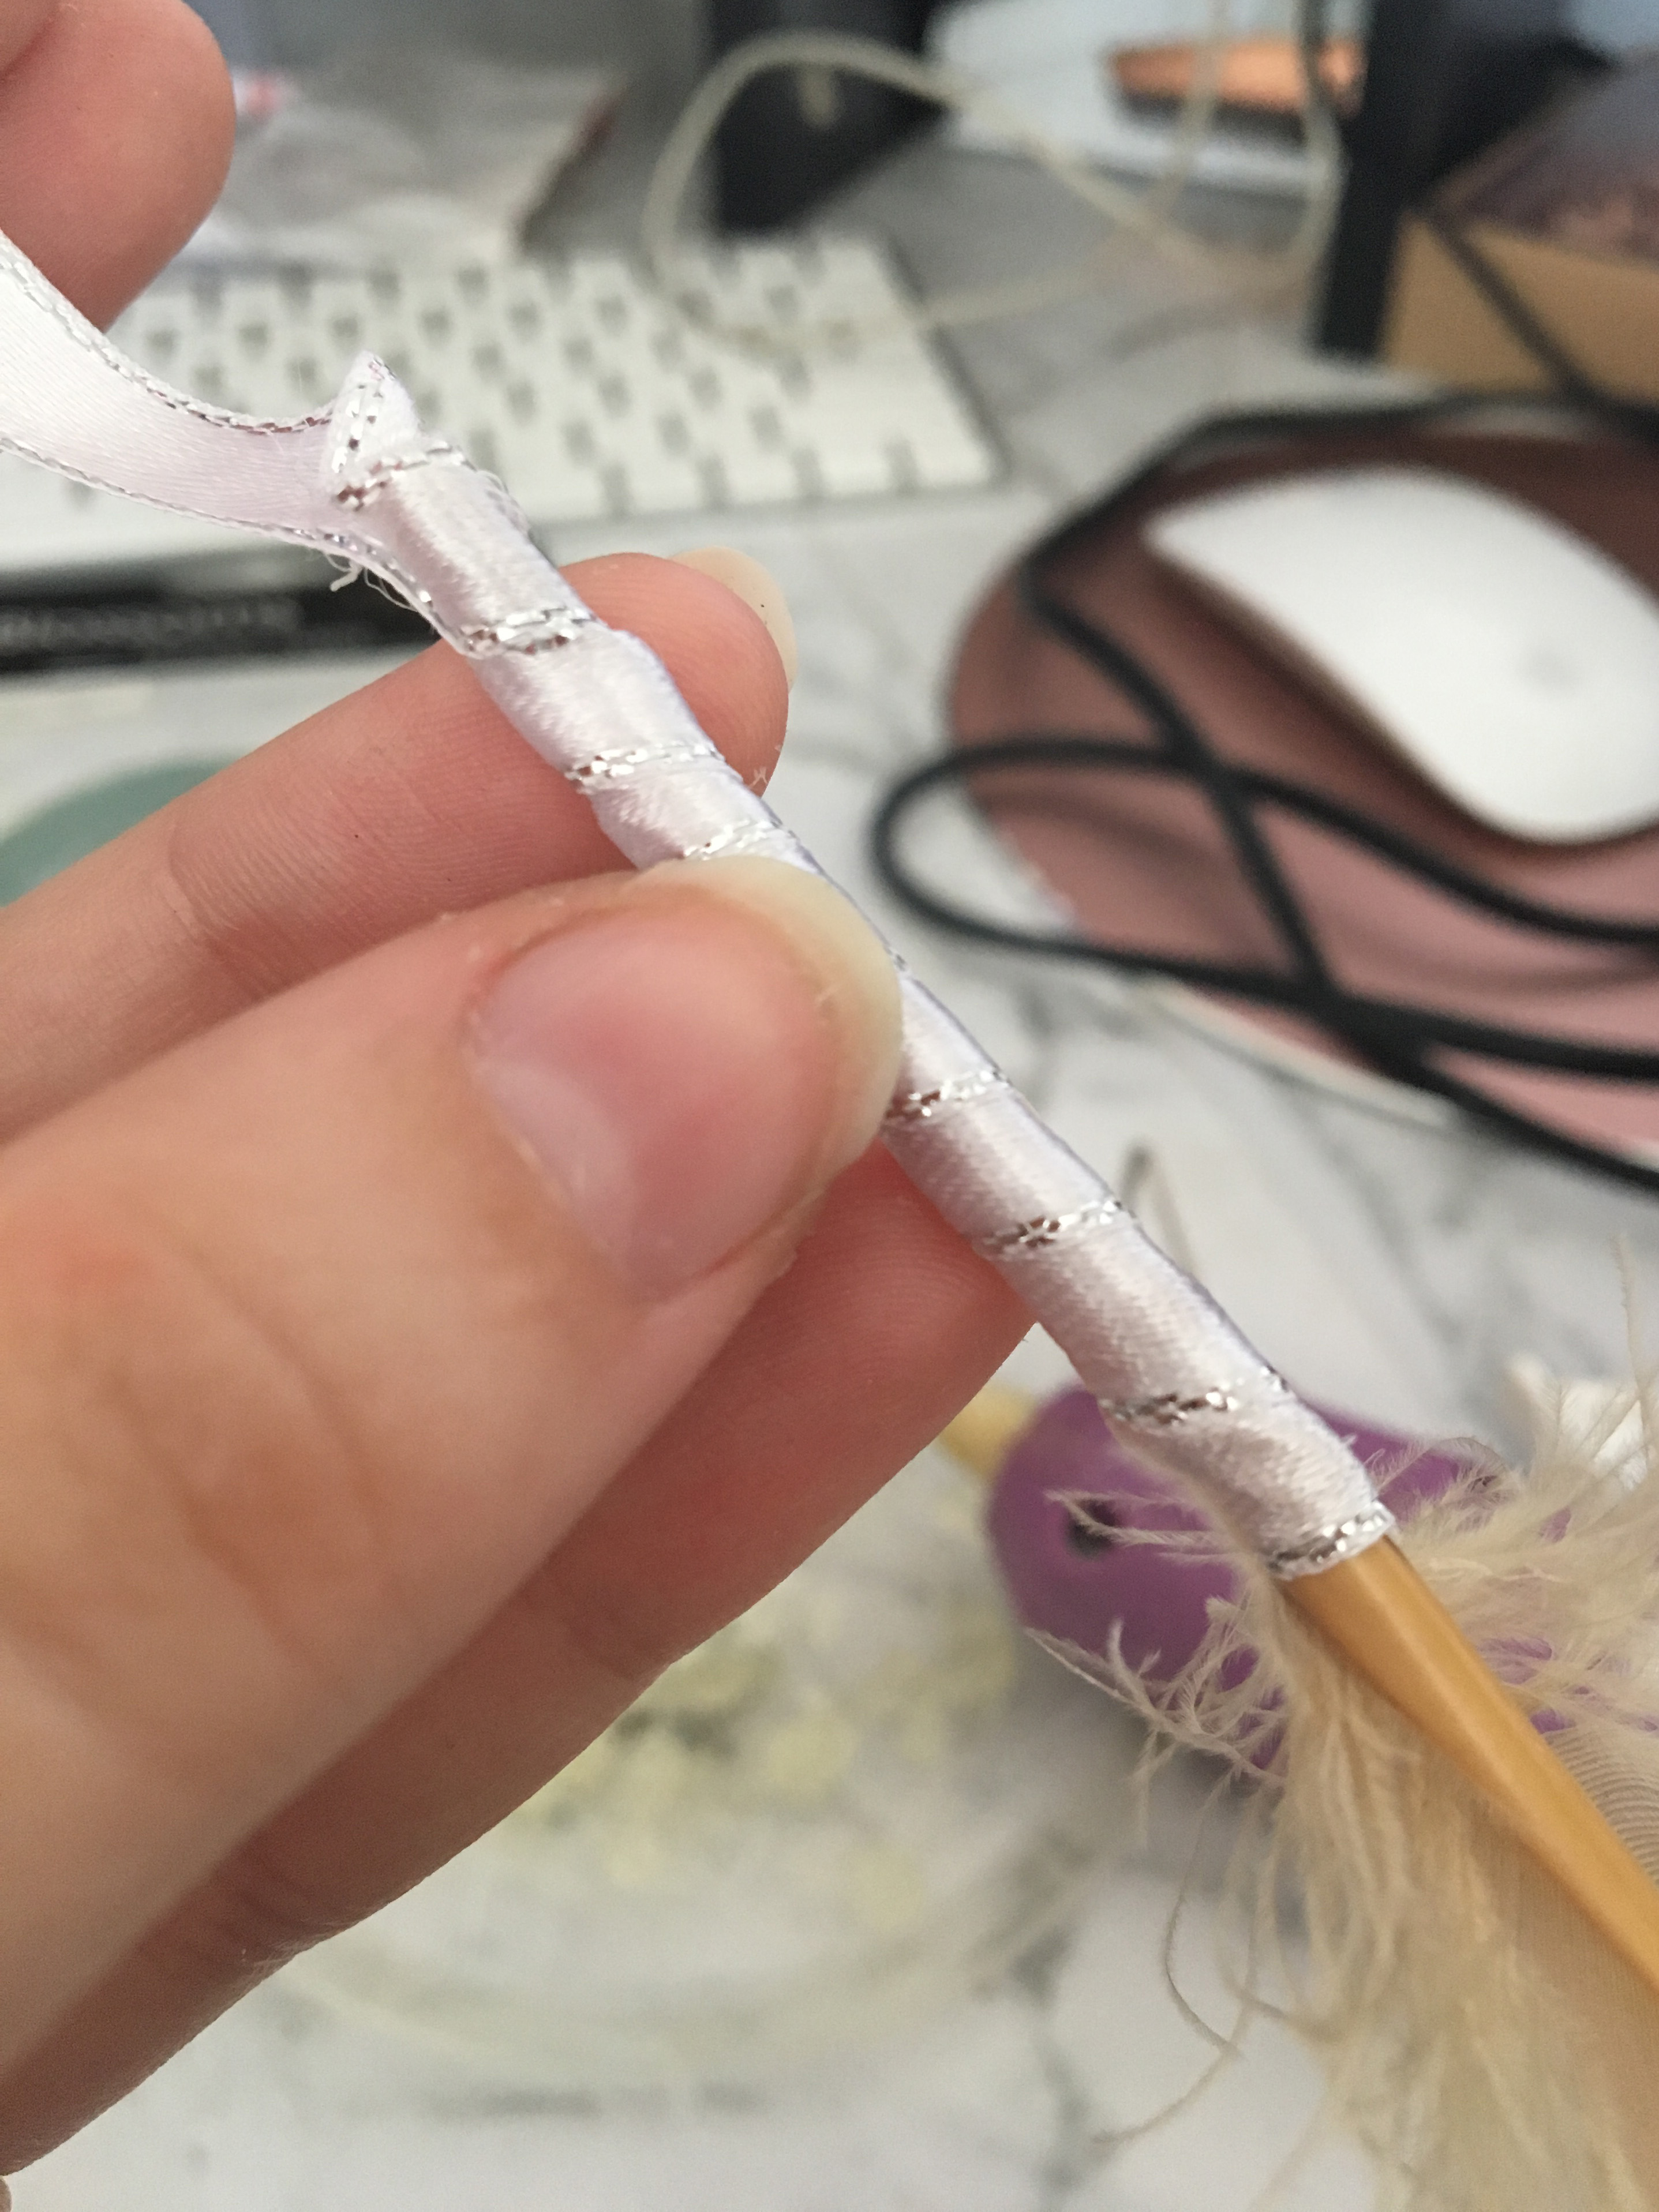
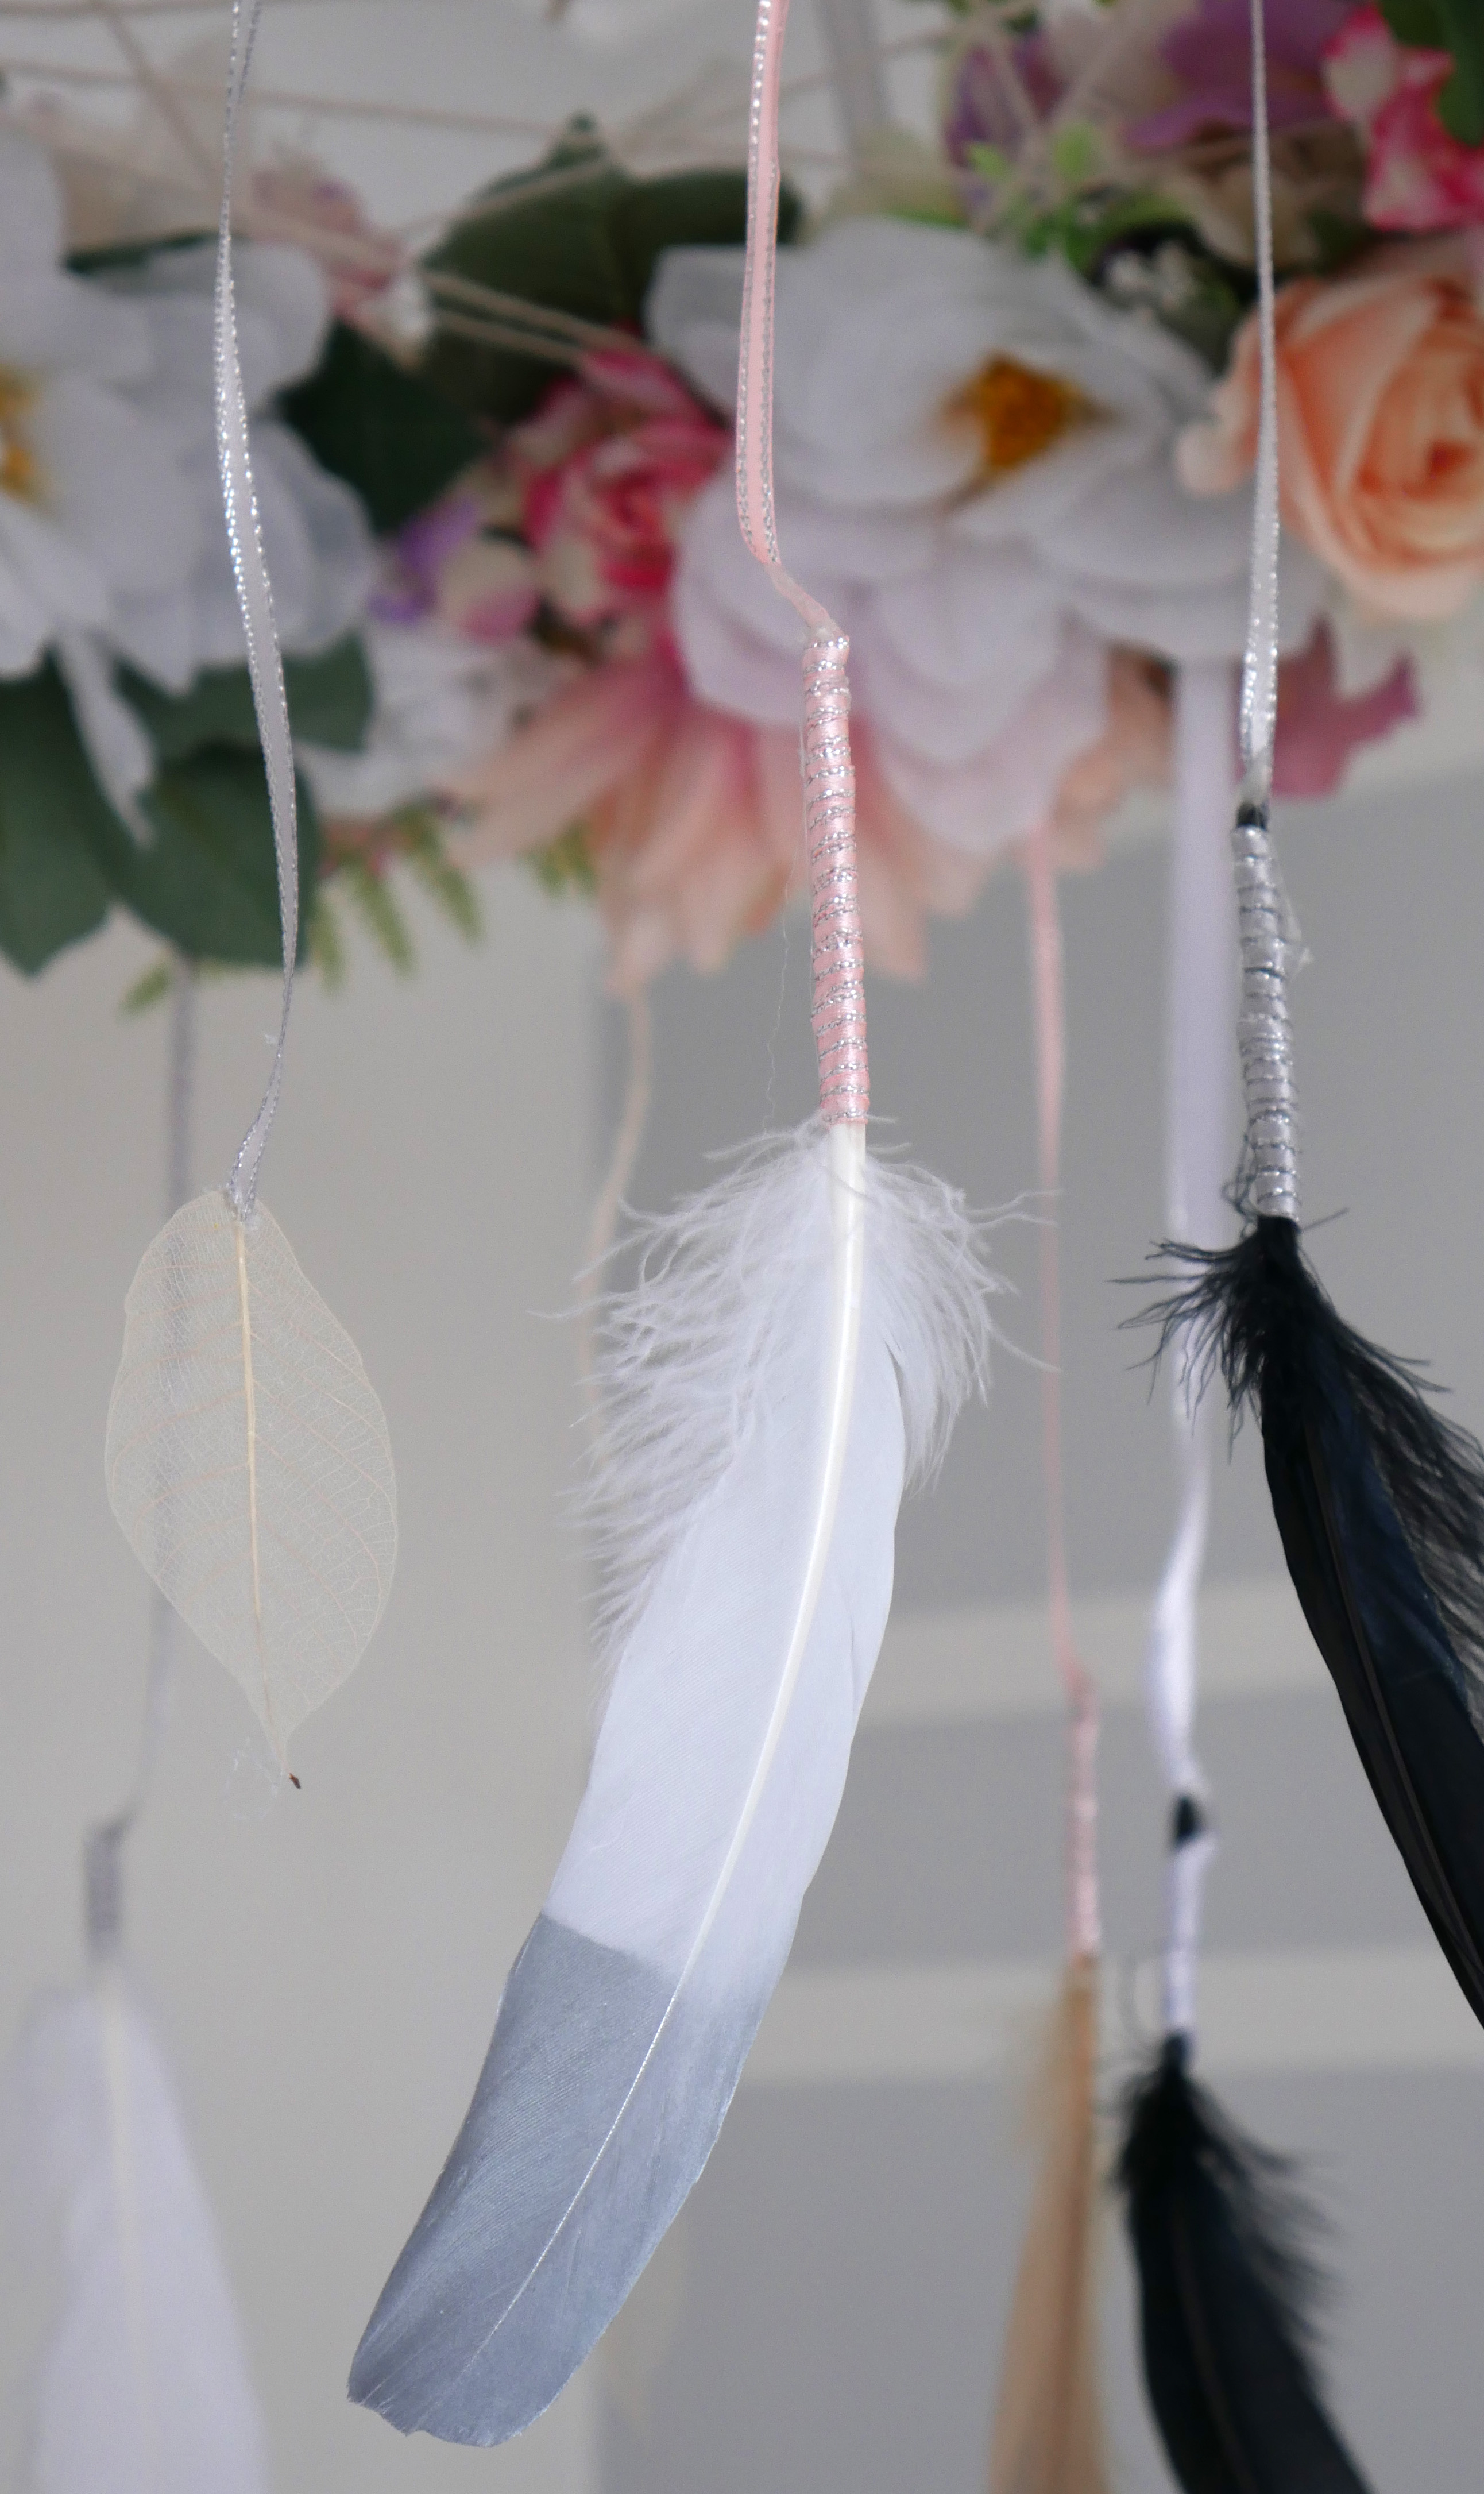
Once your feathers have dried, attach strips of ribbon and string to the ends of your feathers. I did this by starting the ribbon where the fluffy bit of the feather finishes and wrapping the ribbon around the base until I got to the end. This is a very secure way to attach the feather to the ribbon and I think it looks nicer than just attaching it at the end. Do this with all your feathers and also leaf embellishments if you are also adding them. I used half silver tipped feathers and half normal feathers and mixed up which ribbon/string I used with each colour.
Step 5:
The next step is to then attach all your feathers and ribbons to the hoop. I tried to have a plan and glued feathers of the same colour on opposite sides of the hoop. Even with my planning it didn’t really turn out exactly as I was hoping. Do what you think looks best.
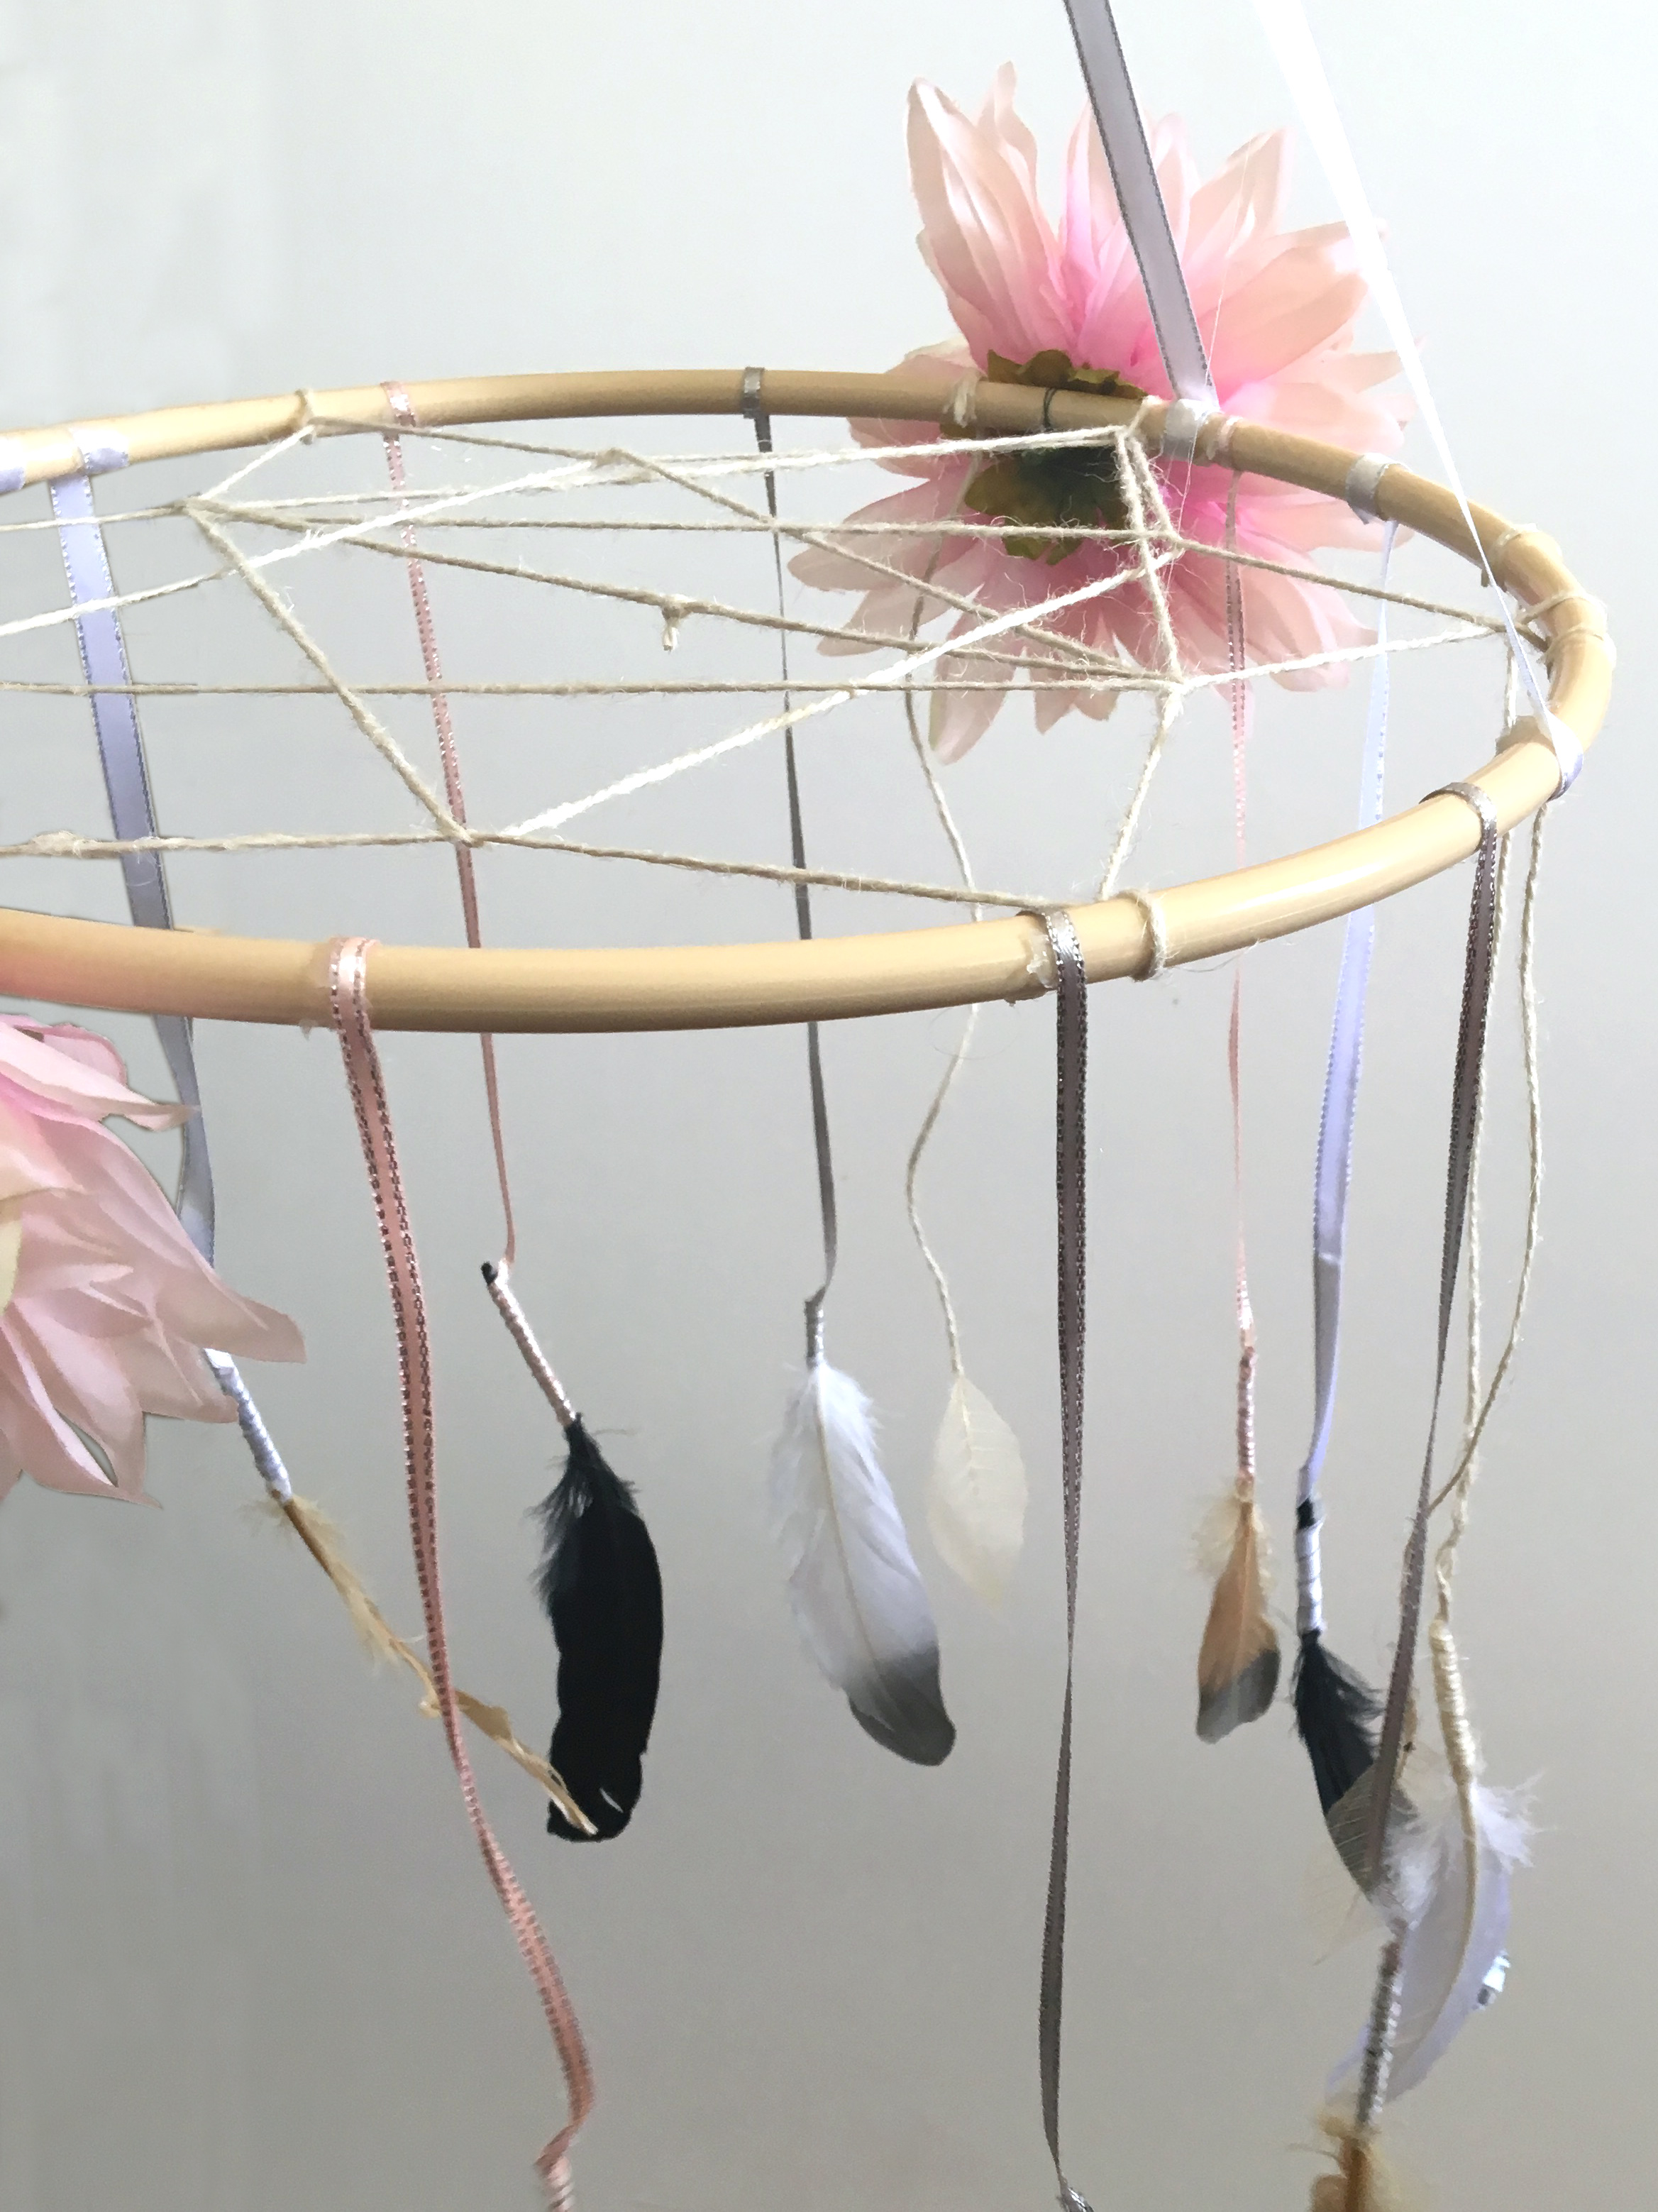
It doesn’t matter if the place where you attach the ribbon to the hoop is a bit messy because it will be covered with flowers by the end of the project. I also didn’t worry too much about getting the lengths exactly even. I wanted it to look more natural and bohemian so thought it would be fine. If you were concerned about them sitting evenly, you have to not only take into account the differing lengths of all the feathers but you have to make sure you attach the ribbon in exactly the same way to the top of the hoop each time.
Step 6:
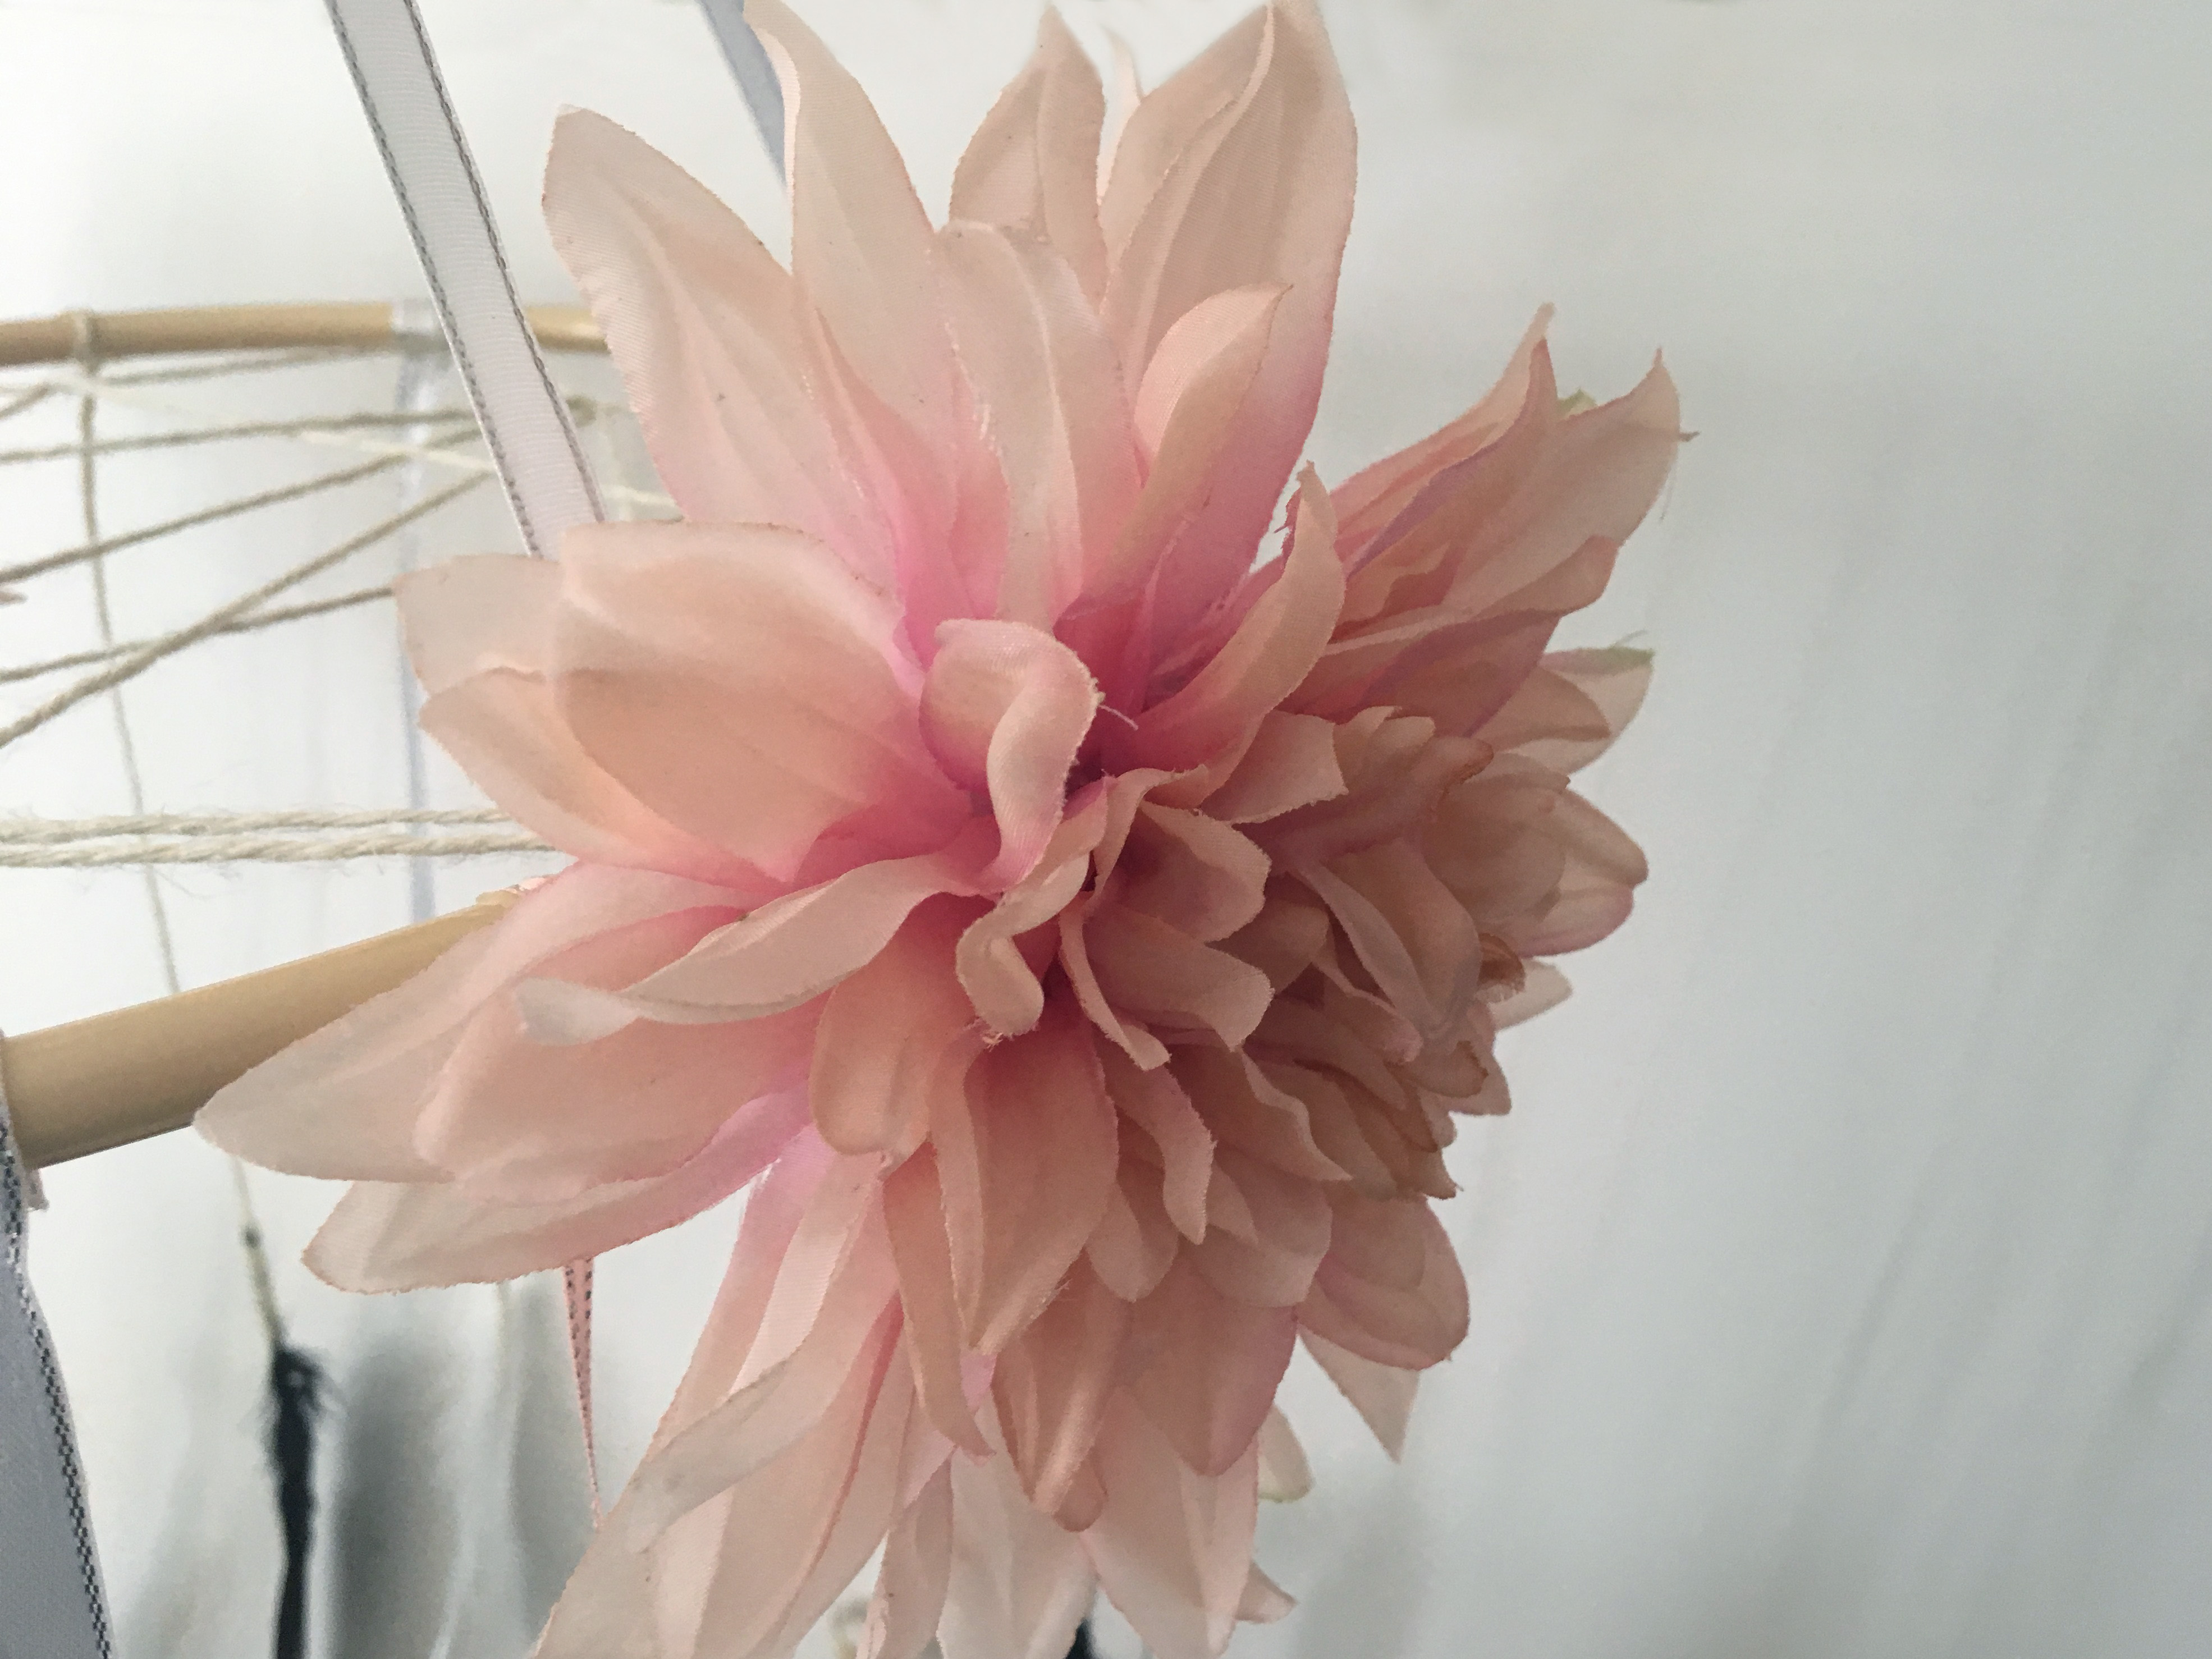
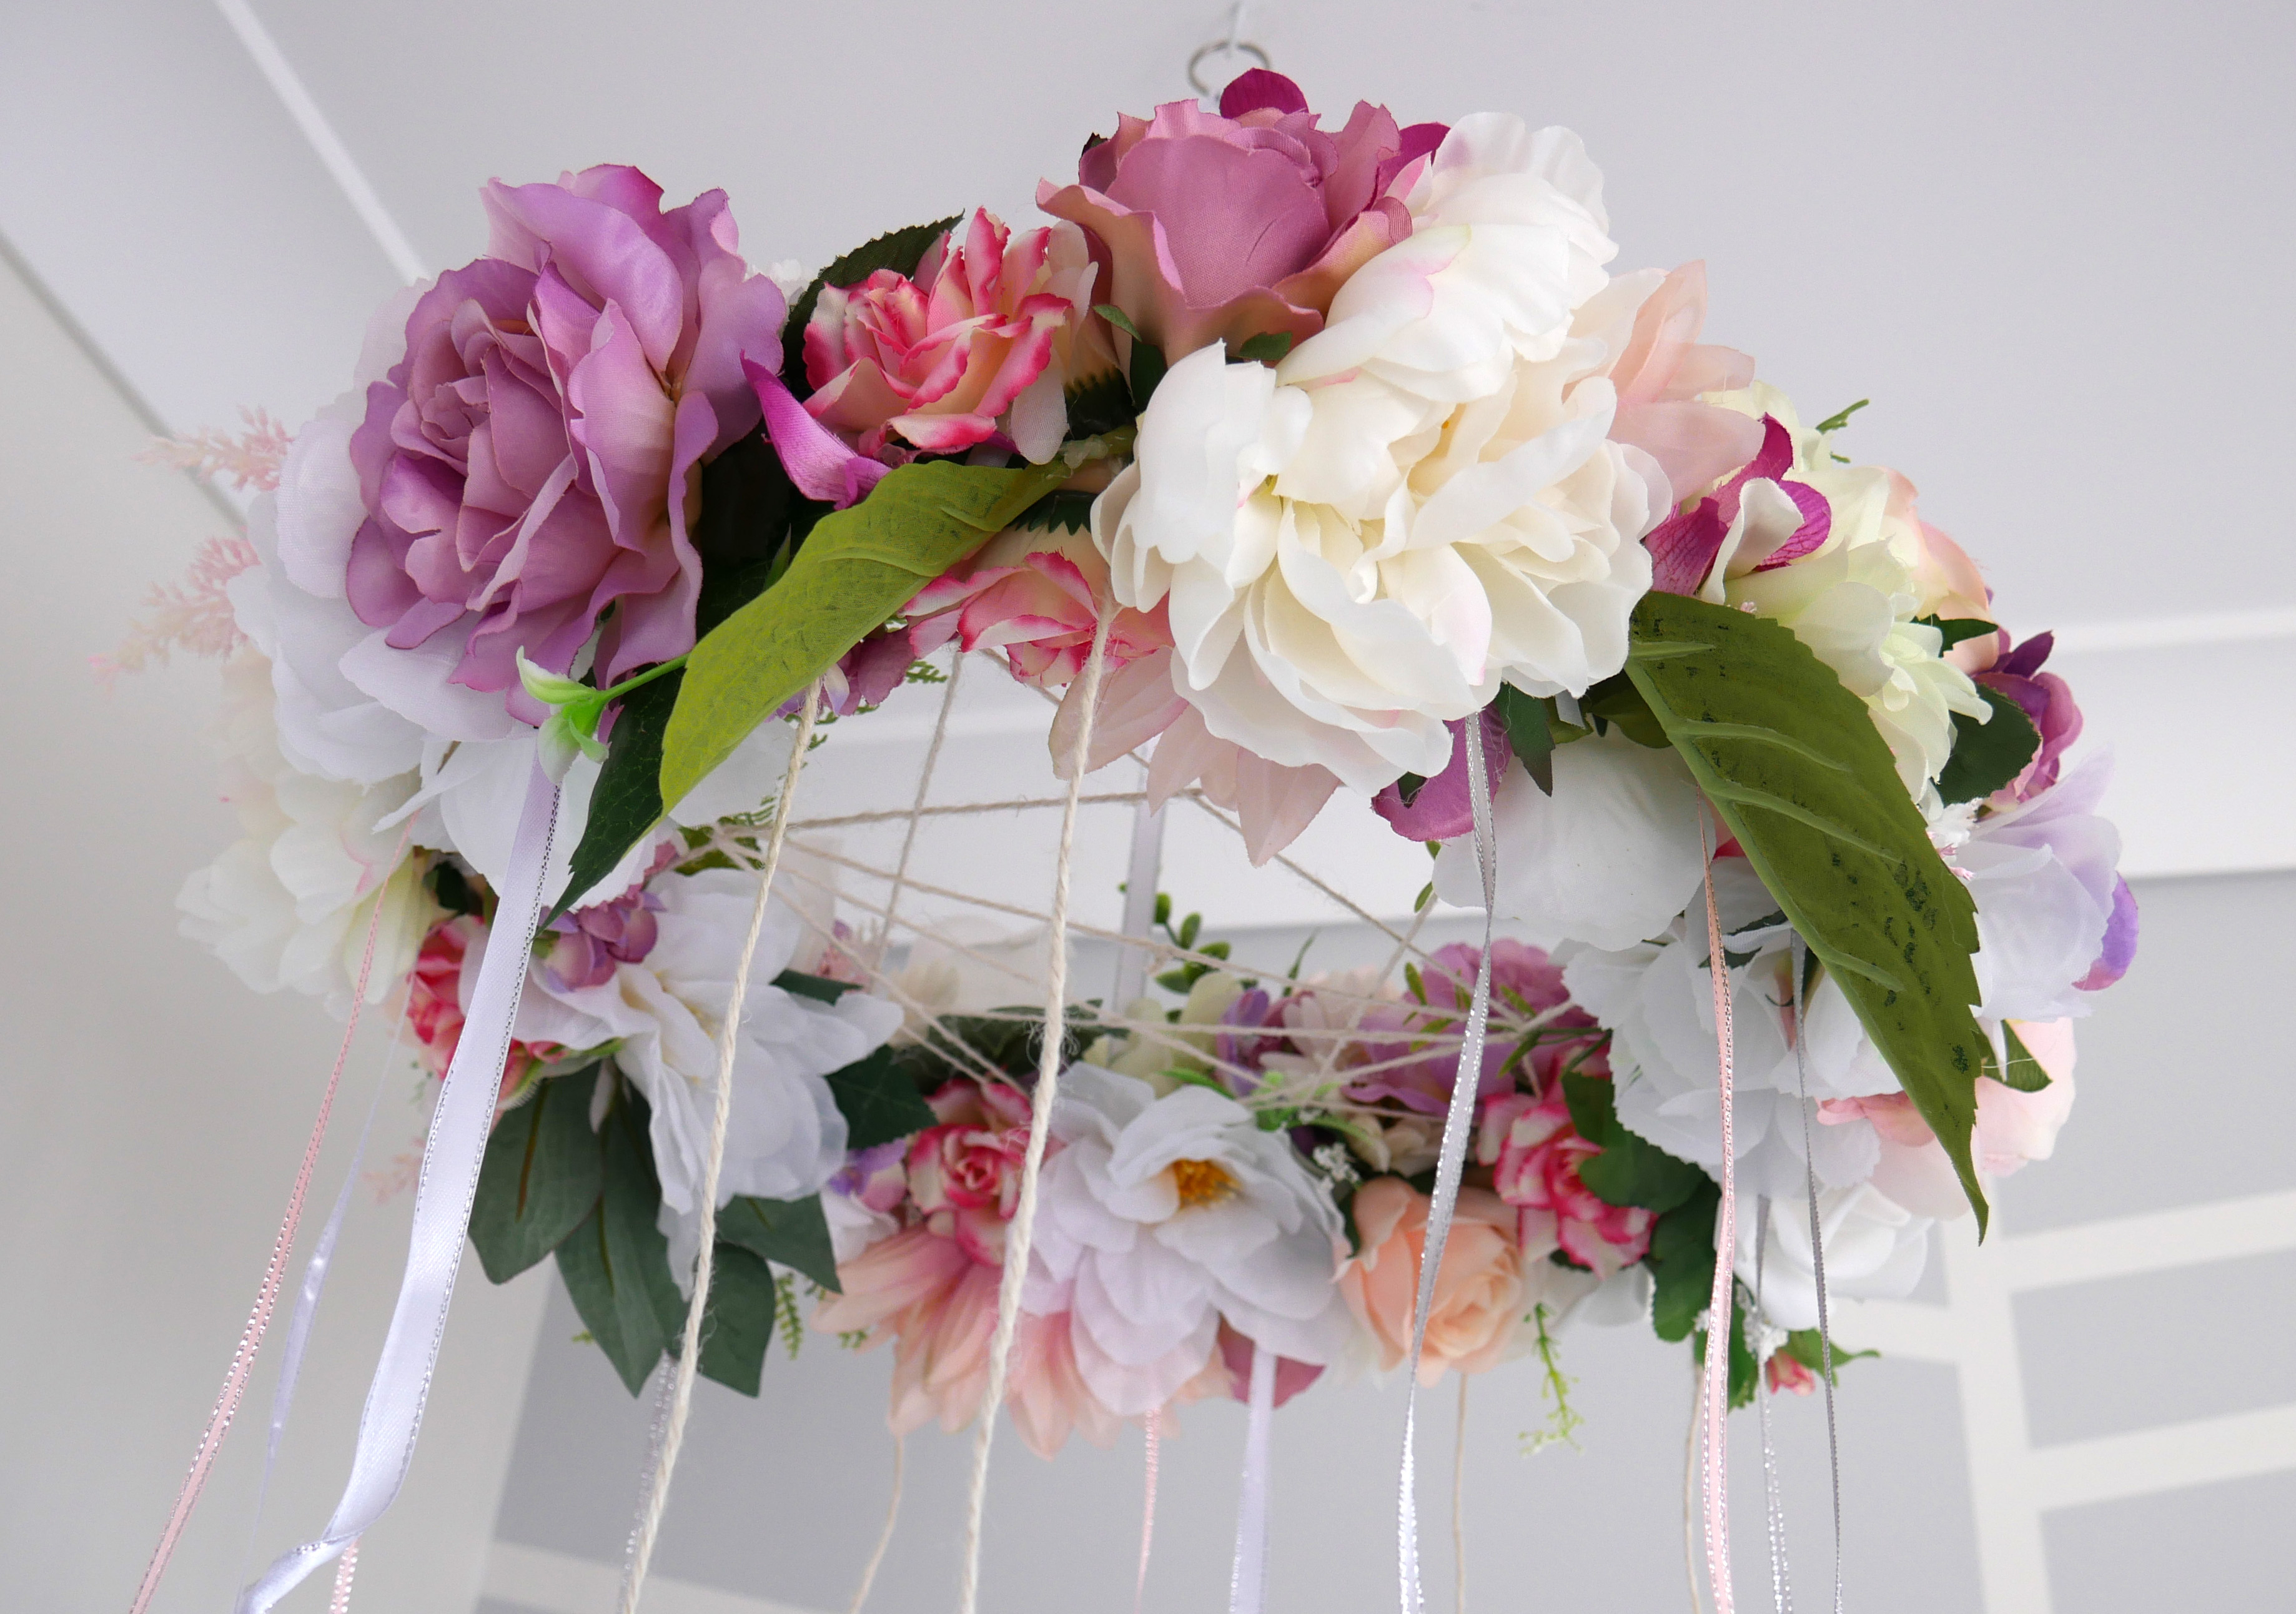
After you’ve added all the feathers and ribbon, you can start attaching the faux flowers to the hoop. It is handy to have wire cutters on hand because some of the more expensive ones don’t just pull off their stems very easily. Scissors weren’t quite enough to get through either. I started off using florist wire and tape to attach the first few flowers to the hoop but later found it was much easier and much more secure to just use hot glue. I stuck these big pink flowers on either side of the hoop to begin with. To try and create an even spread of similar flowers, I worked around from each side . It wasn’t exactly symmetrical but it was balanced.
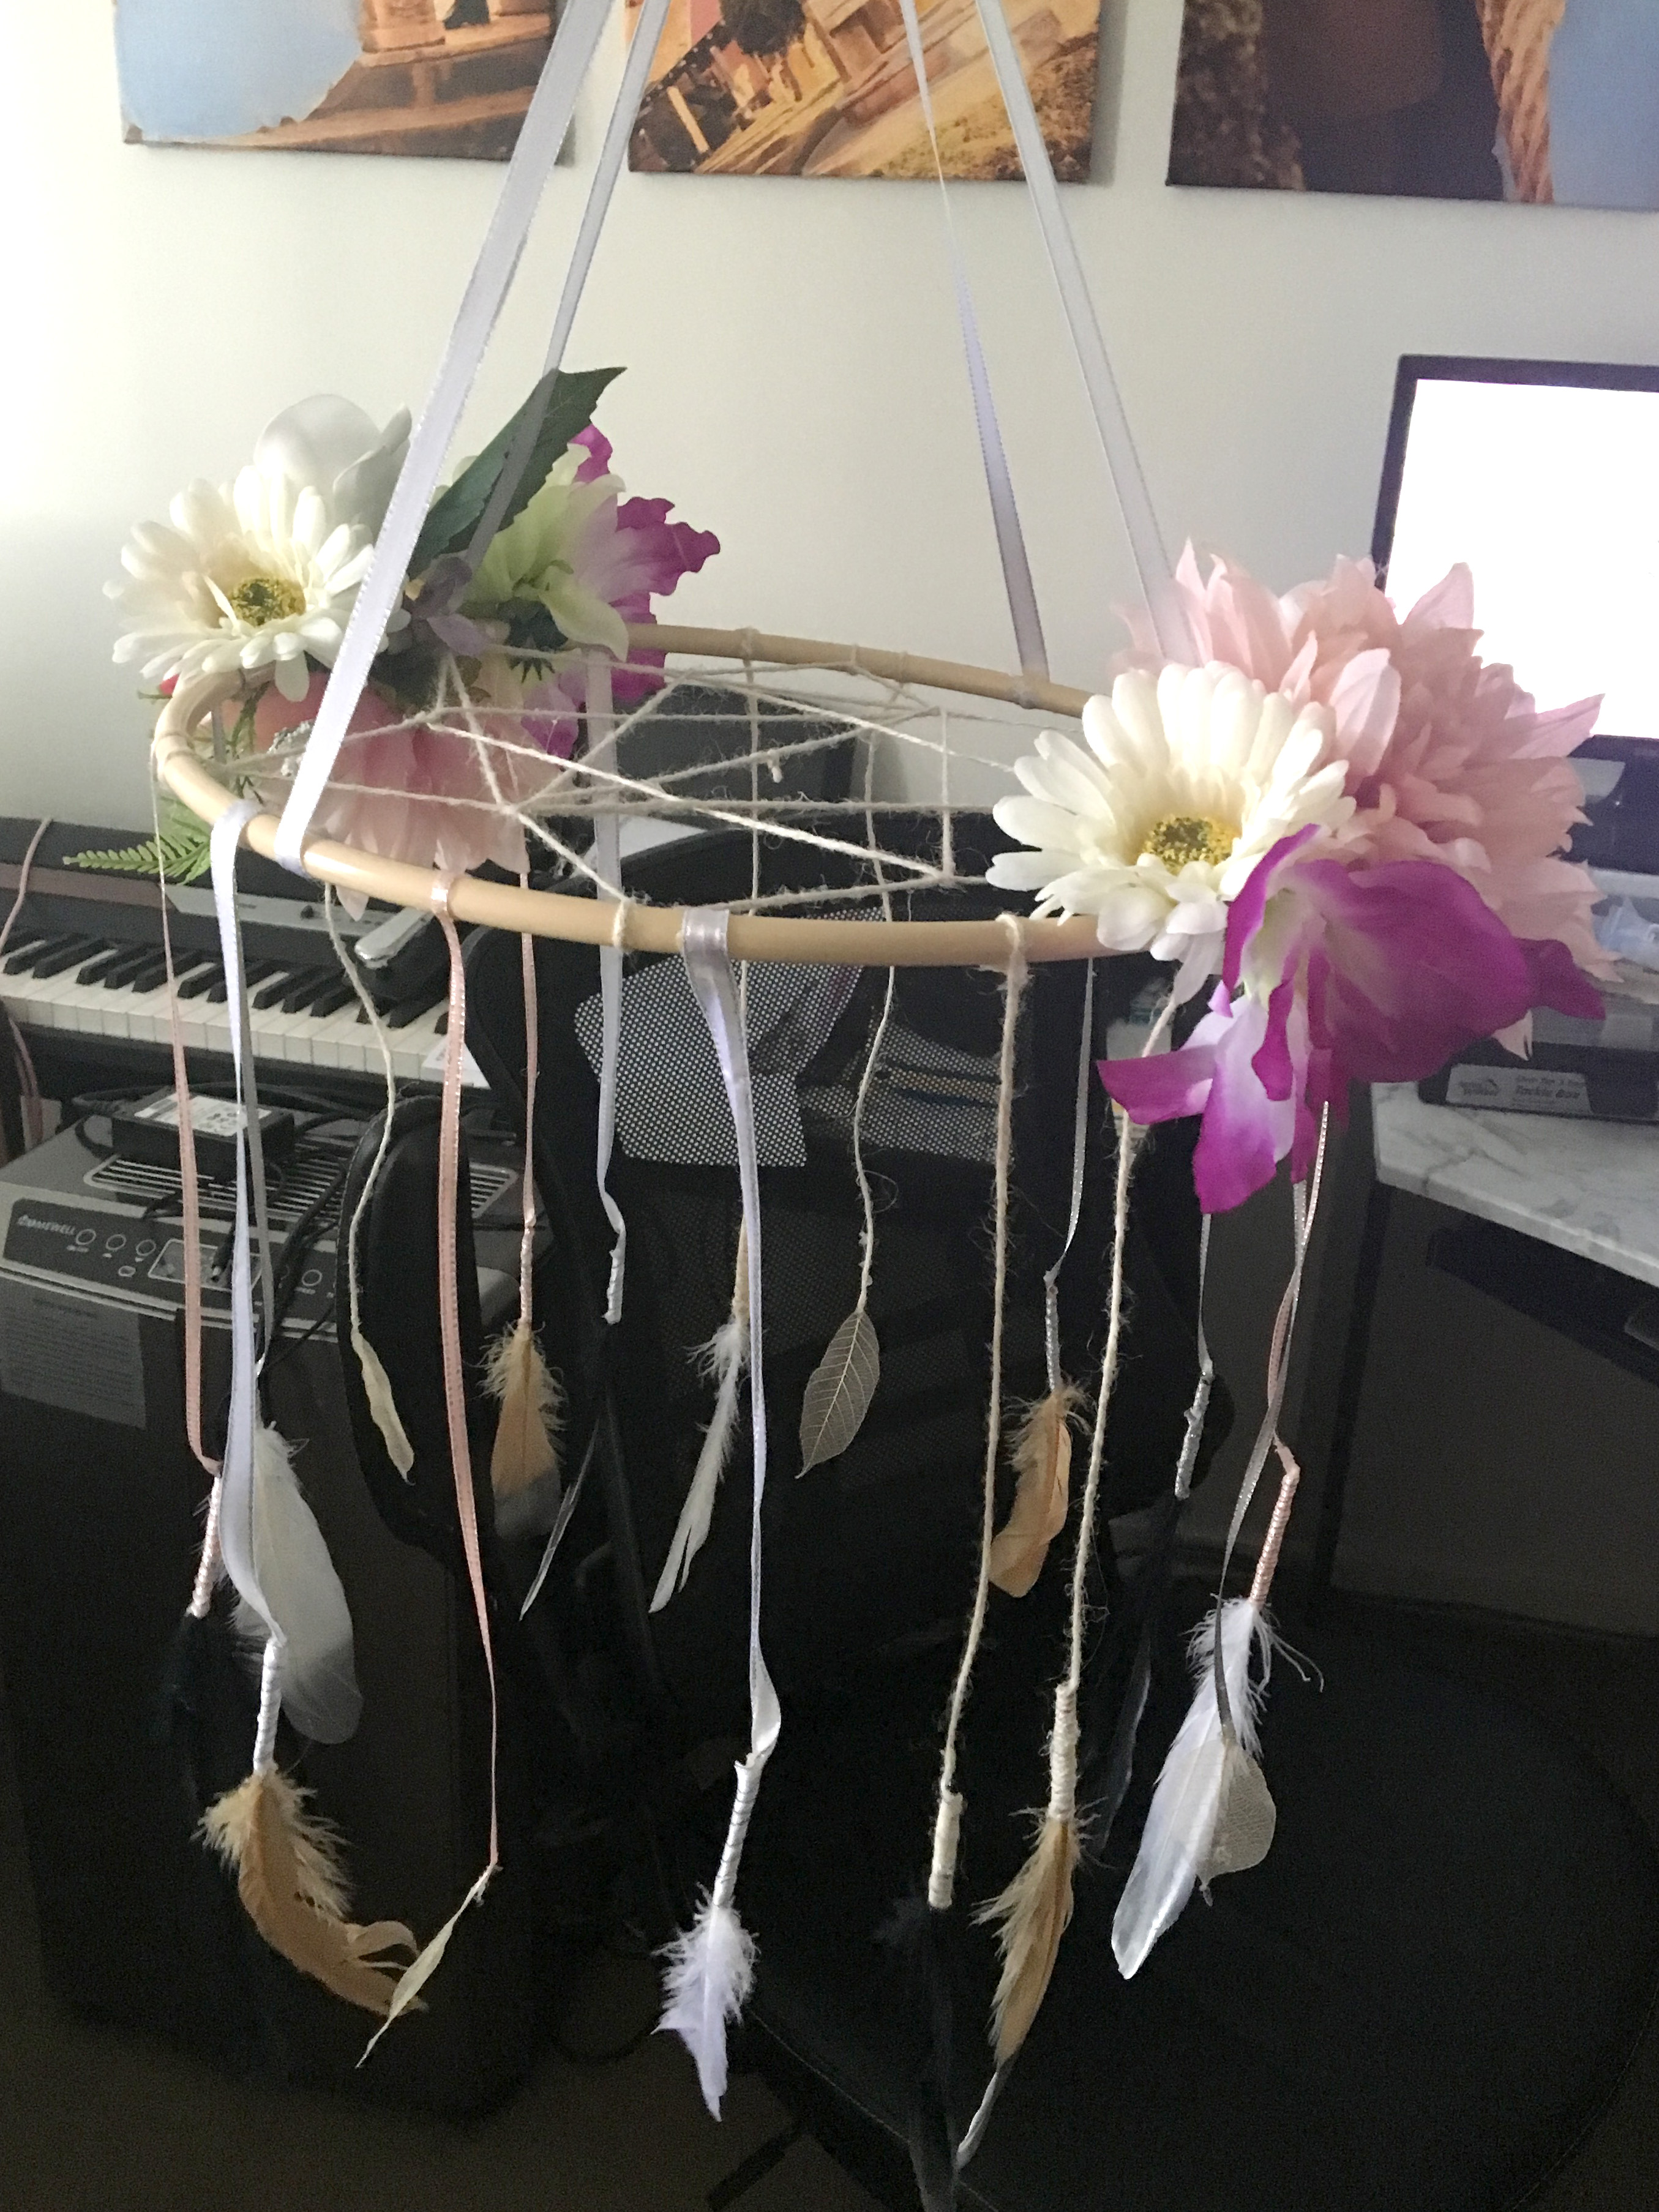
It really helps to hang the hoop from the ceiling while you are gluing your flowers on. That way you don’t get tangled in the feathers or the top ribbon. You can also get a better idea of what it will look like when it’s done. I used a piece of scrap ribbon and hung it from the fan on the ceiling. Make sure it’s within reaching distance of the hot glue gun cord though!
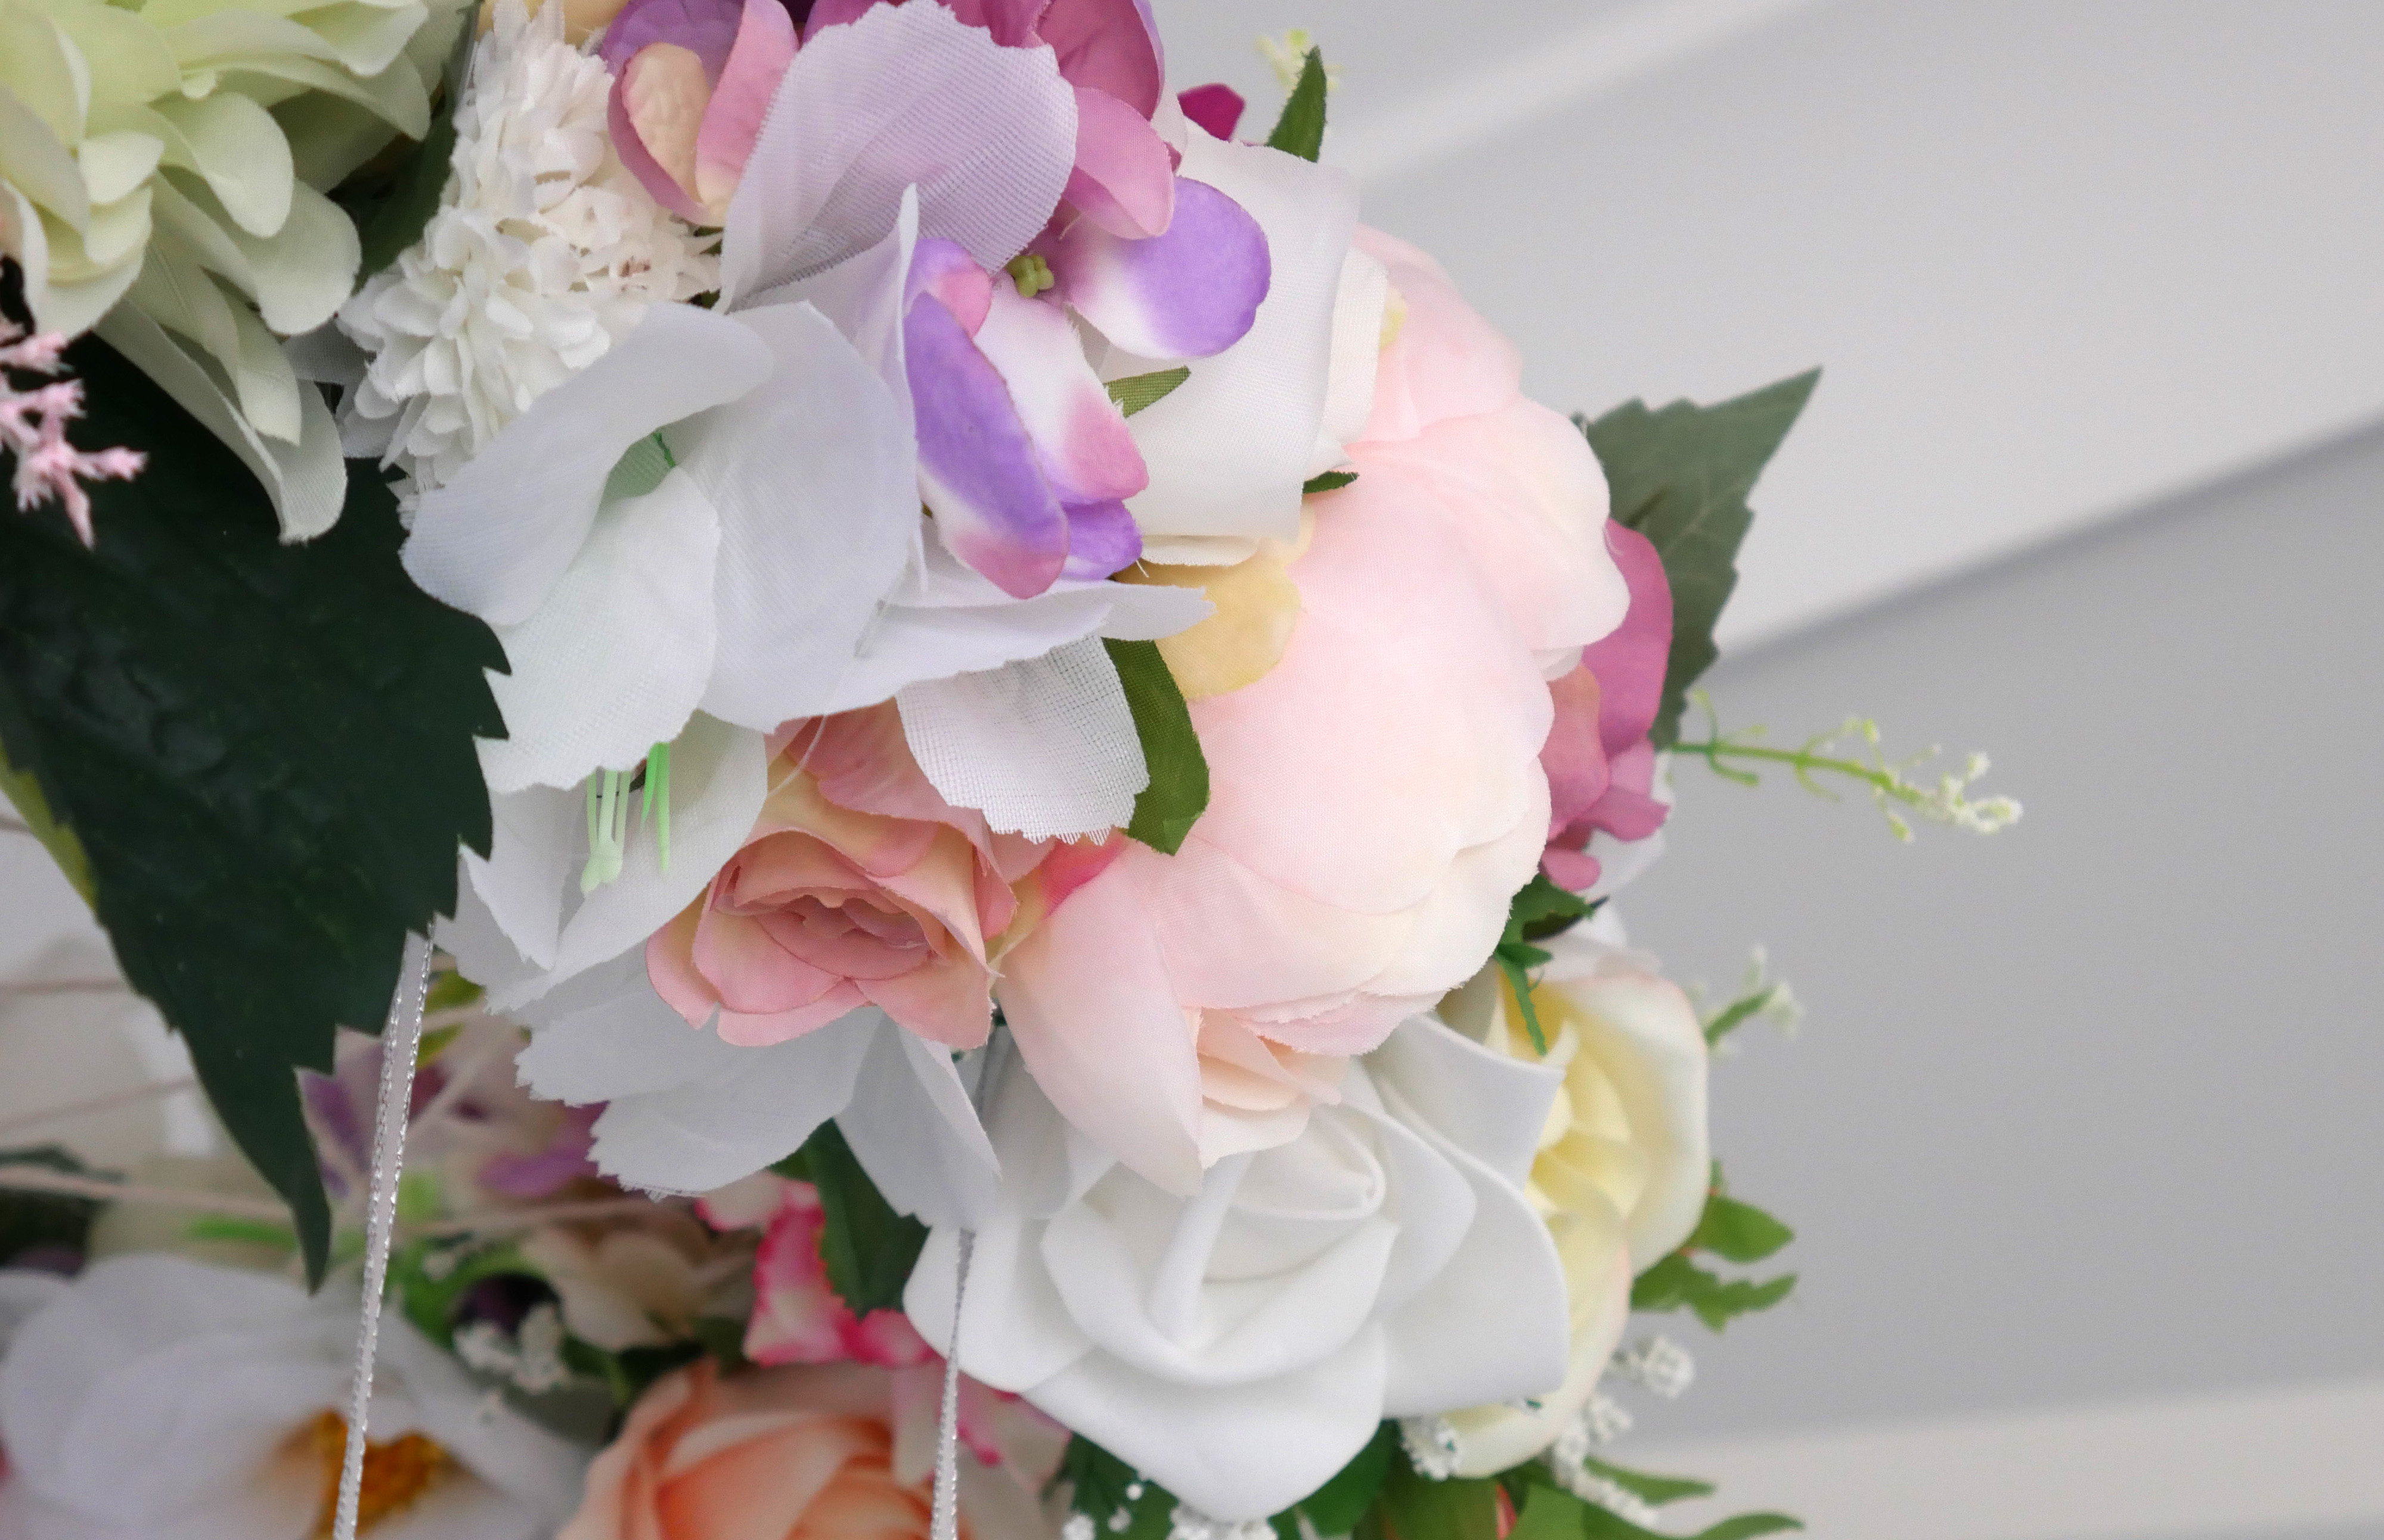
Don’t forget to add your greenery from the faux flowers in there too! While gluing think about what it will look like from the view in the cot too! Glue flowers facing downward and on the inside of the ring as well. Be aware that some of the cheaper flower’s stems will melt somewhat when you put the hot glue on them. In these cases it can work better to put the glue straight onto the ring. Then attach the flowers to the hoop rather than visa versa. On the whole though I usually put the glue onto the flower first so I could hold the other flowers out of the way while attaching the newest flower. You can go back later and fill in any gaps you have with smaller flowers and greenery.

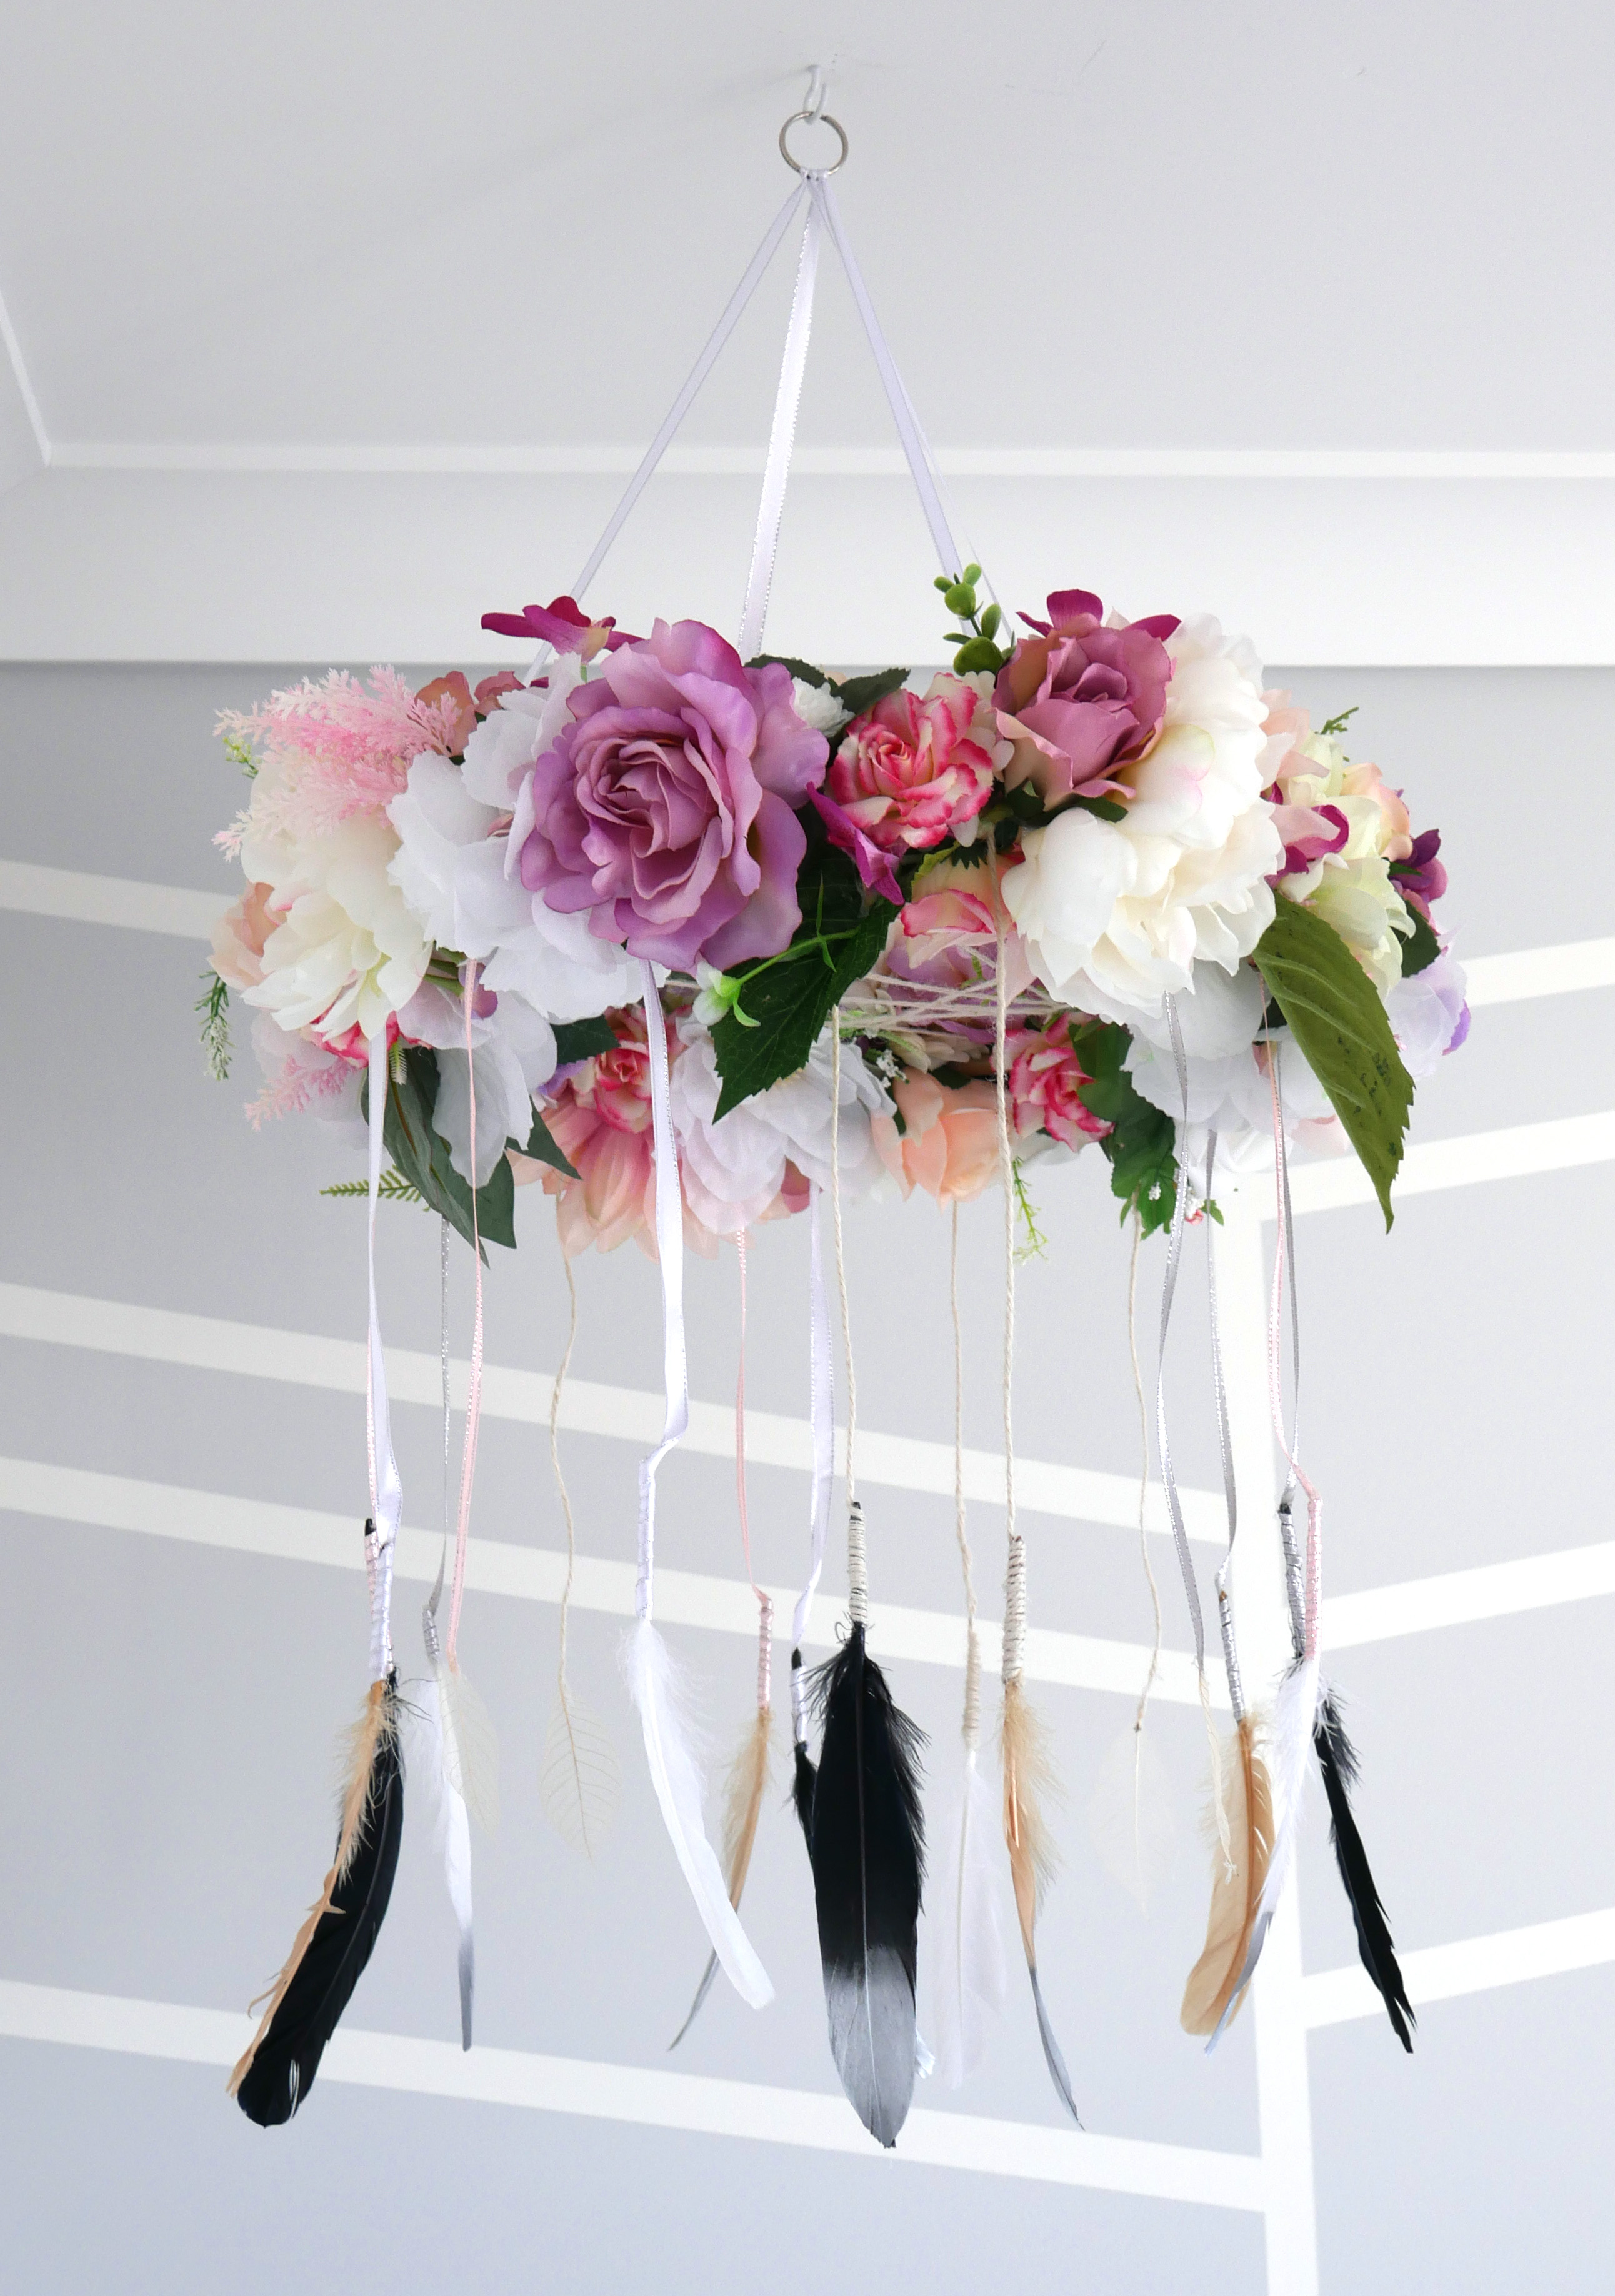
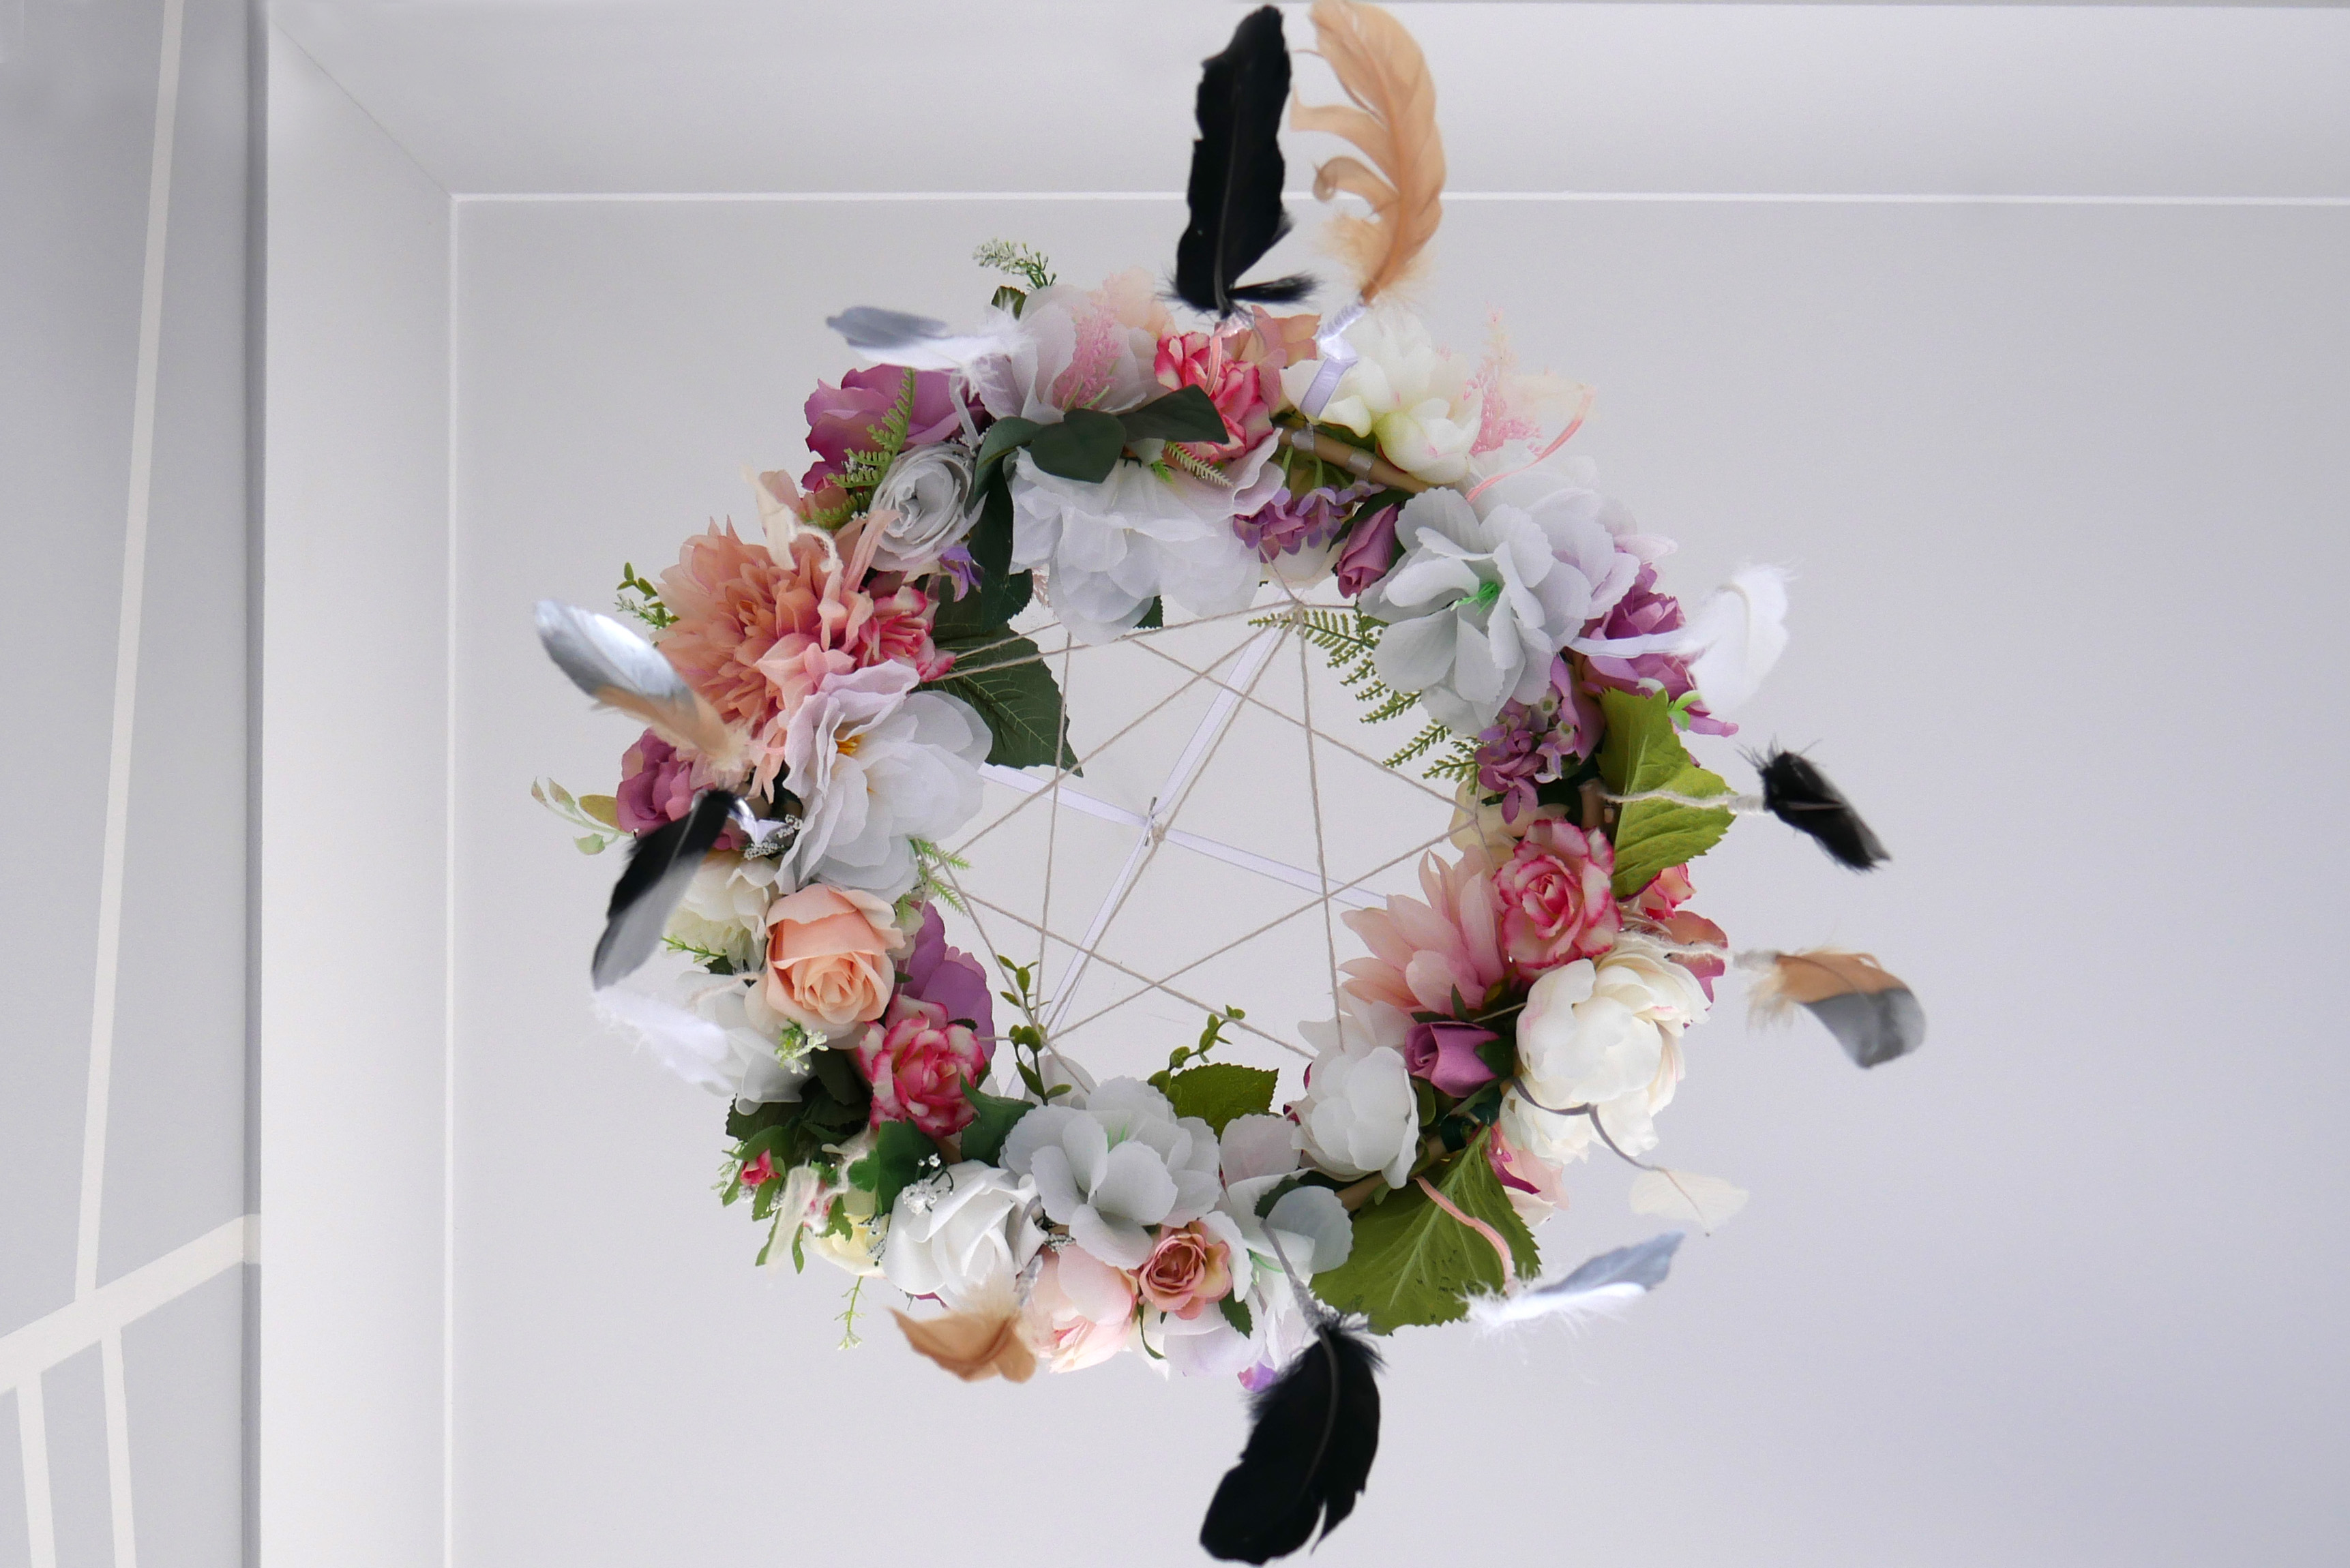
And viola… after a day of hot glue burnt fingers I have a seriously adorable floral dream catcher baby mobile! I did end up stopping half way, going out and buying more pastel coloured flowers, coming back, pulling some of the brighter coloured flowers off and rejigging it a little like I said above. Eventually I got it to a stage where I am very happy with it. I wouldn’t have bothered with the leaf embellishments in hindsight but that is harder to change now that I’m done. If I was doing it again I would have added more feathers around the bottom of the hoop. On the whole I love how it looks and it sure does look cute hung up in the nursery. See the full nursery reveal in a post to come!

")
")
")