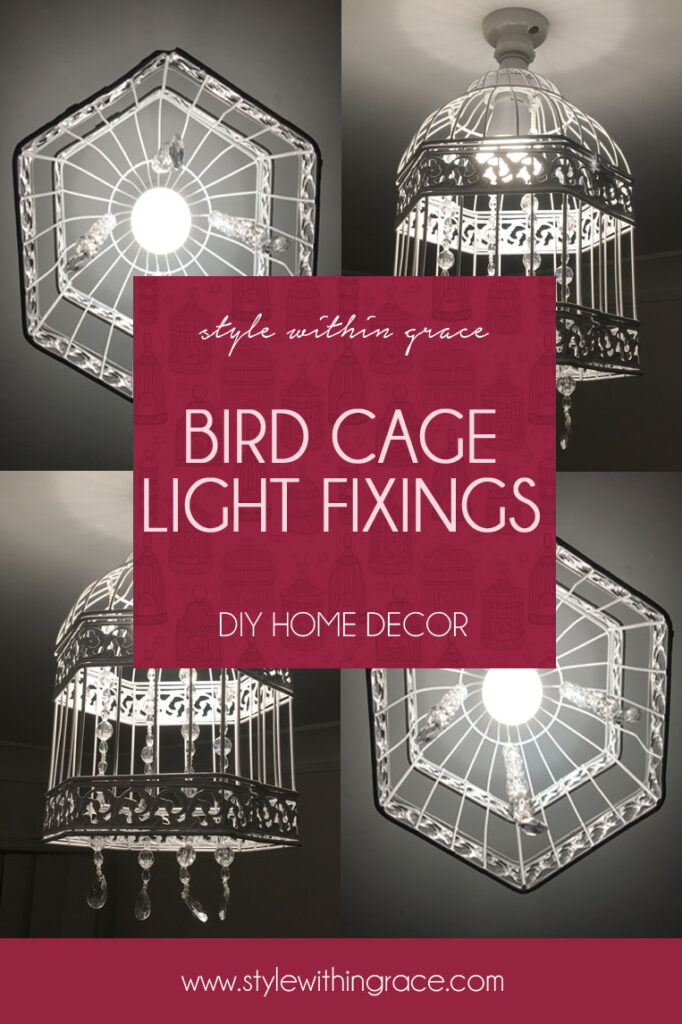
One of the first changes we made when we first bought our little town house was to replace the normal light bulbs in the downstairs area with the Phillips Hue light bulbs which are LED lights that use up to 80% less energy than standard bulbs. They can also be any colour that you want all controlled by an app on your mobile phone. They can be scheduled to come on at suitable times and can even listen to music and change accordingly. The only problem is they only work with Edison screw light bulb sockets, which we don’t really use in Australia. We searched high and low and finally found the Edison screw sockets in a back corner of a lighting store and had them installed.
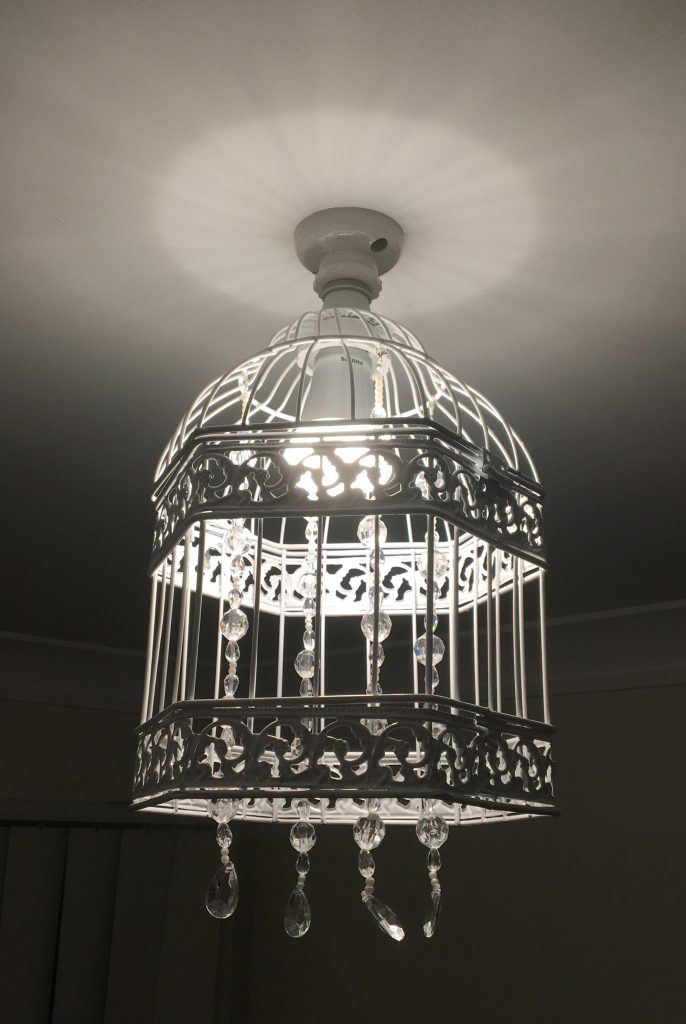
Success at last but once again a problem. The old light fixings which weren’t particularly pretty anyway, no longer fitted with the Edison screw sockets. I wasn’t too sad at first until I realised, after looking through every lighting shop and online as well, that none of the available light fixings would fit with the Edison screw fixings. The light bulbs on their own were rather ugly and I couldn’t just leave it like that so I set out to DIY my own. I wanted something that wouldn’t diffuse the light too much and would also compliment the different colours that the lights could change too. After scouring Pinterest for ideas and not finding anything particularly helpful, this is what I came up with.

What you need:
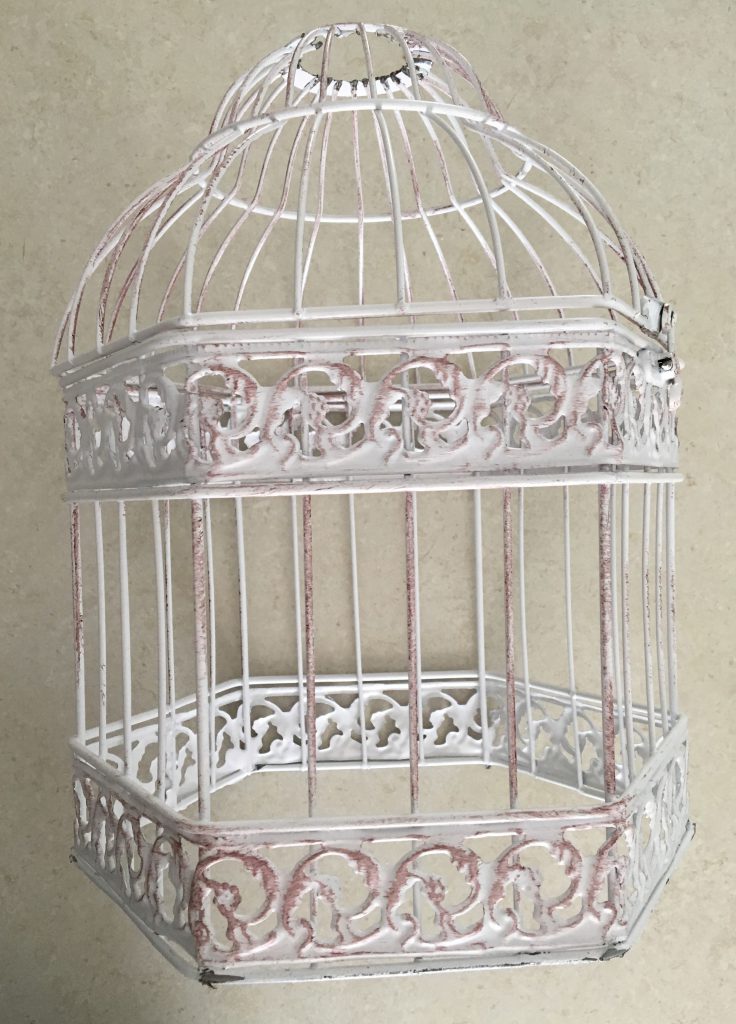
- Bird Cages (I got mine from The Reject Shop)
- Stretch Jelly Elastic (You could use wire or fishing line as well)
- Beads of your choosing (I started getting some of mine from Spotlight but they are really expensive to get enough there. I would recommend buying online)
- Crimp beads (I used 2mm round crimpers)
- Crimping Pliers (Or just normal ones you might have on hand will do but they need to be smooth ones that won’t leave grooves)
- Lobster Clasps
- White Spray Paint (Or whatever colour you want to have)
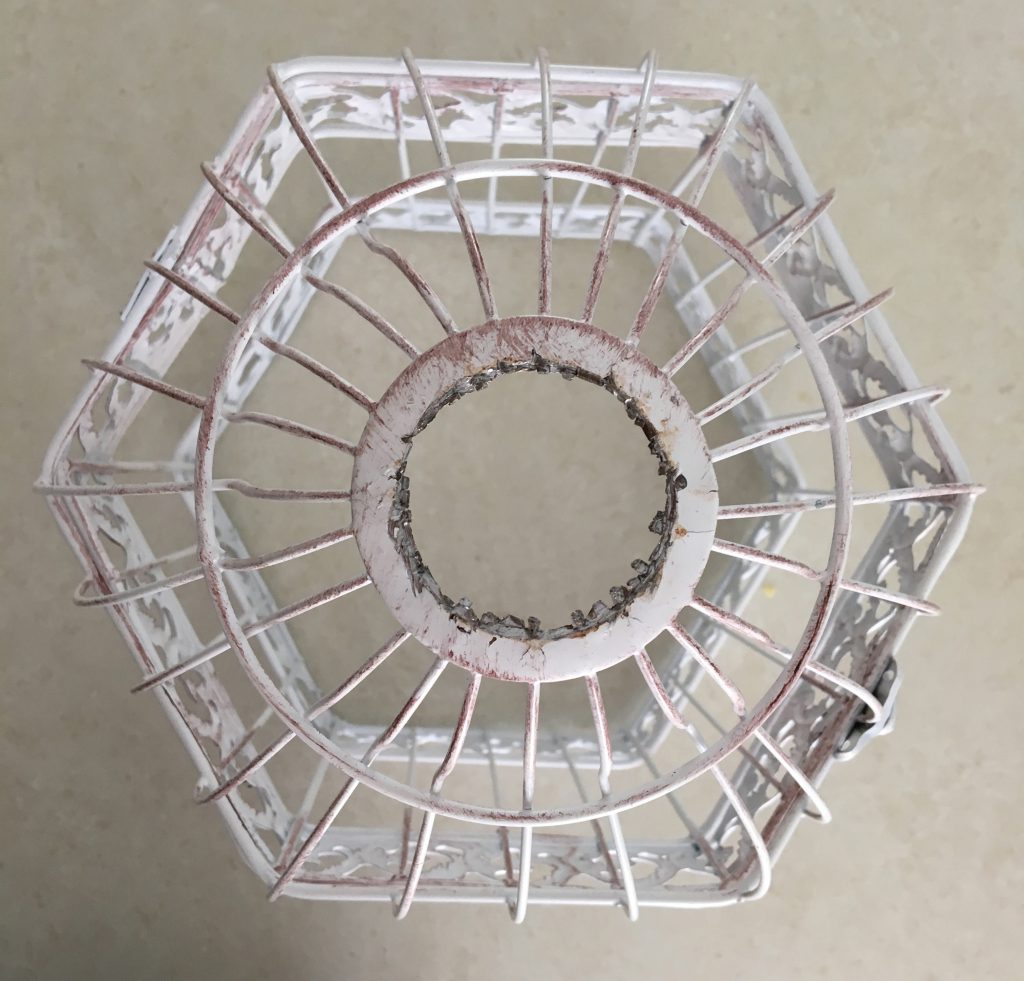
Step 1:
Get an awesome father to cut the bottom and top off the birdcage. I didn’t have a clue how to do this myself so I can’t help you with this part.
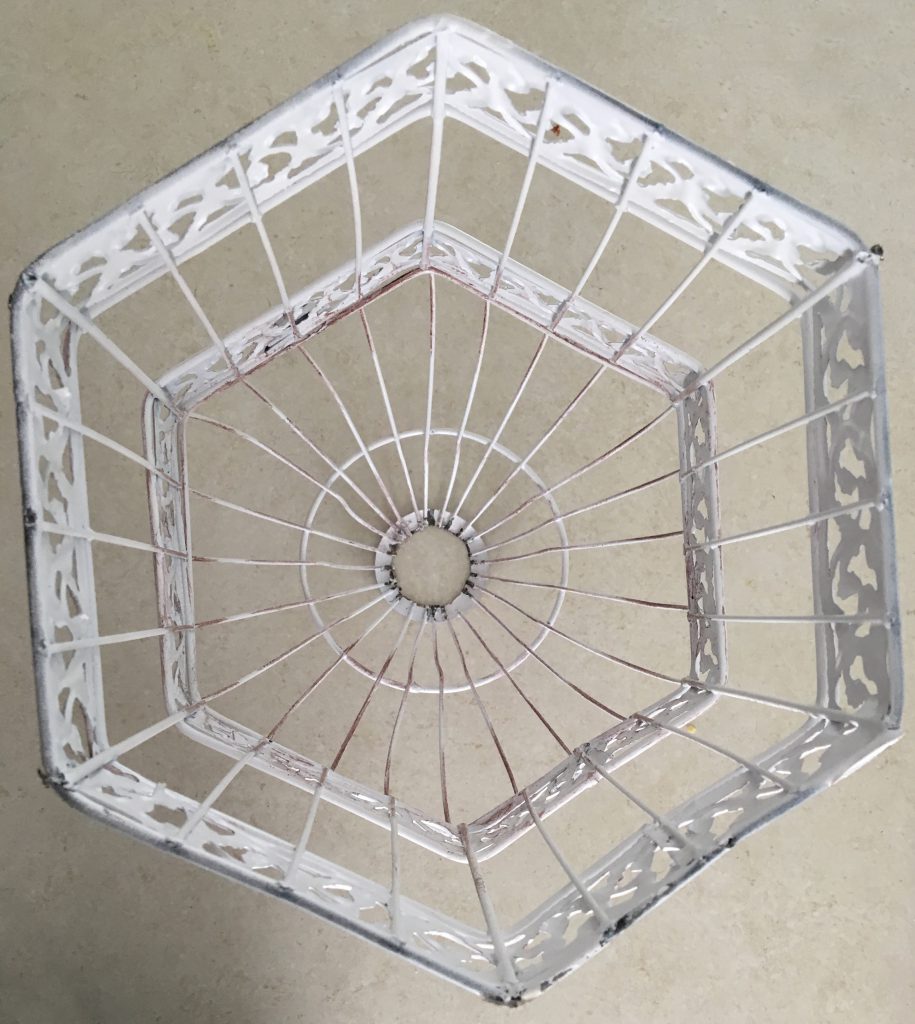
Step 2:
Sand if necessary any sharp points and then re-spray paint the cages. The cages started off with a distressed look so if you want to keep this you will have to sand any repainting you do slightly. I wanted a solid polished clean look so I didn’t do this and kept it cleanly painted. I used wire to hang the cages from the clothesline and spray painted them outside on a sunny day so they dried very quickly. For all four of them, I went through the whole can of cheap spray paint.

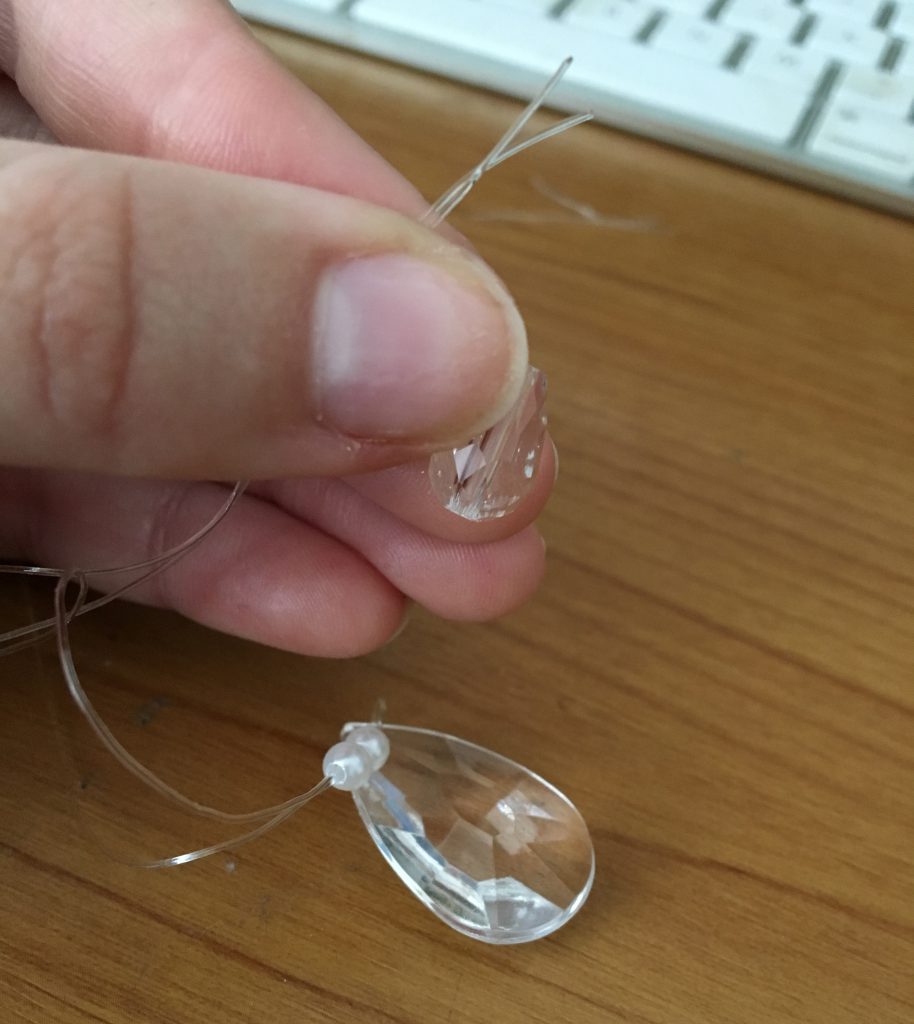
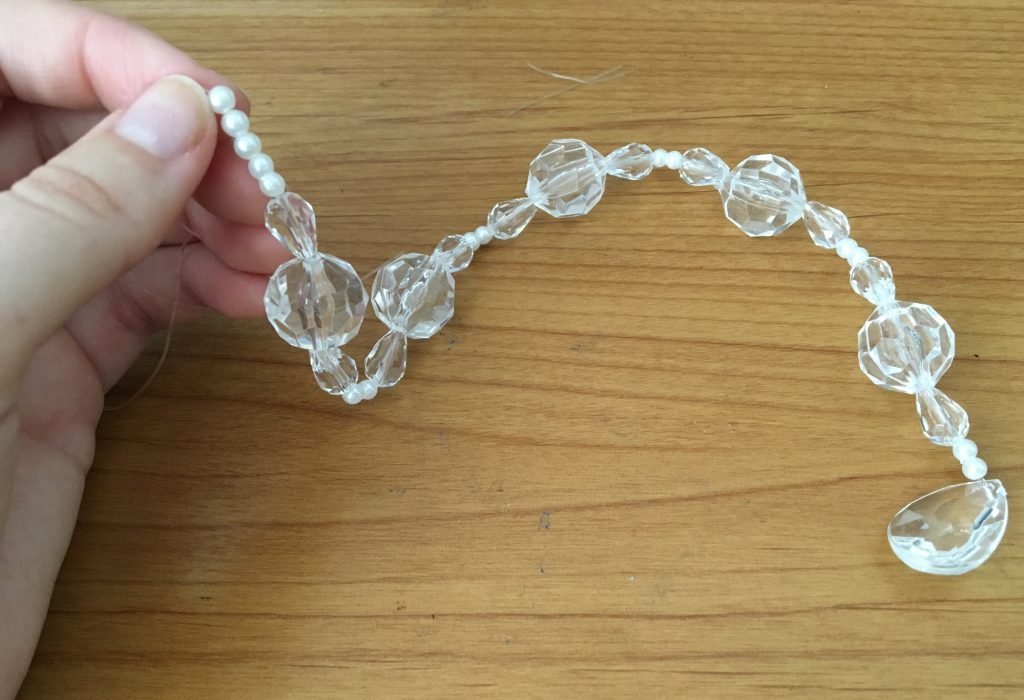
Step 3:
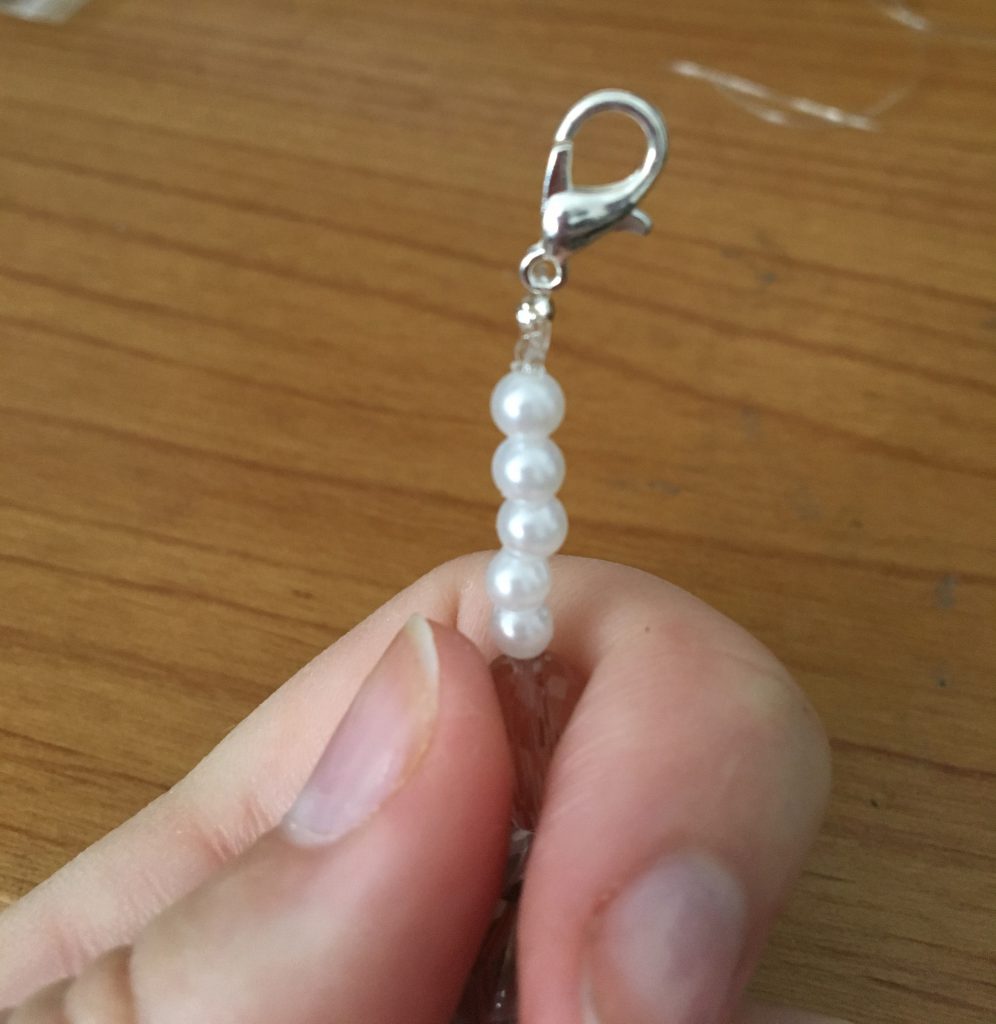
Thread beads onto a suitably long piece of the stretch jelly elastic. I made four for each light fixing. I used a teardrop on the end and interspersed large round clear beads, small teardrop beads and small pearl beads to create a pretty pattern.
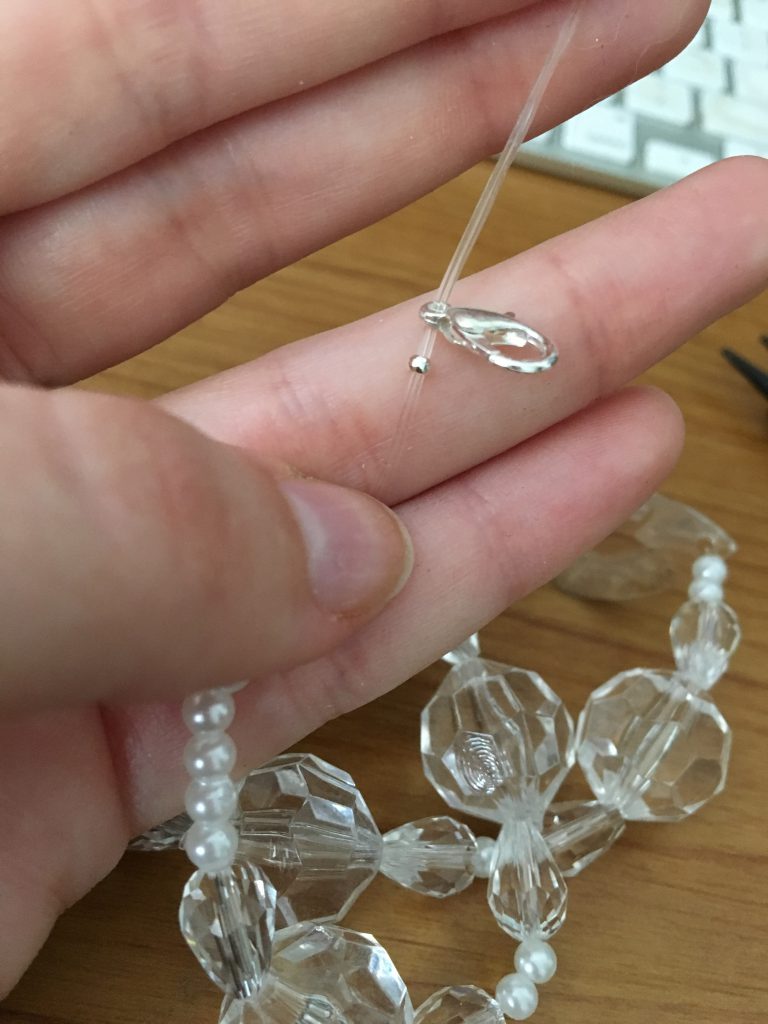
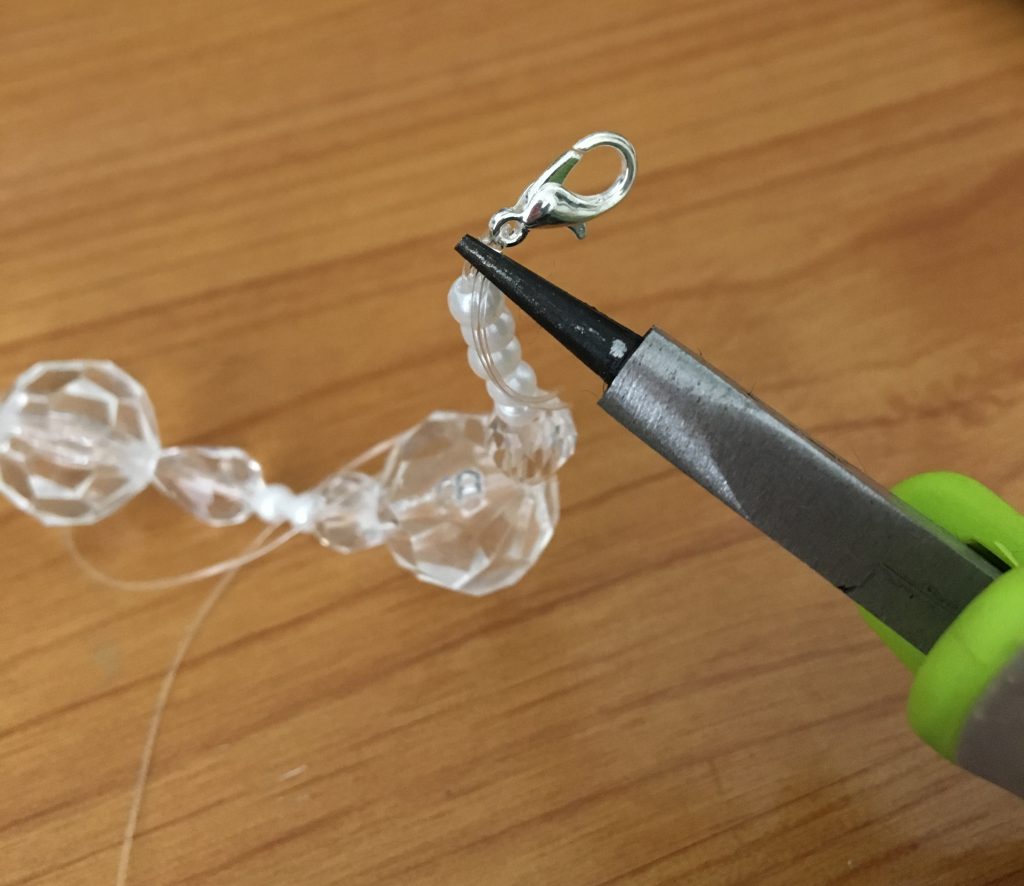
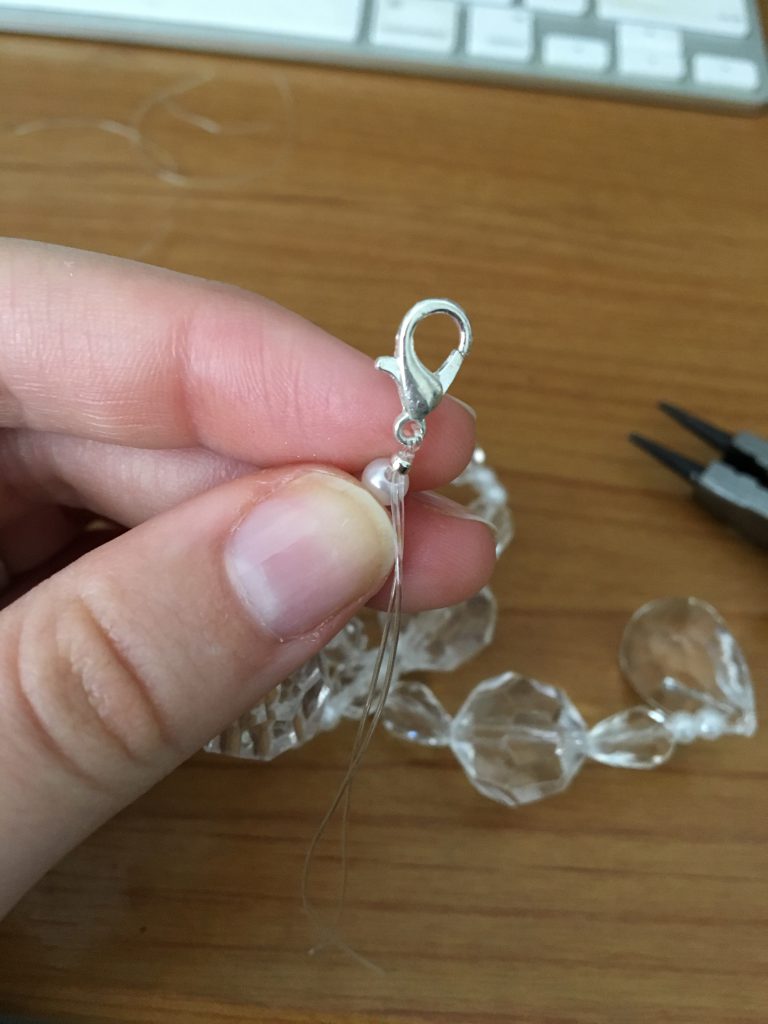
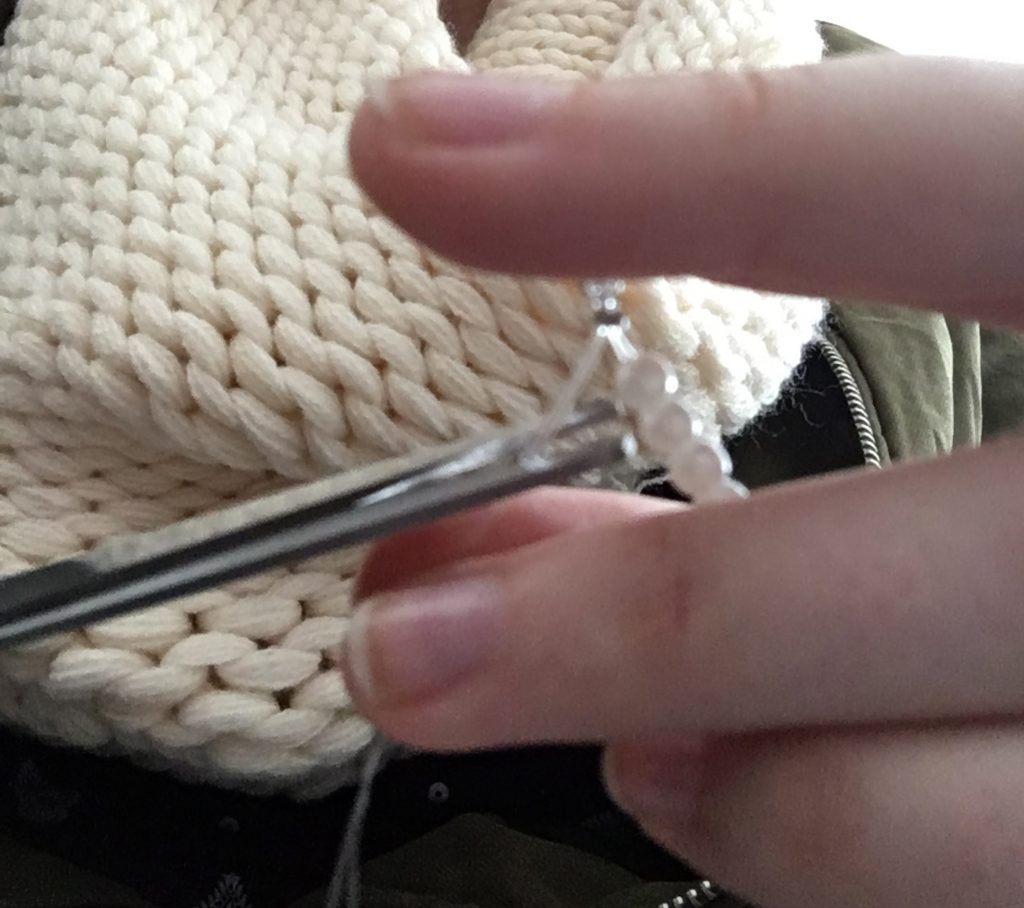
Step 4:
I finished the bead strands off at the ends with a small silver crimp bead which I threaded onto the end, followed by the lobster clasp and then squished with the pliers to fasten it all together. The crimp beads and lobster clasps were used so that I could take the beads off of the cage again if I desired to paint the cages again or add more beads at a later date. I could have just tied the cord to the cages but it was really awkward. It also didn’t seem as secure or versatile.
Step 5:
Trim the ends of the Stretch Jelly Elastic cord and thread the shortened ends back through the top beads to hide.
Step 5:
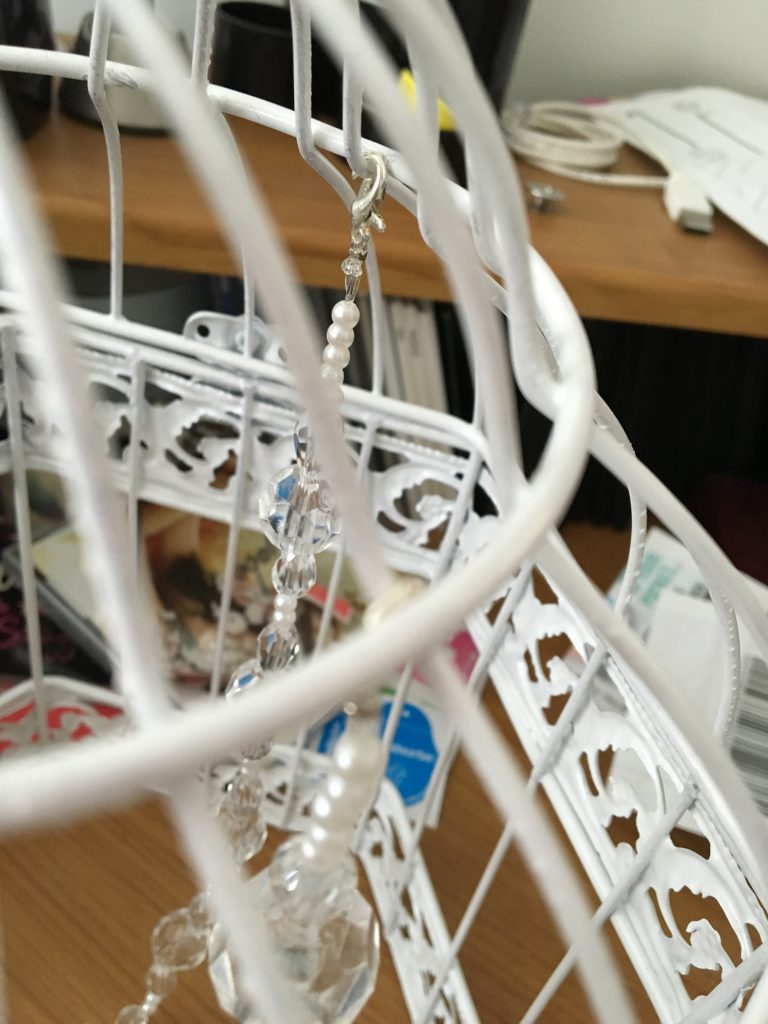
Hook the clasps evenly onto the bird cages.
Step 6:
Screw the now finished light fixings into place on the lights. Enjoy the prettiness of bird cage light fixings instead of ugly light bulbs.

All up I paid:
Bird Cages = 4 x $15 = $60
Large Round Beads(10pcs) = 8 x $3.99 = $31.92
Large Teardrop beads(10pcs) = 2 x $3.99 = $7.98
Small Teardrop beads = $12.13
Small Pearl Beads(300pcs) = $3.99
White Spray Paint = $2.95
Stretch Jelly Elastic (6pk) = $9.99 (I didn’t even use half of one pack)
Crimp Beads (400pcs) = $8.99
Lobster Clasps (50pcs) = $8.99
Crimping Pliers = $12.99
Total: $159.93 for 4 lights
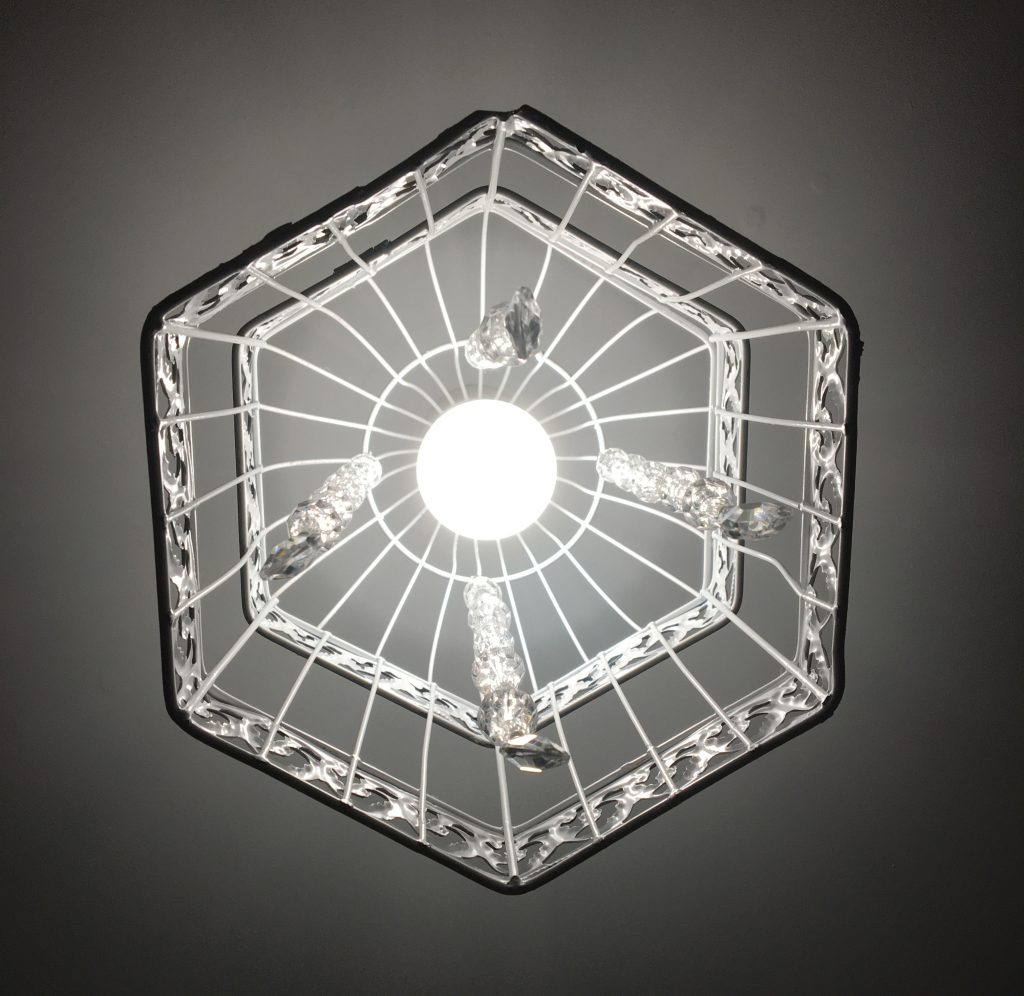
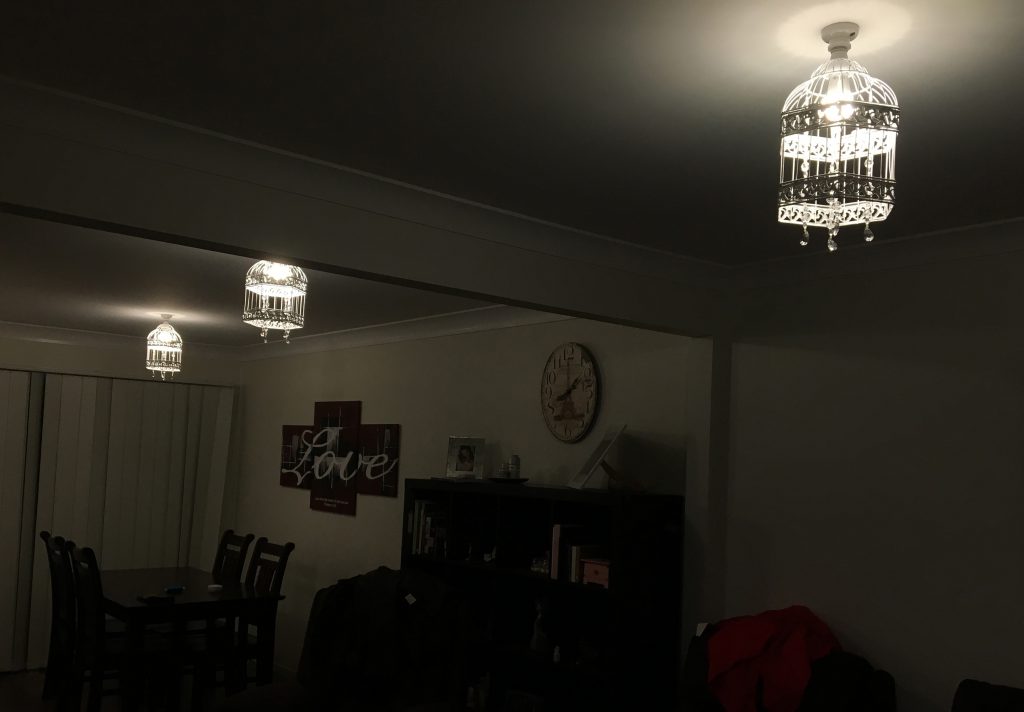
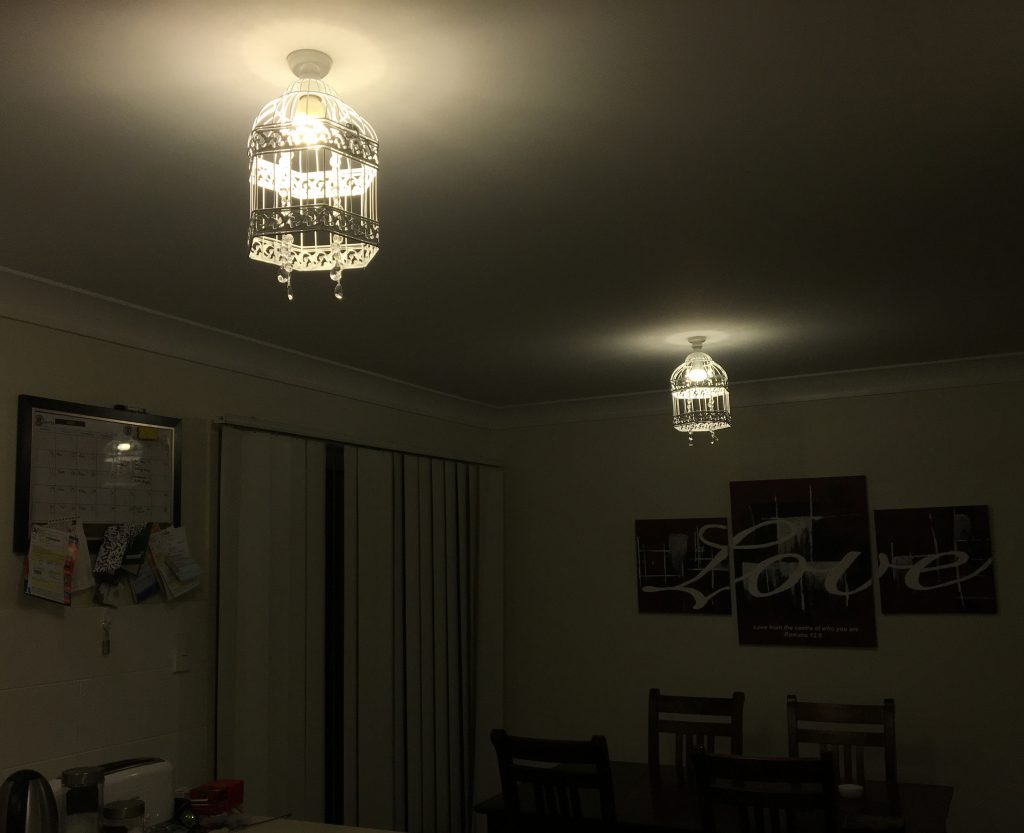
I was thinking about buying the strings of beads already beaded together. They were about $7.99 per strand which times 16 would equal $127.84 and I would still need the birdcages, crimping pliers, crimp beads and lobster clasps which adds up to well over $200 so I think I took the right path after all. I’m really happy with how these look in my house. I’m so thrilled to finally be able to cover up those ugly light bulbs and sockets with something classy and beautiful. The glass beads also really reflect the light magically.
Good luck in your pursuit to make your home more beautiful…

")
")